Sweet, sweet stove-top bakin’


Cakes.


In your van.


Without an oven.


In a pan.


The dream is real.


And, not just cakes, cookies and desserts too.  Following on from the savoury bakes 5 for 5, this time I’m looking at how the Omnia stove can enable you to make cakes on the road.  It is the best kind of enabler.

Life on the road is sweet but it just got that little bit sweeter.


I’ve chosen 5 – as per the theme, but the possibilities are endless:

  • baked cheesecake
  • fruit tarts
  • meringues
  • steamed puds
  • fairy cakes
  • muffins
  • oven-baked desserts
  • birthday cakes etc etc etc


One little gracenote here – when you loosen the cake around the sides of the pan and the centre, never use a sharp knife and take care not to scratch the pan.

You will need:

an Omnia stove and the ingredients for the following 5 recipes.

And, not too much time (which is even better!).

Omnia is a fast worker.
hels kitchen recipes climbing travel van life

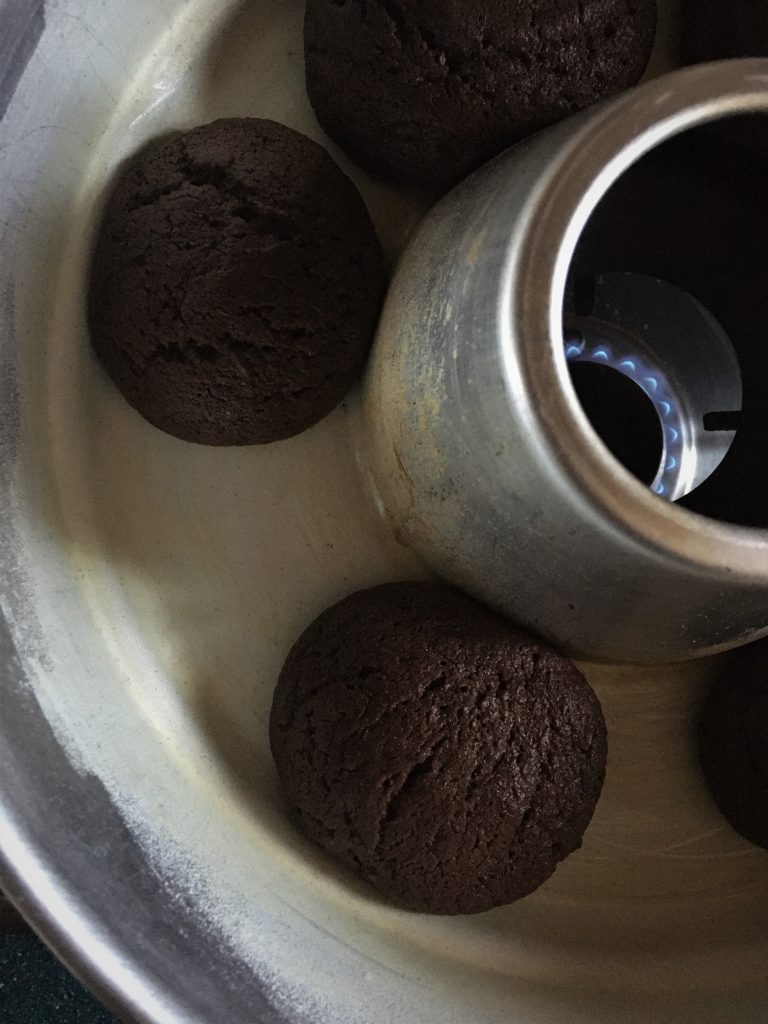
Chocolate cookies on the hob!

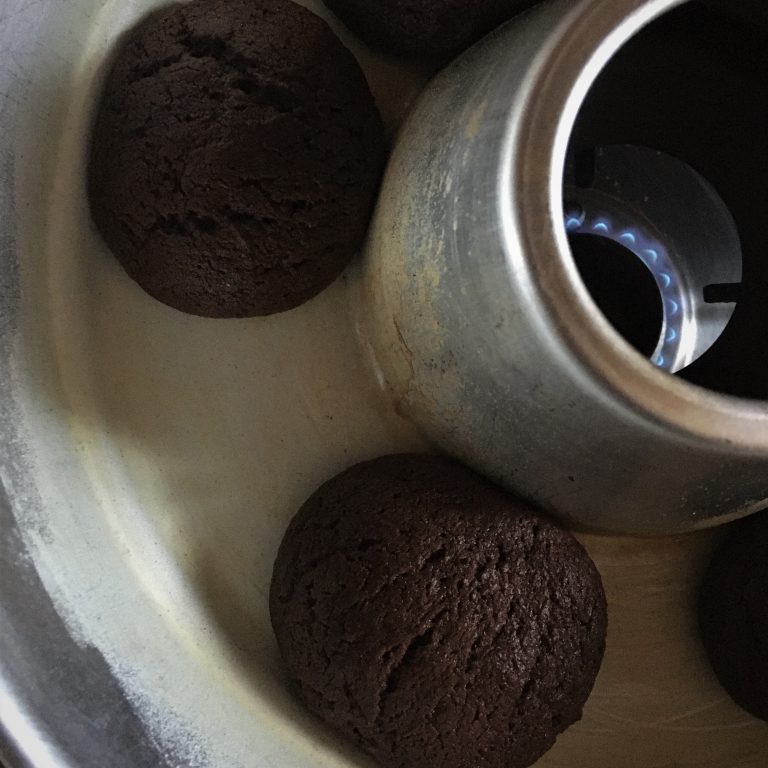
This was a bit of a gamble but it paid-off and delivered then some.  I was worried that I’d end up with big lumps of soggy biscuit but the dough spreads, as it does in a conventional oven.  You get that nice cookie crunch with the soft, chewy centre.

Also, the biscuit mix is ridiculously tasty so if you like licking the bowl out (as much as I do – it’s kind of like catnip for me) then you are in for a double treat.  #guiltypleasures

You could, if you were so inclined, just put a load of the mix in the tin and cook one big cookie – skillet style, eat it out of the pan in spoonfuls with ice cream – (like a brownie and ice cream / a little along the lines of a cookies and cream ice cream – it’s that kind of doughy cookie style).

Makes: c. 15 cookies

Takes: about 15 minutes prep + 15 minutes with the dough chilling in the fridge

Bakes: c. 15 -20 minutes – keep an eye on them.  Grease and flour the tin.  They will also crisp-up on the cooling rack so don’t overbake.  Interestingly, you don’t need to re-grease/re-flour the tin between bakes.


Ingredients

  • 100g dark chocolate (the good stuff)
  • 75g plain flour
  • 75g rye flour
  • 30g cocoa powder (again, good stuff)
  • 1/2 tsp baking powder
  • 1/4 tsp bicarbonate of soda
  • 1/4 tsp salt
  • 120g butter
  • 80g caster sugar
  • 80g dark brown soft sugar
  • 1 egg
  • 2 tblsp golden syrup
  • for an extra melt-in-the-mouth flourish, you could always pop a few chopped up bits of chocolate into the mix too.


Method

Melt the chocolate in a heatproof bowl set above (but not touching) a pan of water.  Just let it melt without stirring it too much.

In a large mixing bowl, cream the butter and sugars until they are light and fluffy (this normally takes c 5 minutes).

Pour the melted chocolate into this and beat a little more to combine.  Then fold in the remaining dry ingredients until they are well-incorporated.  Finally, add the egg and golden syrup and mix until it comes together to form a dough (if you are adding little chunks of chocolate, do so when you add the egg/syrup).

Taking a dessert spoonful dough at a time, roll the dough into neat little balls.  You should get c. 15 but don’t panic it more/less.  Pop these on a plate and then into the fridge to chill for c. 30 mins.  (You could also make this dough the day before and chill it overnight)

When you are ready to bake, pop c. 6 balls into the pan.  Press them down a little, gently, pop the lid on and set the gas to low-medium.  Keep an eye on them to check that nothing is burning.

When they are cooked you will be able to shove them around in the pan a little.  Getting them out is a bit of a delicate business as they are pretty soft still.  I found a spoon to be the best utensil!  Be prepared for some collateral damage.  Transfer them to a wire rack to cool and crisp up (they won’t go mad-crisp but just crisp enough at the edges, while retaining a gooey centre – like a cookie!)


Gettin' fancy with friands

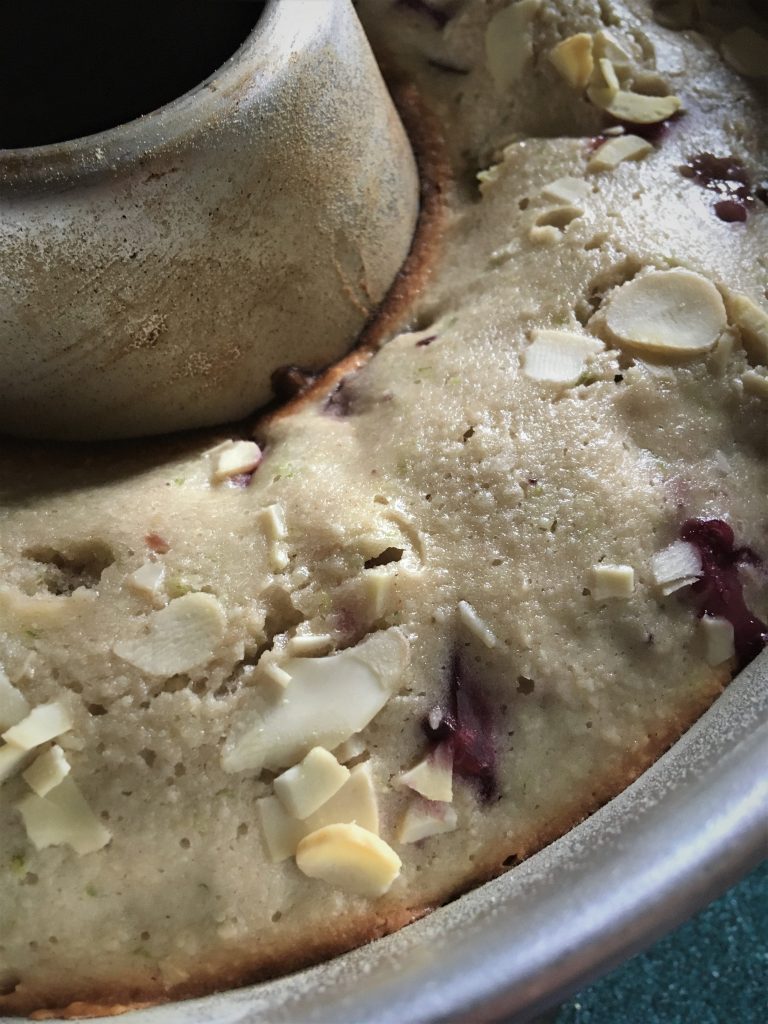
I was going to put yet another ciambella recipe up here (because they are so simple and failsafe – see note below) but I decided to branch out a bit to another type of sponge that is equally as light.  Friands are deliciously light and also very simple.  The thing here is that I say friandS but what you will end up with is one giant friand which you will then have to slice up. It’s a sponge cake 2.0.  Replacing the sugar with lighter icing sugar and only using egg whites results in a notably different texture from a standard sponge cake, softer and smoother.  This is a basic mix to which I’ve added cherries and lime.  You can experiment with different flavours though for sure.
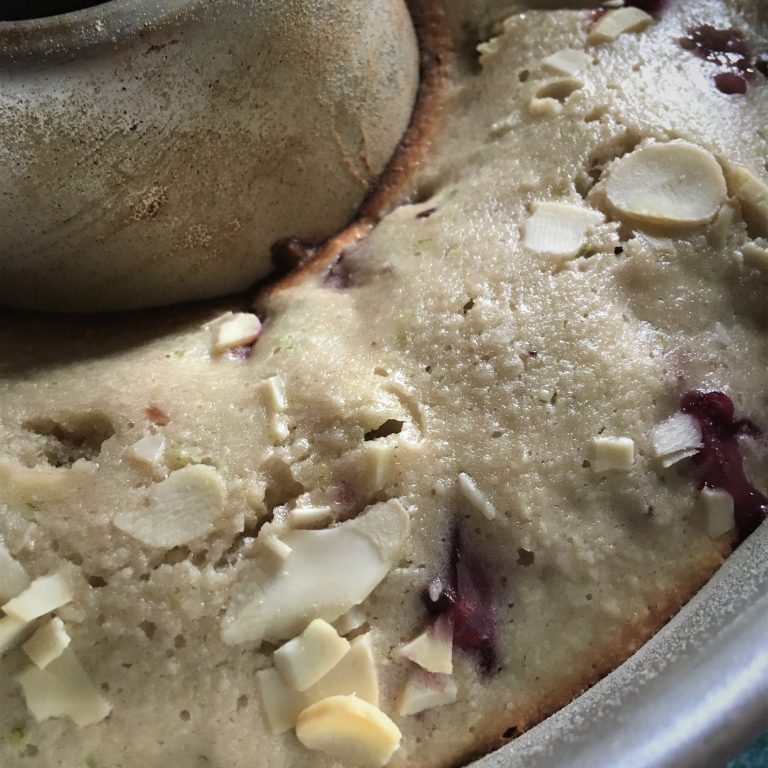
Makes: 1 big friand that you can slice-up

Takes: c. 20 minutes.  You need to allow time for the butter to cool

Bakes: c. 25 minutes – keep an eye on it.  Grease and flour the pan. It will quite possibly catch on the edges, with the centre taking longer to cool.  Don’t set the heat too high – keep it low-medium.


Ingredients

  • 75g unsalted butter
  • 150g ground almonds
  • 175g icing sugar
  • 5 tblsp plain flour
  • zest of 1 lime (finely grated)
  • 4 large eggs (whites only)
  • 1/4 tsp almond extract (this just amps-up the almonds – it’s not super crucial)
  • 150g cherries (chopped)
  • a few flaked almonds (for the top)


Method

Melt the butter in a saucepan until it starts to take on a nutty aroma – nutty, not burnt – it will quickly go from nutty to burnt so watch it.  When it’s turned slightly brown take it off the heat and leave it to cool.

Put the ground almonds, sugar, flour and zest into a large mixing bowl.  Mix in the egg whites then the butter (you will likely need to sieve this as there will be little brown bits – you don’t want those).  When it’s all nicely incorporated, add the cherries and stir these through – don’t over-mix otherwise you will end up with a weird coloured cake.

Pour the mix into the pan, pop the lid on and set over a low-medium heat.

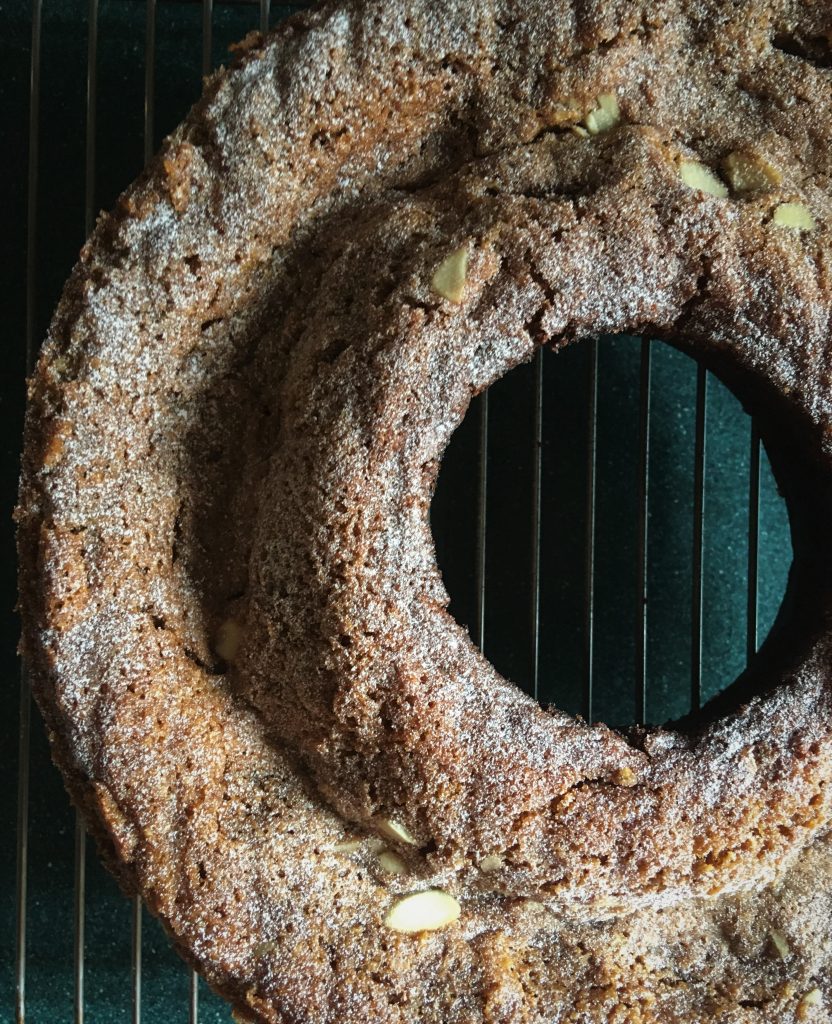
When it’s springy to the touch and a knife comes out clean when you insert it into the cake, loosen around the outer and inner edges, place a cooling rack on the tin and invert the tin so the cake plops out.  Carefully turn it the right way up and dust with icing sugar.  This is great on its own, with a tea or indeed with a little zested-up crème fraiche.


hels kitchen recipes climbing travel van life

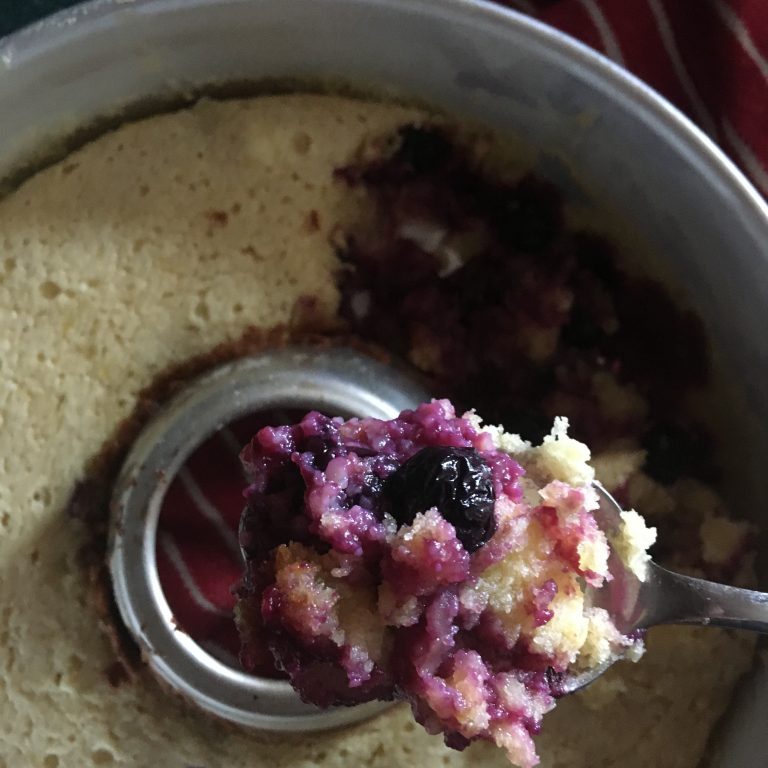
Lemon and Blueberry hot pudding

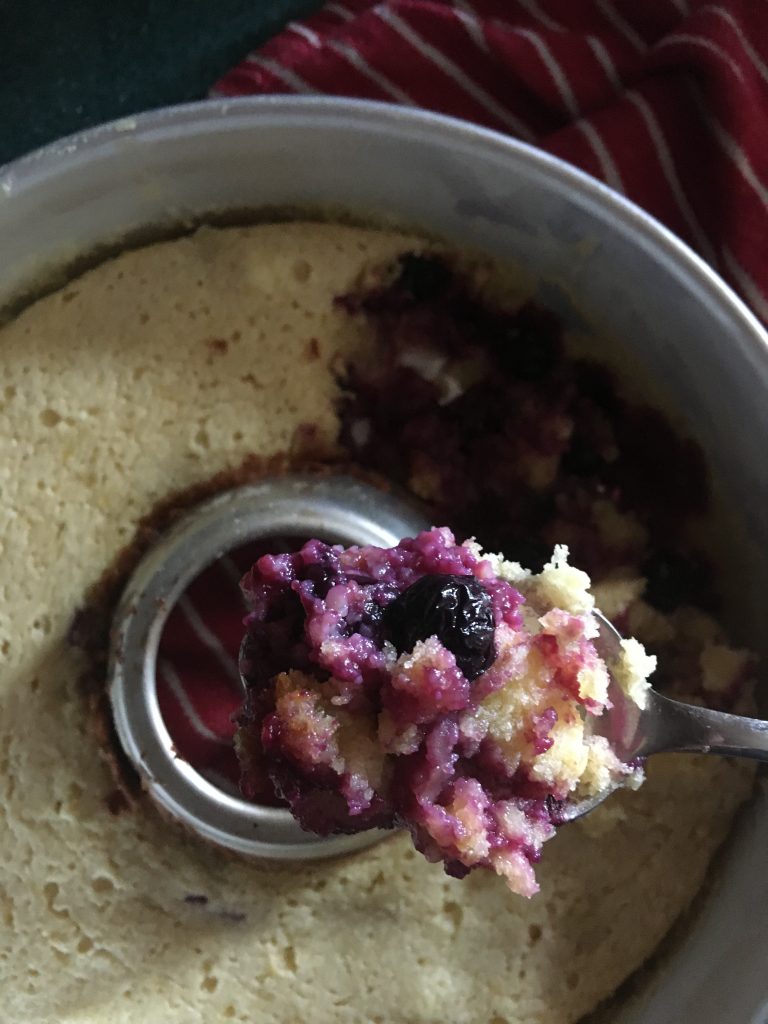
Ah man I LOVE this pudding – it’s like eating a cloud and as soon as I have the first spoonful it feels like my eyes roll back in my head.  It feels like a super-indulgent treat but is actually really simple to make.

It’s a baked pud so it needs an oven…  no problem.

Also, this is one of those, serve it from the pan (or indeed eat from the pan) jobs which I kind of like.  It always results in delightfully positive squeals of approbation from whoever dips a spoon in.  Such a great dessert to share from the tin.

Makes: 1 pud

Takes: 20 mins

Bakes: c. 30 mins.  Keep an eye on it.  you will definitely need to grease and lightly flour the pan unless you like cleaning pans


Ingredients

  • 100 g butter
  • 175g golden caster sugar
  • 2 lemons (juice and finely grated zest)
  • 4 eggs (separated)
  • 50g plain flour
  • 125g fresh blueberries
  • 500ml milk


Method

Beat the butter and sugar in a large mixing bowl until pale and fluffy.  Next add the lemon juice & zest and the egg yolks and whisk until well incorporated.  It may curdle at this point (in fact, it’s highly likely it will but don’t panic).

Sift the flour into the bowl and then fold it in then fold in the blueberries and milk.

Clean your beaters/whisk and, in a separate bowl, whisk the egg whites to soft peaks (not stiff) – you need to be able to fold them in to the mix easily otherwise you will lose precious air (it’s like a cloud, remember).

Fold the egg whites in and when they are nicely incorporated pour the mix into the pan.  Pop the lid on and set to a low-medium heat.  Keep a watchful eye.  It won’t cook all the way through – it’s not supposed to – it has runny juices.  It will be cooked when it’s risen nicely, is golden and is firm to the touch.


Powerjacks

A lot of climbers are big fans of flapjacks for a quick hit of power at the crag. Hard to make on the road though. Oats are pretty indigestible unless you soak them for a bircher or cook them in the oven…

These flapjacks are full of good things and are small enough to give you a pocket full of power on a multipitch or a long hike :)

There’s no butter/sugar – just oil and honey so they are vegan and dairy friendly too.  You can, if you prefer a more traditional jack, sub these in no problem.
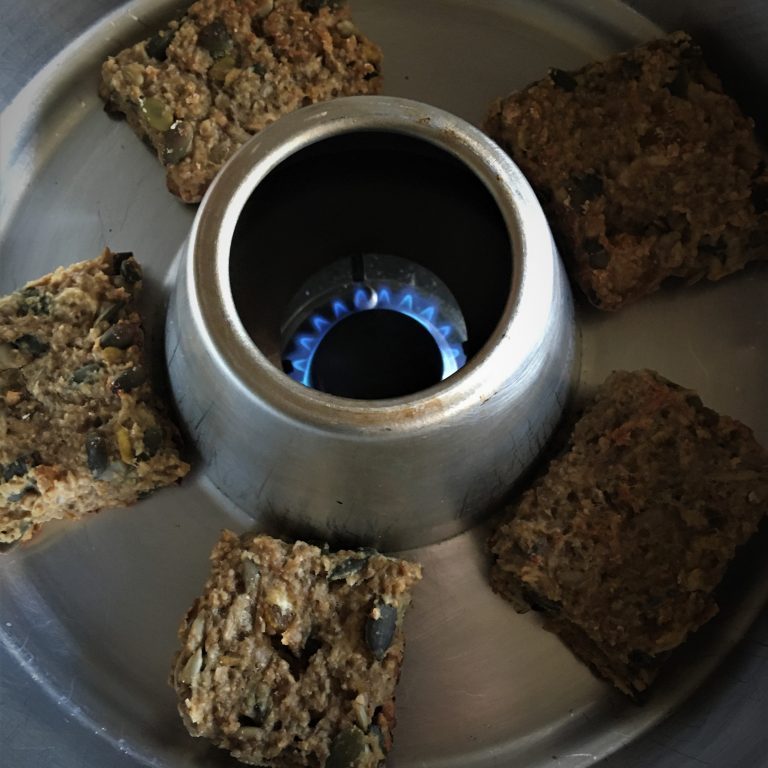
Makes: c. 20 (depending on how big/small you shape them)

Takes: 10 mins prep

Bakes: c. 40 minutes; grease the pan (don’t flour it – this will cook and give them a biscuit base) / sit them on the griddle bit as the underside may cook a bit quicker.  You will also need to cook them in batches of 6 at a time so be prepared for a little bit of a flapjack marathon.


Ingredients

  • 50g coconut oil (just melt the coconut butter in a pan)
  • 3 tblsp honey
  • 2 tbsp tahini
  • 100ml hot water
  • 2 bananas (mashed up)
  • x 1 apple (peeled and grated)
  • 250g porridge oats
  • 100g raisins
  • 75g chopped apricots
  • 50g pumpkin seeds
  • 50g sunflower seeds
  • or, flapjack ingredients of your choice


Method

Combine the oil, honey, tahini and hot water in a mixing jug then add the banana and the apple.

Combine the oats, raisins,, apricots and seeds in a large mixing bowl then add the banana mix and stir until its all incorporated.

Lay some cling film on a worktop and plop the flapjack mix onto it.  Shape it into a rectangle c. 2cm deep and cut out little flapjack sized pieces.  Pop these into the pan, put the lid on and set the gas to low-medium.

Alternatively you could spread the entire mix into the tin, press it down and let it cook that way – then slice bits off when it’s cooled.

Pop them on a cooling rack to dry out a little.  They will be chewy – the banana contributes to this.

Take them to the crag and get ‘jacked.


hels kitchen recipes climbing travel van life

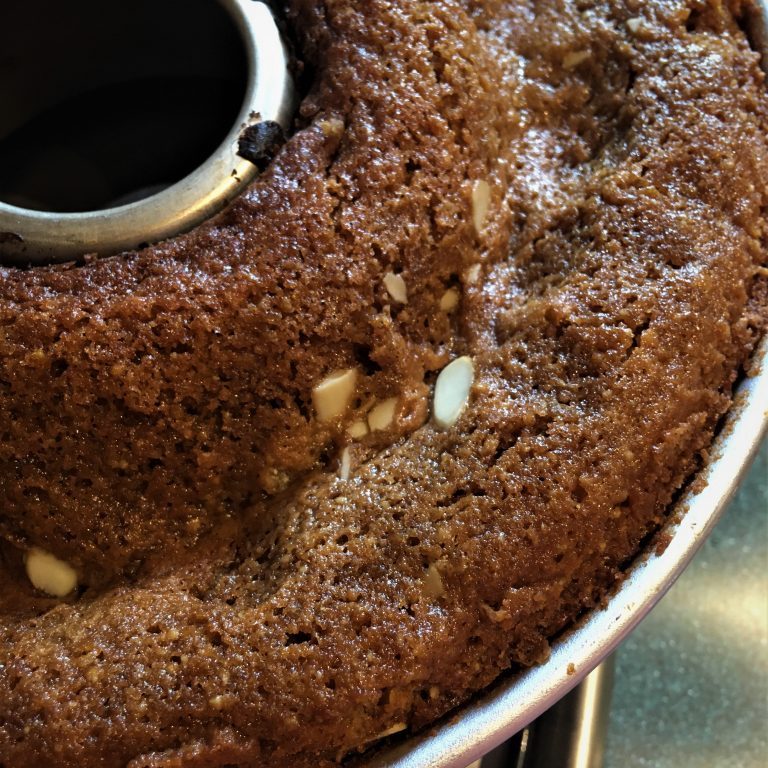
Apple, raisin and almond cake

I mean who doesn’t like cake at the crag…  I opted for this because I wanted to see if you could make a fruitcake (which I love) in a pan.  Obviously you can make a steamed pud (think Xmas pud) on a hob but steaming takes a looong time (so that’s heavy on the old gas if you are in a van).  So I pared-down the fruit and went for an apple/raisin combo.  I reckon you can go heavier fruitcake though for sure.  Sticky apple cake is up there as a favourite, mind.

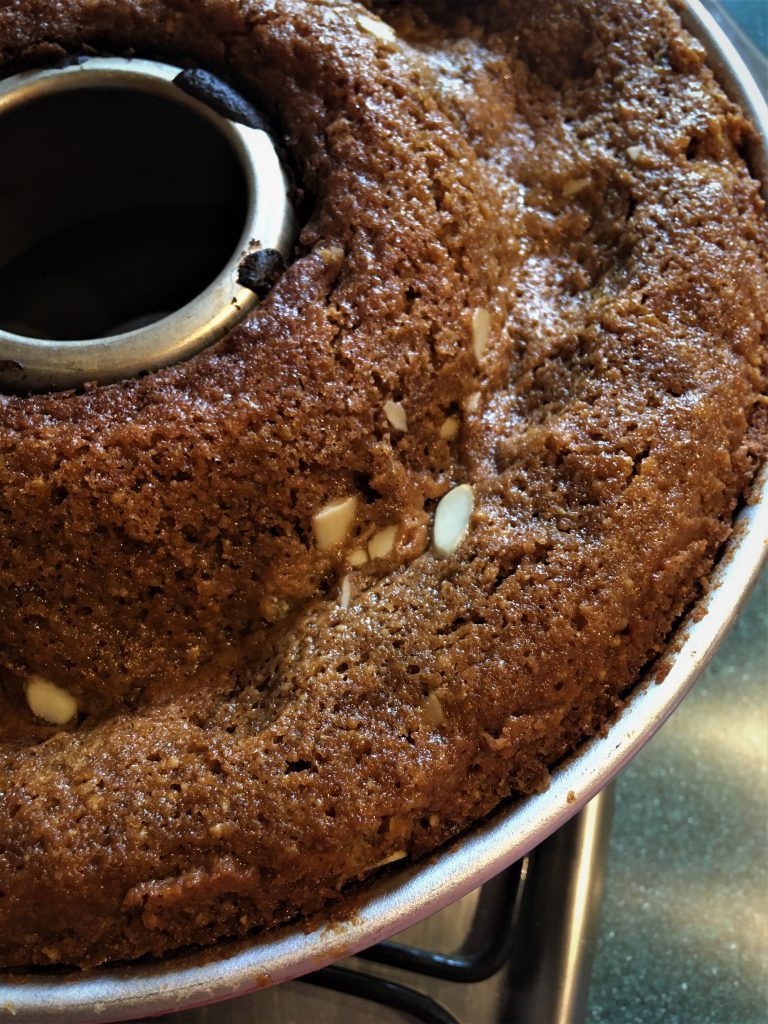
Also, this guy went enormous – so big, in fact I thought he was going to escape.  I couldn’t believe how much this cake rose in just a little stovetop oven.  Pretty neat!  Mind you, I went all-out on the raising agents: this cake has eggs, self-raising flour and baking powder in so it should flippin’ rise!  It also uses dark brown sugar which has one of the best aromas around and makes me weak at the knees when I open the packet.

Makes: 1 LARGE cake

Takes: c. 15 mins prep, if that

Bakes: c. 30 – 40 minutes but again, keep an eye – and pop a knife in the centre of the ring to check it is cooked.  You will definitely need to grease and flour the tin.


Ingredients

  • 250g butter (melted and cooled slightly)
  • 4 medium eggs
  • 250g dark brown sugar
  • 100 caster sugar
  • 1 tsp almond extract
  • 200g self-raising flour
  • 100g spelt flour
  • 50g ground almonds
  • 2 tsp baking powder
  • 2 apples (I used Cox) (peeled, cored and chopped into bite-sized chunks)
  • c. 75g raisins (not an exact science) (soaked slightly in hot water so they plimp-up)
  • a few flaked almonds


Method

Beat together the eggs and sugars in a large mixing bowl until they start to become thick and a light colour.  Add the butter and almond essence and whisk these in for a bit too.  Drop in the fruit and stir to combine.  Finally fold in the dry ingredients and when everything is nicely incorporated, pour the mixture into the tin.  Top with flaked almonds, pop the lid on and set the gas to a low-medium heat.

Put the kettle on in readiness for tea and cake.

It’s likely you will need to loosen the cake away from the edges before transferring it to a cooling rack but it should come out of the tin just fine.

This is sticky, fluffy and addictive.  I nearly had apoplexy.  I also treated myself to a slice when it was still warm which was even better – like a hot pudding, steaming apple nicely nestled in a fluffy, sweet jacket.

and one more… the ciambella (because I love them, they are so simple, and they are eaten for breakfast!).  It’s also so quick to make you could indeed make it when you get up :).

This is a basic recipe for it:


Makes: 1 cake

Takes: 10 mins

Bakes: c. 30 mins but keep an eye on it.  Grease and flour the pan.


Ingredients

  • 250g plain flour
  • 2 tsp baking powder
  • 1/4 tsp salt
  • 2 eggs
  • 170g caster sugar
  • 215g plain yogurt
  • 2 lemons (finely grated zest)
  • 4 tblsp lemon juice (always zest the lemons before you juice the lemons)
  • 170ml vegetable oil


Method

Combine the dry ingredients together in a large mixing bowl.

In a separate bowl, beat the eggs for 2 minutes until pale and thick then gradually beat in the sugar.

Now add the rest of the wet ingredients to the eggs/sugar and mix well to combine.

Finally, fold in the dry ingredients until it’s all nicely incorporated.

Pour the batter into the pan, pop the lid on and set to a low-medium heat.  The cake will be cooked when it’s just beginning to turn golden and when a knife/unobtrusive implement inserted into the cake comes out clean.

Again, you will need to loosen it slightly from the sides and centre.  Invert it onto a cooling rack and then flip it the right way up.  Dust with icing sugar and enjoy with a coffee in the sunshine.


Again, these 5 just scratch the surface.  Now you’ve seen you can make a cake on the hob, there should be no stopping you.

There’s all sorts of possibilities to explore with your trusty omnia in tow.

And, if you can make a sponge, you can make a filled sponge – which means you can make a celebratory cake.  You just need to cook the two parts separately then add the filling and ice it.  I mean, obviously it will have a hole in the middle – as all these bakes do but you have to roll with that – and once you slice it, it doesn’t really matter.

Comments

Leave a Comment