
Store-cupboard snacks #2
Following-on from my nut-pimping foray in storecupboard snacks #1, I decided to up the ante and try making my own crisps. I’ve spoken before about my penchant (insatiable appetite) for crisps but how hard can it be to make your own, right? Yup, not hard. Plus, if you make them at home, a) you can experiment with the flavours, b) you can save a bit of cash (potatoes are cheaper than crisps) and, c) you can create a slightly healthier snack. There are, of course, “healthier” versions in abundance these days – step forward vegetable crisps (the ones that look like pot pourri and in packets of which the beetroot to sweet potato ratio is far too heavily weighted in favour of the latter). We can also now buy crisps made from houmous, lentil, quinoa, rice, kale, polystyrene (well, not the last one, but that’s the mouthfeel of some of them – what exactly are those veggie straws made from?). It seems you can make a “crisp” from just about anything but, despite being touted as a healthy alternative to the more regular crisp, these newer versions are still full of preservatives and a lot of salt. I also find a fair few of the non-potato offerings to be pretty oily.
Here’s the thing when you make your own – they barely contain much oil at all (in fact, some you can make with no oil at all); and, you can be very judicious when it comes to the salting.
Here’s some other good news, they aren’t fried! They are baked.
So: all natural ingredients, no frying, much less salt. Lots of flavour; and, they do actually go really crispy!
As with the nuts, homemade crisps take pretty much no time at all…
All you need is:
- potatoes or other veg of your choice
- a spice drawer/store cupboard and a bit of curiosity
- baking parchment & a baking tray
- a mandolin, or a box grater, or a really, really, really good peeler, or the patience of a saint (a saint who owns a very sharp knife).
All you need to do is:
- finely slice the potatoes/veg
- select your flavourings
- ensure that the potatoes/veg are evenly coated (the best way to do this is to go in with your hands)
Tips:
-
Please be careful with the mandoline! Not having the tip of your finger is disctinctly sub-optimal (especially if you are a climber).
-
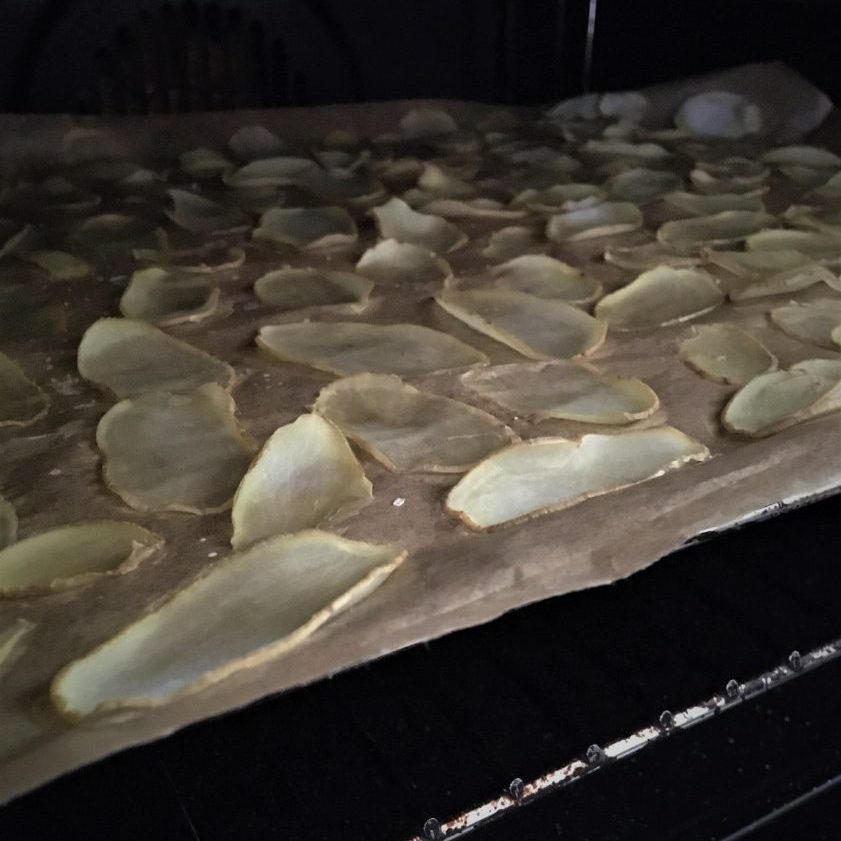
Keep a watchful eye on the cooking time (especially as ovens vary). The slices are waffer thin so once they get to a certain point in the cooking they will catch and brown pretty quickly. It’s also helpful to rotate the tray through 180 mid-way through the cooking time.
-
When it comes to flavourings, try not to add to much by way of liquid as they won’t crisp-up.
- I use extra virgin olive oil when required by the recipe.
-
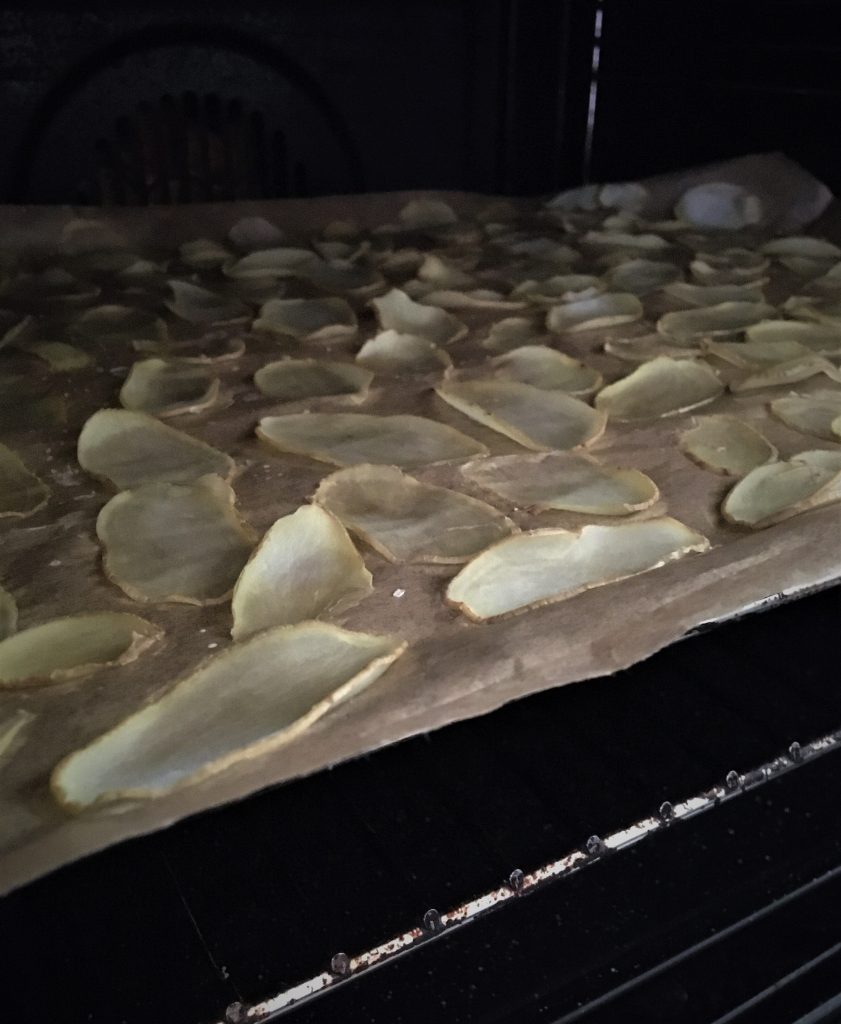
Use baking parchment. They will stick to the tray/foil and that’s both profoundly irritating and a waste (of crisp and foil).
-
I should note that I used new potatoes – partly for flavour, partly for asethetics but mostly because they were the potatoes I happened to have (and I only have a little mandolin). The Anya variety would also be nice as they have a fun flavour (or those strange blue potatoes just for, you know, kicks). You can use regular potatoes of course, you just need to be able to slice them very finely. If you use new potatoes you can get away with just washing them; your more standard potato may need a good scrub, a peel and a check-over for any bits that need removing.
- Oh, and finally, cook in a pre-heated oven at 180C (GM4) for c. 15 – 20 mins, turning the tray part way through the baking time.
*One final thing to add is that you will also need a bit of patience… you have to lay EACH SLICE out on the tray in order to achieve “crisp”. Just chucking them on the tray and jiggling them about with camp abandon will not ensure you end-up with crisps – most of them will go wangy.
Finally, the potato ones are particularly nice with this dip.
Salt and vinegar for starters
This was my initial foray into homemade crisps – my gateway crisp, as it were, before I ventured into the world of alternative flavours. It’s simple, failsafe and super tasty. Plus it’s S&V! Smells amazing, tastes amazing.
The received wisdom when it comes to homemade S&V is that you soak the potato slices in the salt and vinegar for about 10 minutes before baking. I used cider vinegar because this has a nice sweetness and is less aggressive than Sarson’s. You will also need to shake off any excess liquid before popping them on the tray.
(FYI, if you want to make ready-salted replace the vinegar with water).
Tapenade and Truffle
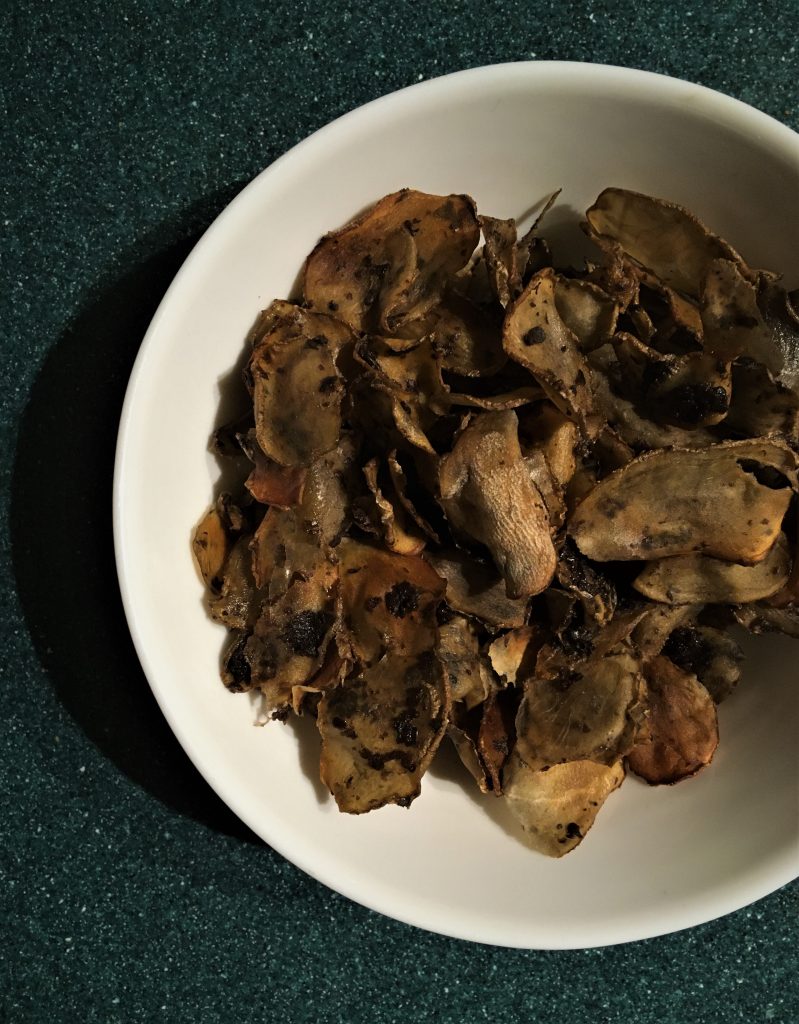
Yup – I went from your bog-standard S&V to goin’ all fancy on it’s ass but these are ridiculously moorish.
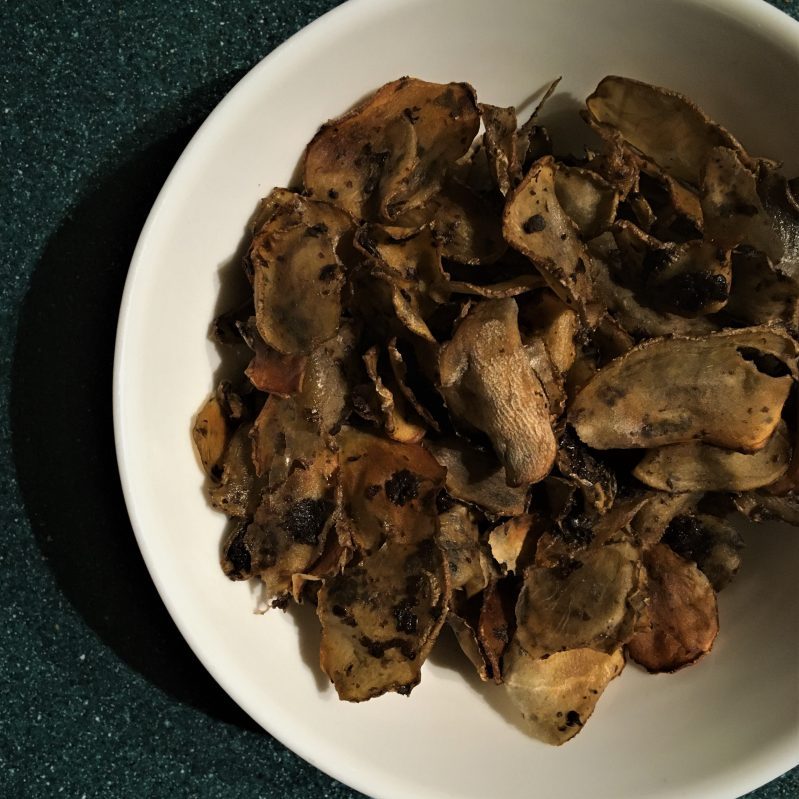
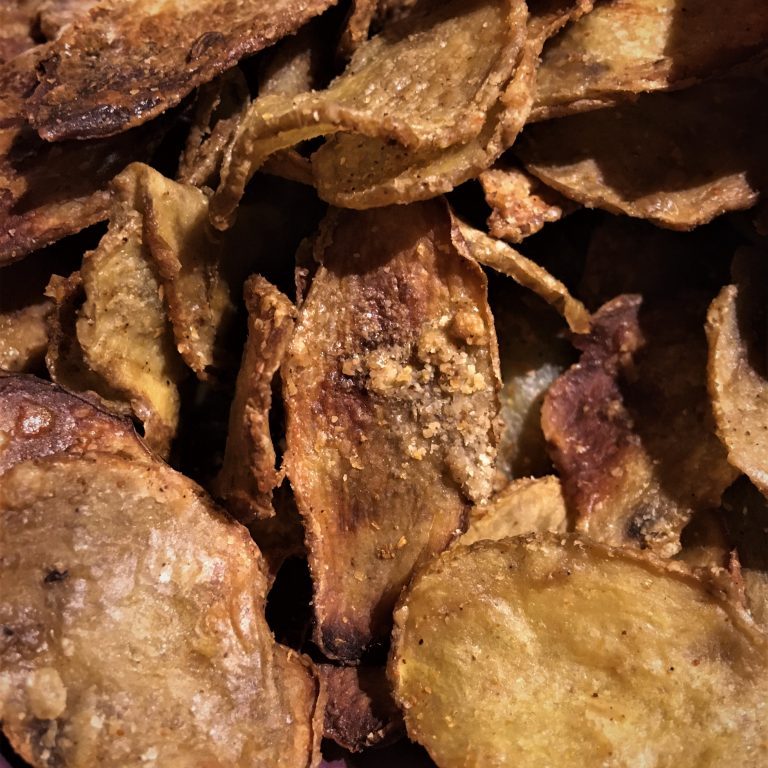
Tahini and Ras al Hanout
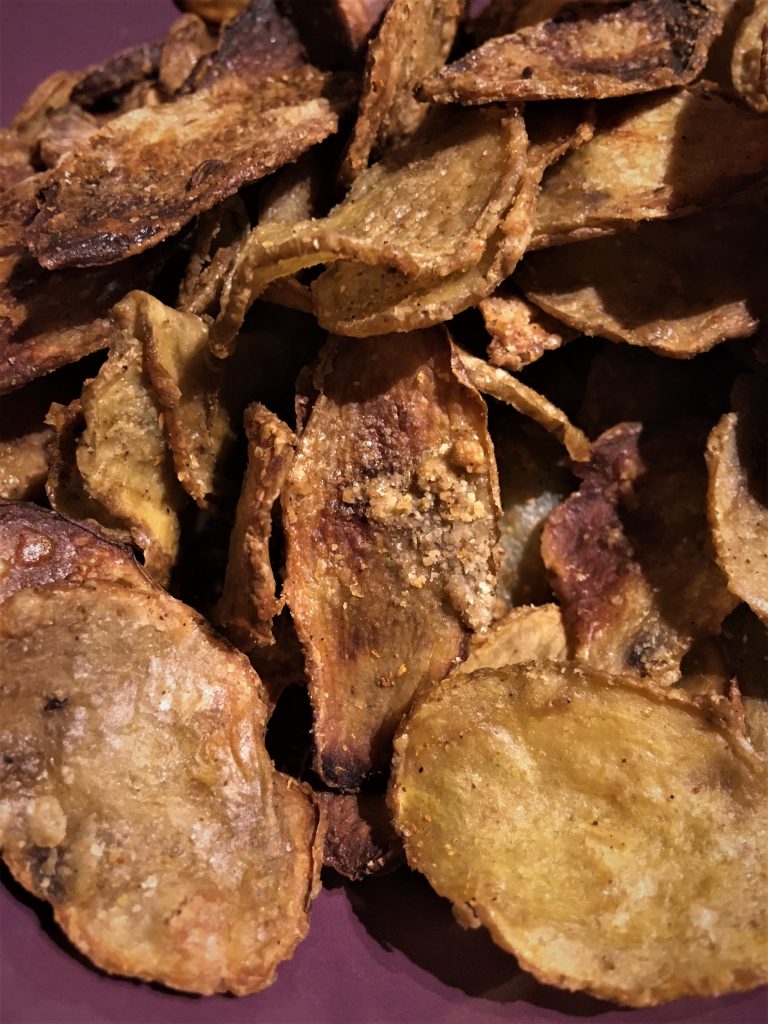
You definitely won’t find this in the shops. I love these two ingredients and put them in a lot of things (but rarely together). This, it transpires, is a great combo; subtle but assured.
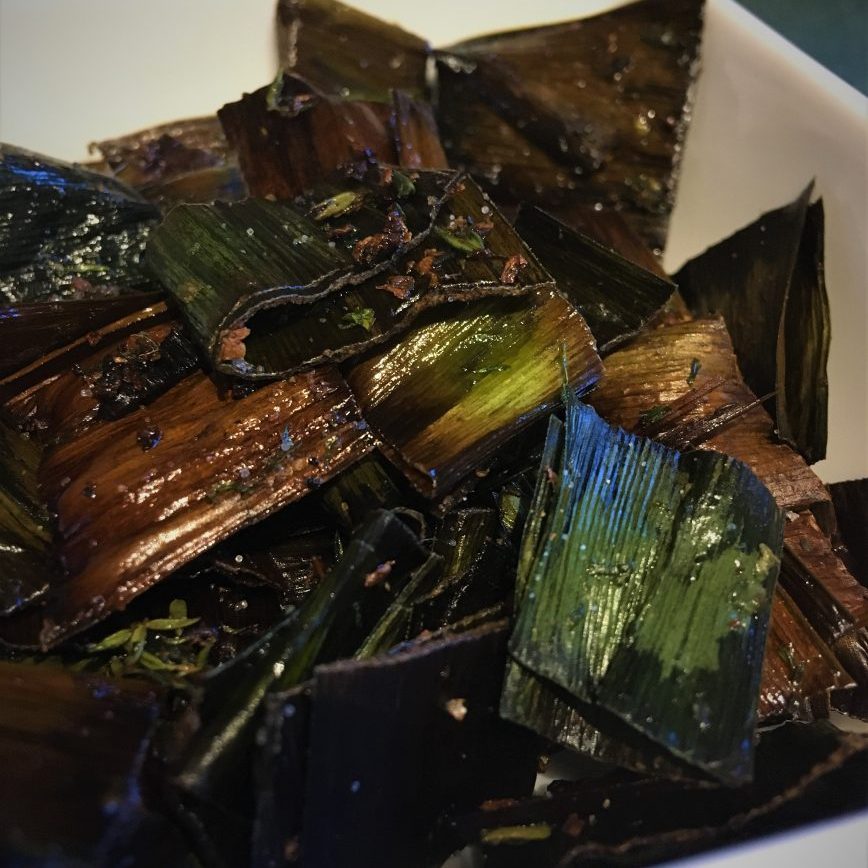
Leek, black pepper and parmesan
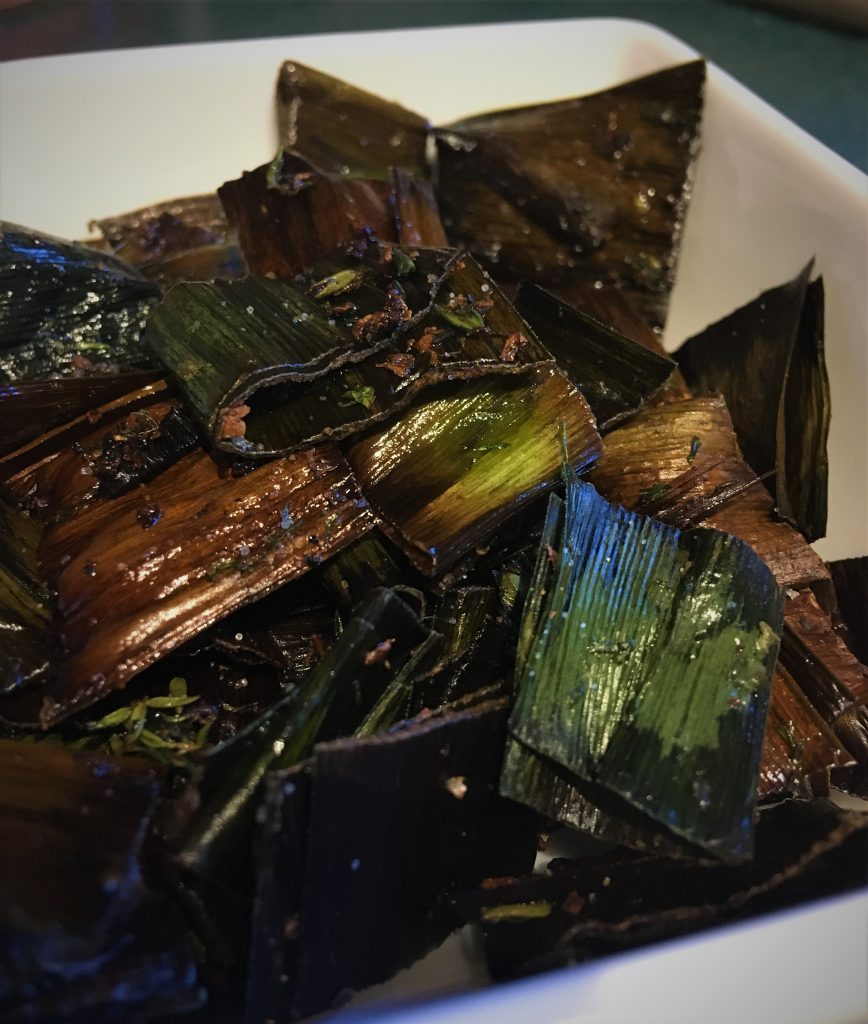
Initially I made some standard veg crisps (Sweet potato, carrot and courgette with rosemary, garlic and chilli). These were very nice, (particularly the courgettes) and I was going to feature them here were it not for the fact that I went completely off-piste, completely by chance whilst cooking a stew. I realised that there’s a massive part of a leek that just doesn’t get used and wondered if I could crisp it up. Affirmative.
Leeks are part of the onion family and what you end-up with here is a naturally occurring onion flavour which is pretty powerful on its own. When I tried one it was very, well… “leek-y” so I added some parmesan to temper it and ended-up with a type of cheese and onion. Worthy of #crispsontheradio
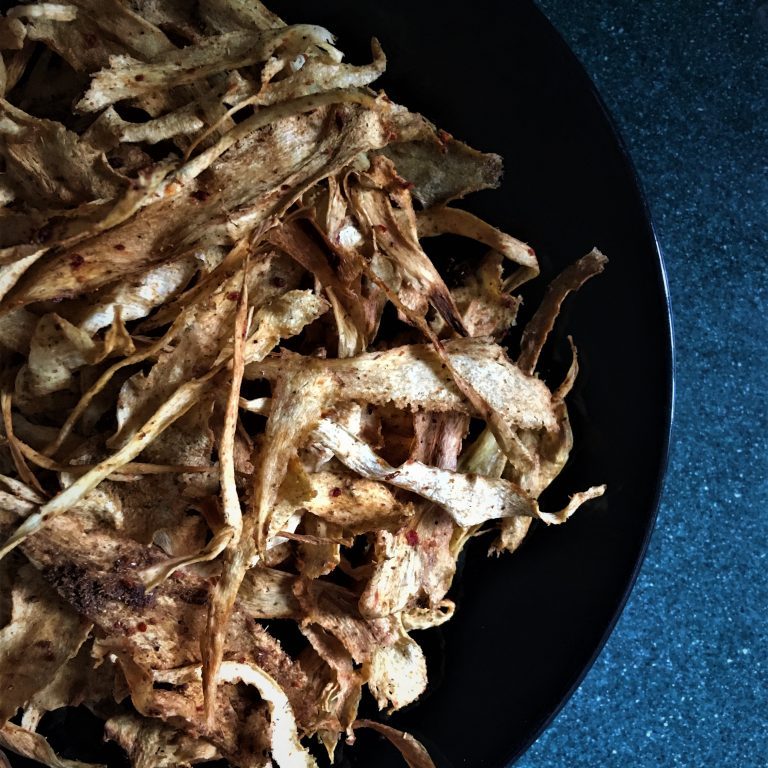
Curried Parsnip
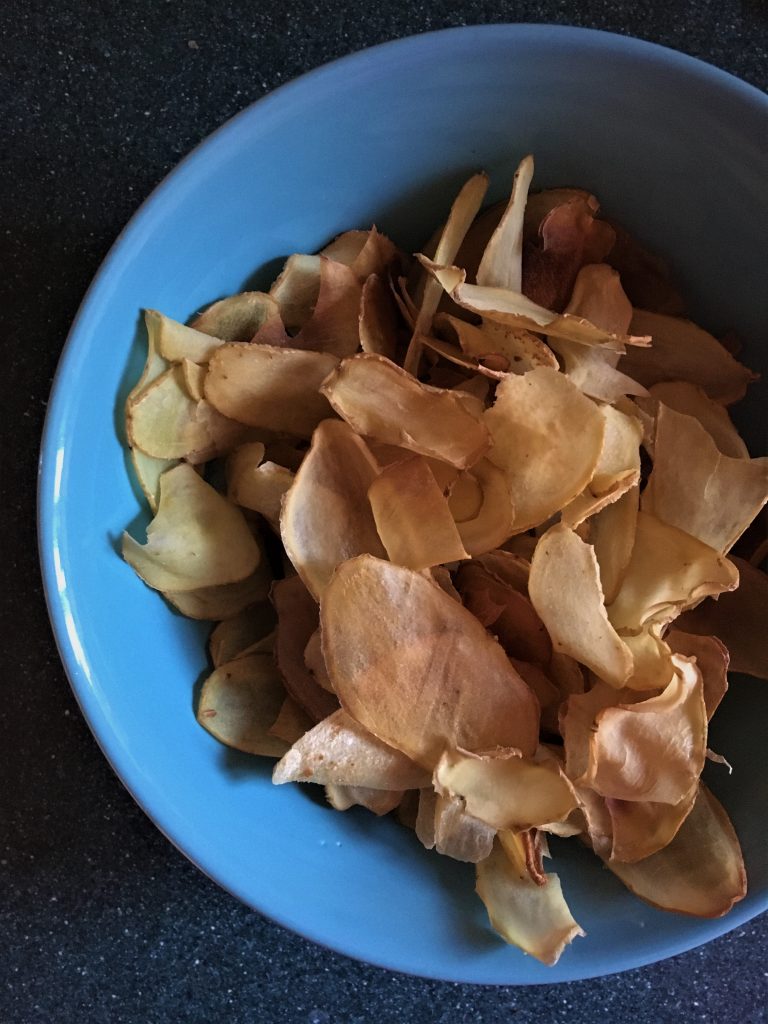
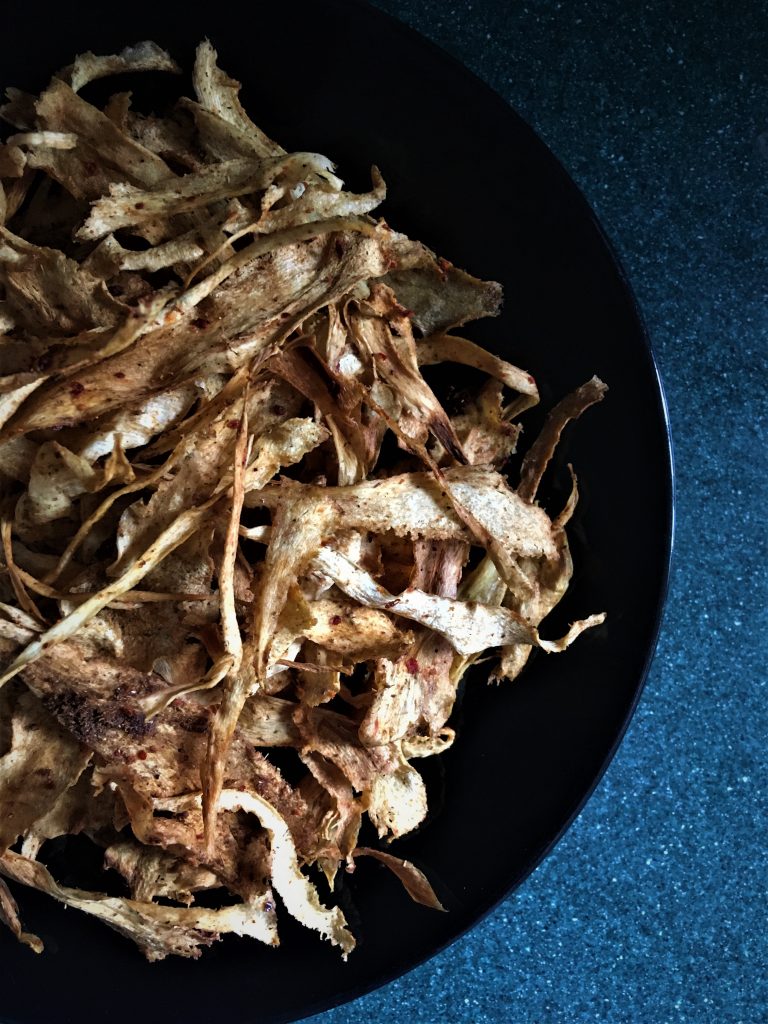
Curry spices and parsnip are a classic combo and these are awesome! From the picture, it may look like I’ve just swept-up in a carpenter’s workshop but they taste amazing. Plus, when it comes to veg, parsnips are the shiz. I used a peeler for these to get longer strips.
Again, there’s way more than 5.
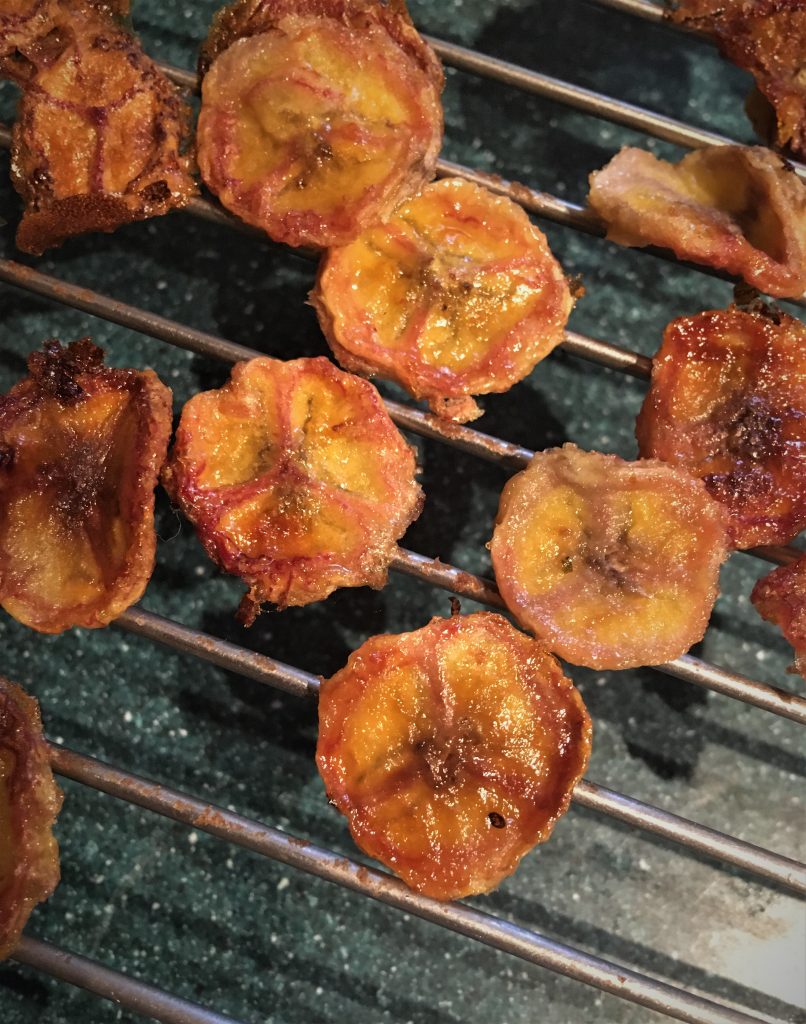
One I will chuck into the mix here is a sweet version, just because I love dried bananas but they are always so expensive to buy so why not make your own ones of these too. You still need to slice, coat and lay them out but they will cook for slightly longer – the best part of 1 hour to 1 hour 40 at about GM2 (and again, you will need to watch them). They are also meant to be a little bit chewy.
These are also nice to chuck into a homemade granola/into a cereal bar etc. (or, you know, whatever you normally do with your dried bananas).
Ingredients
- 2 bananas
- 2 tblsp maple syrup
- a tiny weeny bit of salt
Drop me a line in the comments below and let me know what combos you come up with.