
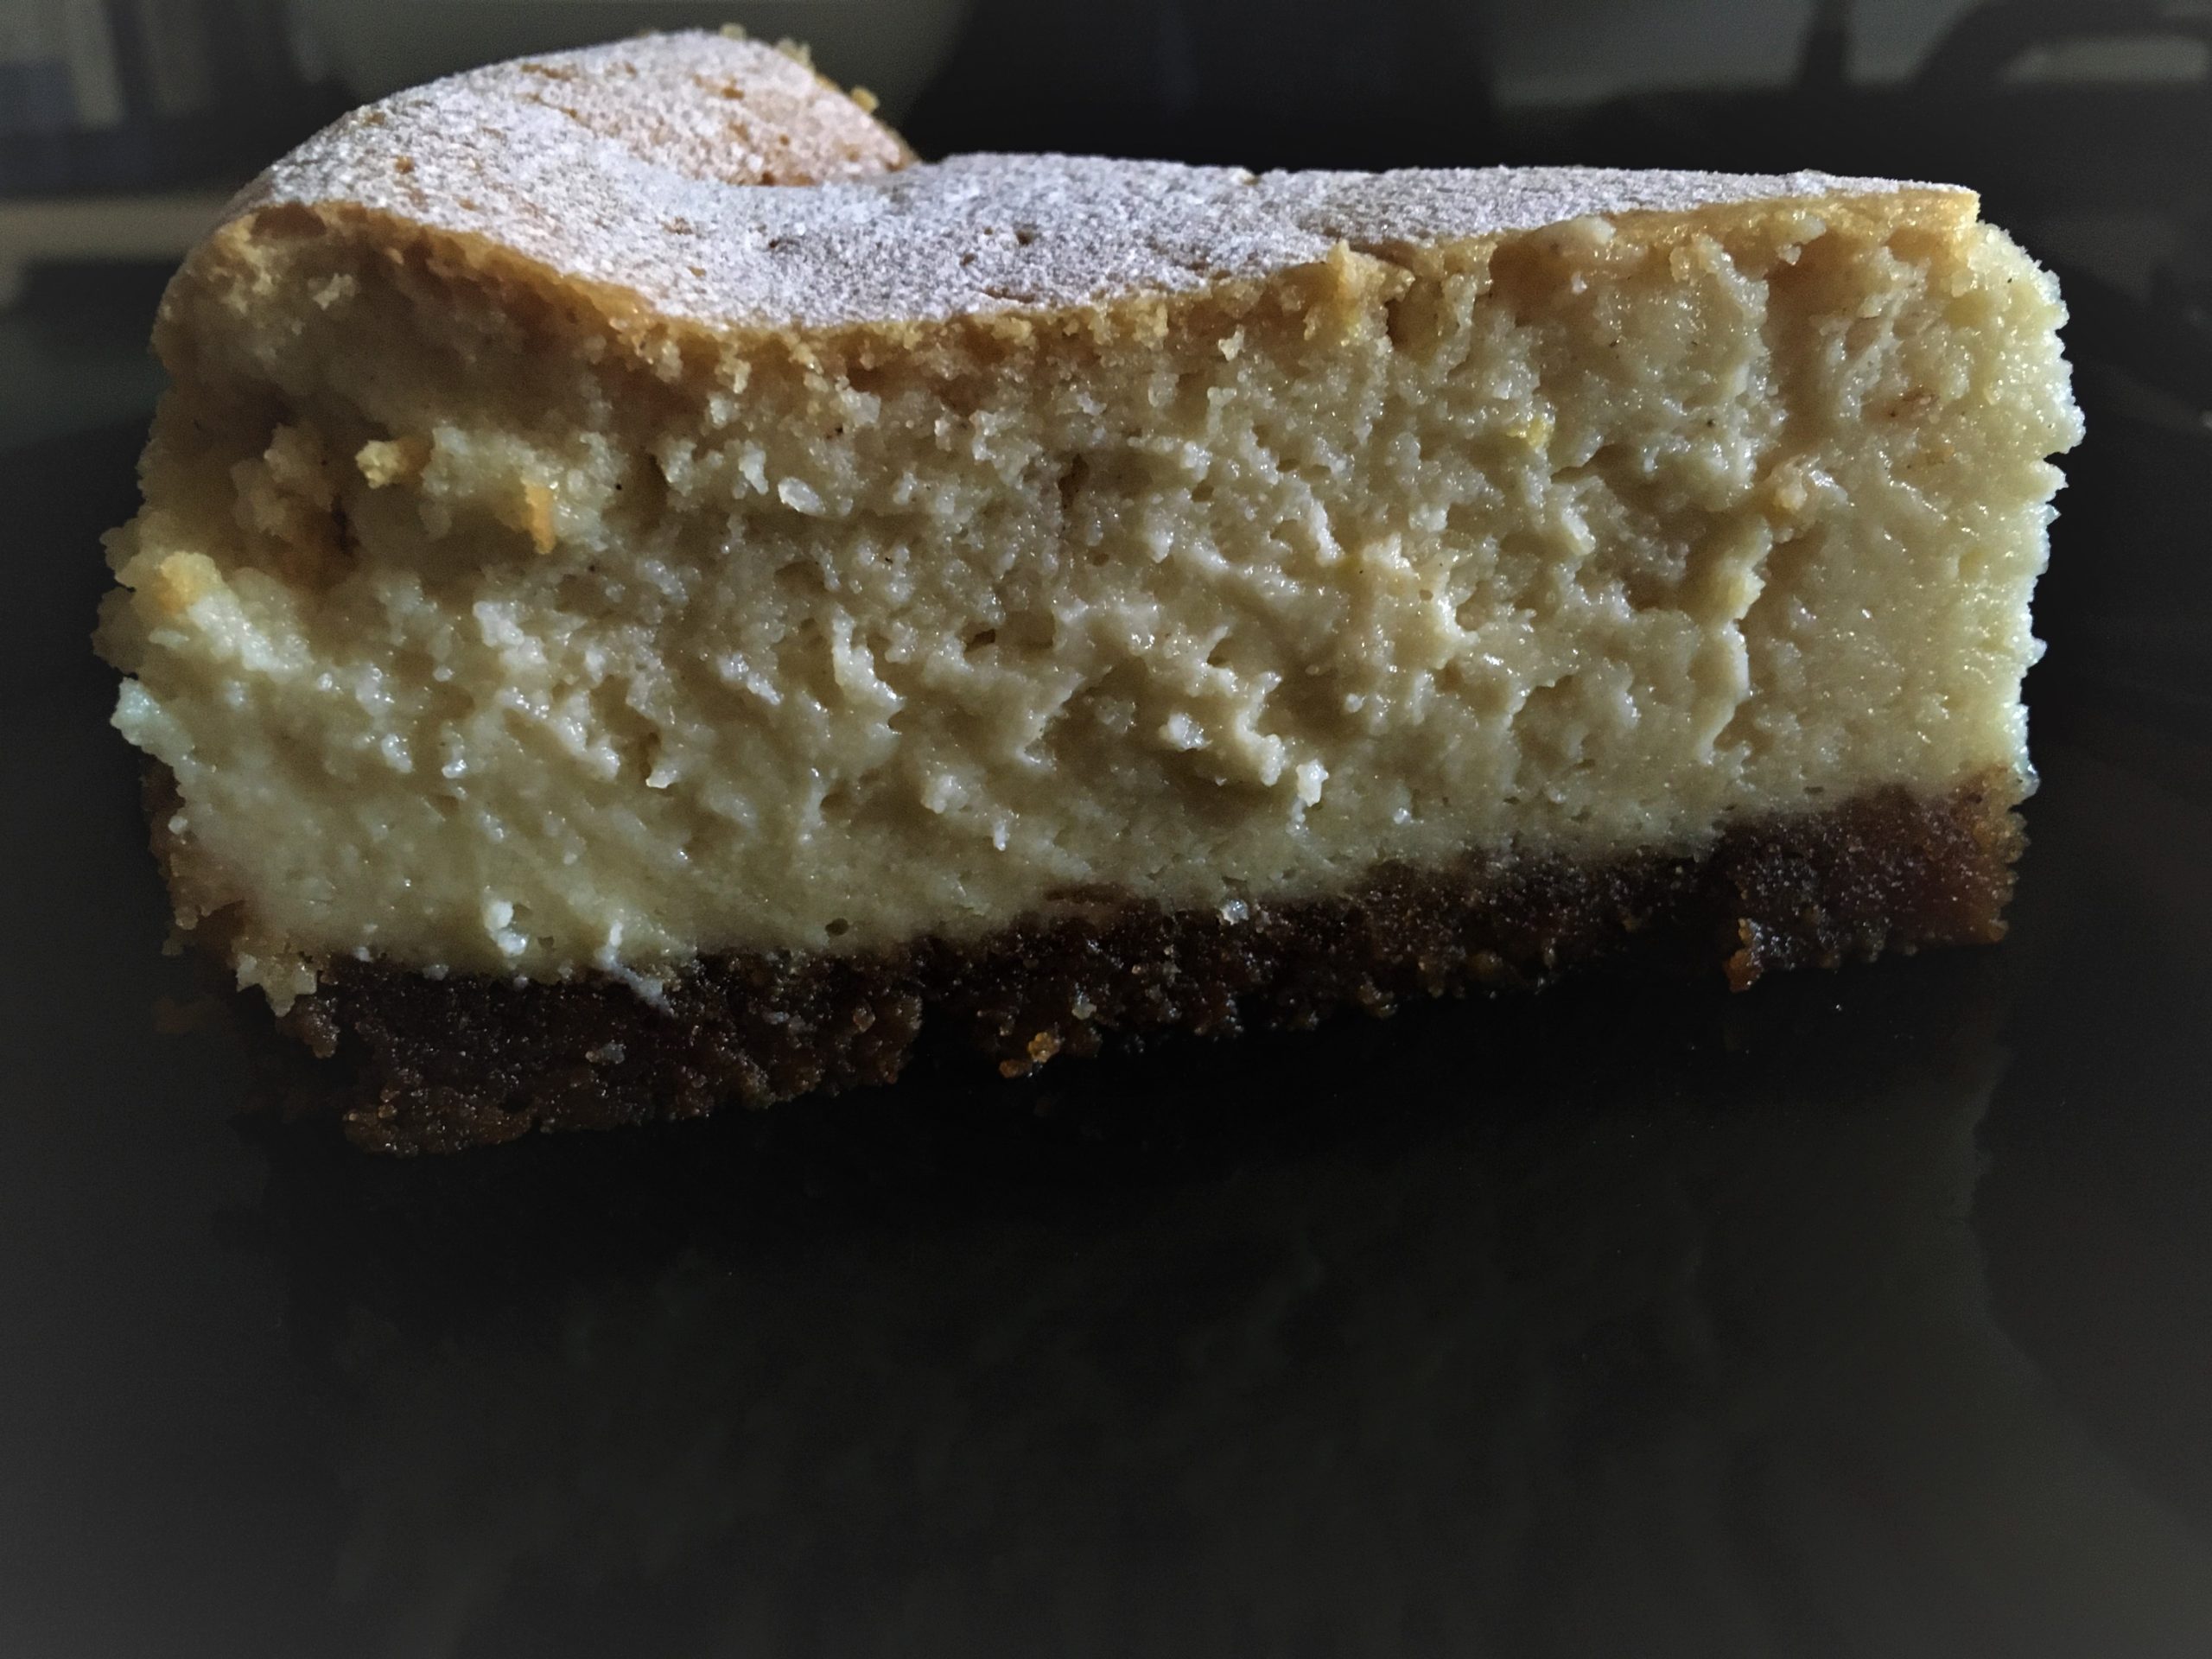
Salted Caramel Baked Cheesecake

I used to have a real problem with cheesecake – this essentially stemmed from too many encounters with the ridiculously sweet versions that lurk in the frozen food aisles.  They often used to turn-up at various summer events/or be wheeled out by a relative as the dessert option back when I was a kid. Despite an impressive ability to wolf-down a 10p mix-up of cola bottles etc, I just couldn’t take that much sickly sweet stuff in a spoonful. I’m also not a huge fan of really full fat creamy things; I struggle with  eclairs, will always scrape the cream layer off a trifle and will never put cream on any dessert (besides, drowning a dessert in cream ruins it). I digress.

Cheesecake and I weren’t getting on;  the 70s/80s didn’t do much for real food and the English were really into frozen things. Then, several years later, my own little confectionery epiphany took place when I bit the bullet and tried the baked variety in a trendy cafe.  This was a revelation. Enhancing the ingredients and baking a cheesecake takes the edge off the full fat element and the resulting texture is amazingly elegant and the flavours that bit more sophisticated. A baked cheesecake is the cheesecake 2.0. It’s frozen cheesecake’s sophisticated cousin. In fact, it’s actually pretty much a distant relative that doesn’t really share that much DNA with the supermarket frozen cheesecake.   I have, in the way that you do as you get older, become more enthusiastic towards the non-baked variety as well (notably different from the frozen aisle cheesecake) and in fact have been known to make my own. Rather like the old Marmite v Vegemite dispute but without wanting to encourage a new sort of Swiftian debate, there are those who will always argue for the no-bake cheesecake and those who stand firm with the baked cheesecake. The following recipe is essentially a base to which I added some salted caramel because I had some I needed to use-up. I like the possibilities that a blank canvas offers.  You can easily experiment with ways to enhance the standard cheesecake recipe:

  • tropical with a bit of coconut and lime
  • red berry with a hint of mint
  • rich black cherry soaked in kirsch
  • lemon and blueberry chocolate
  • coffee
  • or even something left of field like a touch of liquorice…

Makes: 1 cheesecake

Takes: c. 40 mins prep (+ 10 mins pre-cooking the base).

Bakes: 10 mins for the base at at 180C (GM4); then c. 1 hour as per instructions below; line the base and grease the sides of an 8” spring-form/loose-based tin – you need to be able remove the cheesecake from the tin, smoothly with a ta-da!

You will also need to let it rest for 2 hours then chill it for a few hours (ideally overnight) so bear that in mind timings-wise. But, it’s 100% worth the wait!


Ingredients for the caramel

  • 200g granulated sugar (this is the best sugar to use for sugar work in my experience)
  • 120ml cold water
  • 55g unsalted butter
  • 120ml double cream
  • 1 tsp salt

Method for the caramel

Put the sugar and water into a medium sized pan and cook over a low heat until the sugar has completely dissolved. This will take up to 5 minutes. It is crucial that all the sugar has dissolved.

Then add the butter and let it melt into the mixture. Then, when melted, turn the heat up to a boil and continue to boil for 10-15 minutes until the mix turns a golden-copper colour. It will bubble a lot. Don’t panic. Keep an eye on it but don’t stir the mix. Jiggle the pan a bit if needed to ensure it’s cooking evenly but don’t stir it.

When it’s reached the optimum colour remove from the heat and pout in the cream whisking it in as you go. Give it a good mix to combine thoroughly then add the salt. It will still be quite thin at this point but it will thicken as it cools. Any that you don’t use in this recipe can be kept (covered) in the fridge for up to two weeks and it’s great for pimping-up all sorts of things.


For the buttery biscuit base

  • 140g sweet biscuits (smashed up into fairly fine crumbs but still retaining some texture). I used a combo of ginger nuts and amaretti as this is what I had in the cupboard at the time but digestives are always good for this; you can also chuck in some chopped nuts too.
  • 85g butter
  • 1 tsp cinnamon
  • 1 tblsp golden caster sugar

(I like to chuck all sorts of things into bases – recommend maybe lemon zest/chopped thyme etc)

Method

Melt the butter in a pan and stir in the biscuit crumbs and sugar so that the mix is evenly combined. Pop this into the bottom of your tin and press it down so it’s tight and level. Pop into the oven for 10 mins. When cooked, leave to cool and harden while you prep the filling.


For the filling

  • c. 900g full fat cream cheese (eg. Philadelphia is the standard but there are plenty of options in the shops – must be plain though – don’t get one with herbs and garlic!)
  • 250g golden caster sugar
  • 3 tblsp plain flour
  • pinch of salt
  • 1&1/2 tsp vanilla extract
  • grated zest of 1 lemon (finely grated)
  • 3 large eggs + 1 yolk
  • 200ml soured cream
  • c. 100g salted caramel (see above)

Method

Firstly, turn the oven up to 200C (GM7)

Put the cheese in a large bowl and cream for about 2 minutes until smooth. Next beat in the sugar, then the flour and salt. Followed by the vanilla and lemon zest. Beating all the time to ensure it’s all combined. Gradually beat in the eggs (and yolk). Then stir in the salted caramel and finally stir in the soured cream giving the whole thing a good whisk. Don’t over work it though; you want a smooth light batter.

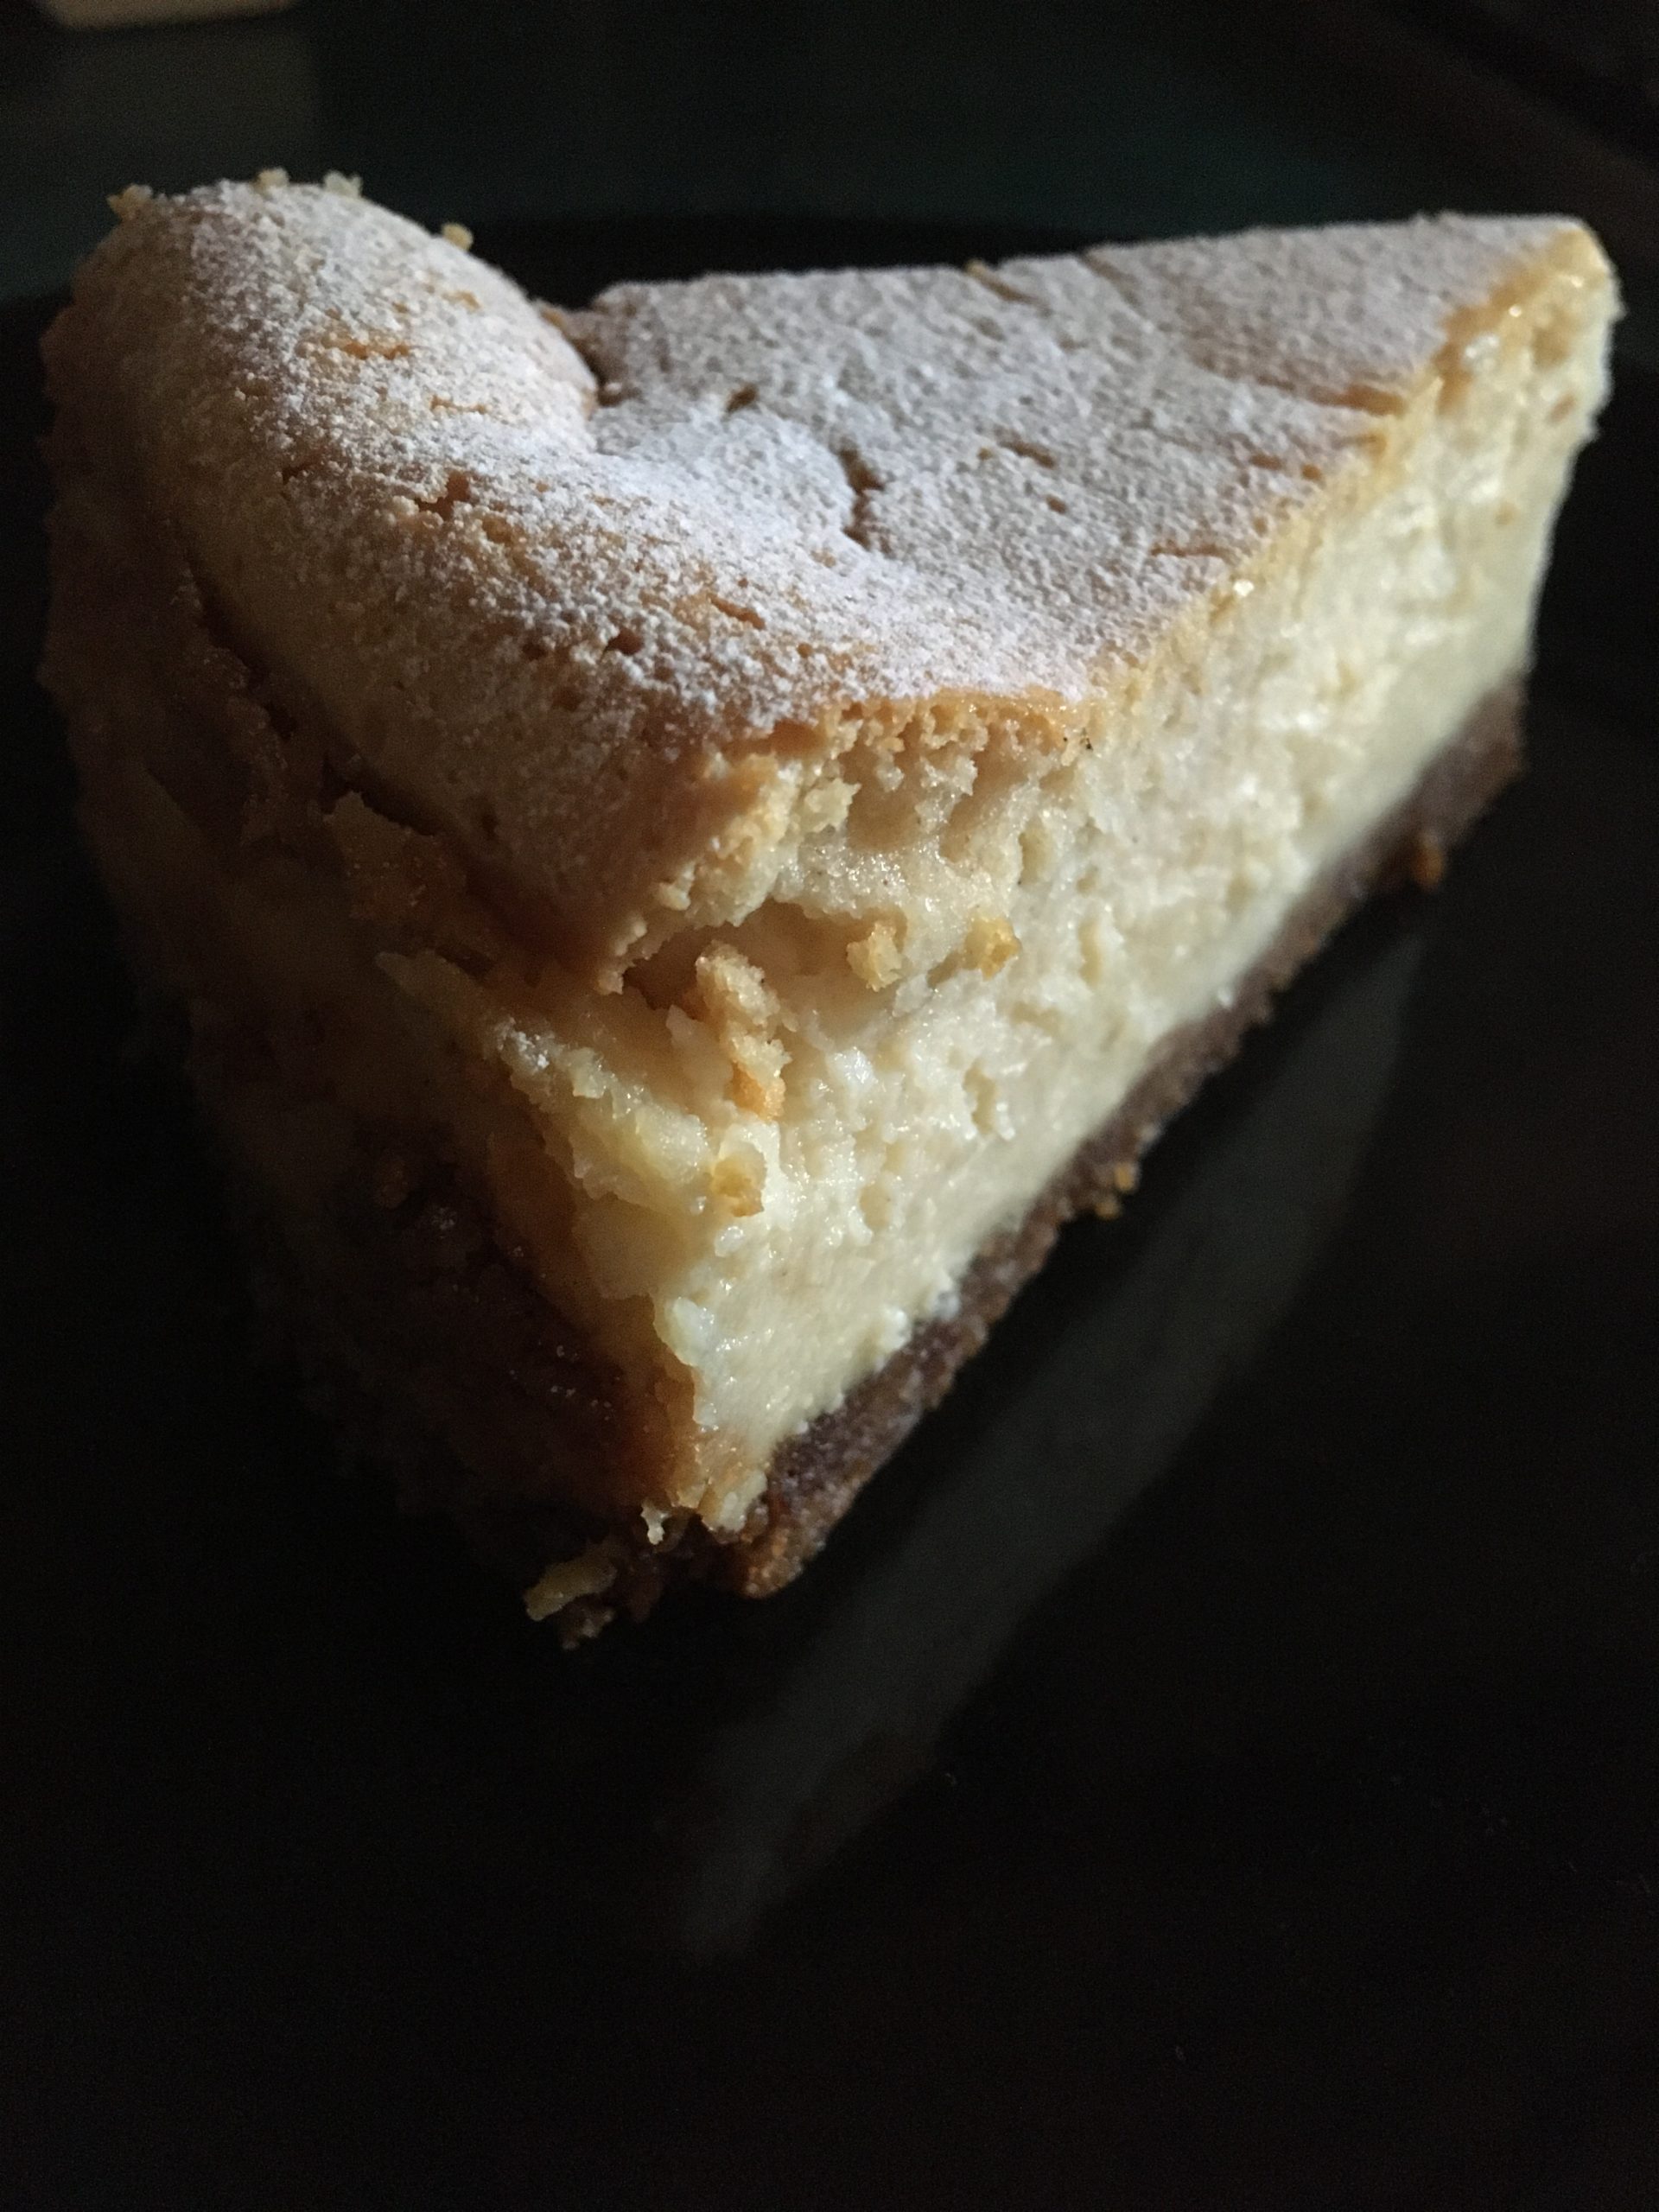
Pour this into the tin and pop into the oven for 10 minutes. After 10 minutes, reduce the heat to 100C (GM1) and bake for a further 50 minutes. The cake will be cooked by the following signs:

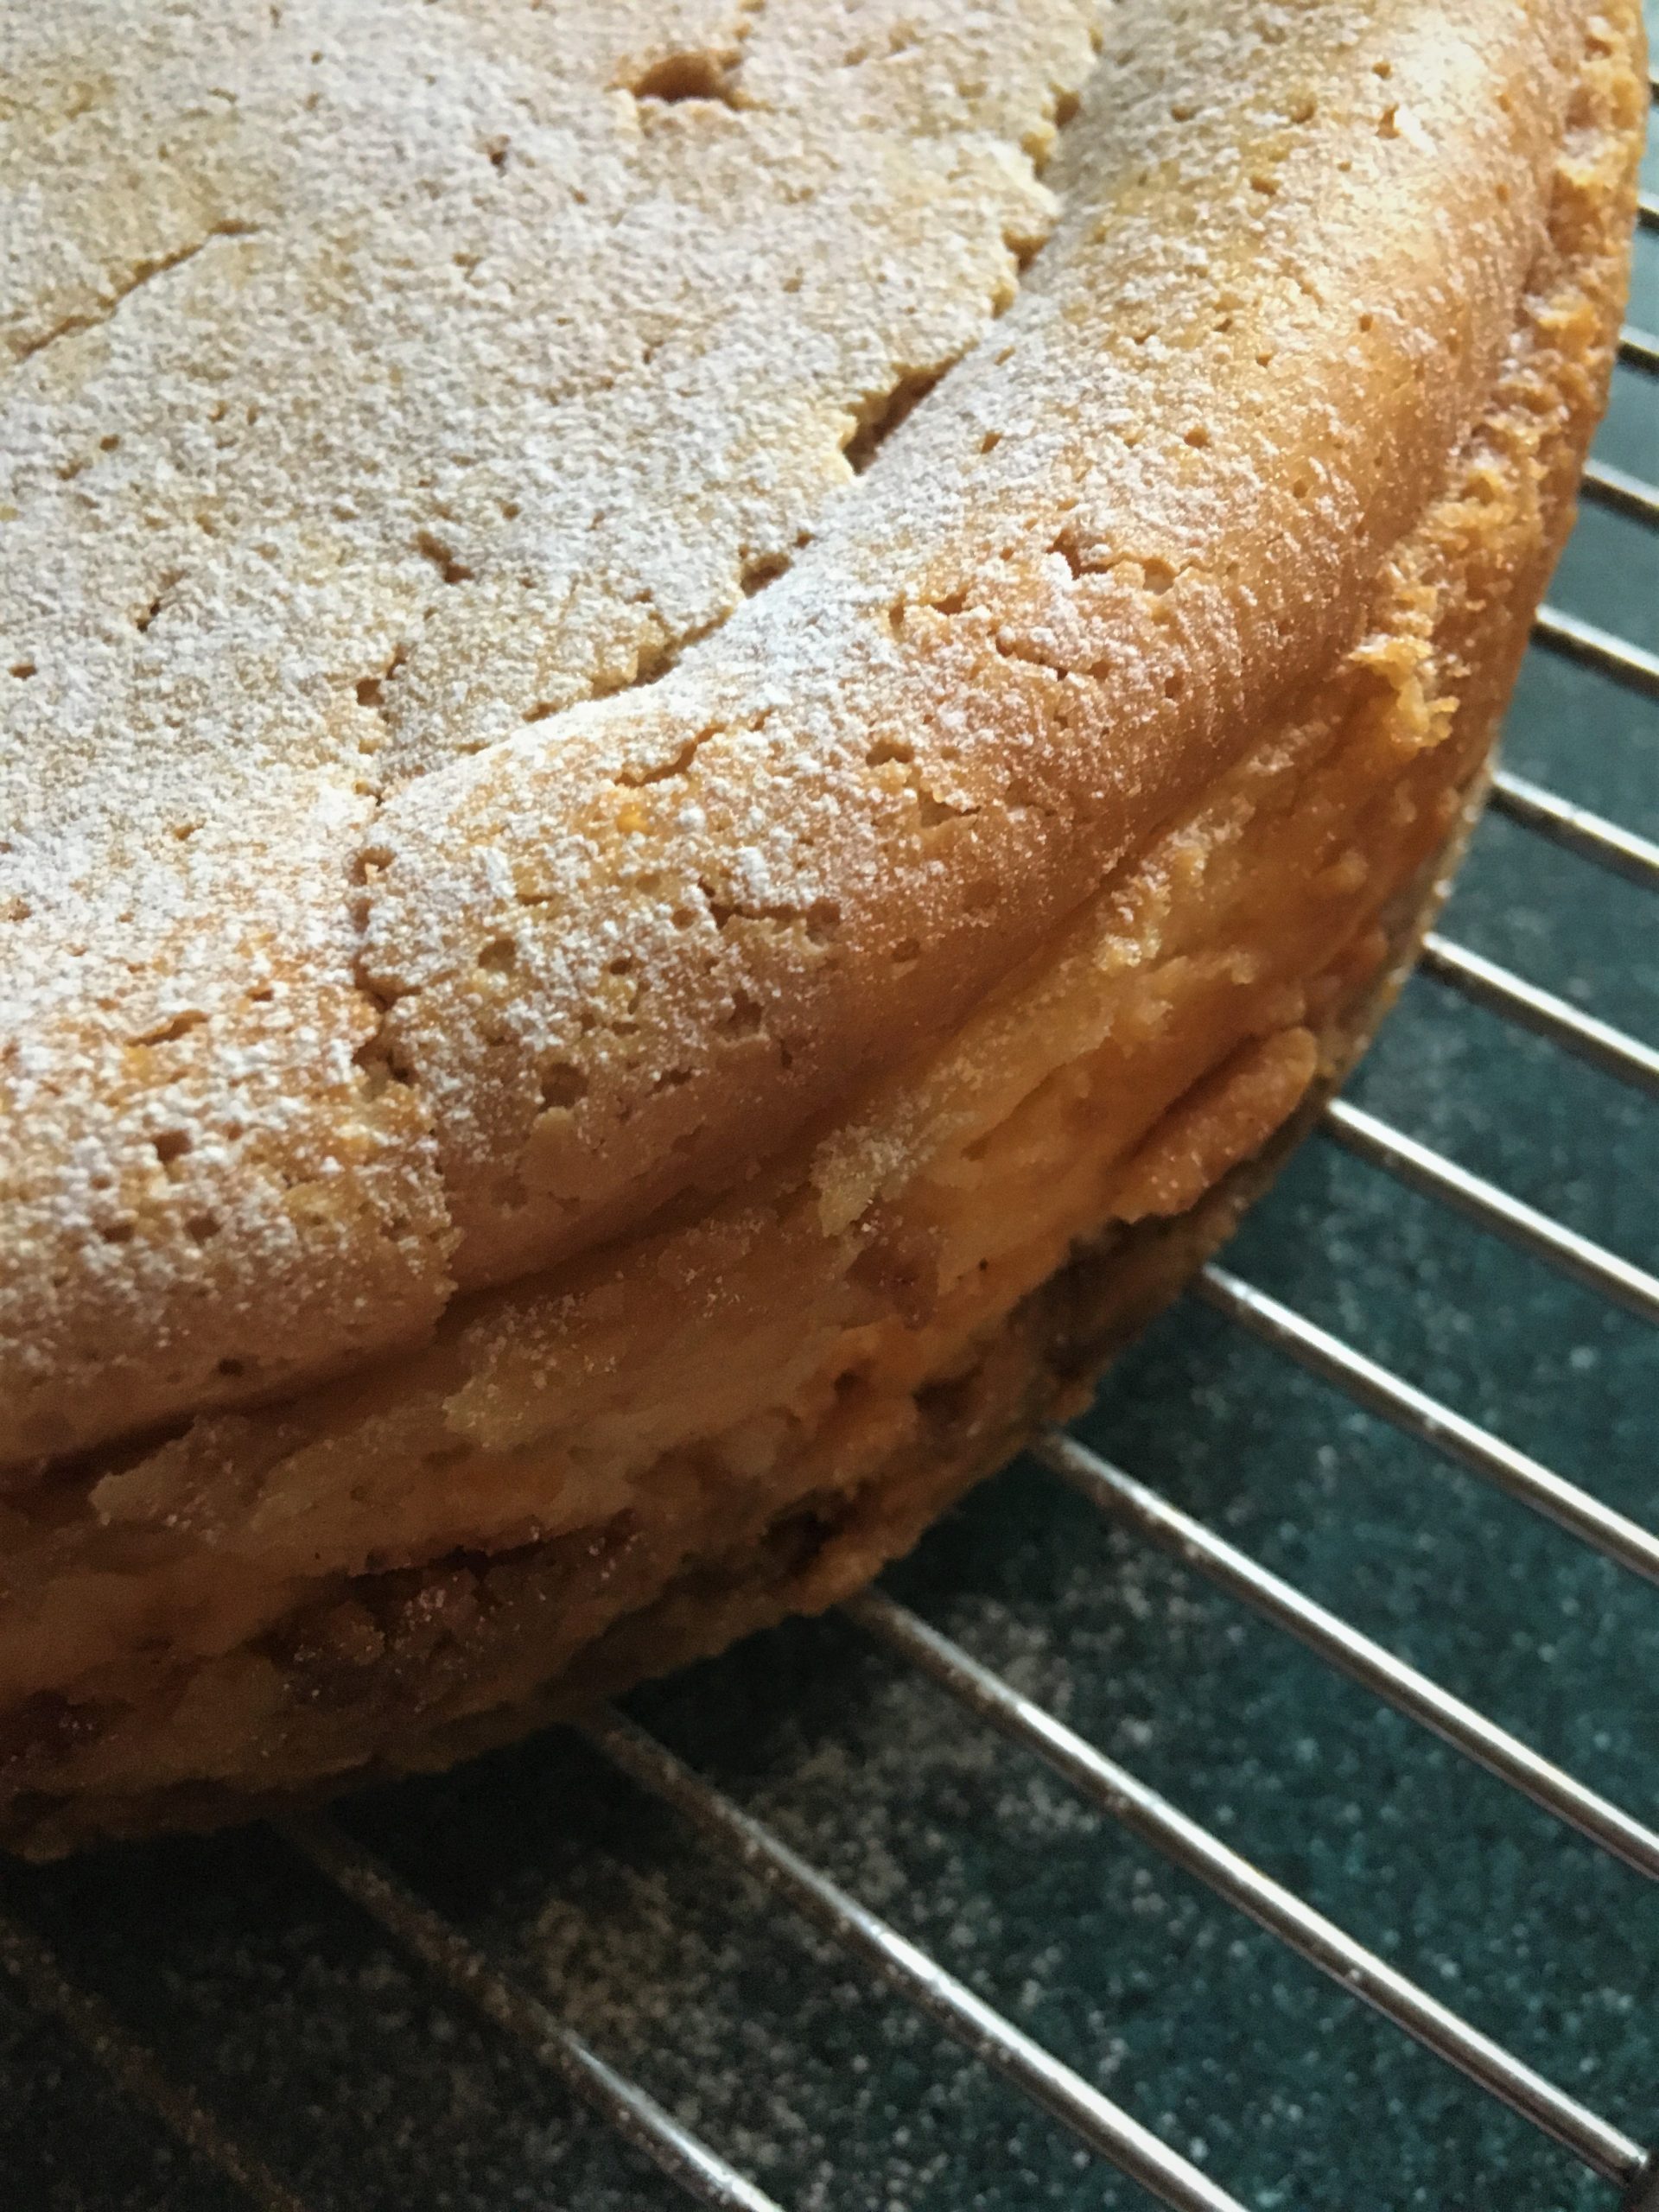
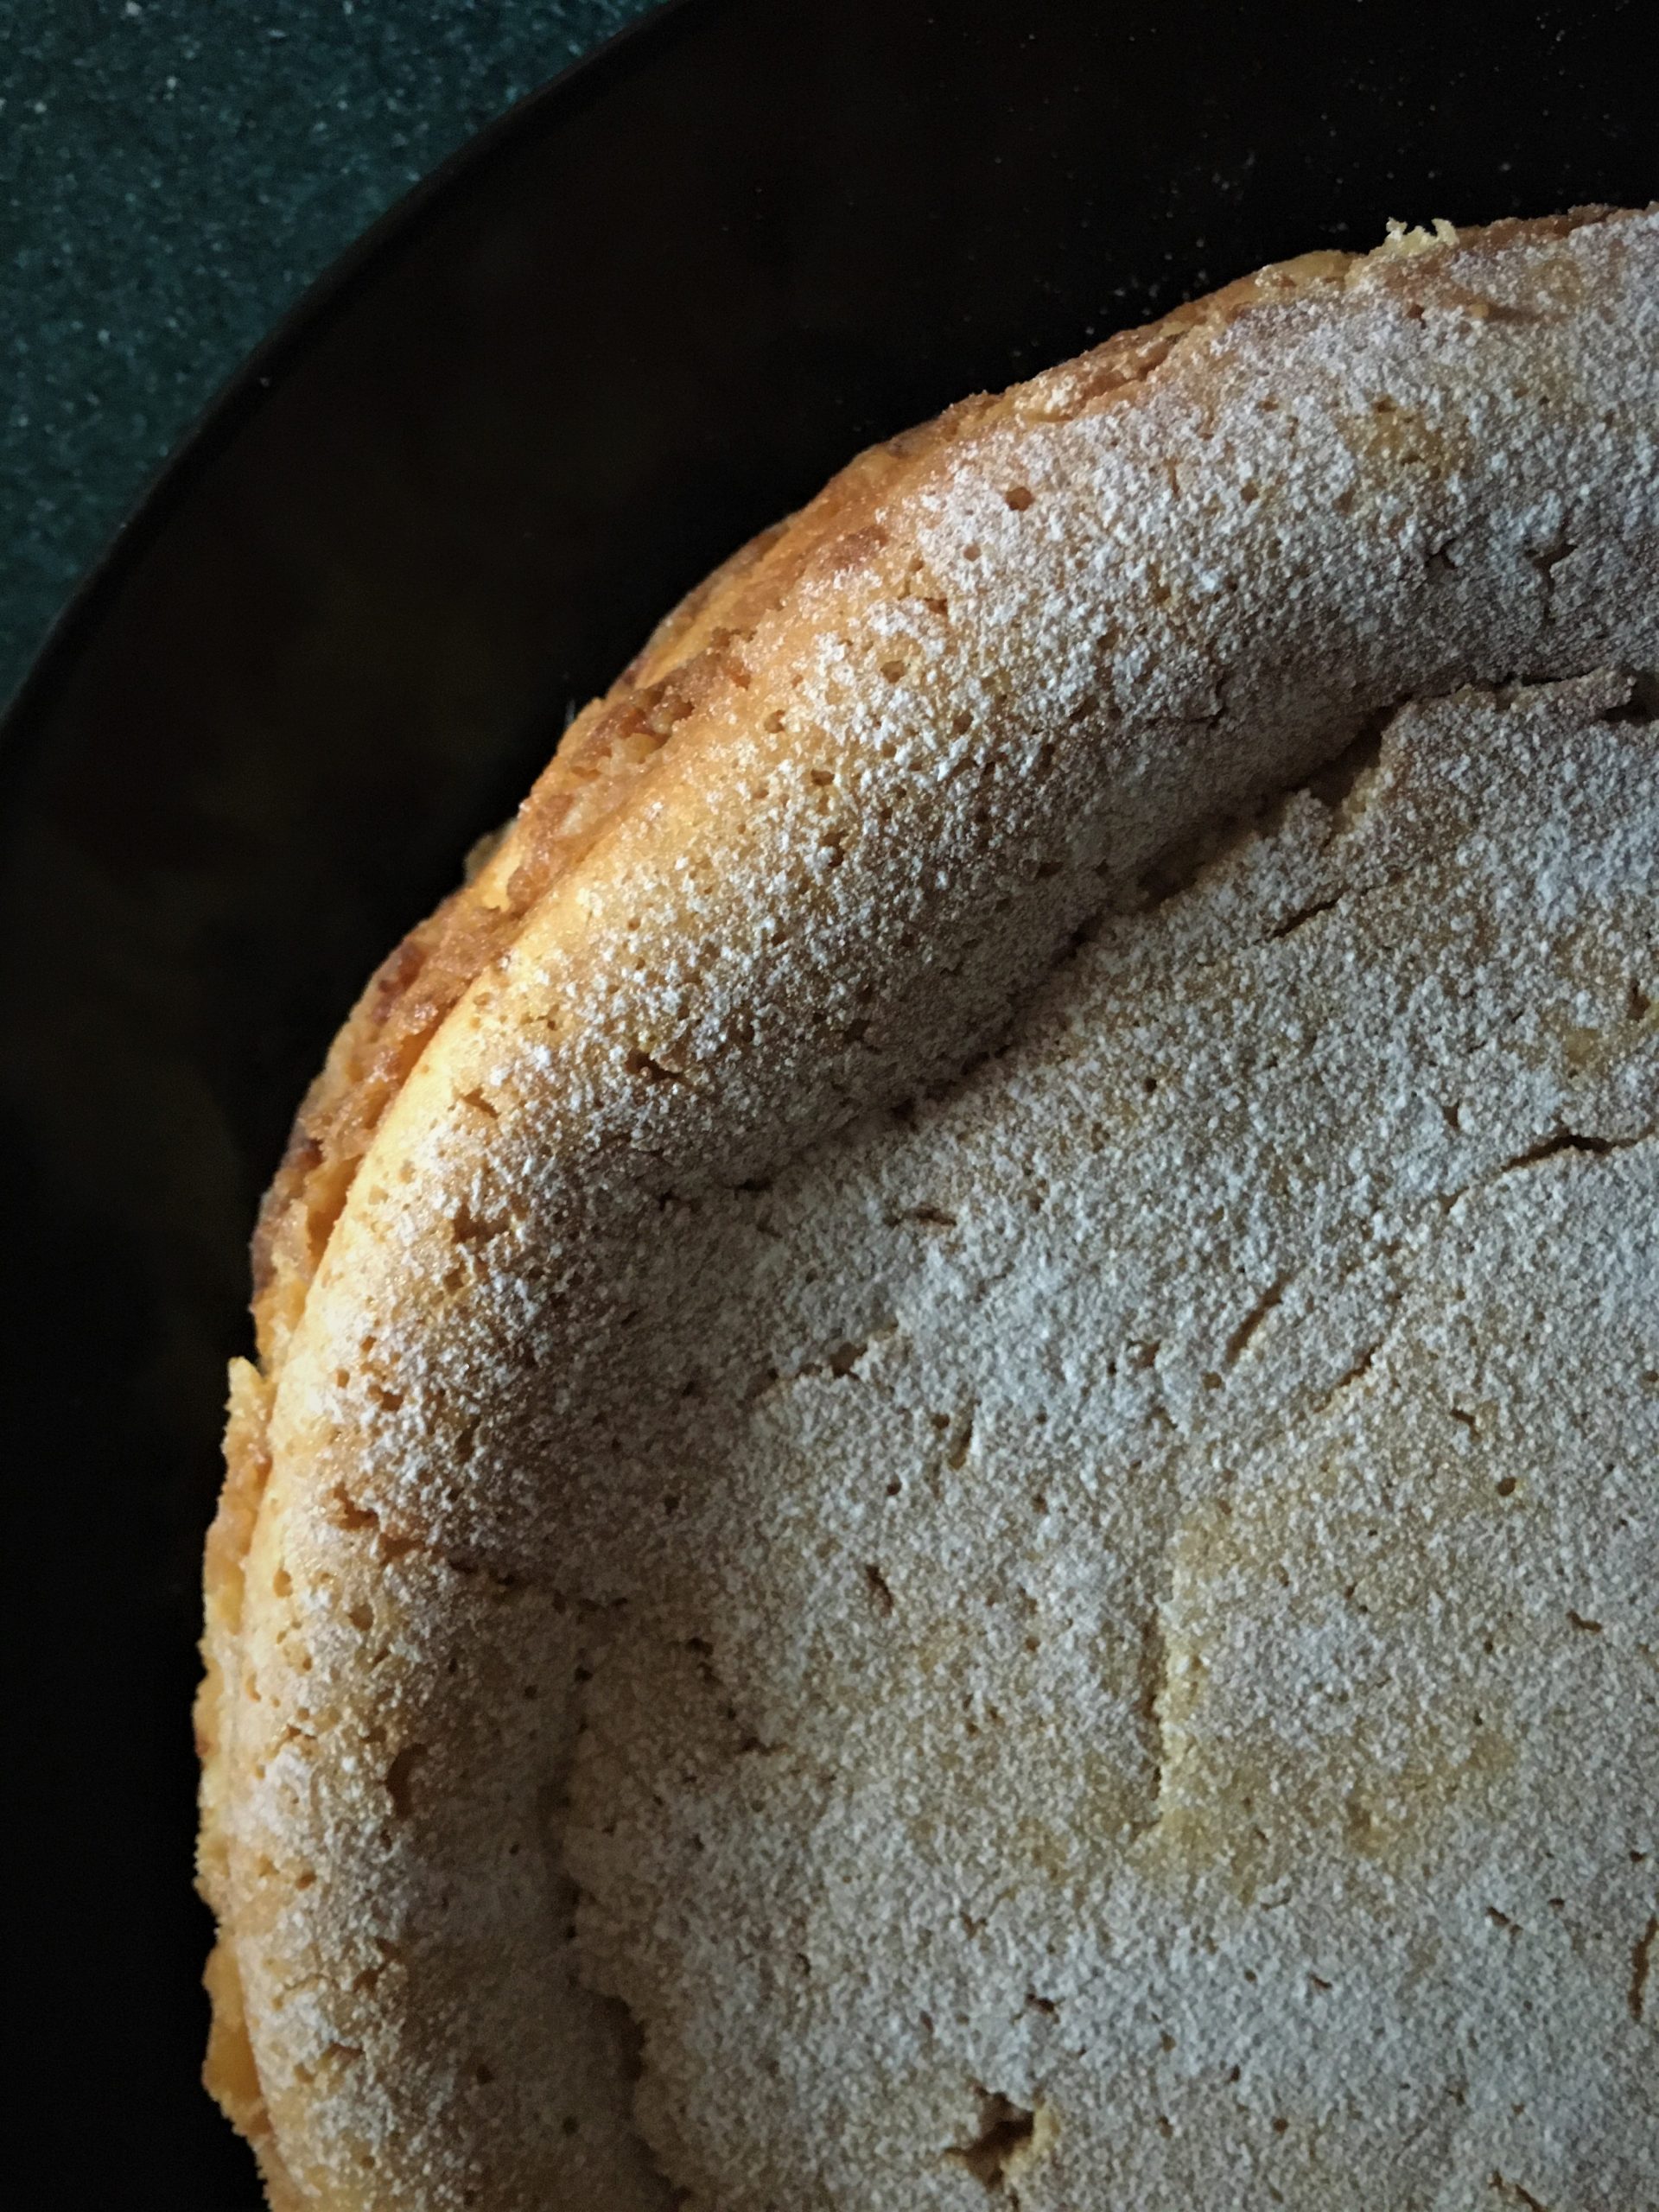
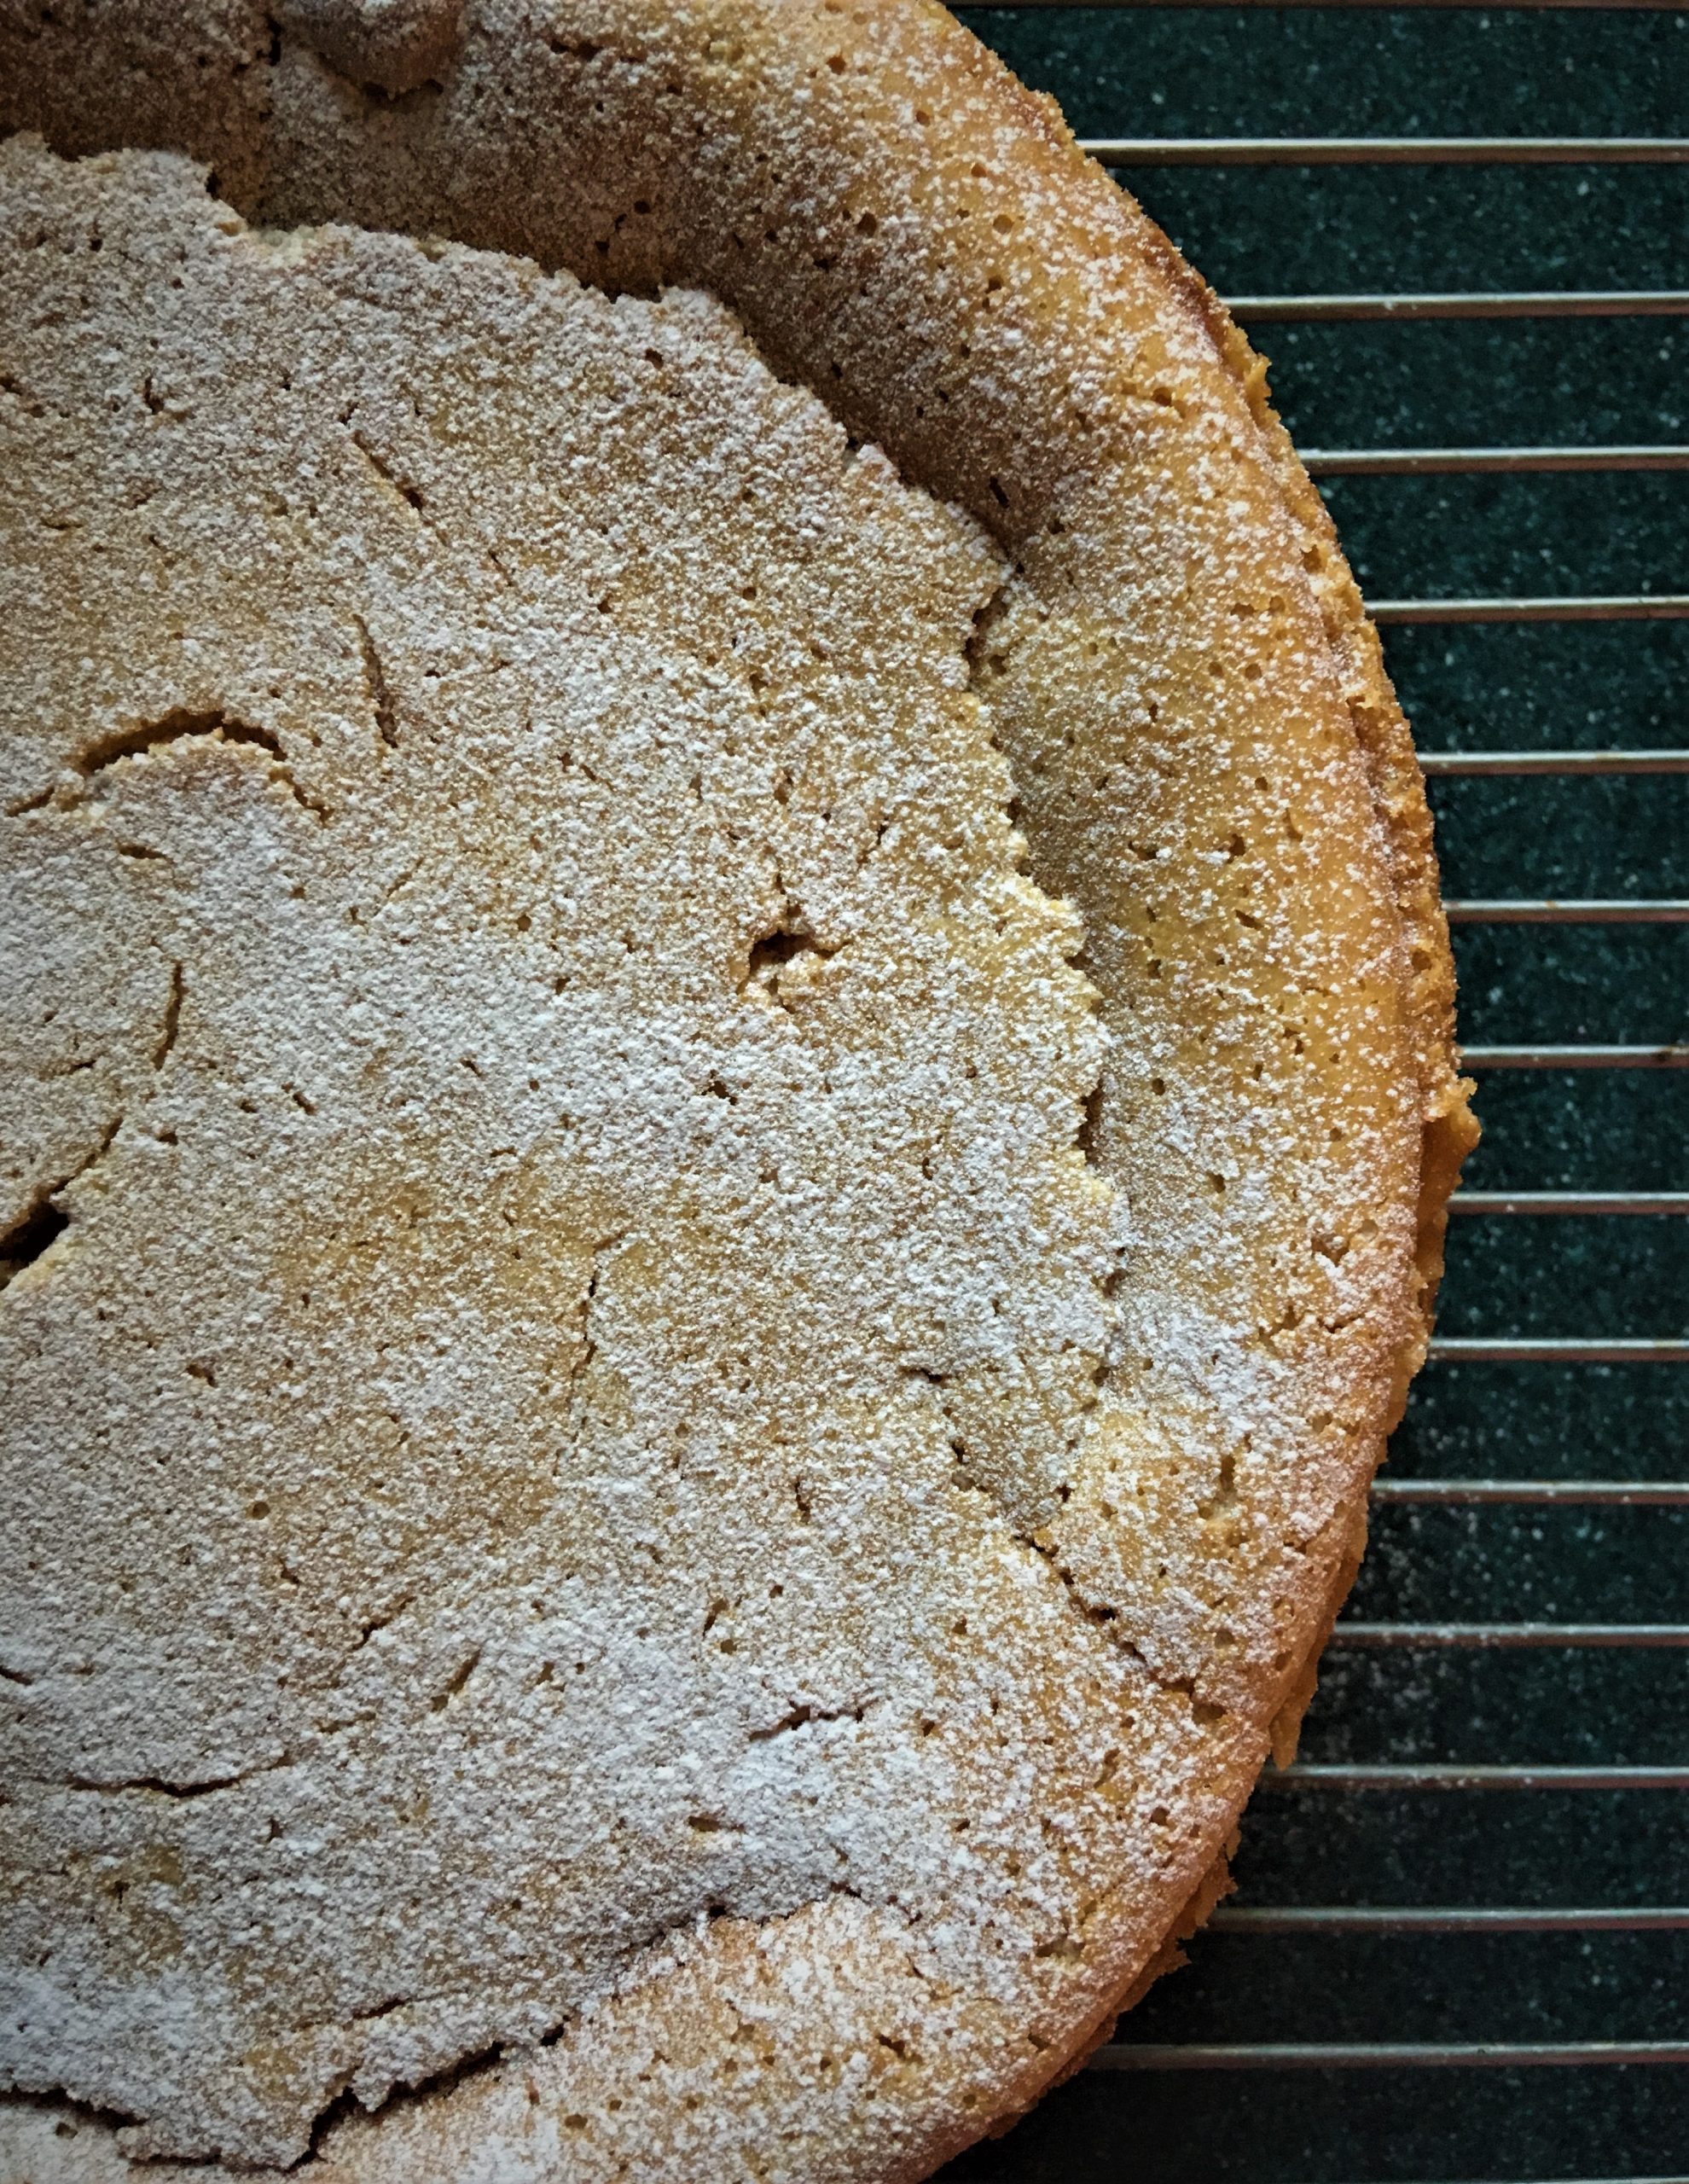
  • the top will be a golden yellow and will be springy to touch;
  • it will have cracked a bit; and
  • there will be a slight wobble in the centre still when you shake the tin.

If too wobbly cook for a little longer. Then when cooked. Turn off the heat and leave to cool/set in the oven for a further 2 hours.

Finally, cover with foil and chill it overnight. If you are feeling brave you can remove it from the tin before chilling but if not, wait until the following day and carefully loosen around the edges with a knife and remove from the tin (depending whether it’s a loose-based tin/spring-form) – it should come away perfectly.

Transfer to a plate and dust with a little icing sugar.

Total winner. Also, lovely with fresh berries to top it off.

Comments

Hit me up with any variations you've got for these ingredients.

Leave a Comment