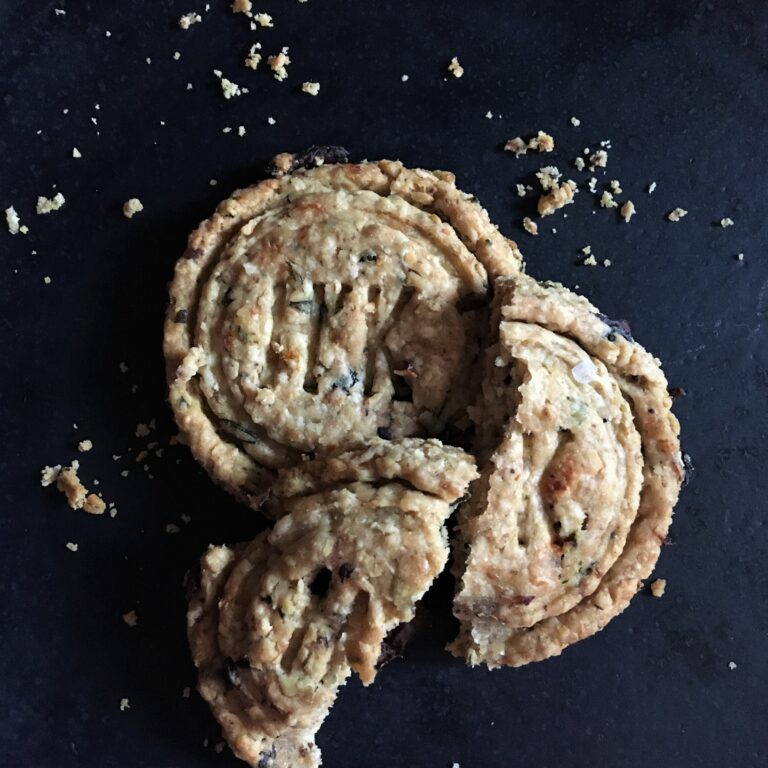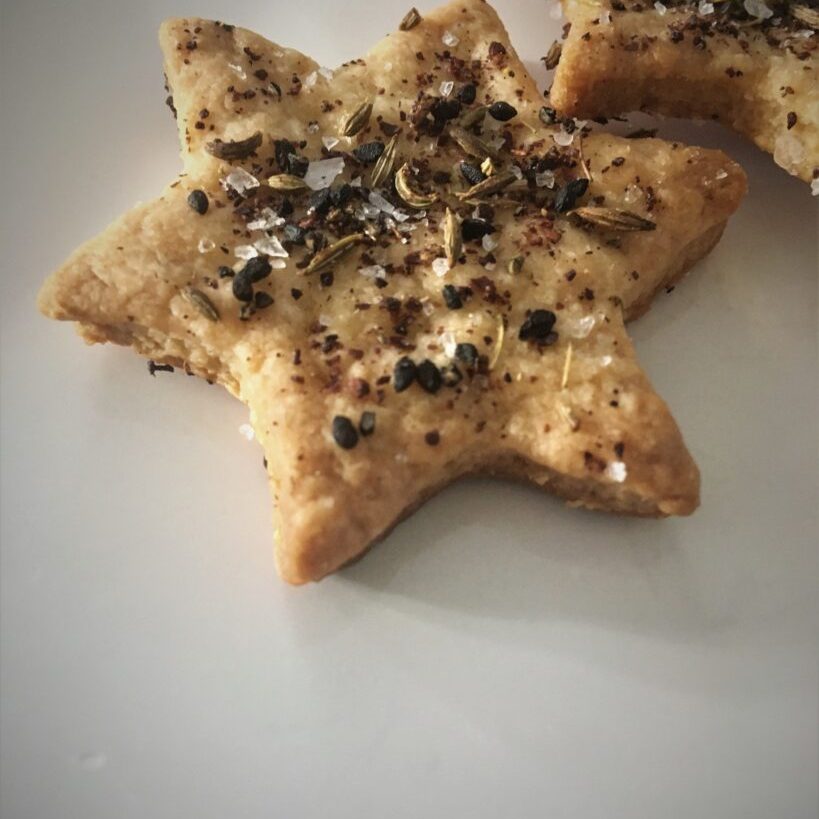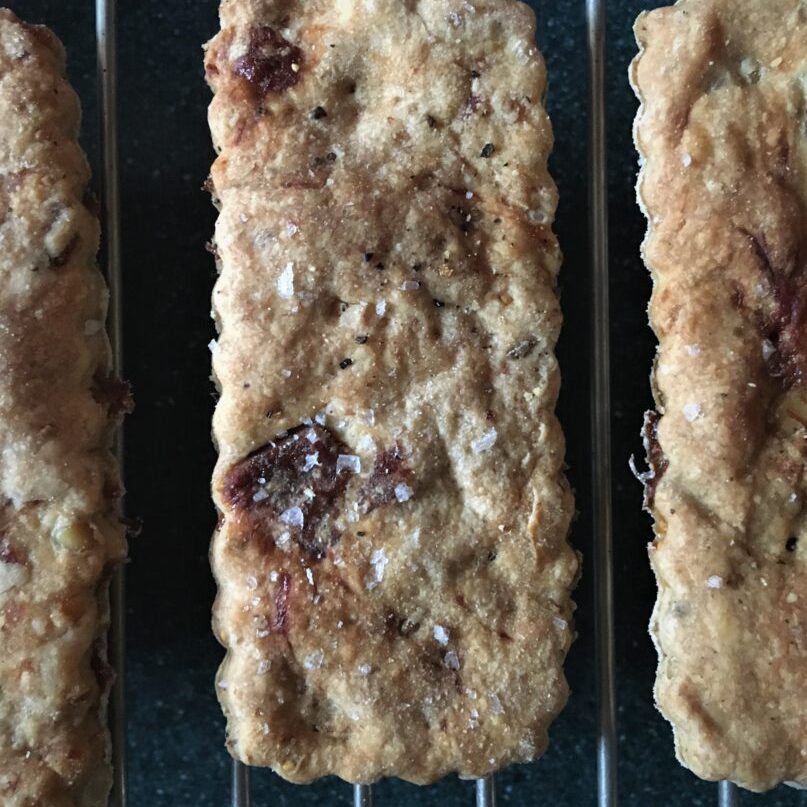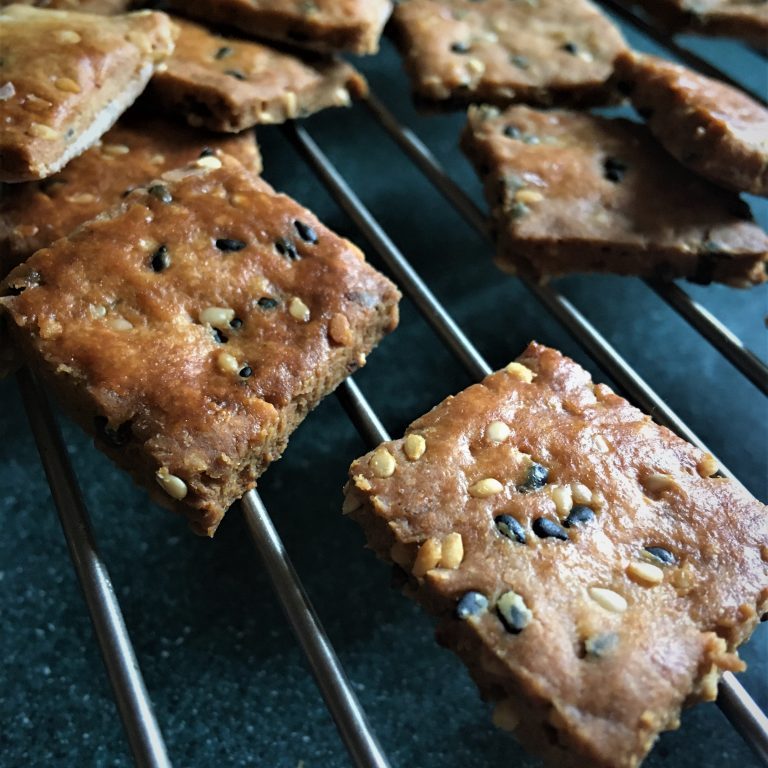
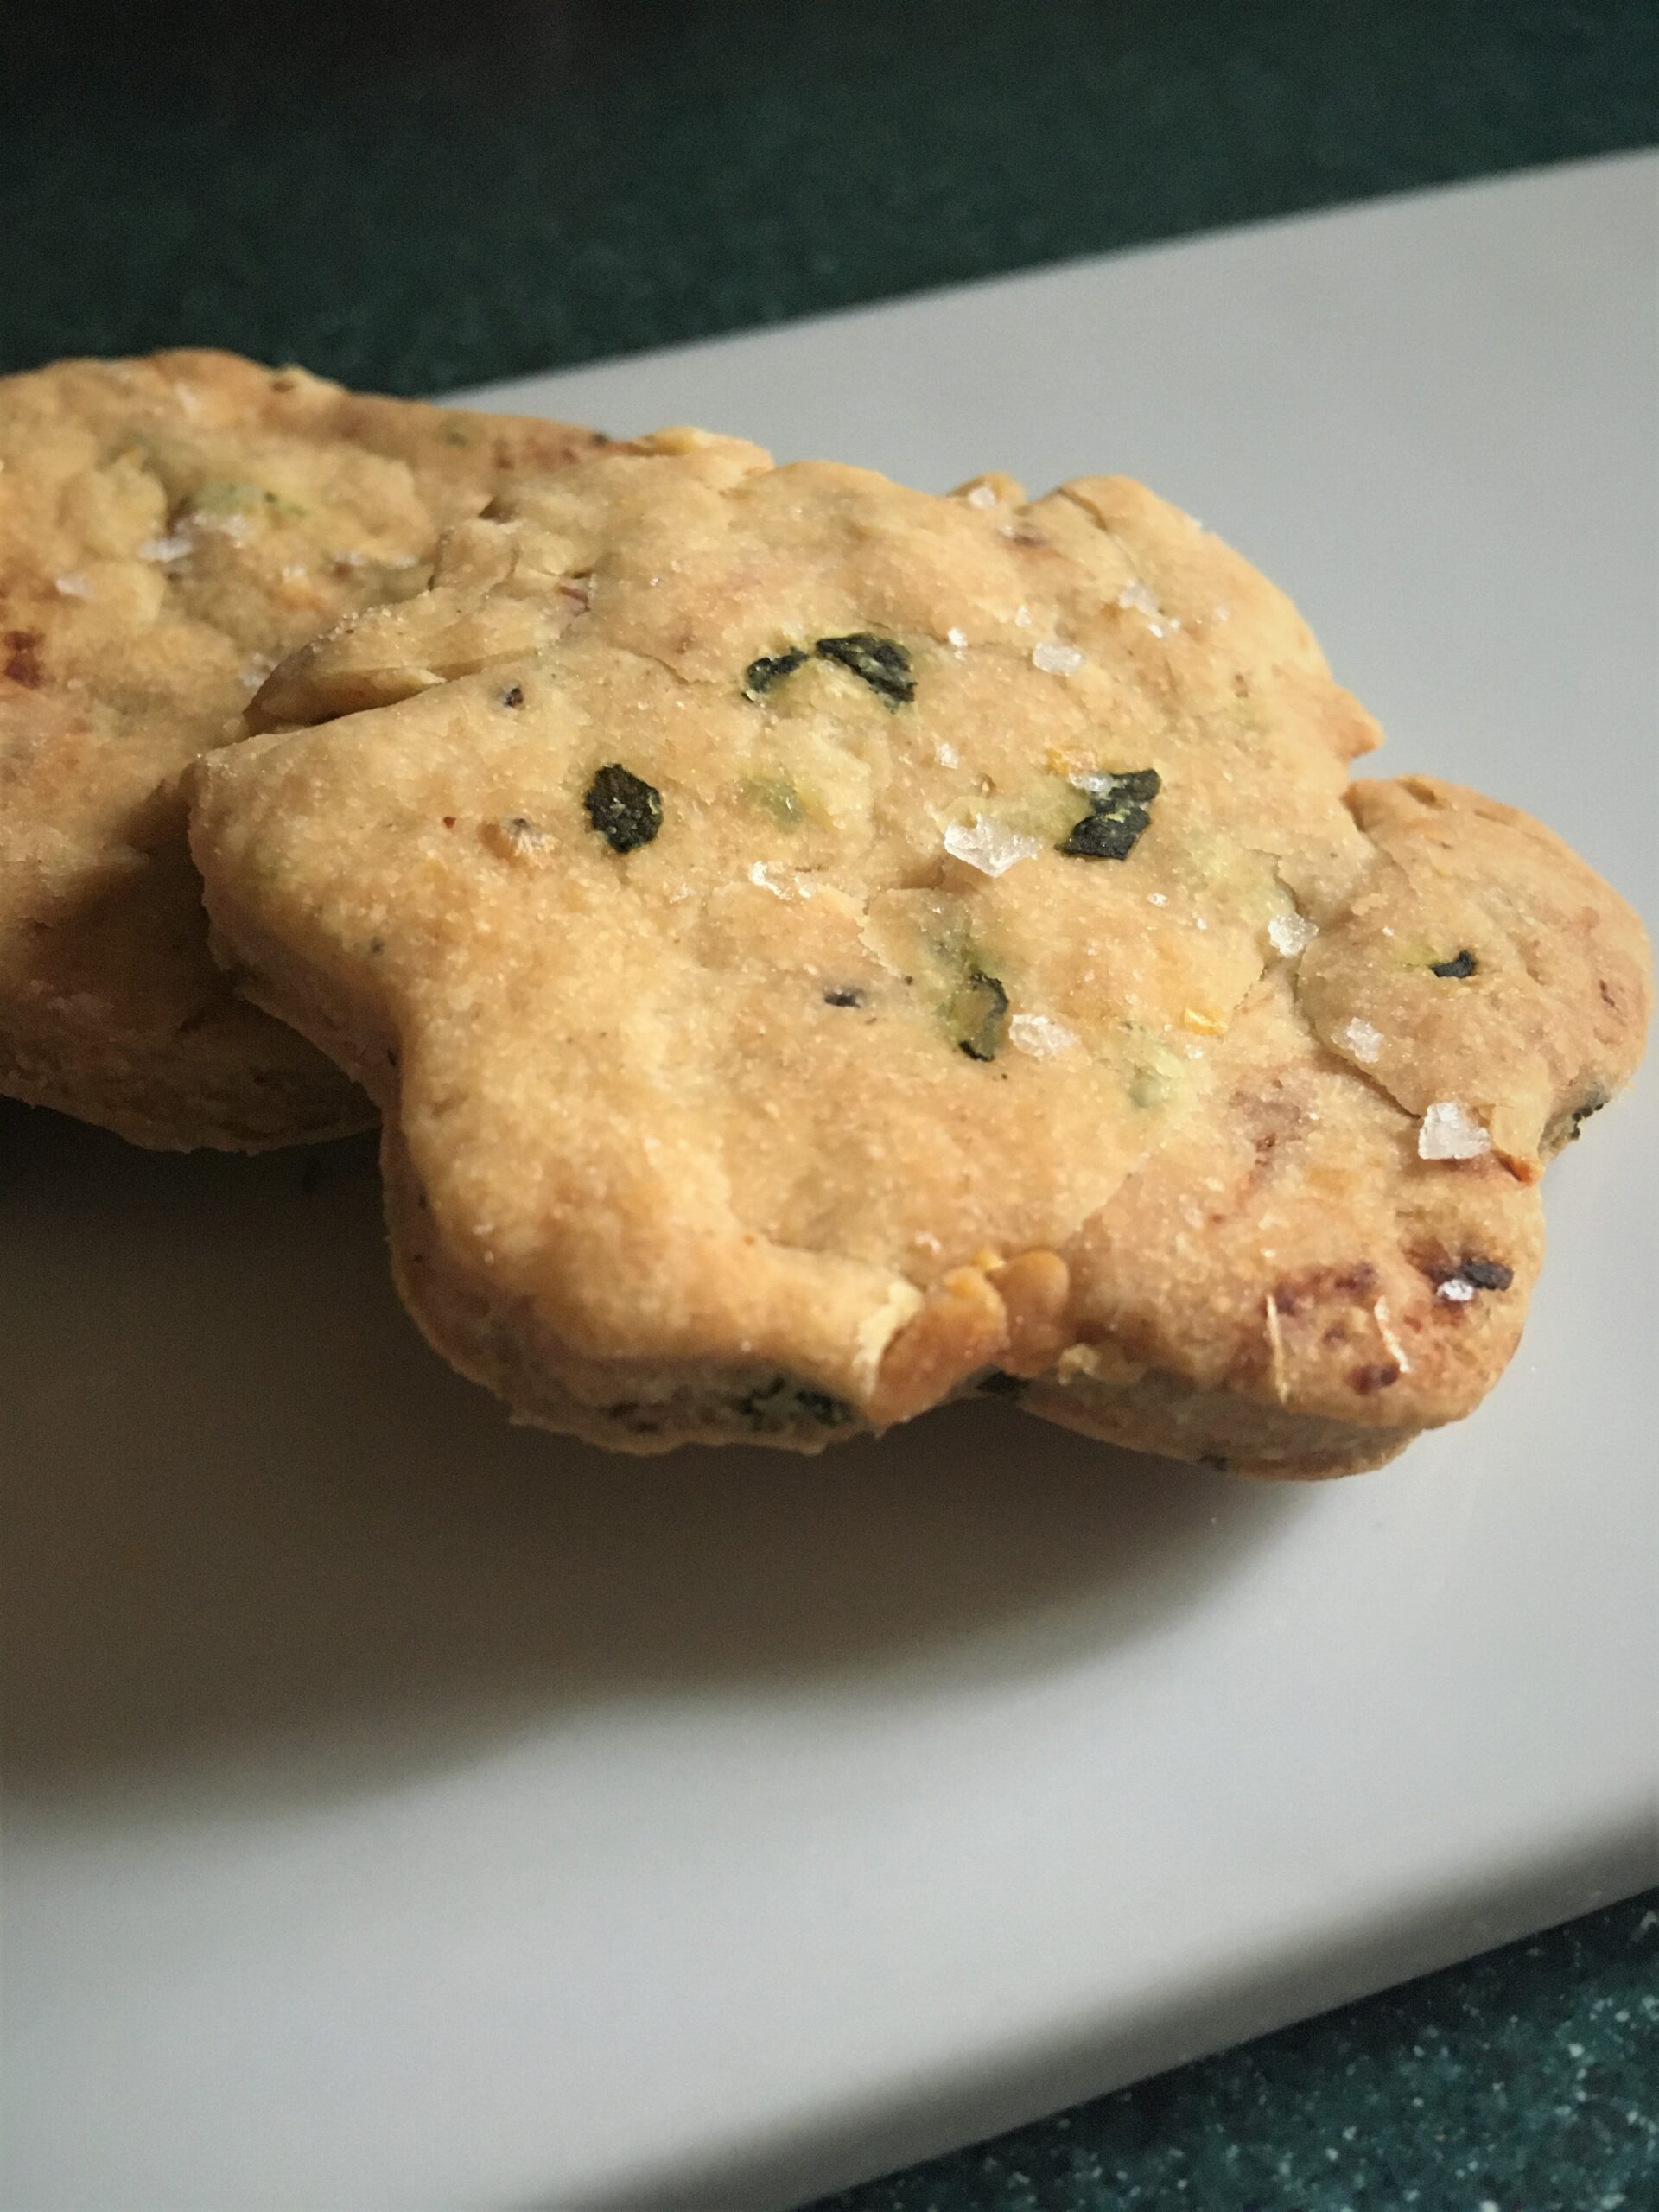
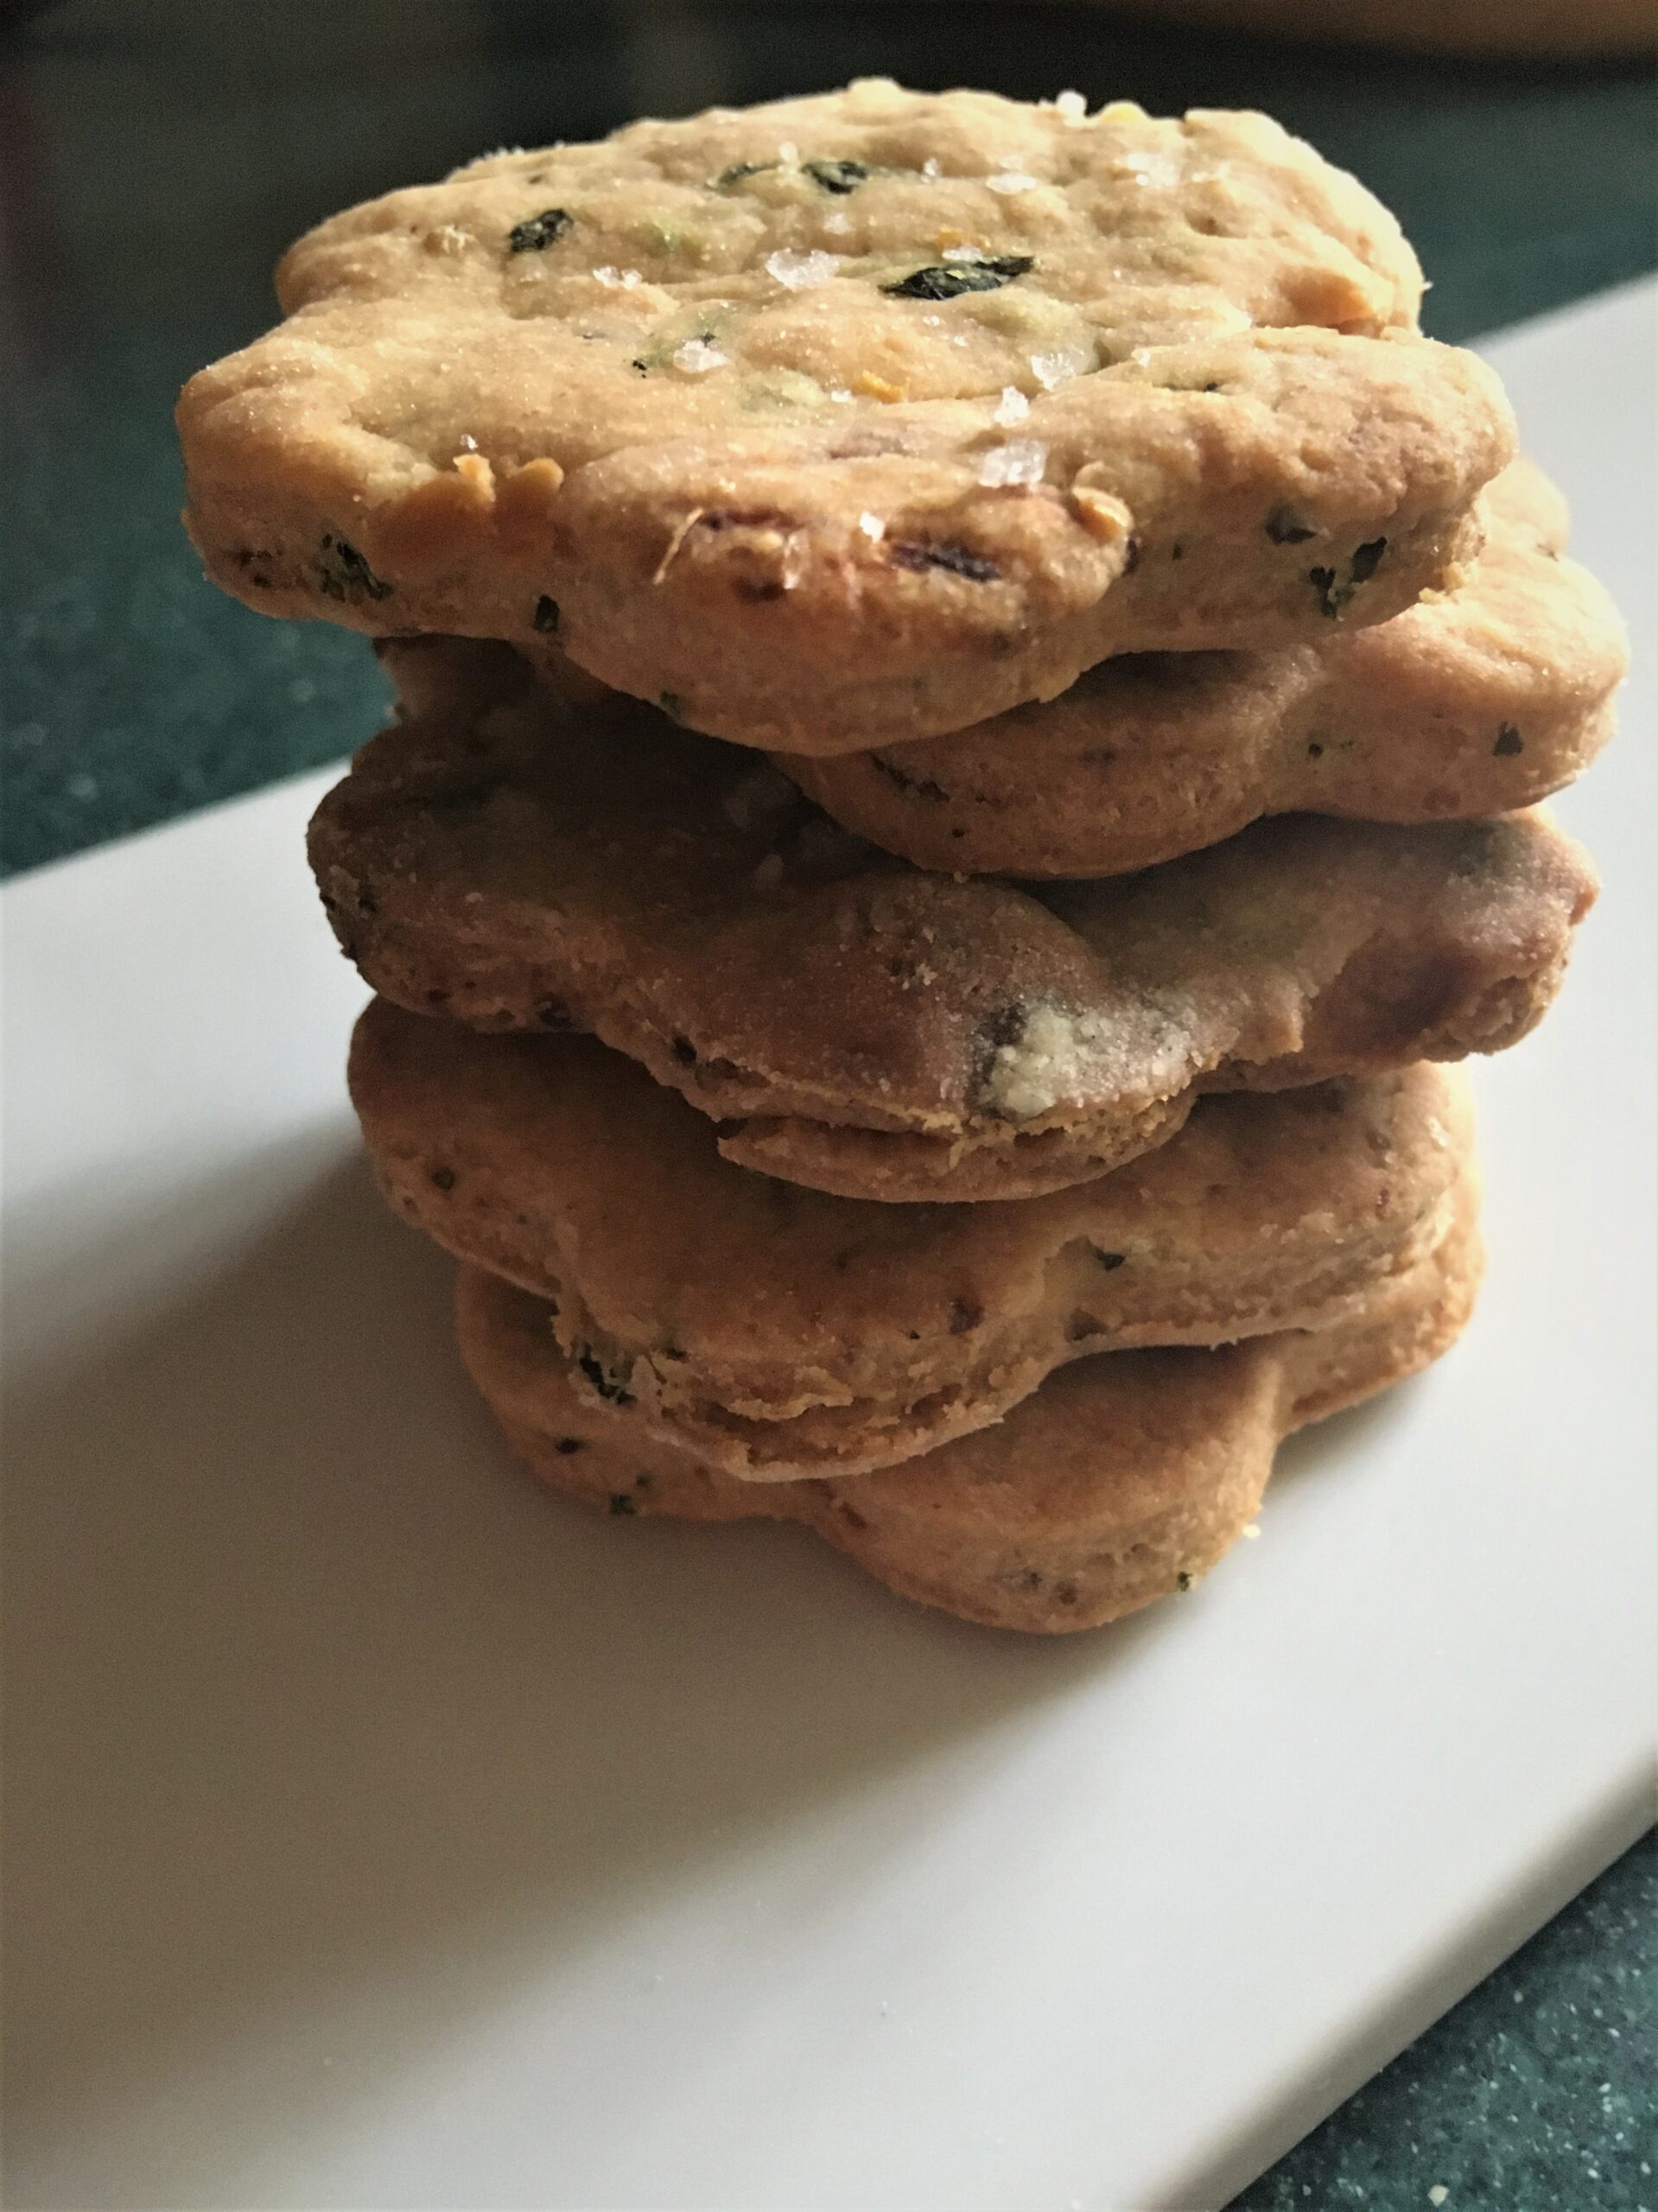
Anchovy crackers with lemon & basil

More savoury biscuits.  I find I’m riffing on a bit of a theme lately stemming from a deep need for some sunshine and ideally a bit of Mediterranean love.  So I’m quite literally feeding my soul here.  Last time it was olive and rosemary; this time, it’s anchovy, basil and lemon.  I’ve said it before and I’ll say it again, but crackers are overpriced plus there’s way too much fancy packaging that contributes to the tariff.  Scan the shelves, get some ideas, make your own (a bit like going window shopping then sourcing your prize cheaper online ?).  Plus, they are actually super easy to make and are a good way of using-up things like basil/soured cream, the odd few pine nuts, a half-used tin of anchovies…  You can mix up the dough in under 10 mins (and it can be made the day or two days before), a quick roll and cut, bung them in the oven and you’re done.  I’m loving these ones a lot and one of the best things about them is the aroma as they are baking.  It’s like walking past a trattoria; and, given it’s unseasonably cold right now, walking near the oven gives you a quick blast of heat so for a second you can pretend you are standing in the sunshine in Italy!

Makes: c. 15-20 (depending on how big you cut them)

Takes: 10 mins to mix-up the dough + at least 30 mins (or overnight) chilling in the fridge; then a further 10 mins rolling/cutting

Bakes: c. 25 mins.  Preheat the oven to 180C (GM4) and line a baking tray


Ingredients

  • 150g plain flour
  • 30g rice four
  • 1/4 tsp baking powder
  • zest of 1 large lemon
  • 5 anchovies (finely chopped)
  • c. 10 large basil leaves (finely sliced)
  • 1-2 tblsp pine nuts
  • 100ml soured cream (or yoghurt)
  • 3 tblsp vegetable oil (or other oil)
  • a few grinds of black pepper (I’ve not added salt in it as the anchovies provide that although I did sprinkle a little on the top)
  • a little olive oil for brushing


Method

Put all the dry ingredients into a mixing bowl, stir in the zest, anchovies and basil then mix it all together to form a dough by adding the soured cream and oil.  Form the dough into a ball, wrap it in cling film and chill in the fridge for at least 30 mins (or overnight).

When you are ready to roll (make sure the dough is at room temperature), dust a clean worktop with a little flour and roll the dough out to c. 4mm thickness.  Cut out your shapes and pop them onto the baking tray.  Brush each with a little oil and sprinkle with a little salt before placing in the oven to bake.  You are looking for a golden brown colour.  After baking I always leave mine in the oven with it turned off and the door ajar so they can crisp-up a little more before transfering to a cooling rack.

They will keep in a tin for a good few days, unless of course, you are a cheese fiend, in which case, they won’t last long at all.

Comments

Hit me up with any variations you've got for these ingredients.

Leave a Comment