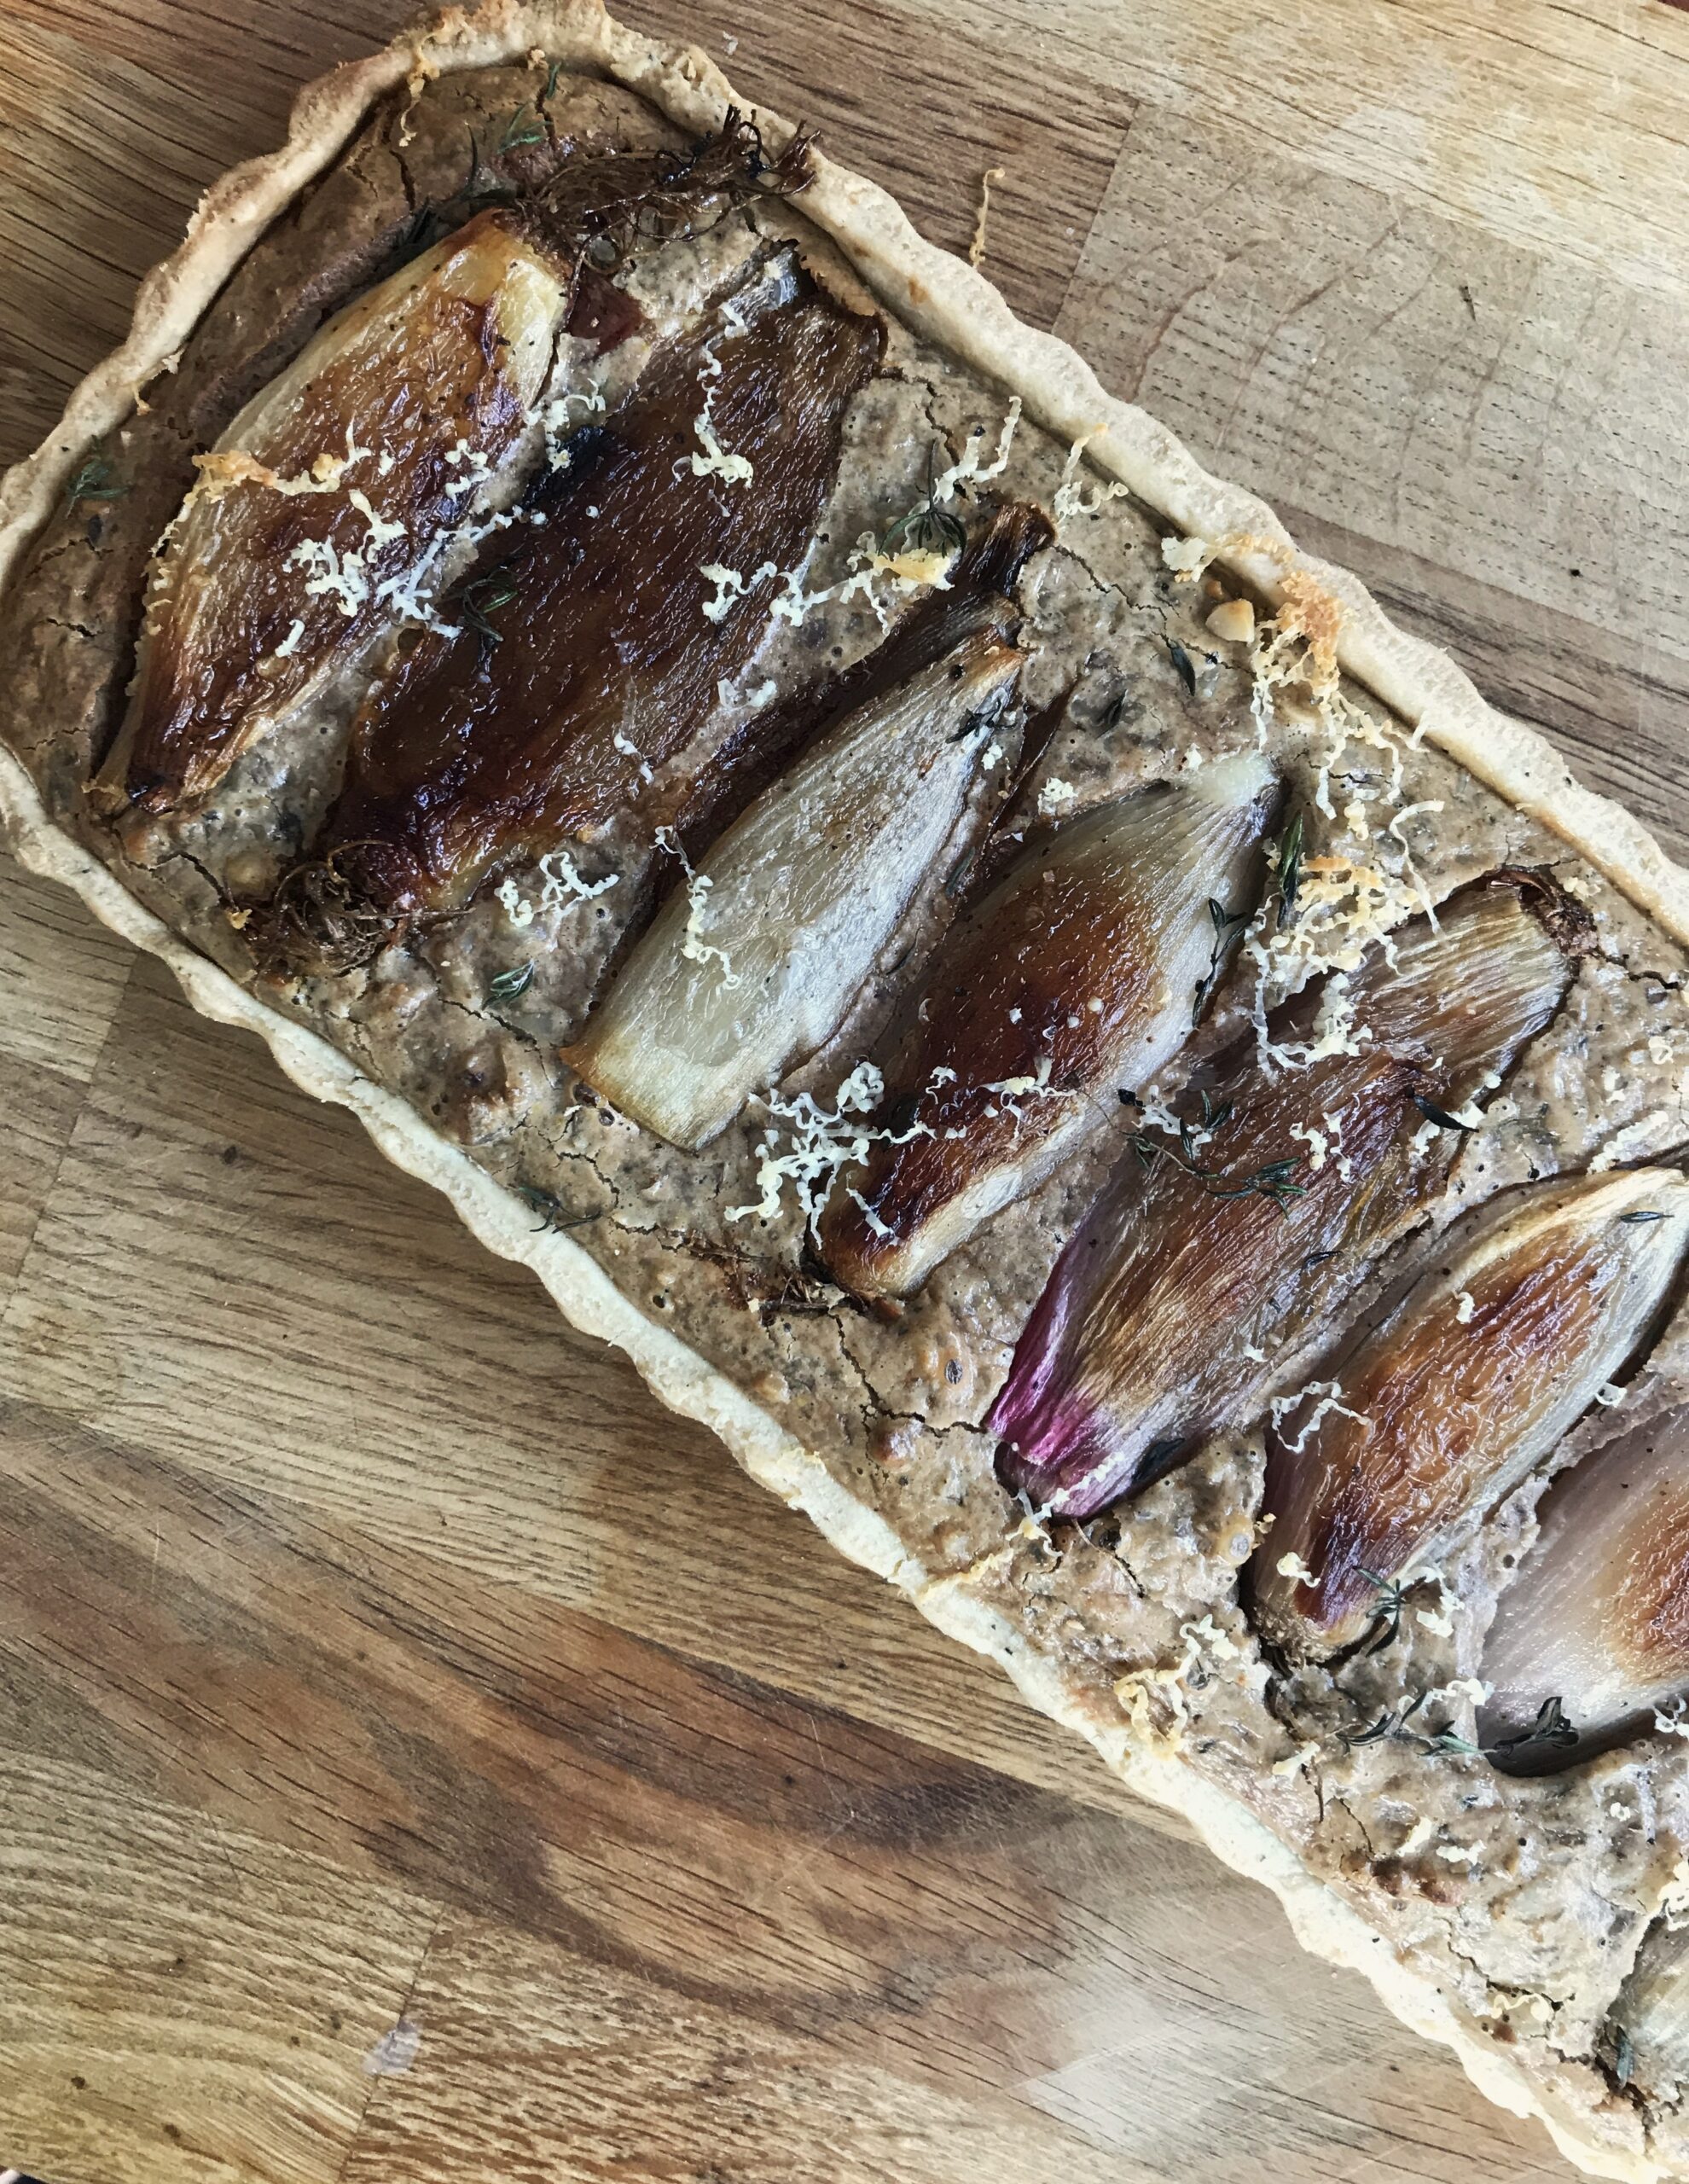
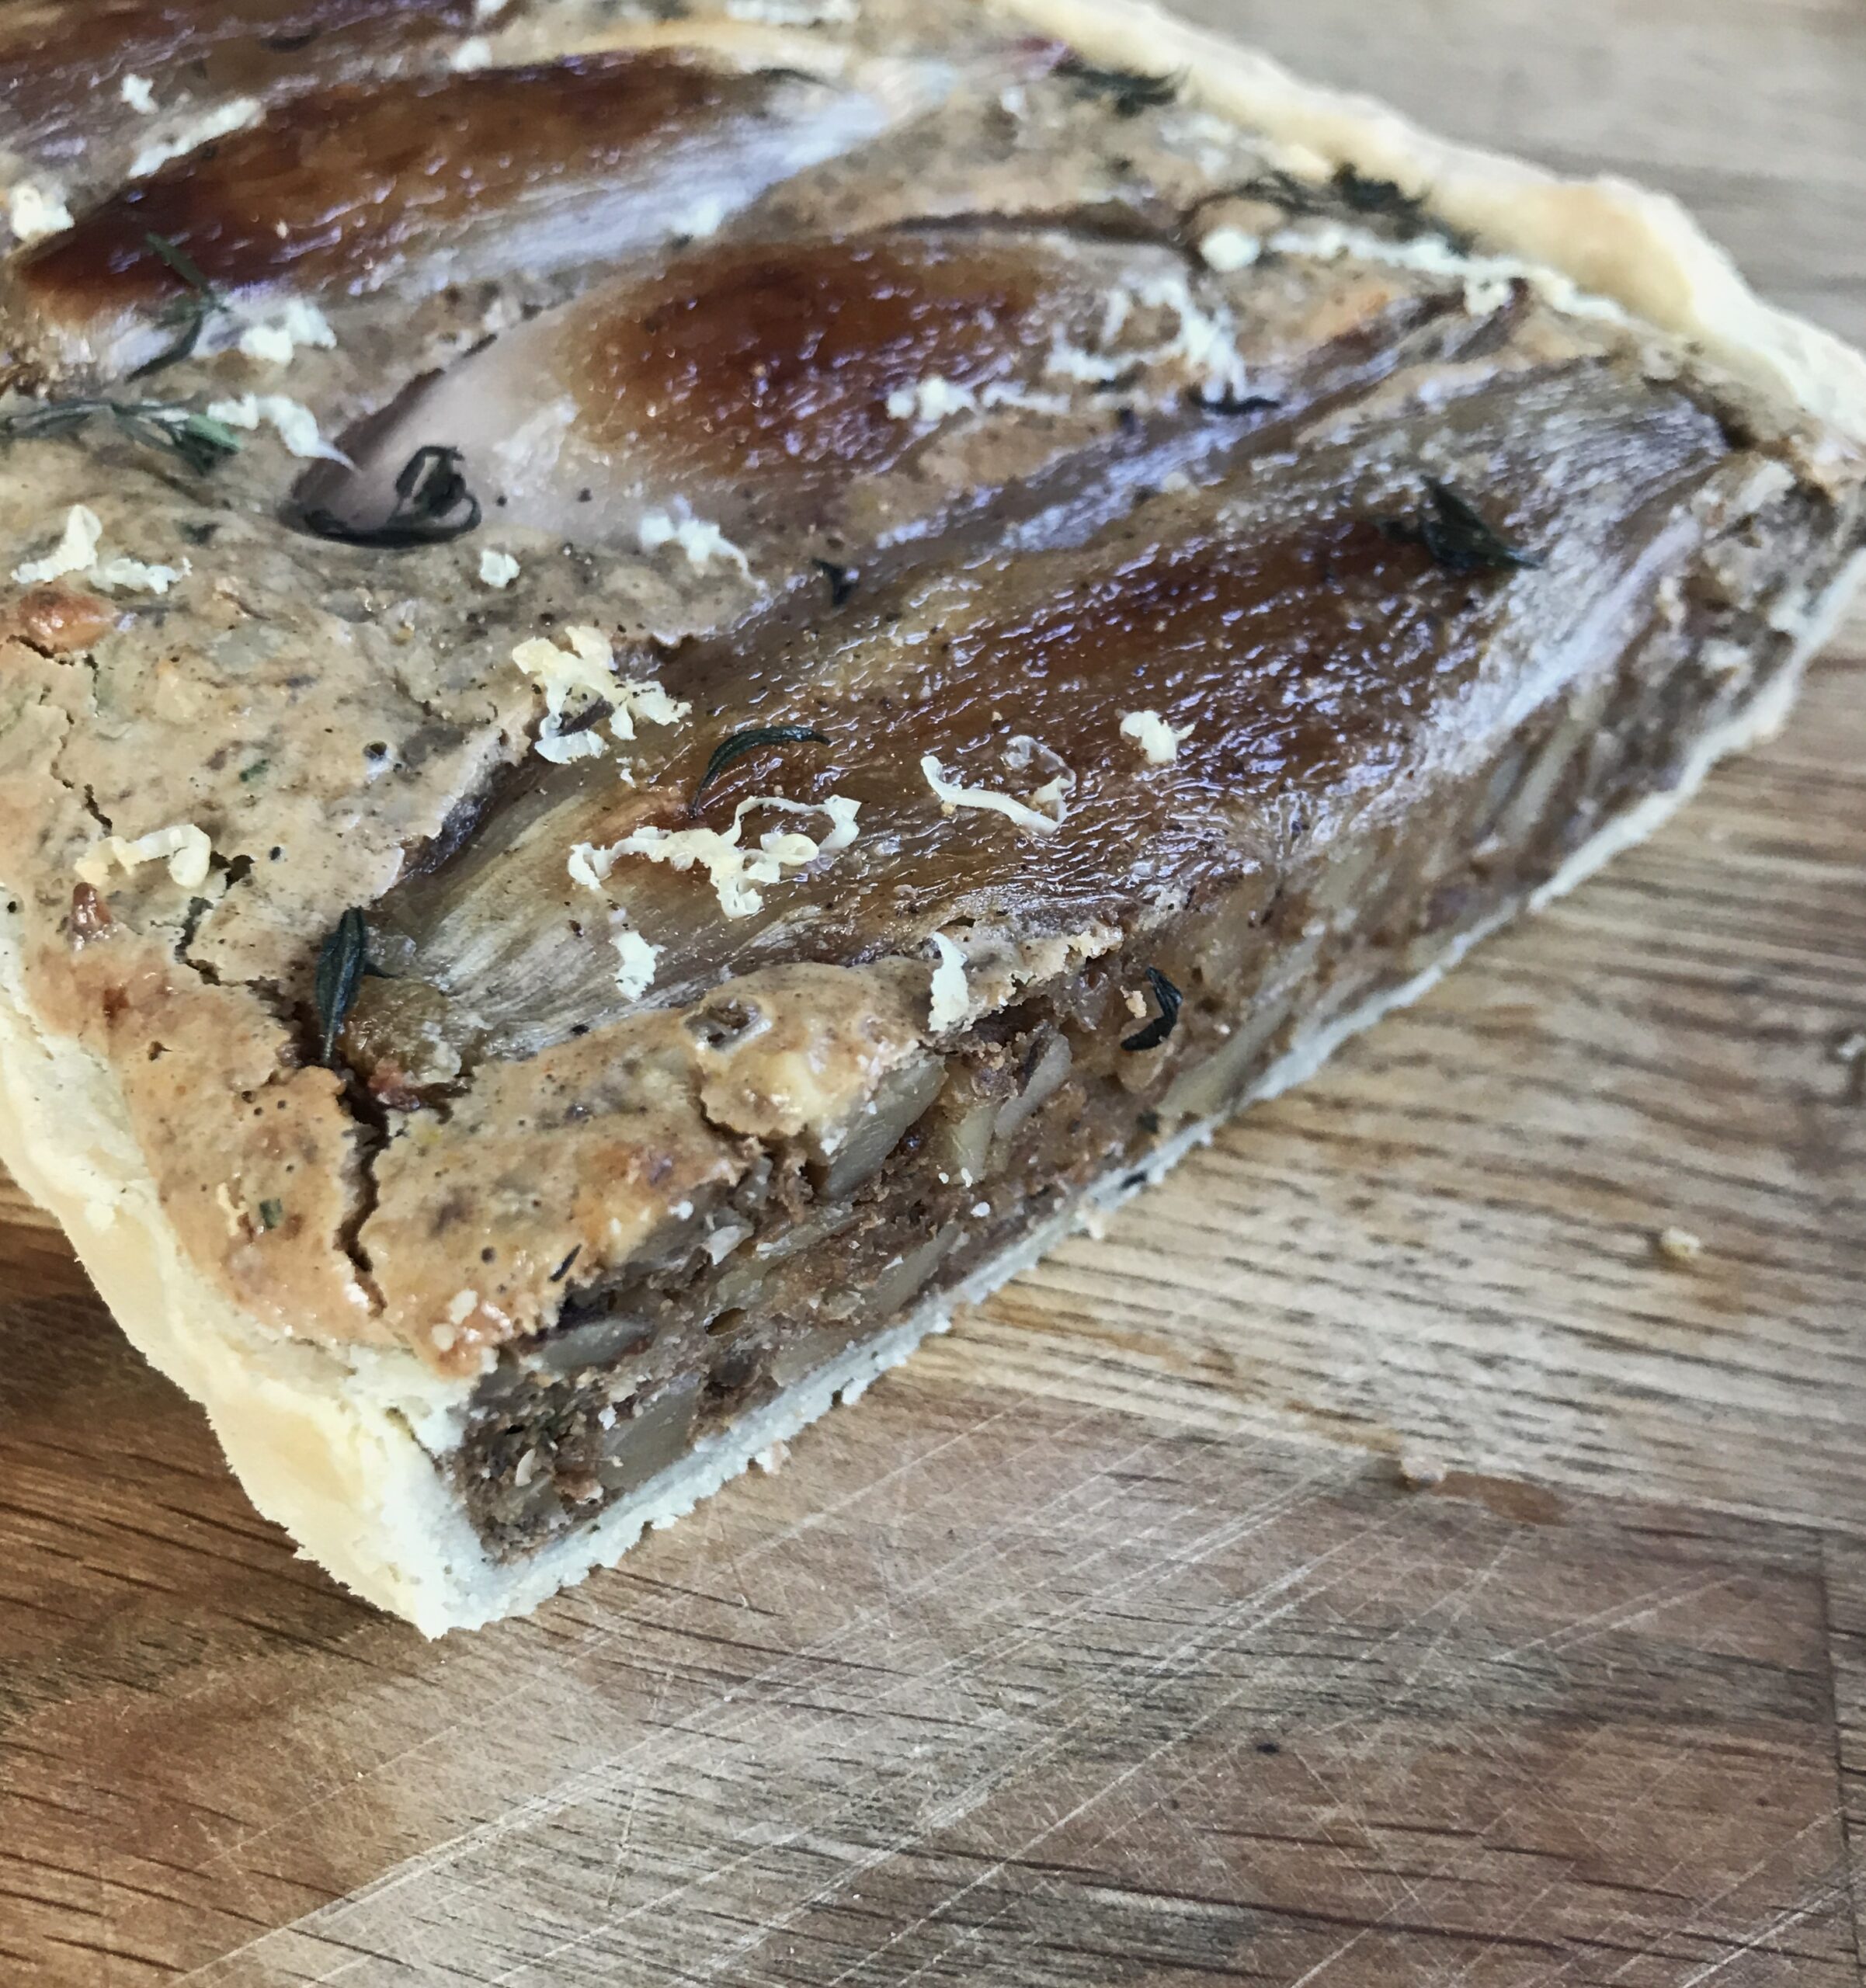
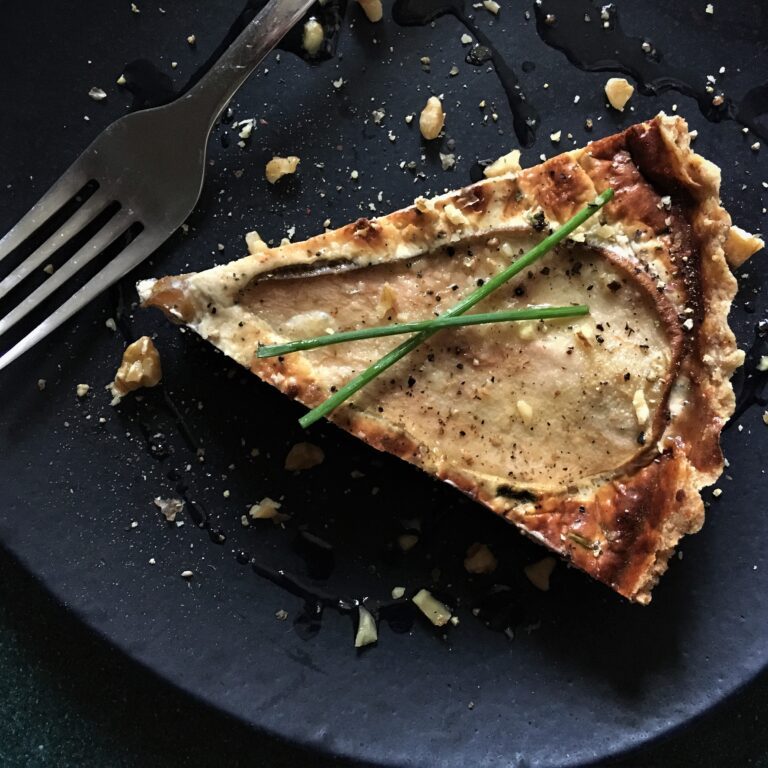
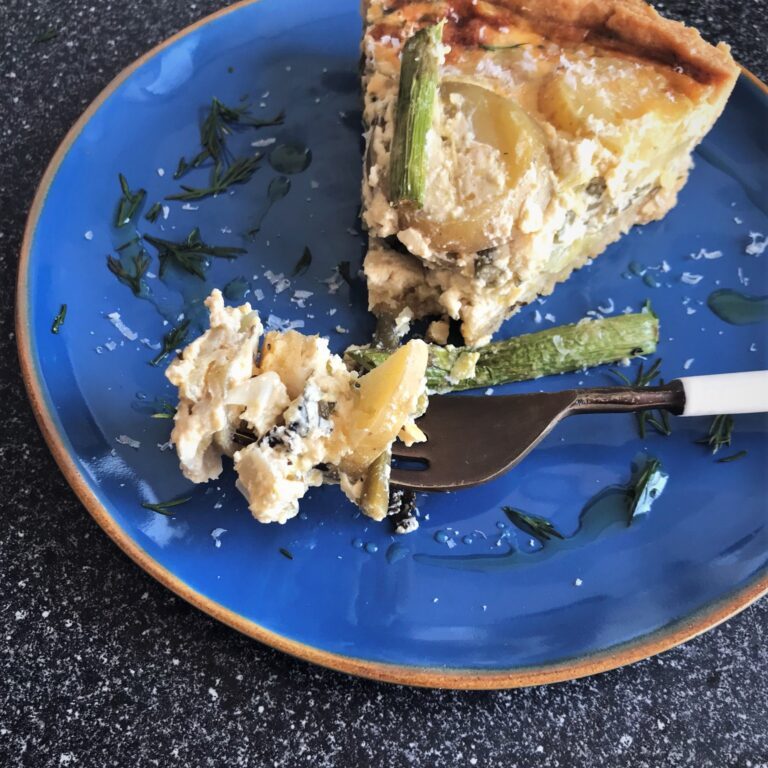
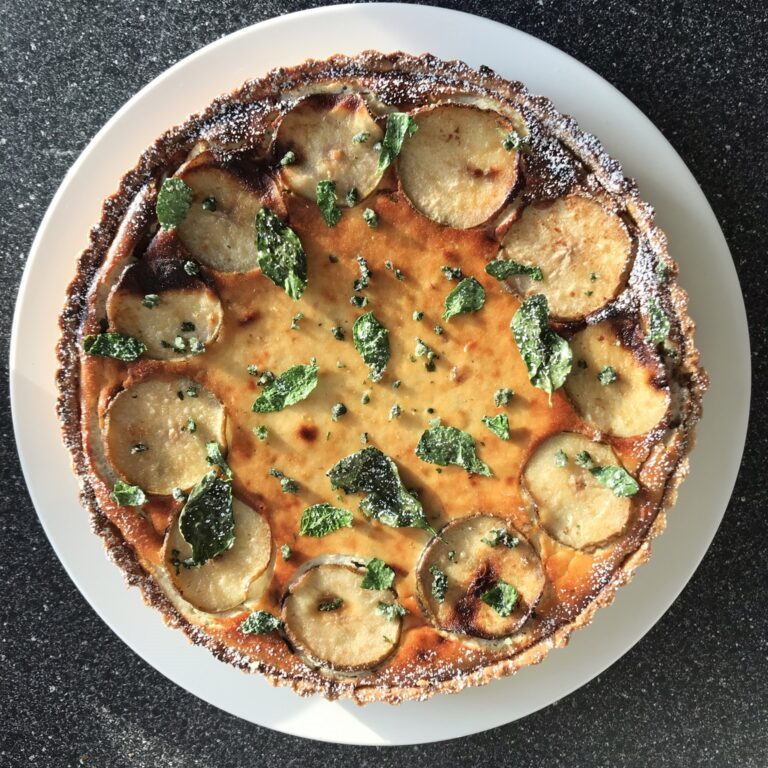
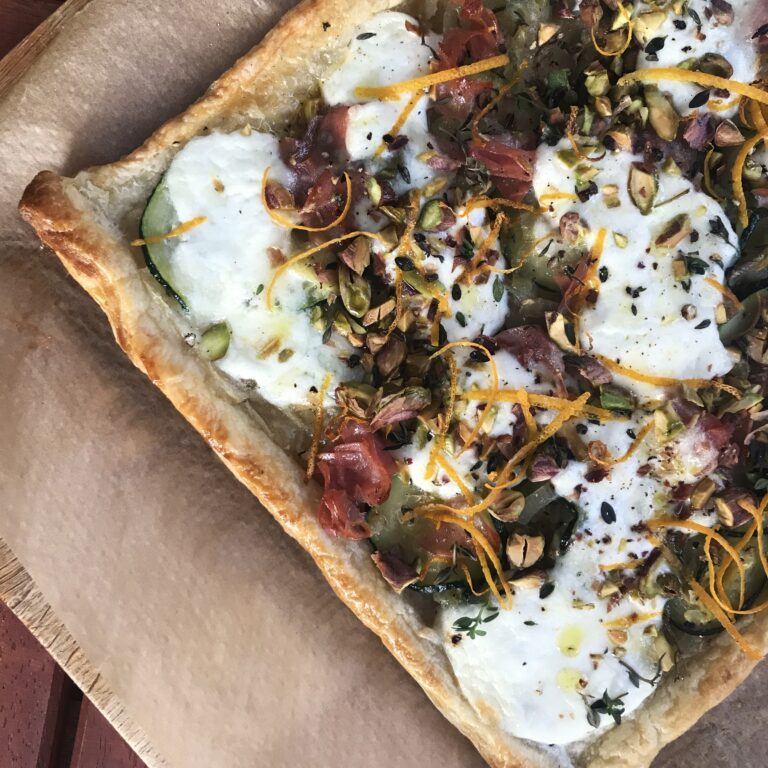
Makes: 1 tasty tart (you could also make individual little tarts too as starters)
Takes: 10 mins for the pastry + at least 30 mins resting time (but you can also keep it in the fridge overnight – just make sure it is room temperature when you roll it); then c. 20 mins for the rest + assembly. You can also make the shallots & filling in advance and keep them in the fridge.
Bakes: c. 25-30 mins. Preheat the oven to 180C (GM4) and grease and flour a loose-bottomed, rectangular tart tin. You will also do a little blind-bake before the main event – this will take c. 12 mins + another 5. Make sure you pop a tray into the oven to heat up so that you can get a properly cooked base.
Ingredients
For the pastry
- 300g plain flour
- 150g salted butter (cold and cubed)
- about 30 grinds of black pepper
- 1 large egg
- a little water – judiciously added if needed
For the shallots
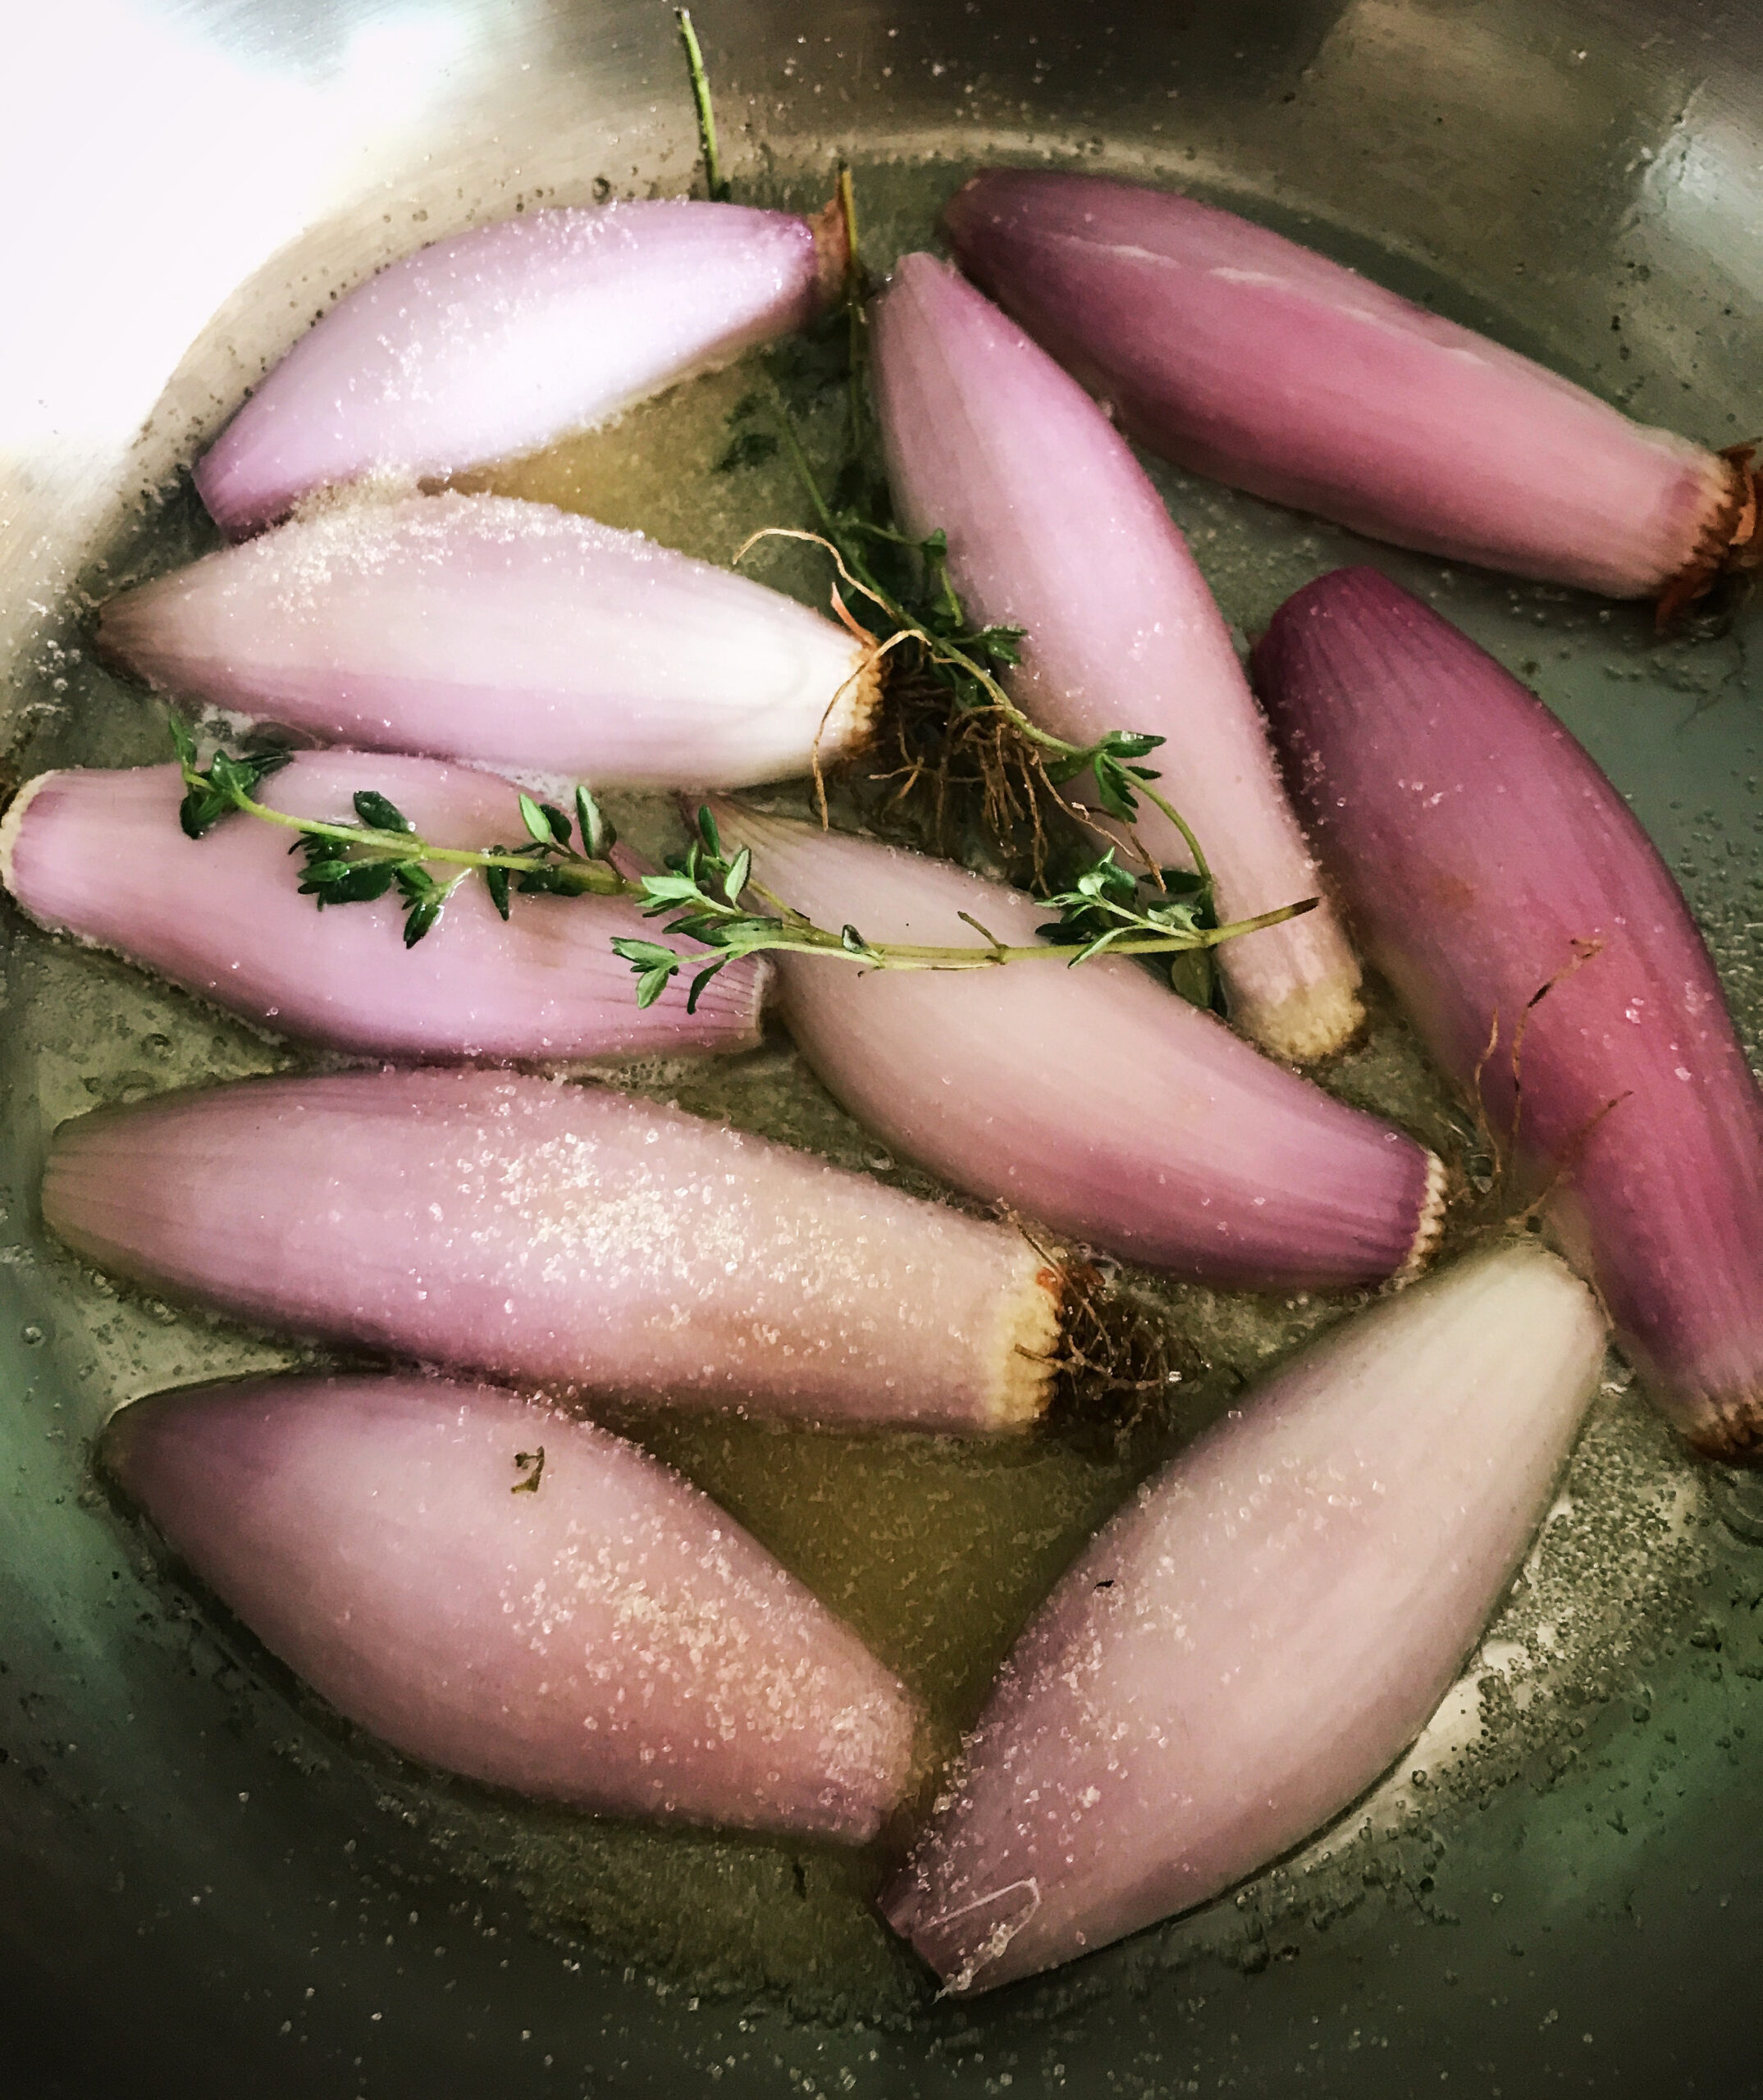
- 8 banana shallots (peeled and halved)
- a few thyme sprigs
- oil and a knob of butter
- 1 tblsp golden caster sugar
For the filling
- 200g walnuts – (blitzed but coarsely NOT fine – you don’t want a frangipane; I actually just chopped mine on a board)
- 1 tblsp ras al hanout
- 1 tsp espelette pepper
- 2 tblsp fresh thyme leaves (chopped)
- 1 tblsp tahini
- 3 medium eggs
- 2 tblsps grated (extra) mature cheddar (or strong cheese of your choice)
- 150ml single cream
- seasoning
Method
For the pastry
Simple. Pop the flour and pepper into a large mixing bowl, add the butter and rub it in until the mixture resembles fine breadcrumbs. Then stir in the egg and add a little water if needed to bring the mix together to form a soft, pliant dough. Form it into a ball, wrap it in cling film and pop it into the fridge to chill – you can make it the night before, just make sure it is room temperature before you roll it.
For the shallots
Pop the oil and butter into a frying pan and melt over a medium heat. Add the thyme and place the shallots in sliced side down first. Sprinkle the sugar into the pan and leave them to cool until they are starting to brown on that side, jiggling the pan a little. Then turn them over and cook the tops. You want them to be caramelising a little so that the tops turn brown and the whole onion is softened. So you will need to turn them a little from time to time. All in all, it should take c. 15-20 mins. You don’t want them nuked and you don’t want them to fall apart. Again, you can make these the night before too and just keep them in the fridge until you are ready to make the tart.
For the filling
Also nice and simple, add the eggs, cream and tahini to a mixing bowl and beat together until combined. Then add the thyme, cheese, spices and seasoning and mix these in well. Finally stir in the walnuts. Again, you could prep this in advance and keep it covered in the fridge (making sure it is room temperature before you use it.
Assembly
When you are ready to roll the pastry (which is delightfully pliant, I have to say), dust a clean top with flour and roll until you have about 5mm depth. Carefully lift it into your prepped tin and push into the sides and slice the tops so that it is all neat. Prick the base several times and pop it into the fridge to chill for 30 mins. (At this point, you can make your filling/sort your shallots if you haven’t already).
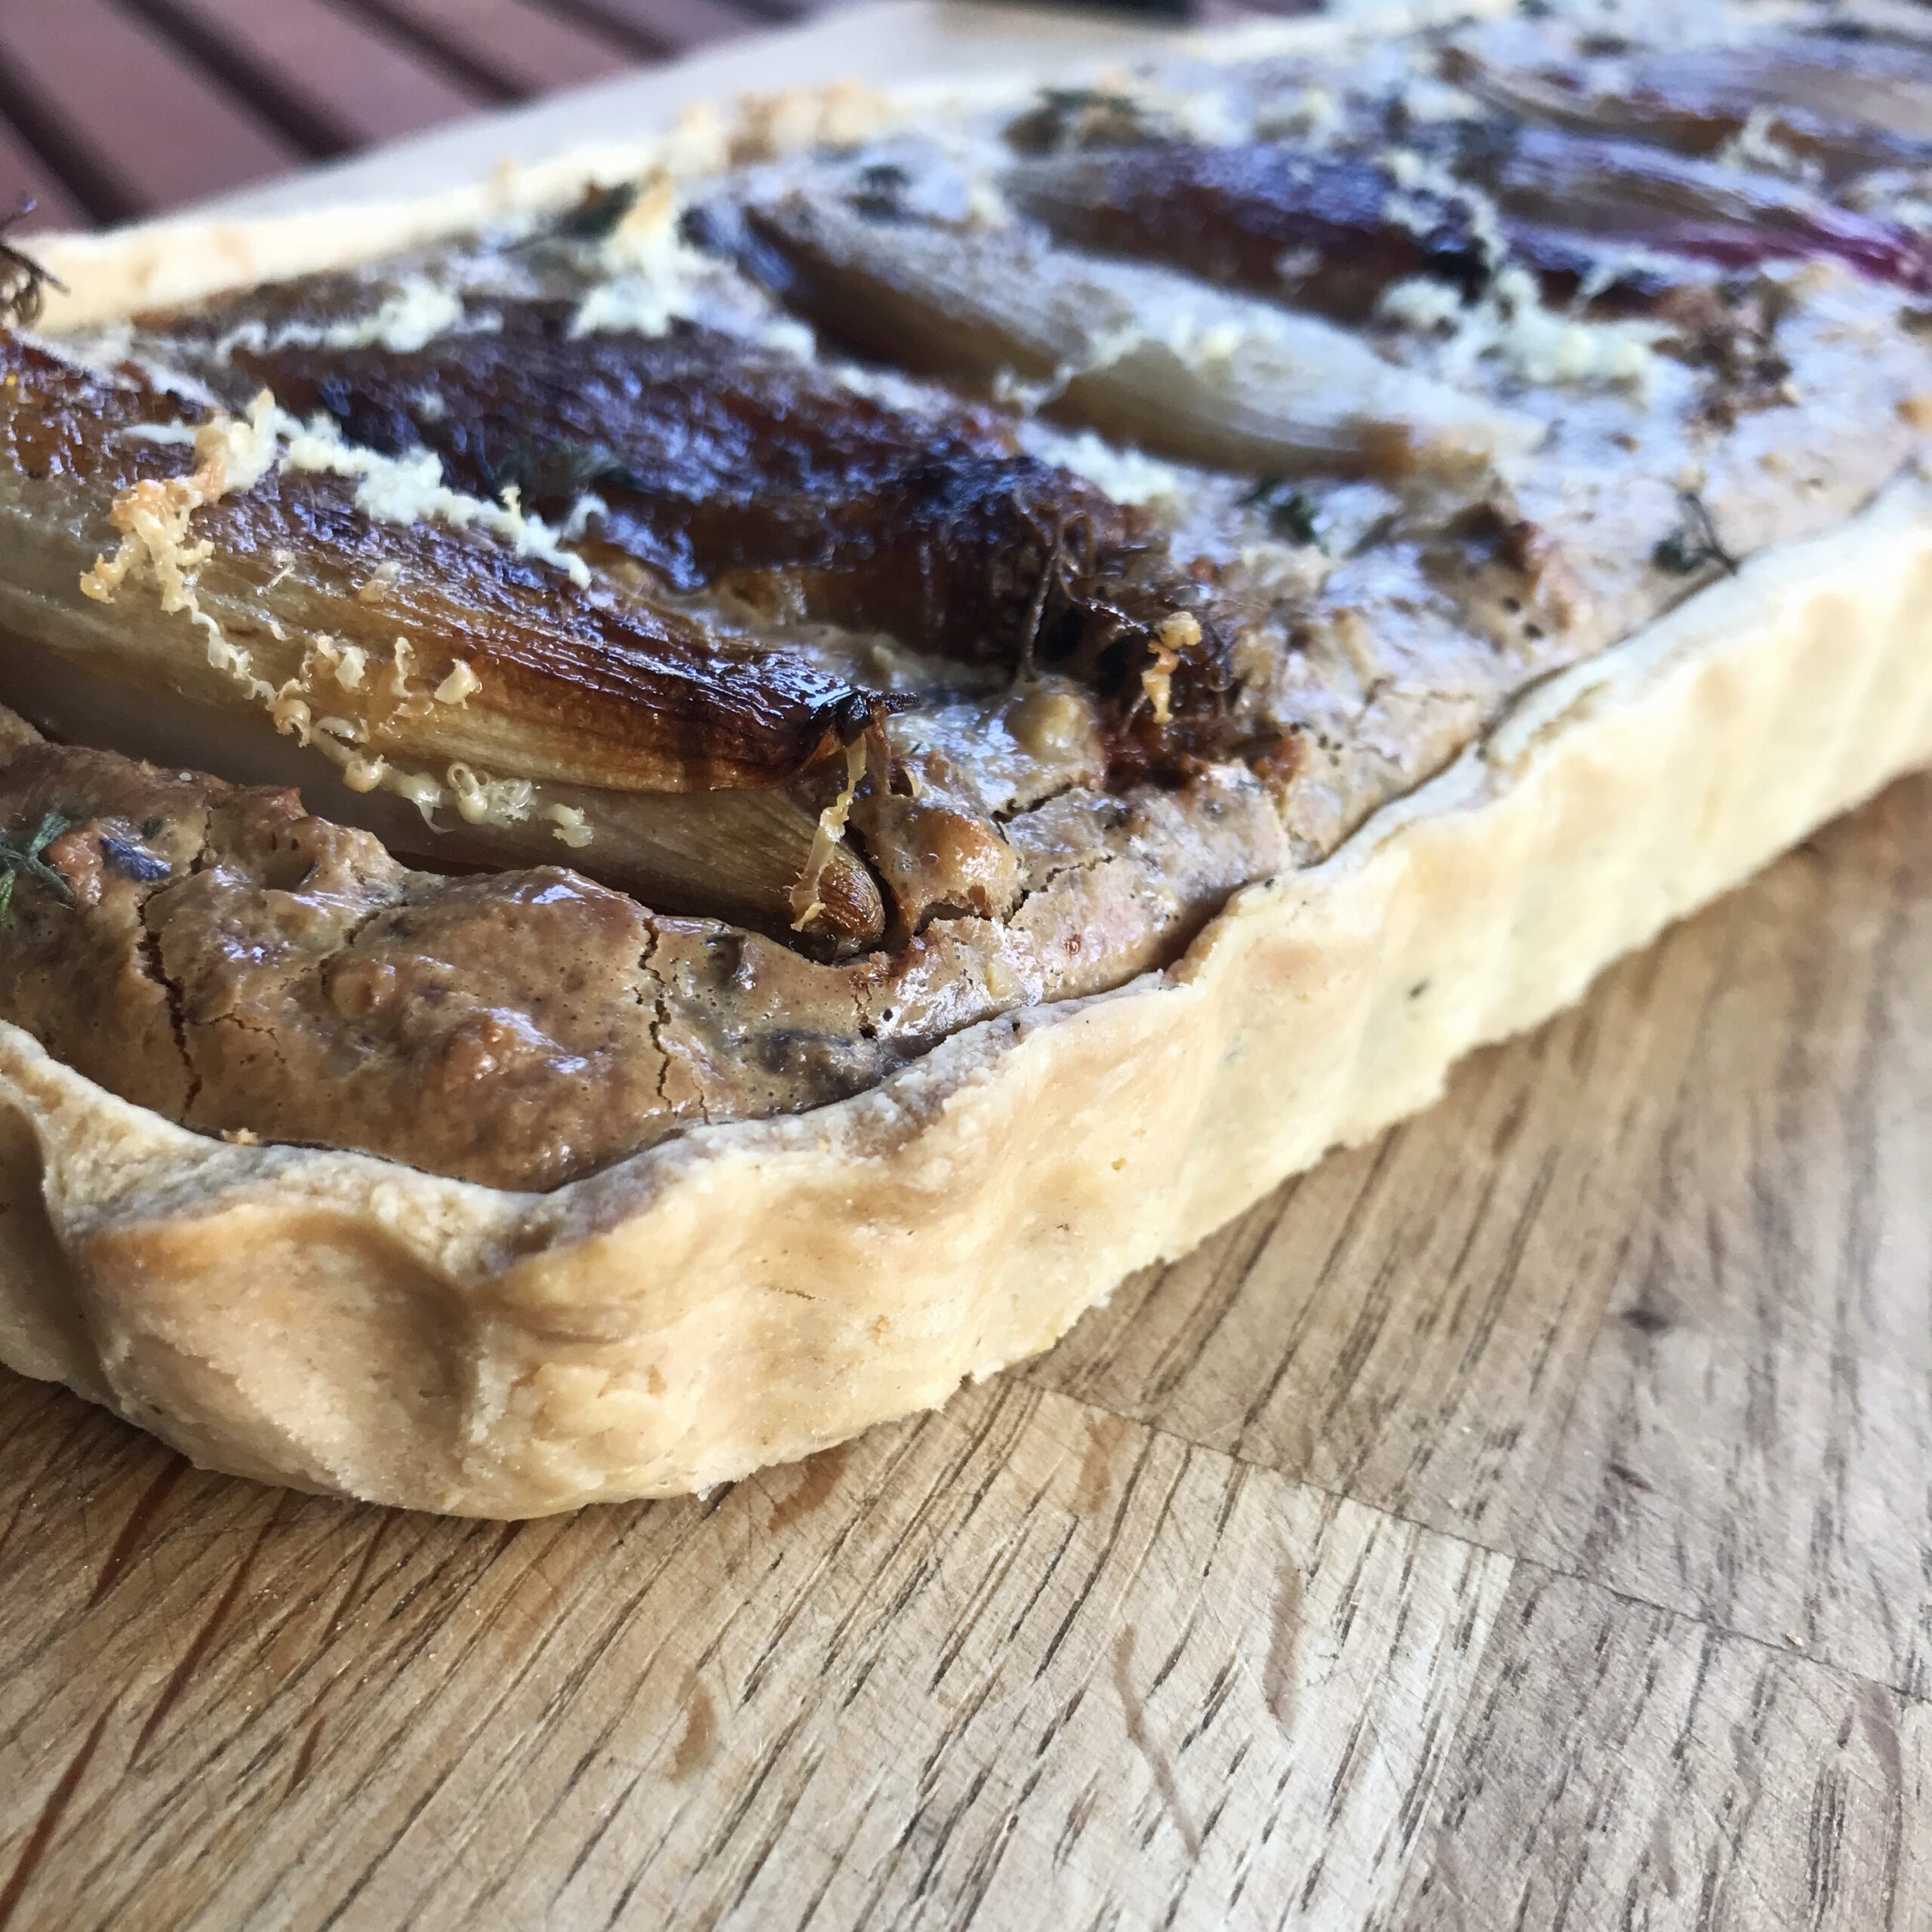
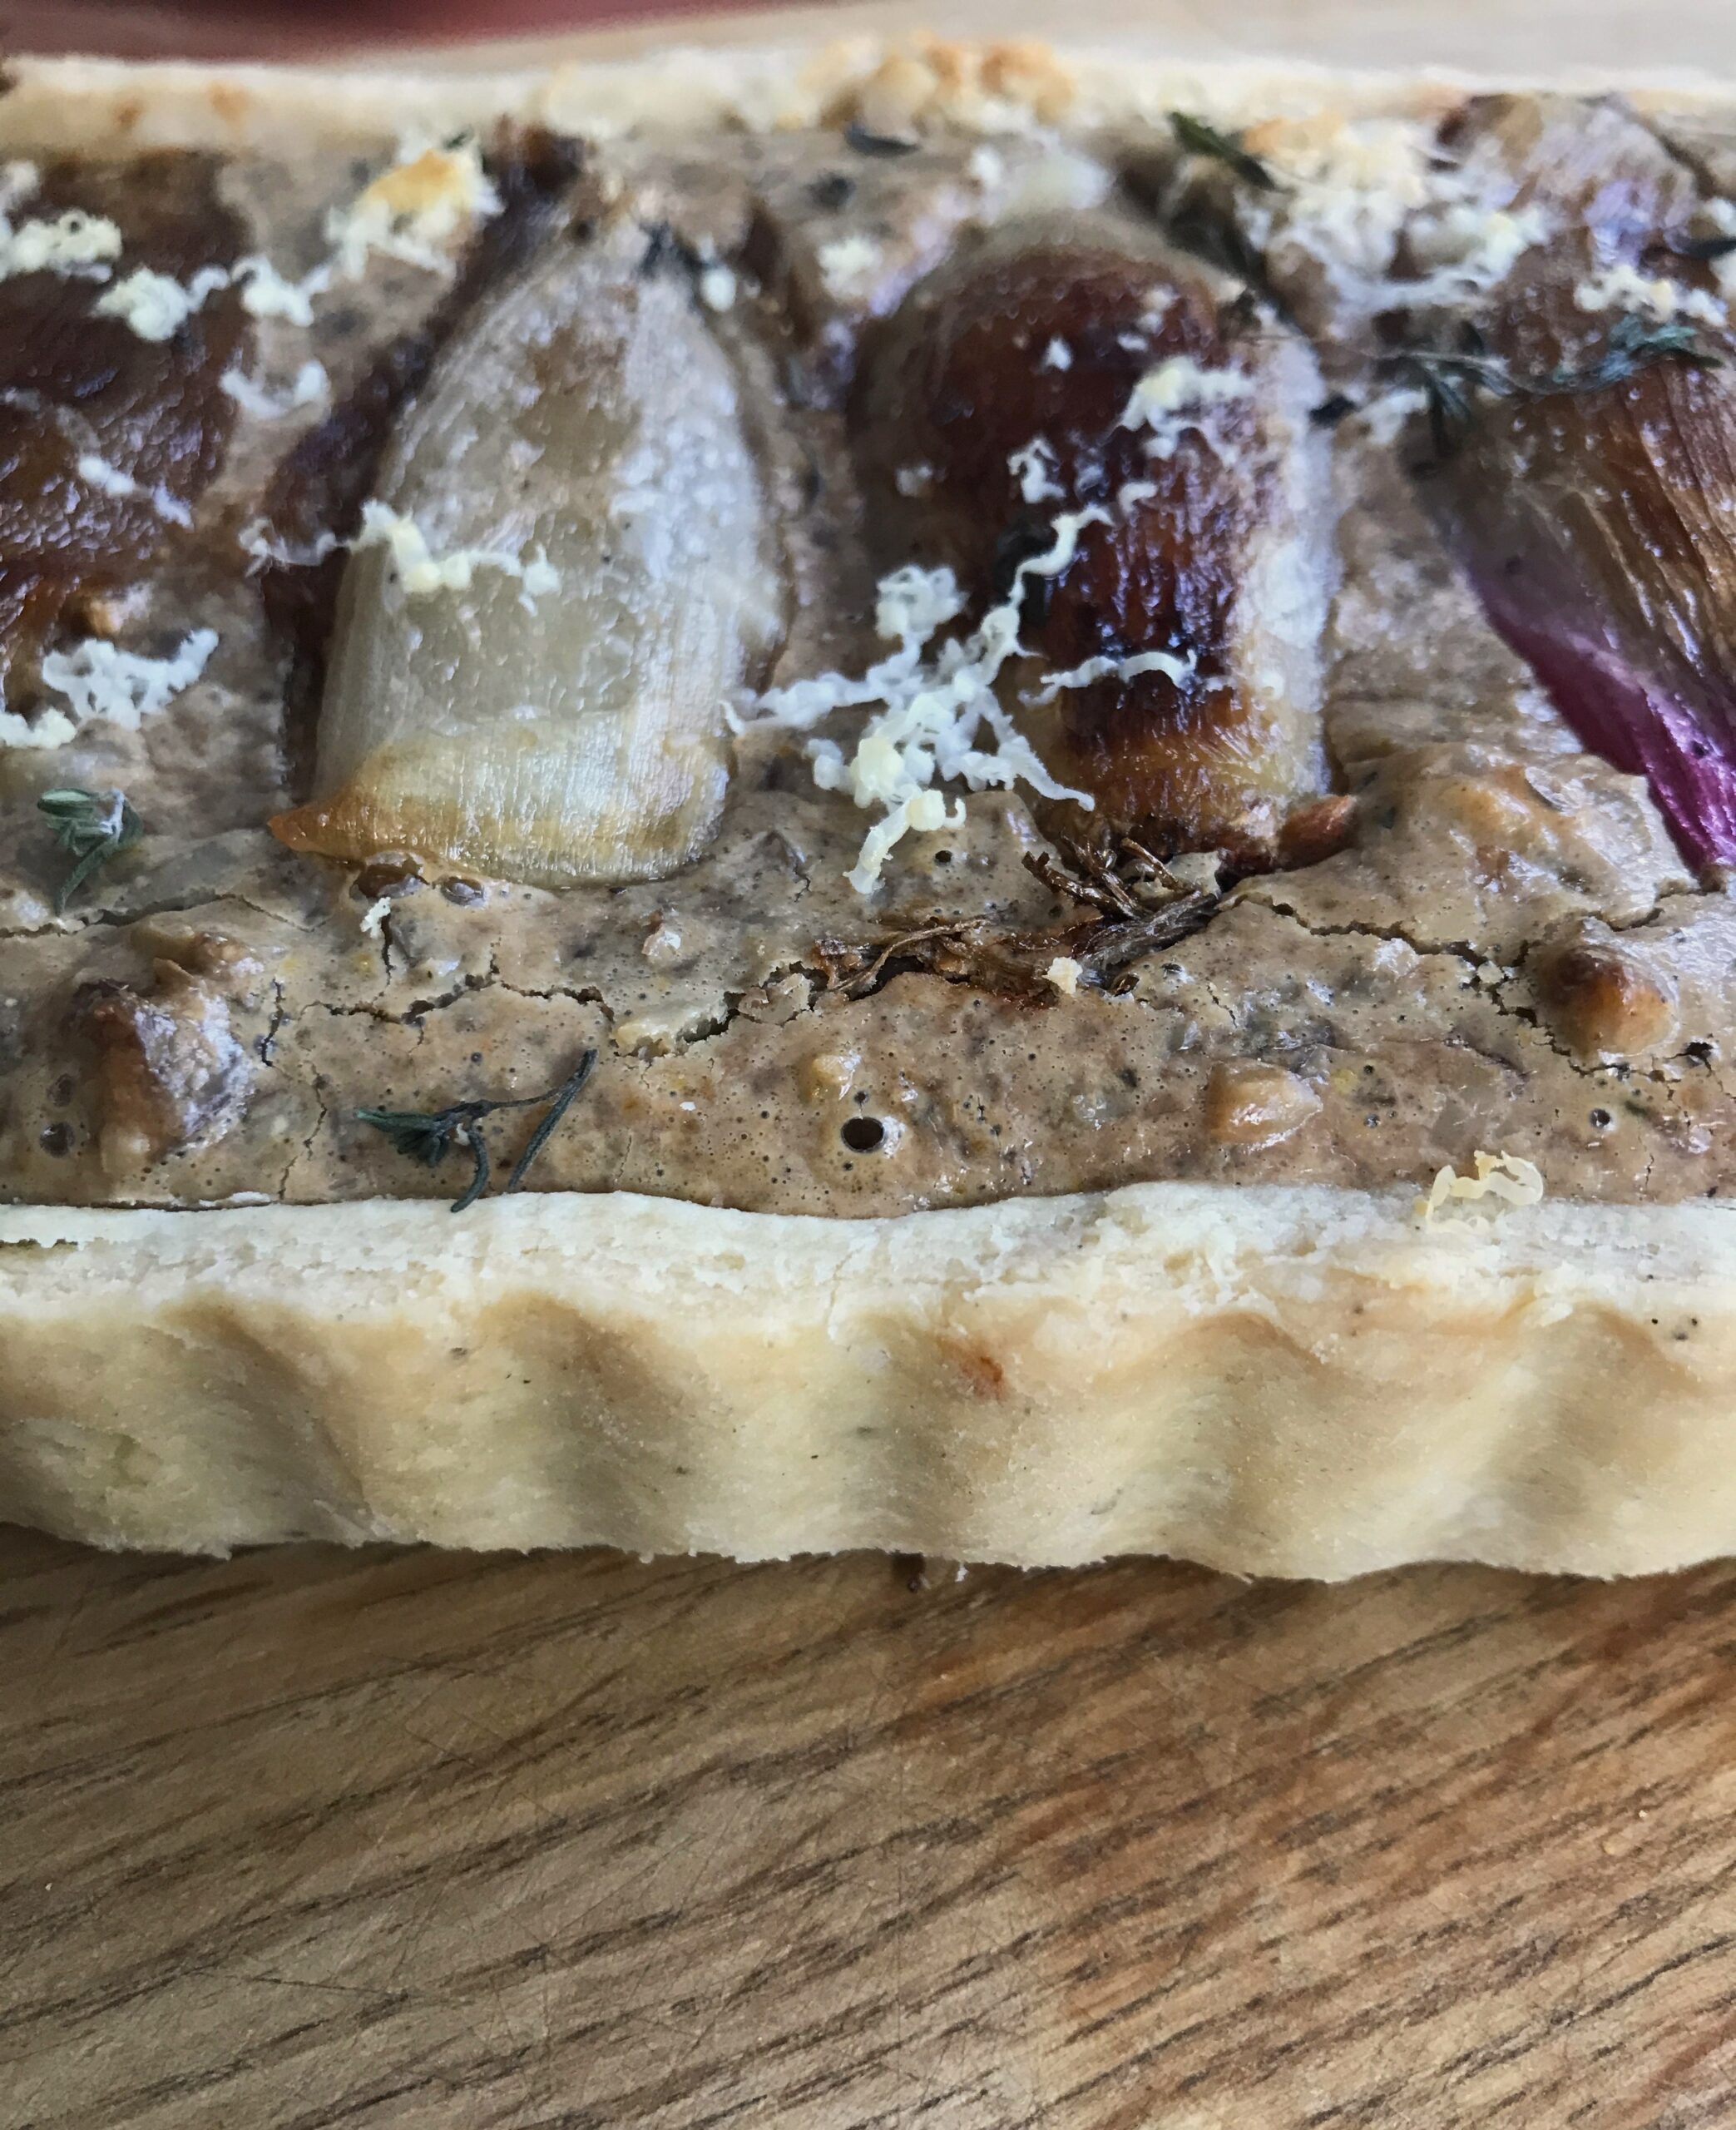
After the chilling time, pop a sheet of baking parchment over the base and pour in some baking beans. Pop the tin into the oven on top of the pre-heated baking tray to bake for 12 mins. Then carefully lift out the paper/beans and return the tart to the oven to cook for a further 5 mins. Remove from the oven when the base looks like the top has dried a little then carefully pour in your filling and spread it evenly across the tart base. Top with your shallot slices and return to the oven to cook until the top has puffed up and has a sheen and a knife inserted comes out clean. If you find that the base hasn’t cooked, you can return it to the oven and cover the top with a little foil but it should be done in 30 mins.
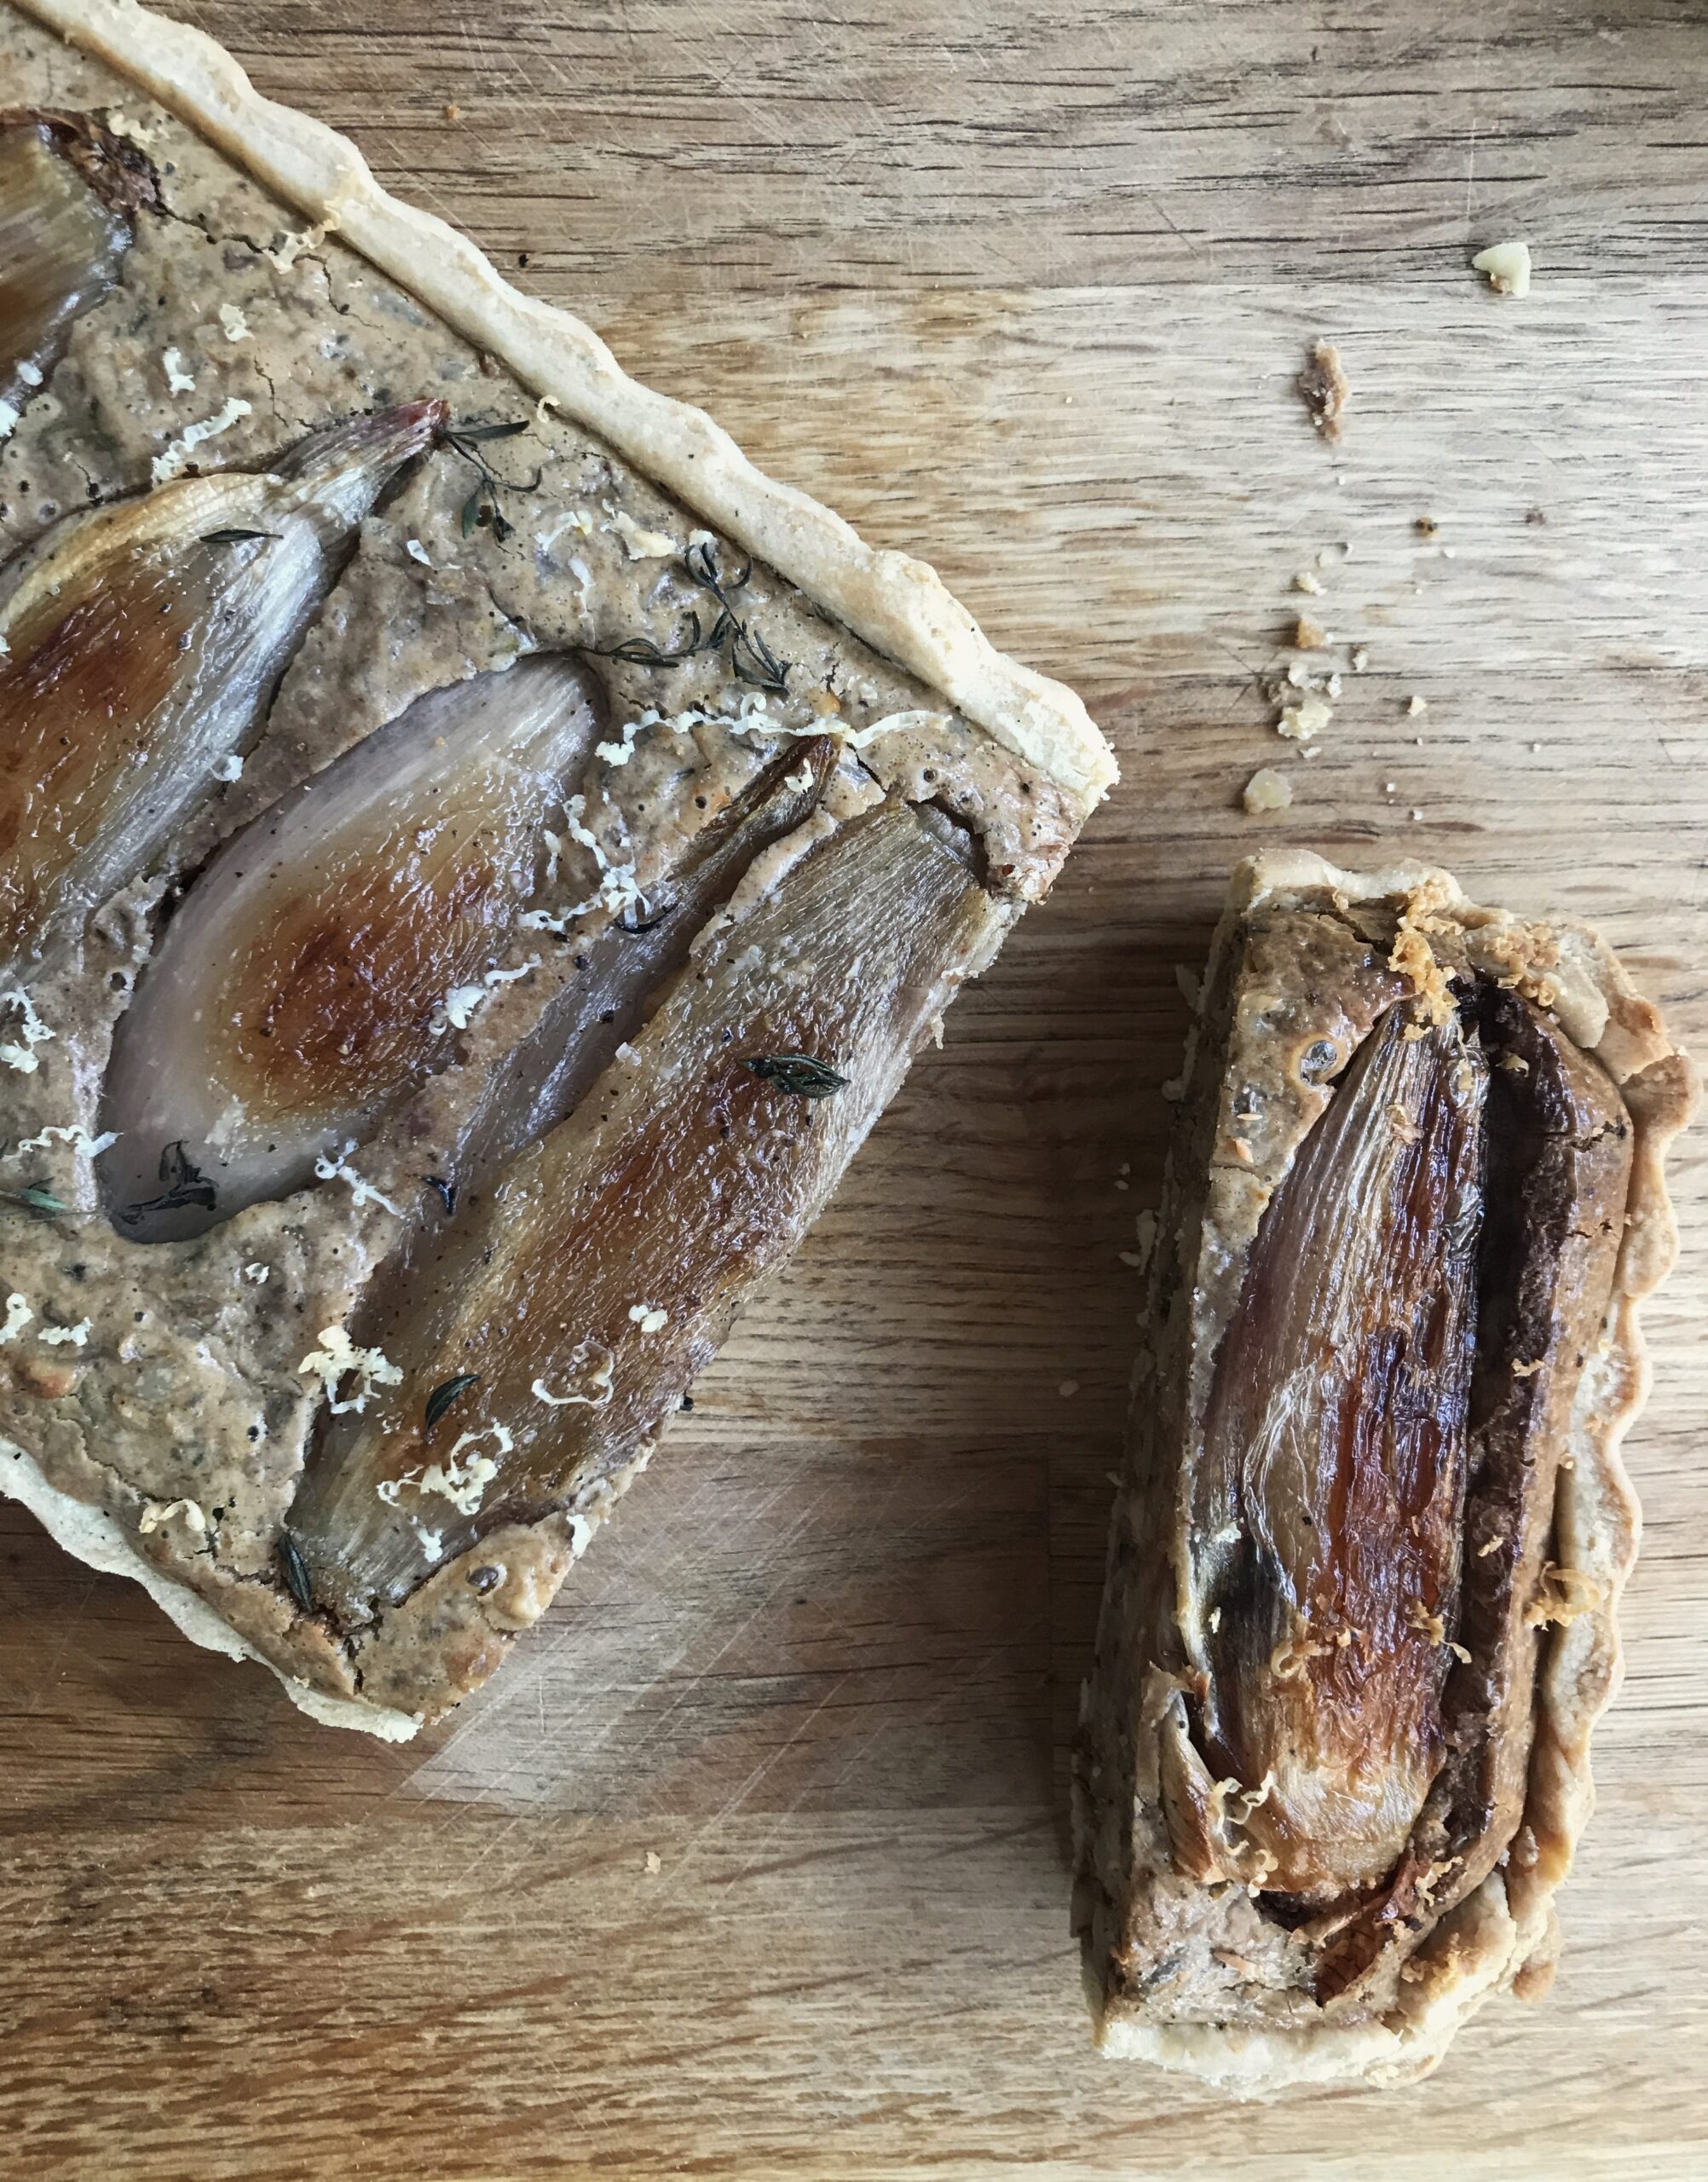
Leave in the tin to cool a little (as the pastry will be friable) then carefully remove from the tin by sitting it on a little cup or similar so that the sides loosen and slip down and transfer to a cooling rack. You can eat it hot or cold so you could eat it straight from the oven (or heat it up). When you are ready to serve, sprinkle the top with a little grated parmesan, drizzle with good extra virgin oil and slice. It was delicious with a mustard-dressed green salad so you could serve it with a little hollandaise if you fancied.
It will also freeze well so you can prep in advance.