
Crag Snacks
We all love a visit to the boulangerie for pastries or enjoy indulging in hearty baguettes bursting with delicious local cheeses etc, but it’s not great for the wallet or the waistline to be doing that every day, especially on a long trip. This month’s 5 for 5 offers you some climber-friendly, snack-style recipes. Simple, healthy, portable snacks you can make on the road. This is delicious food that will fill you up, help you climb harder and maybe even give you that extra boost so you can send your projects.
There are so many bars, balls and bites on the market. So many. It’s pretty easy to make your own though and then you also know exactly what is going into them (as quite a few of them contain an alarming amount of sugar). They also tend to come wrapped in plastic of some form or another so if you needed another reason to strike-out and make your own, that’s it! The following 5 recipes for crag-friendly snacks will take you from dawn to dusk. They are full of good things (oats, beetroot, tahni, nuts, cinnamon, turmeric etc) without being overly virtuous (which I’m not) but are easily adaptable so you can experiment with the flavours of local produce and eat the seasons too as that’s all part of the fun of travelling, right? #don’tneedtotakebakedbeansonholiday.
YOU WILL NEED:
- a square tin – measuring 10”x10” (25cmx25cm). Not completely crucial but neater when it comes to shaping bars. If you have renovated your van you probably have some useful bits of wood lying around that you could fashion into a standard sized square format tin.
- baking parchment/cling film to line the tin – I’m reluctant to suggest the latter because it’s plastic. You need something to line the tin though otherwise the bars will stick and you’ll have to take the whole tin.
- a mini blitzer – something you can use to whizz up crumbs. Again, this isn’t super-crucial, you can use a knife and spend time chopping (worthwhile, as you can use that time to run-over the beta for your project), or you can bash nuts in a bag/a tea-towel to convert them to crumbs (potentially also worthwhile if you need to vent some frustration that you didn’t send your project). One of the nice things about van life is learning ways of doing things outside of the norm.
- a chopping board
- a decent knife
- a grater
- a mixing bowl of sorts – kind of medium sized
- a tablespoon/teaspoon (if you don’t have a tablespoon, it’s essentially x2 dessert spoons); the teasp is a ballpark figure – none of these is a fancy cake that need precise measurements – so a regular teaspoon would be fine.
- a frying pan
- a small sauce pan and a heatproof bowl that will sit on top of it (for melting chocolate).
- some tupperware
- NO OVEN – all of these can be made WITHOUT an oven but you will need a hob/burner and a fridge (ideally)
- Some sort of cooling rack
- all measurements are in grams but it is highly possible that you won’t have a set of scales in the van, so I’ve put a conversion chart at the end of this article to make life easier [link to chart] in case you need to measure things in cups.
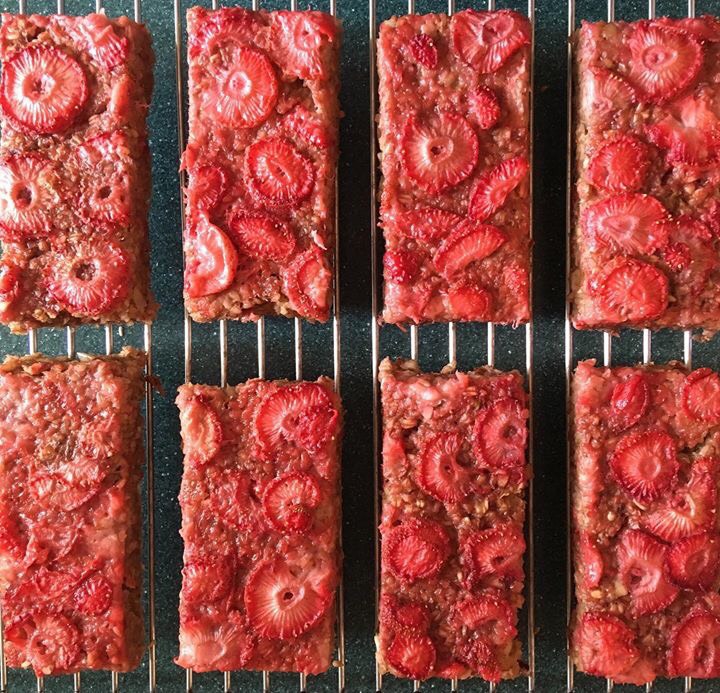
1. Breakfast Time - Alpine Start Bars
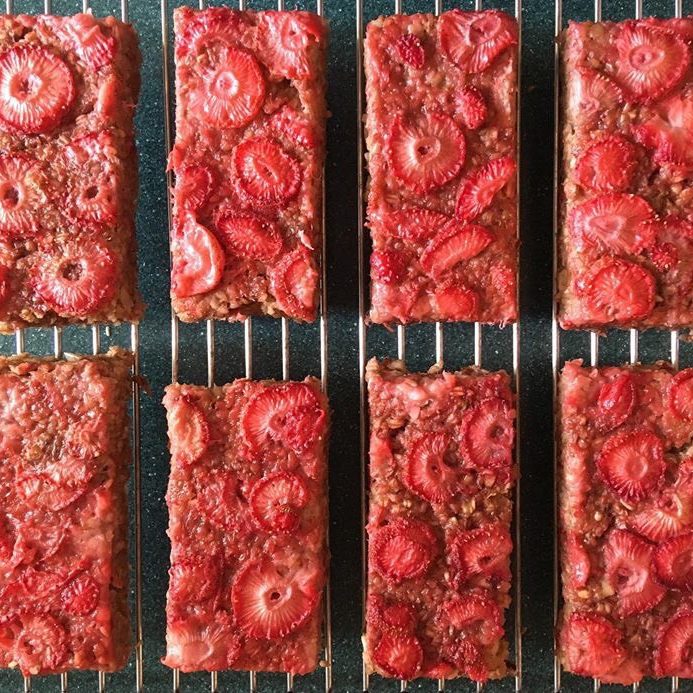
I love breakfast; it’s my favourite meal but there isn’t always time to indulge in a leisurely one. So, for all those keeno early-risers who just need to get to the crag, or for those times when you have one more chance to send your project before your flight home or, indeed, those times when the weather window falls earlier in the day, breakfast in bar form is an ideal solution. These Alpine Start bars are really simple, quick to make and easily prepped the night before or a few days before as they will keep in the fridge. The recipe makes about ten bars but you can cut them to whatever size you like. This is a sort of bircher bar but you can switch the oats for gluten free options such as buckwheat or millet (which isn’t just for birds and in fact works really well in no cook bars) – it gives a softer, tighter texture too but you will need to pad the bars out with more ingredients because millet won’t soak up as much liquid as oats. Fresh grated ginger works wonders as a morning kick – but if it’s not your thing, the bars are fine without it. You can tailor it to your bircher preference.
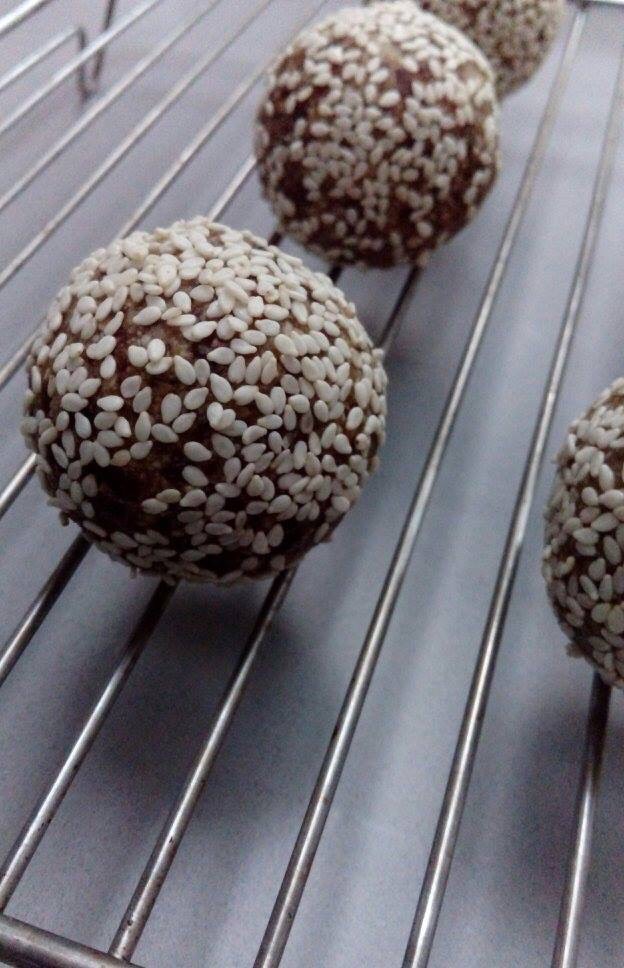
2. Elevenses (aka - mid-morning slump) - RBB's
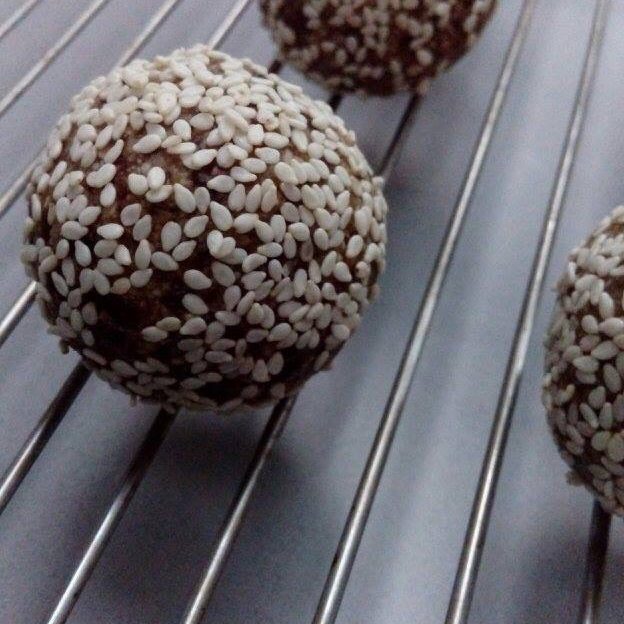
We’ve all experienced times when you keep on missing the deadpoint; nearly but not quite nailing the crux; working the same move over and over until you start to feel like you might need to vocalise your frustration in a way that would make a sailor blush etc. At that point, it’s good to come down, take a break and have a little word with yourself; and, more importantly, give yourself a little boost of energy which I’m delivering here in ball form as redpoint booster balls – little pellets of power! You can put whatever you have lying around into these really (dried apricots, spices of your choice, tahini, almond butter, banana, chocolate, chilli, other bits and bobs of dried fruit/nuts etc local jam, or even breadcrumbs I guess). You need a decent solid foundation though. Here I’ve used dates and almonds (plus, dates make camels run faster so they clearly have a good energy-giving vibe). My go-to recipe is as follows:
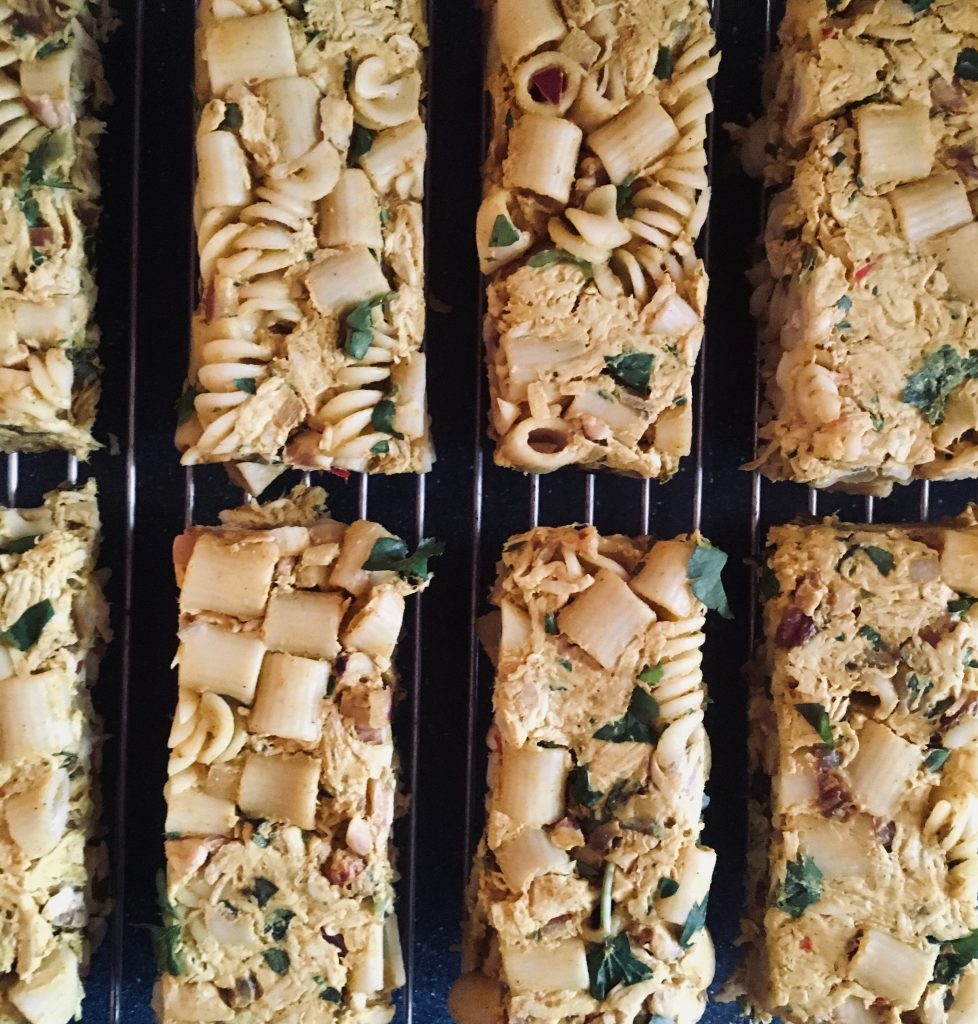
3. Lunch - Coronation Timballo
It’s easy to consume a fair amount of sweet stuff at the crag when most energy bars come in sweet form but man cannot live on dried fruit and oat bars alone. Sweet things give you a sweet hit but a palate overloaded on the sweet side will naturally trend towards a more savoury craving after a while. These lunch “bars” are great for a little midday boost or when you are when you’re several pitches in on a multipitch (when, of course, packing light is of the essence). I’ve included a veggie/vegan version below too (where again, you can use whatever you fancy).
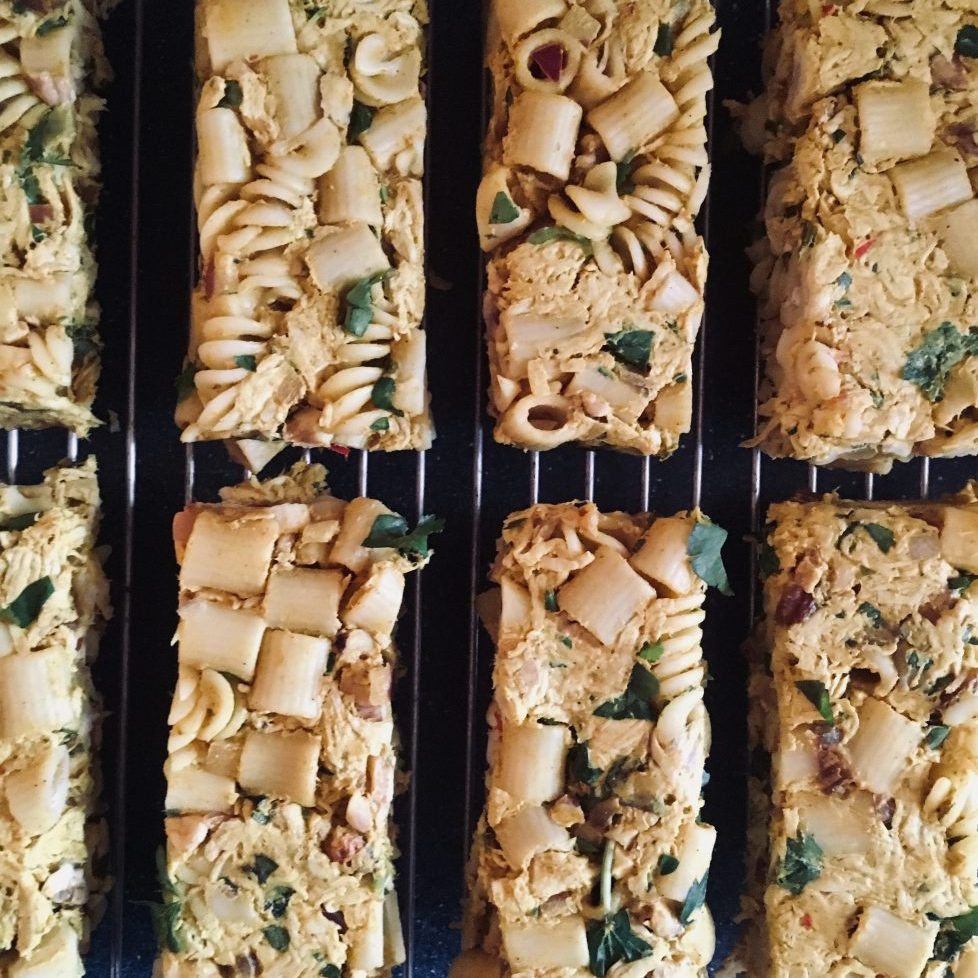
At first this may seem a strange mash-up but it works, I assure you. The coronation chicken recipe is low-fat, super-tasty and a go-to supper of mine I use a fair bit because it is quick, easy and nutritious. In order to convert this into a “bar”, however, it needs something to hold it together to avoid you effectively eating a bar of spiced chicken, which would be a) weird, and b) way too protein heavy. We all need carbs, especially when exercise is happening so I’ve added pasta. You may have already observed in your life the shape-shifting abilities of cold pasta when it takes on the form of its container. These bars are handy for those times when you have a sizeable amount of leftover pasta but aren’t really into lugging it to the crag in a tupperware. Note, however, that the sauce you use can’t be too abundant otherwise the bars won’t hold together (see beta below). You can use whatever pasta you fancy but I’d caution against the bigger shapes as the bars won’t hold together as well –the most reliable is probably the longer forms so, spaghetti/tagliatelle etc.
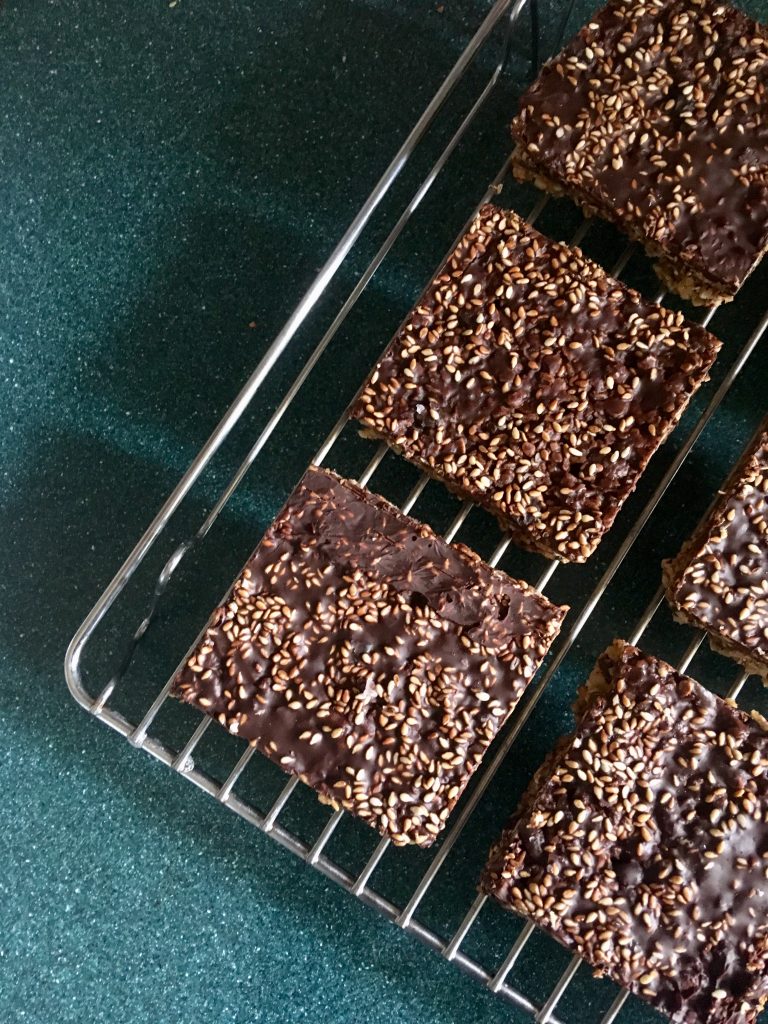
4. The Teatime Treat (the “good” (but not too virtuous) kind) - Time for Tiffin
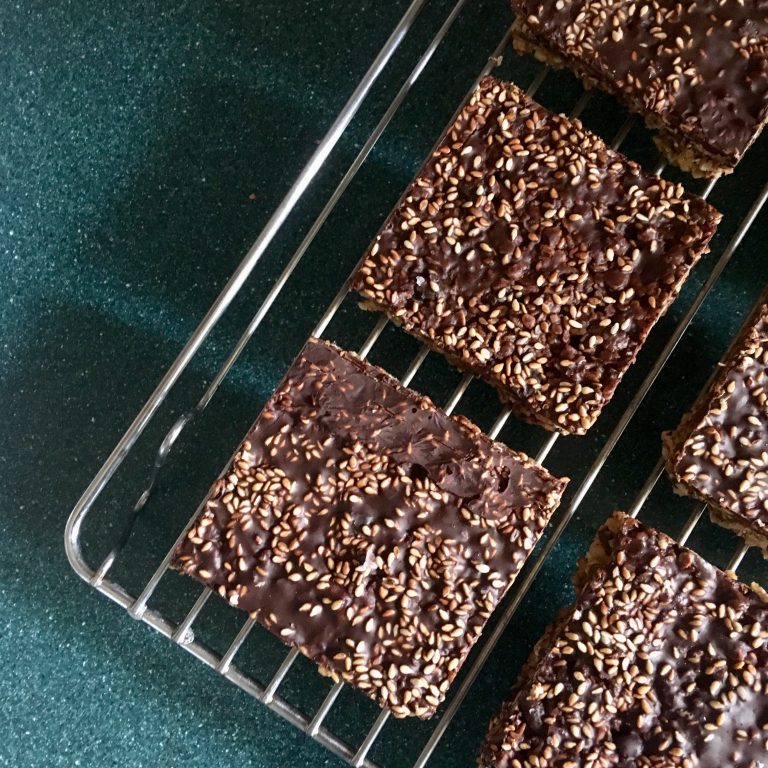
Life’s too short not to eat sweet things occasionally, particularly if you get a decent amount of exercise. However, too many biscuits can result in a bit of a slump about 20 minutes after you’ve eaten them. Whilst I wholly advocate trying out local cakes and sweet treats wherever you happen to be travelling, the following bars have a bit more nutritional value to them which might help give you more fuel in the tank to push on through into the golden hour. Plus the chocolate/coconut topping is simply marvellous and isn’t too thick so these bars will survive on hotter days. The best thing about these bars however is that even though you don’t cook them, the amazing combination of heated oats with tahini and maple syrup creates a gloriously chewy texture that is kind of like a flapjack.
5. A Little Sumthin' Sumthin' - Chocolate and Avocado Truffles
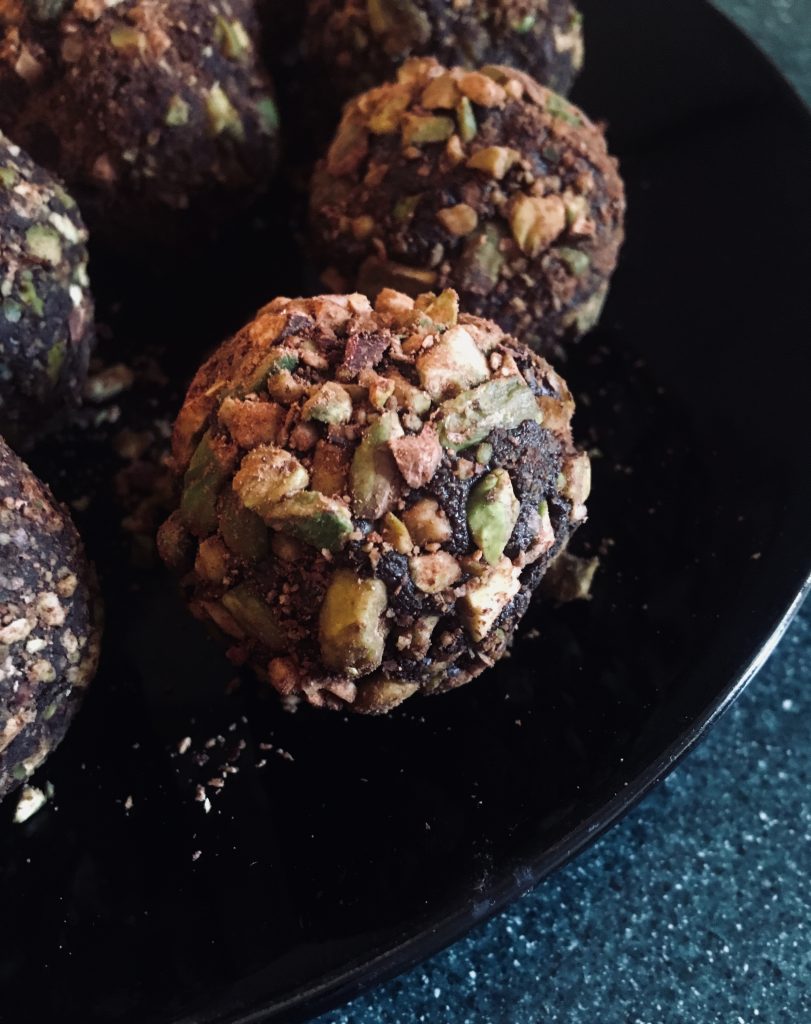
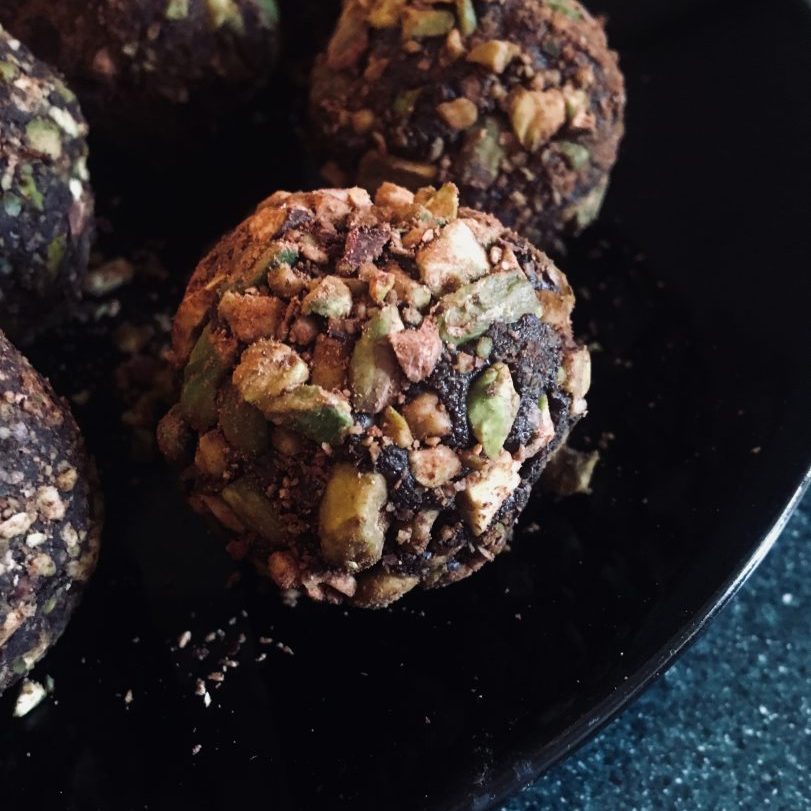
For when you have sent your problem but it’s not quite time for beers. Athough the rush of endorphins when you’ve nailed your project is possibly one of the best feelings in life, there’s nothing wrong with gilding the lily sometimes in the form of a little round ball of sweet delight. These are ersatz truffles – in the sense that they are vegan-friendly.
Disclaimer #1: Avocados aren’t the most sustainability-friendly of foods. You could replace with almond butter (although the bees!) or if you are feeling a little more exotic, coconut and touch of coconut oil – less truffle-y and more dark chocolate Bounty. You need something that has a creamy/buttery consistency as the avocado is standing in for that in this recipe. And it does a marvellous job too.
Disclaimer #2: These are lovely but nothing replaces the taste of a cold beer at the end of a day’s climbing.
Alternative vegetarian/vegan lunch option Beetroot Bars
(makes about 10 -12 – again depends on how you slice them – squares hold their shape better)
I absolutely love beetroot. Not only is it an amazingly rich colour it is super good for you and much-lauded as a source of nutrients that will boost your stamina. I eat it whenever I’ve got a training session later in the day. I’m convinced it makes me climb harder (and that’s half the battle, right – mind over matter).
Kit
- 250g beetroot – roughly 2 large ones
- 250g carrots – roughly 3 med ones
- 1 red onion (finely chopped) (not crucial, it adds zing and bite but raw onion isn’t everyone’s cup of tea)
- 200g oats
- 50g walnuts (chopped)
- 50g pumpkin seeds
- 1 tblsp each of fresh thyme and mint (chopped)
- Tahini – start with a tblsp (beetroot and carrot are quite sweet flavours and tahini adds a nutty background warmth to proceedings but, alternatively, you could use a little almond milk)
- Seasoning (crucial. Don’t forget to season; you can even add a little squeeze of lemon juice too)
- square tin (oiled and lined).
As noted above, the option is there to experiment and add other bits and bobs. I also like a Mediterranean version with olives and courgettes, sun-dried tomatoes, rosemary, oregano etc – get a bit of a garrigue vibe on it (millet works better in this version).
Beta
TIP: First and foremost, control your liquid content as it’s very easy to make these too sloppy. Both beetroot and carrot offer up a fair but of juice. Whilst it’s nice to have a microplane grater, for this recipe that style of finer grater also delivers a lot of juice which results in quite a moist mix. You need to strike the balance here so that you have enough for the oats to soak up and soften but not too much so you can’t pick the bars up. A chunkier grater is the way forward here.
So, into a mixing bowl grate the carrot (boring but necessary) – get that out of the way (but take care if you have dodgy wrists as excessive grating can aggravate wrist injuries!); then grate the beetroot (way easier!).
Add the oats and stir to combine thoroughly.
Finally, the remaining ingredients. If the mixture is too dry (which I doubt it will be) add a touch more tahini or almond milk; if it’s too sloppy then you can add more oats or you can even roll with the meat equivalent recipe above and swap the oats for pasta.
Pop it in the fridge to chill overnight.
When chilled turn the slab out onto a chopping board and slice into bars. Smaller, square-sized ones hold their shape better.