
Penny Scully – Catalunya, Spain
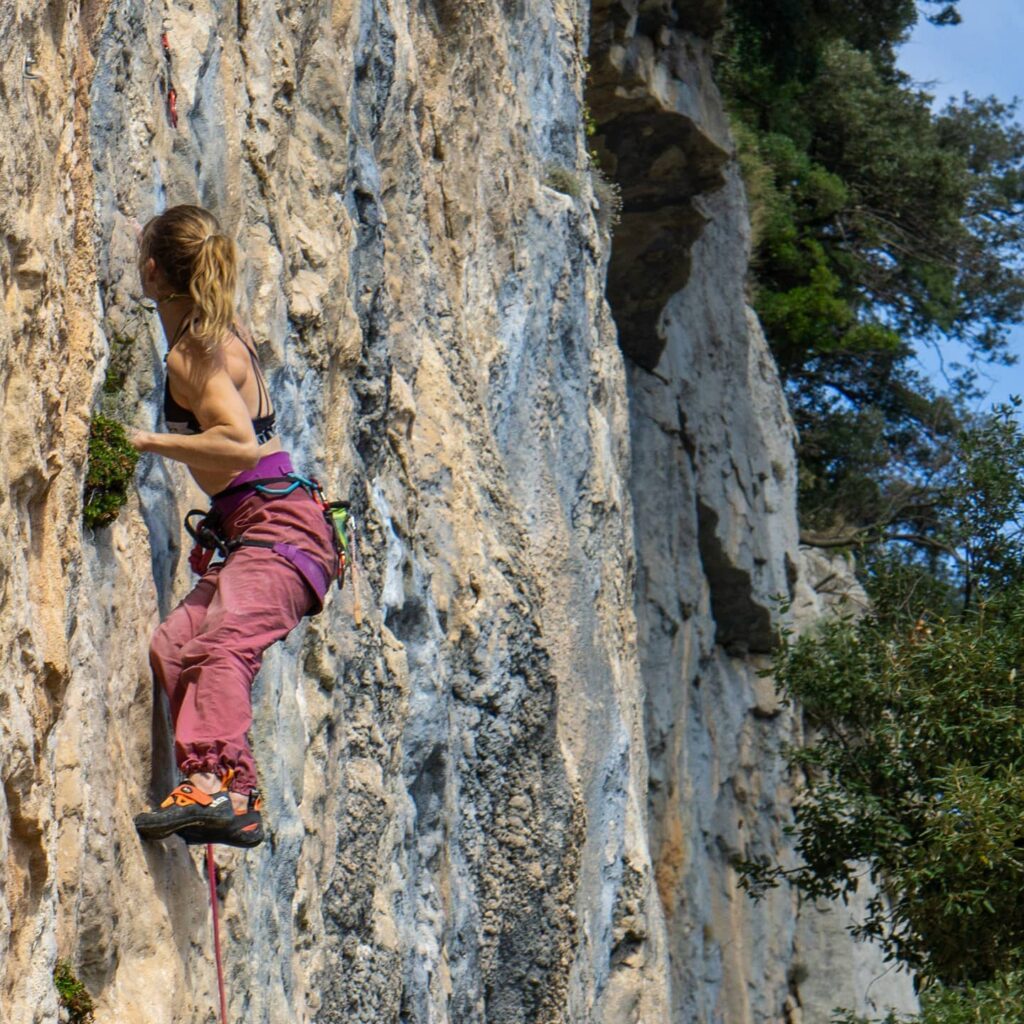
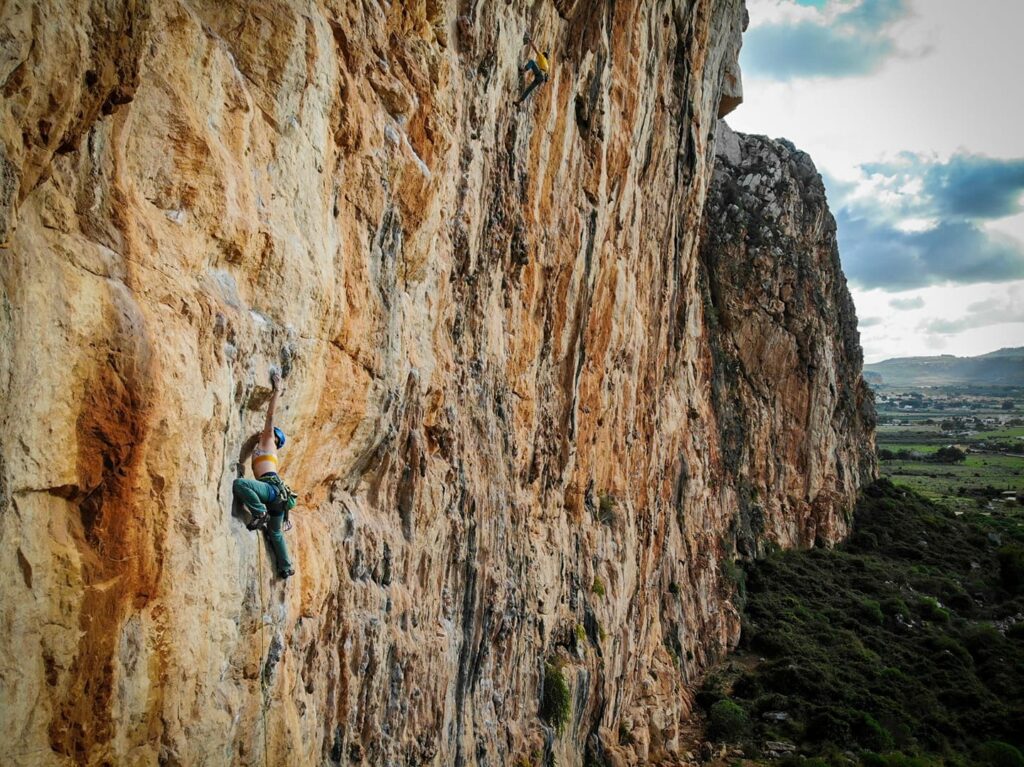
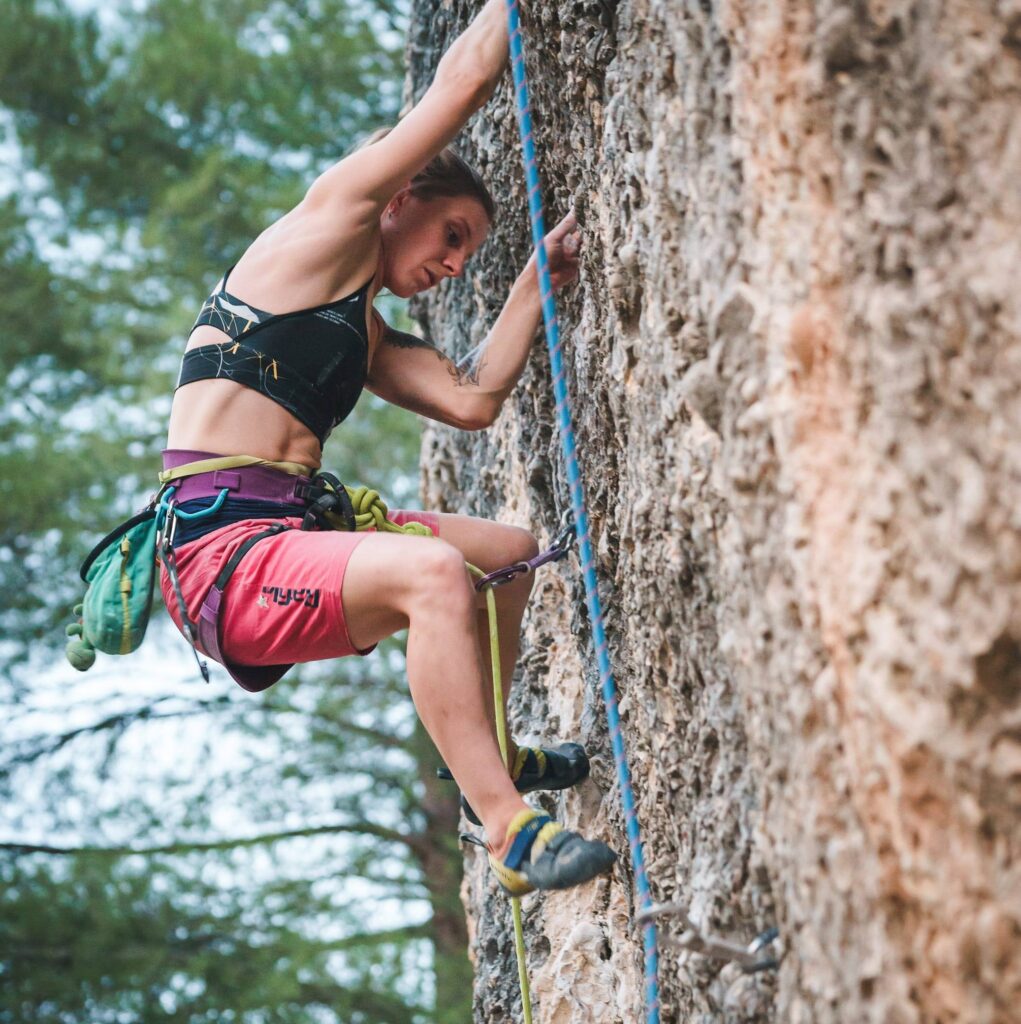
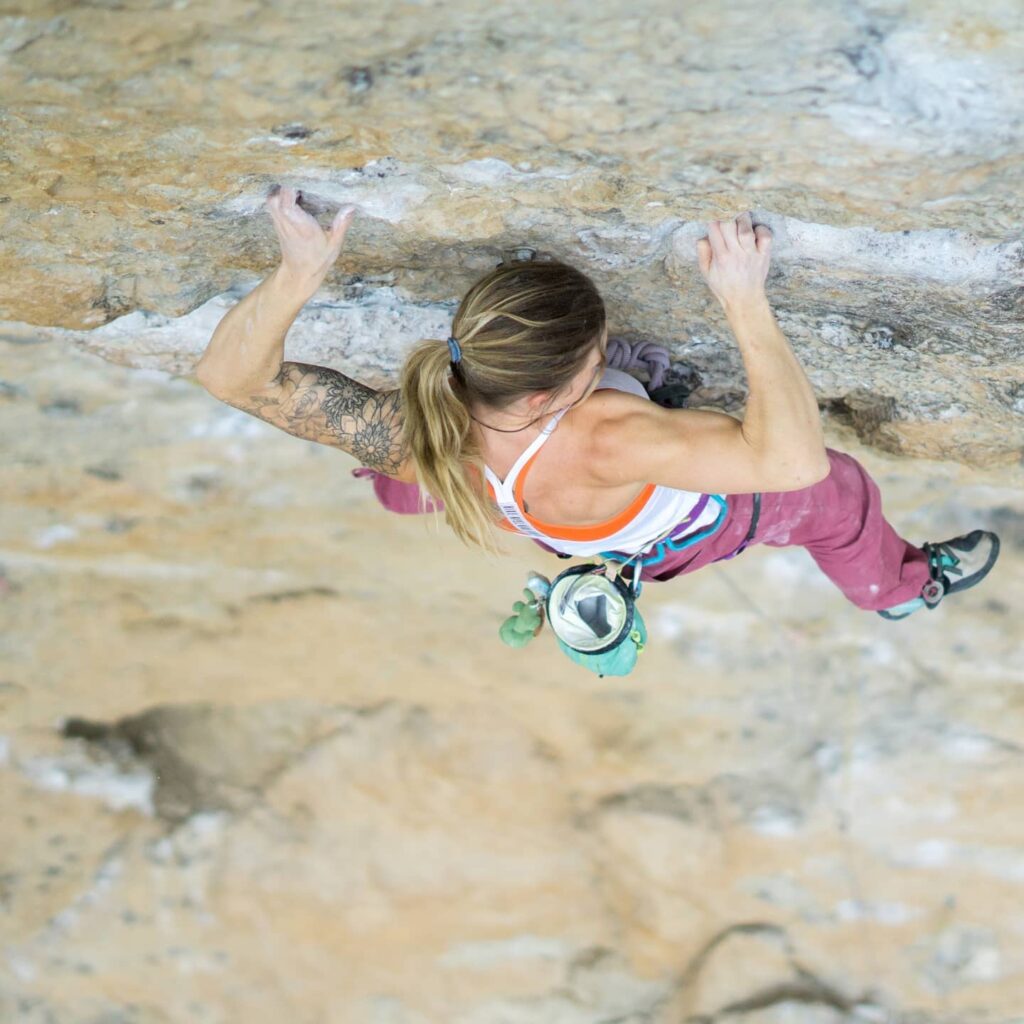
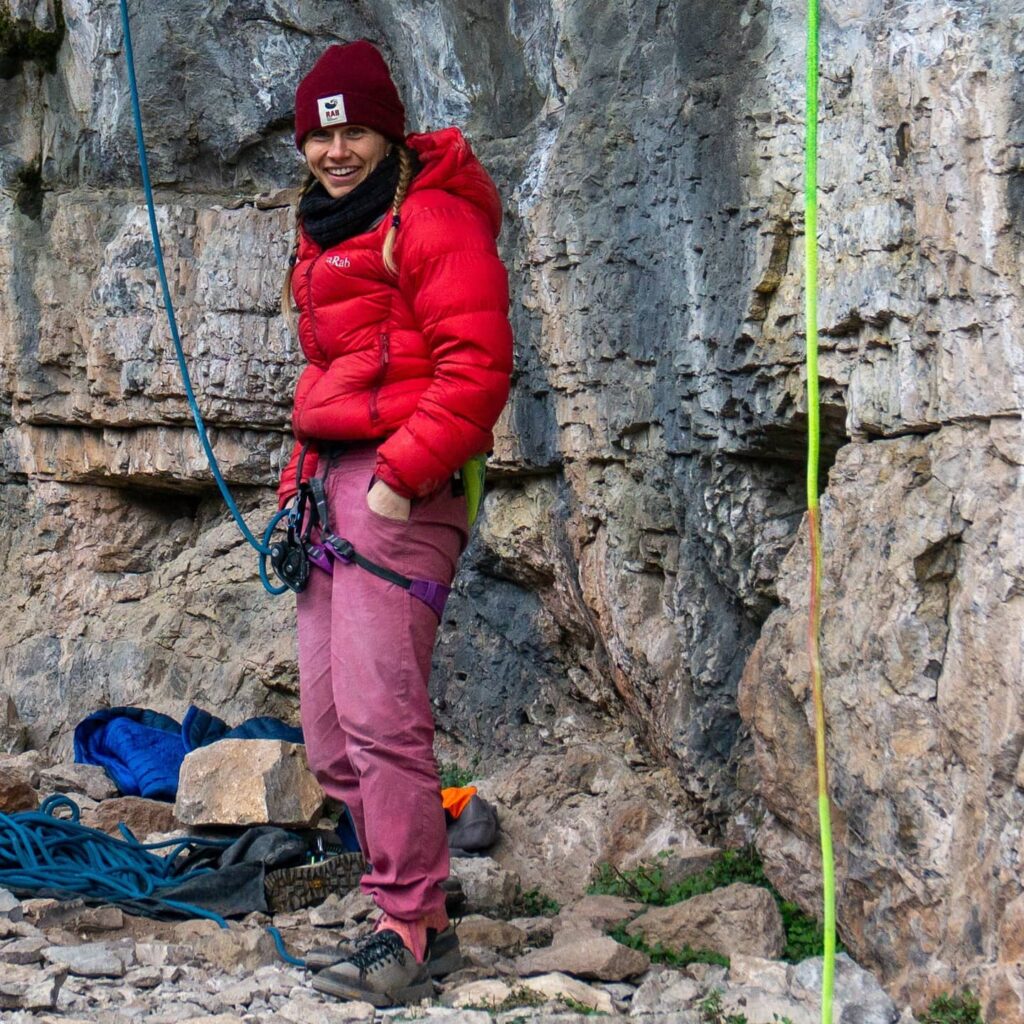
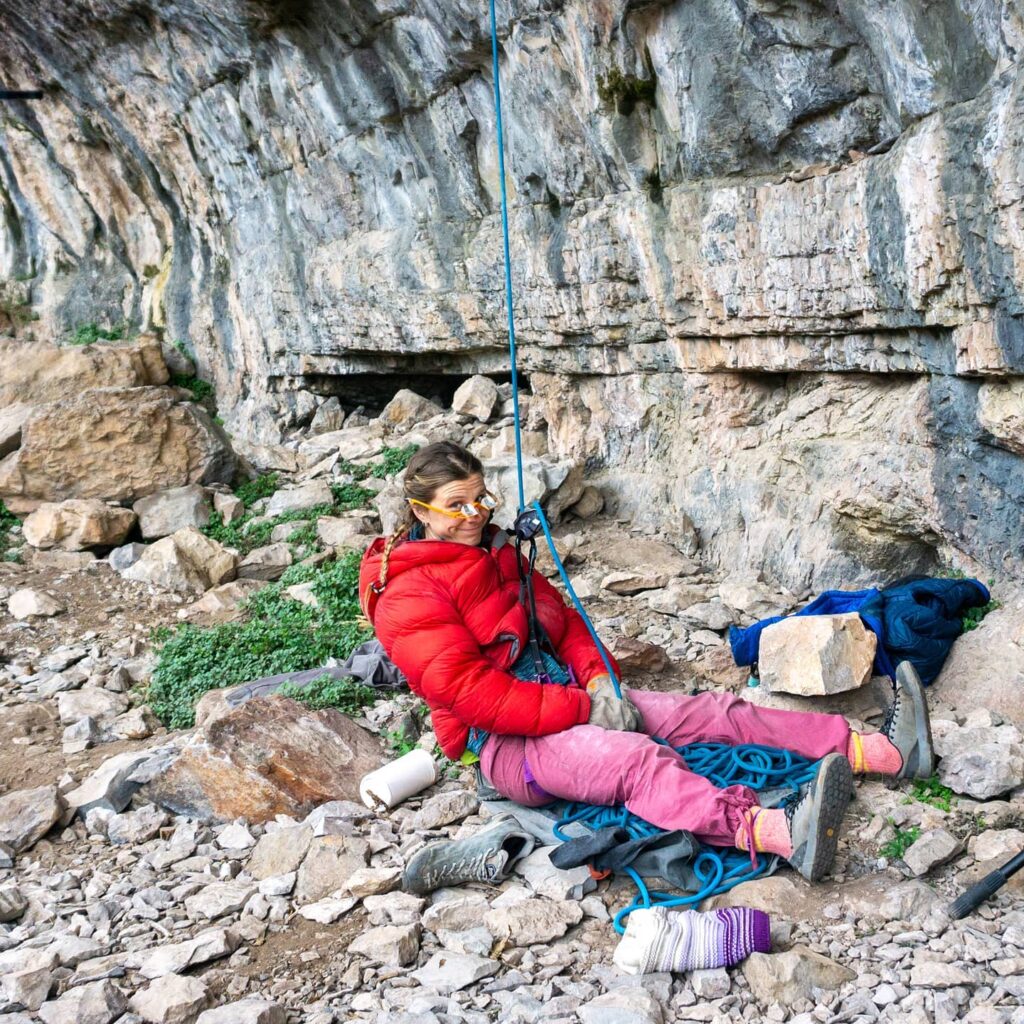
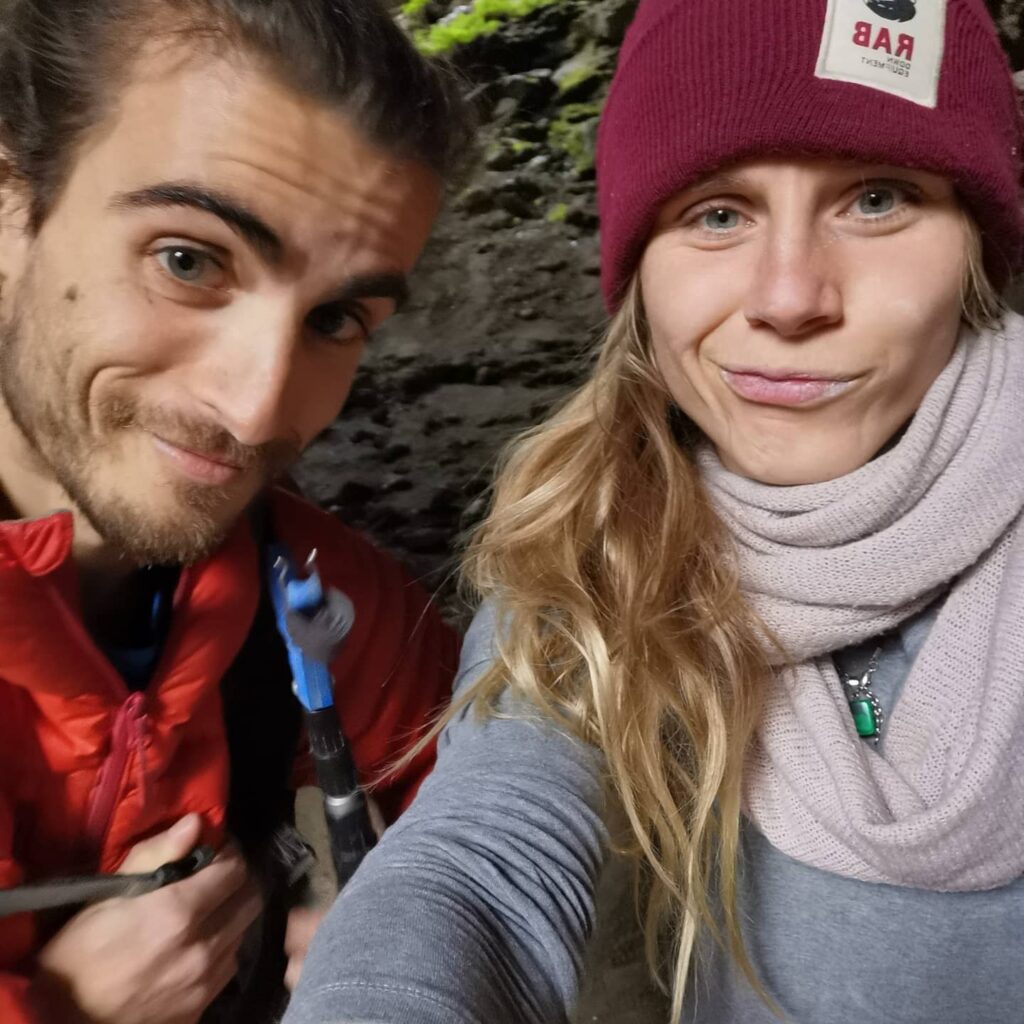
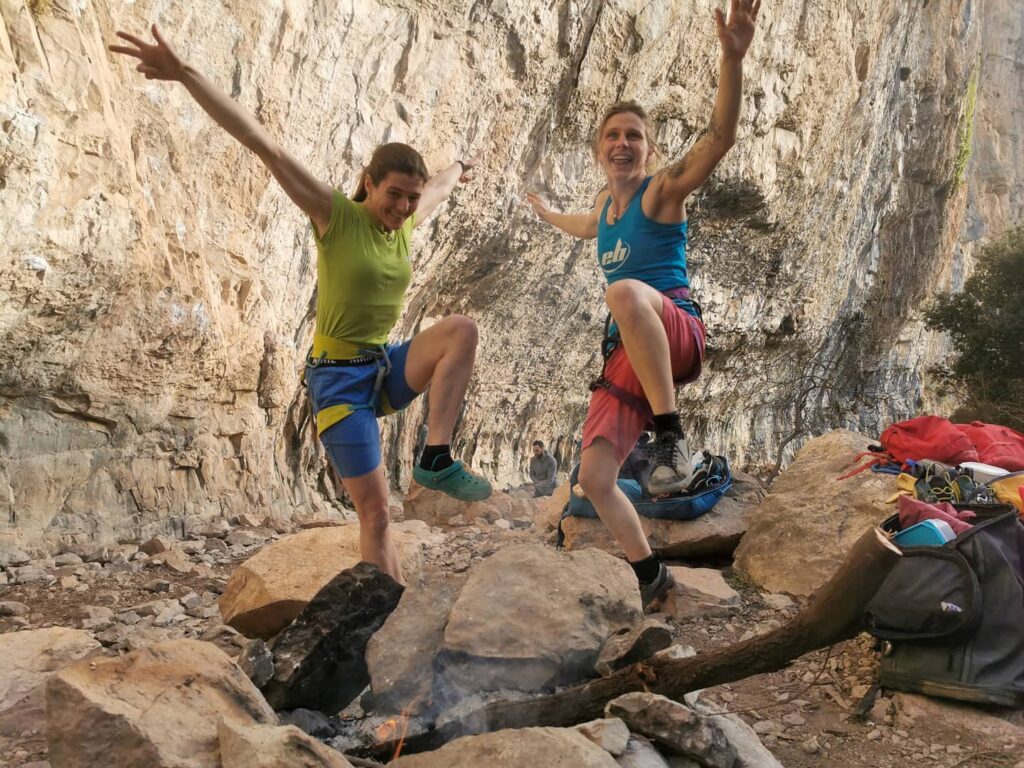
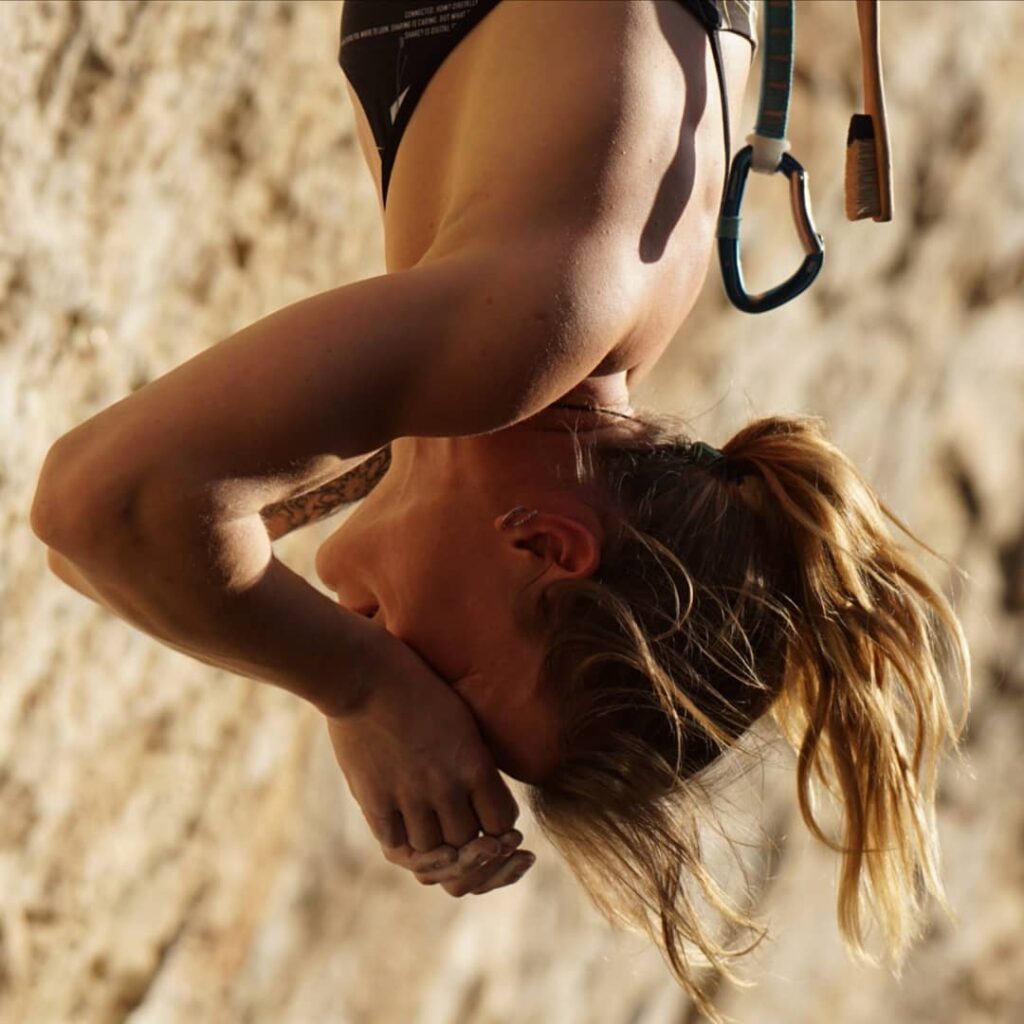
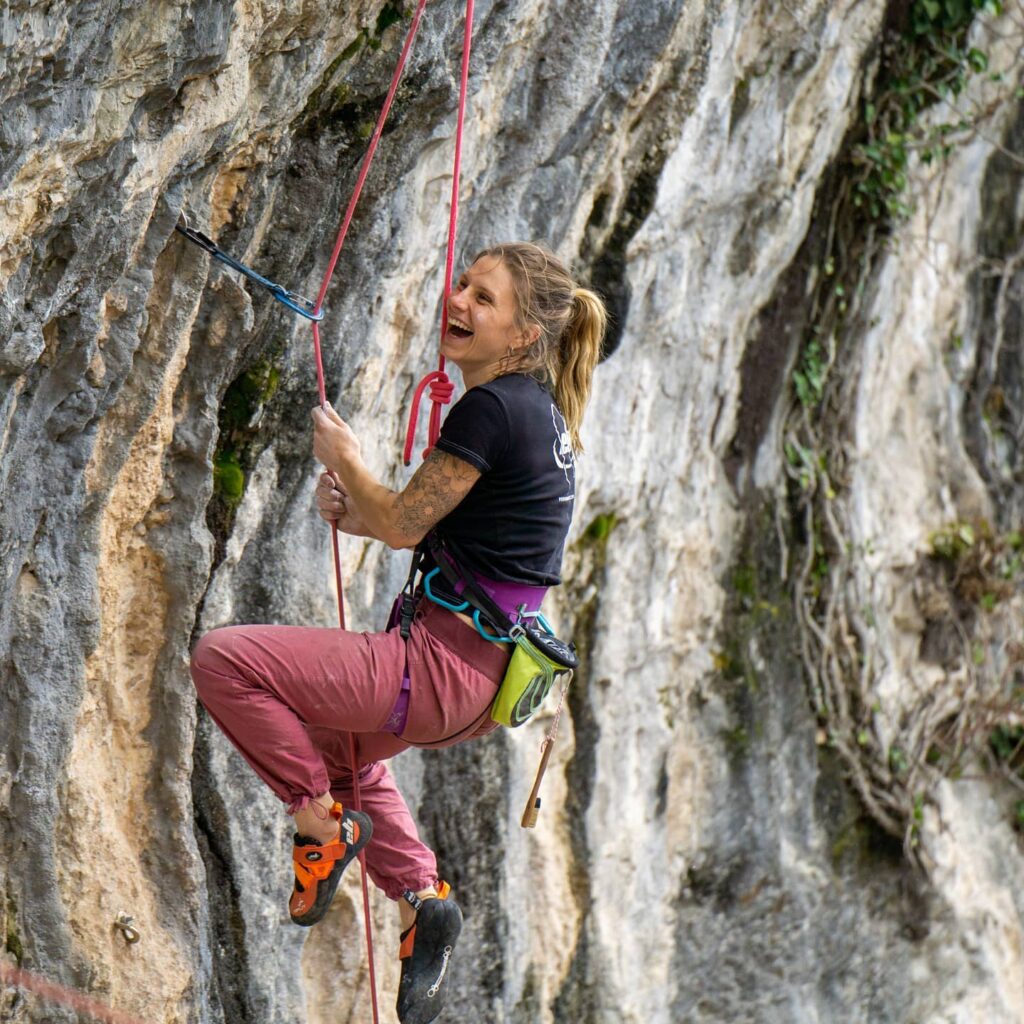
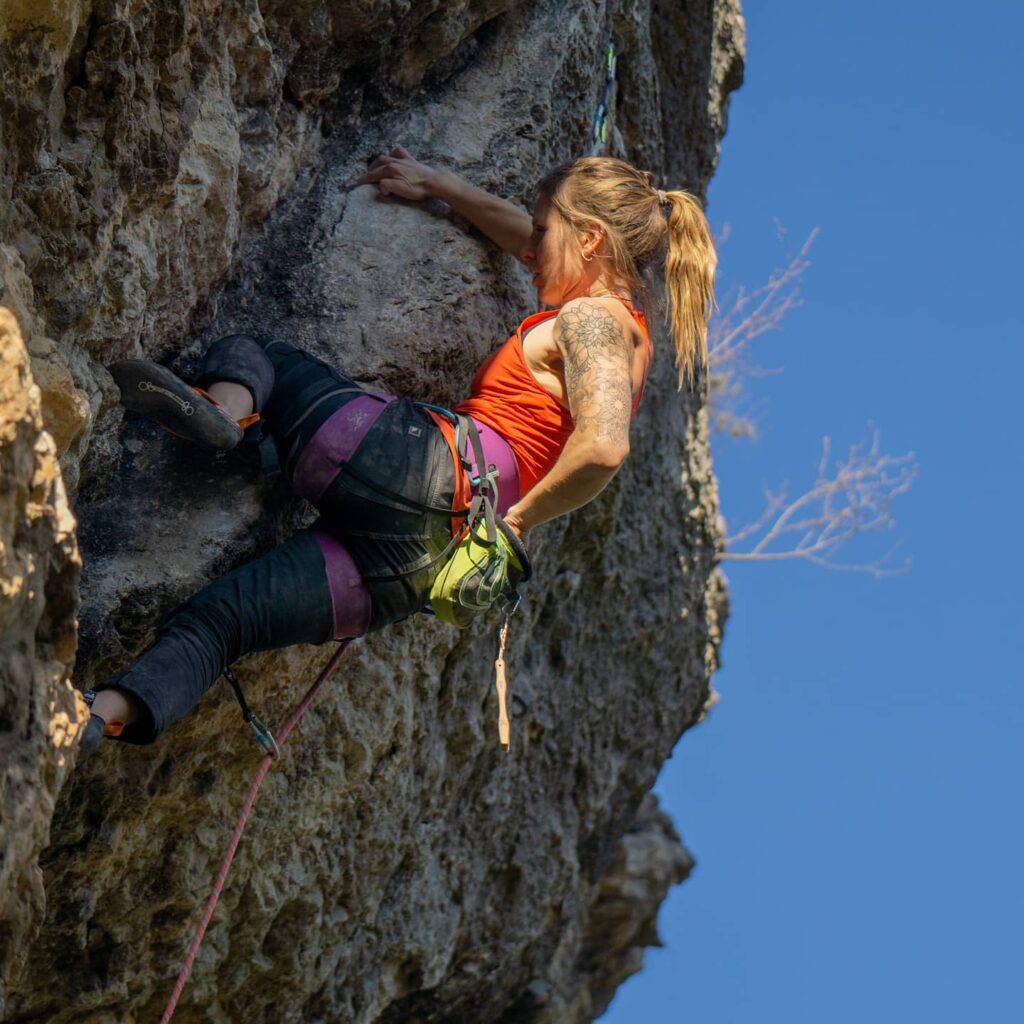
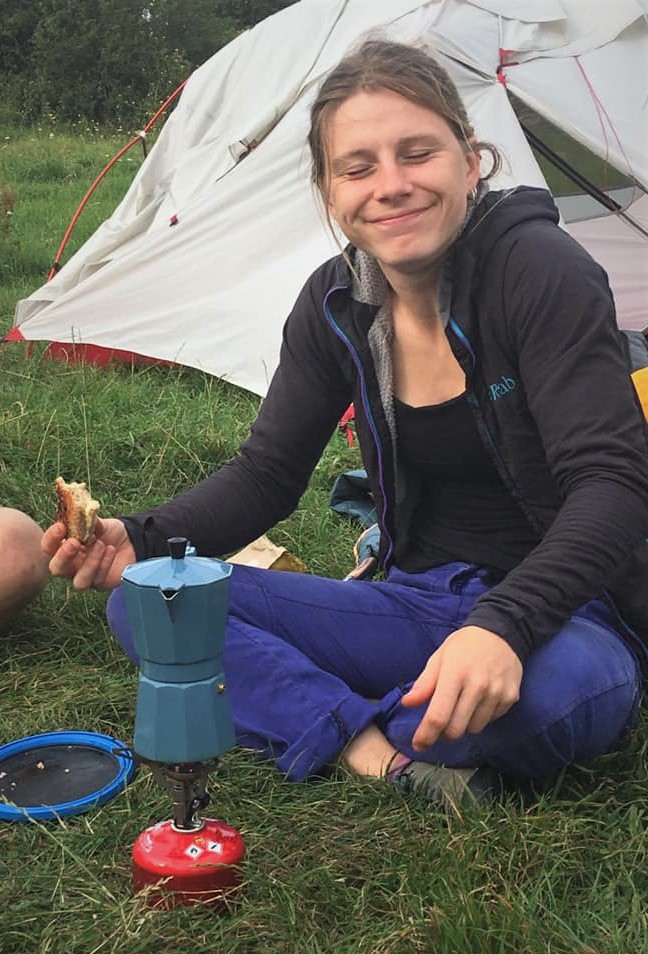
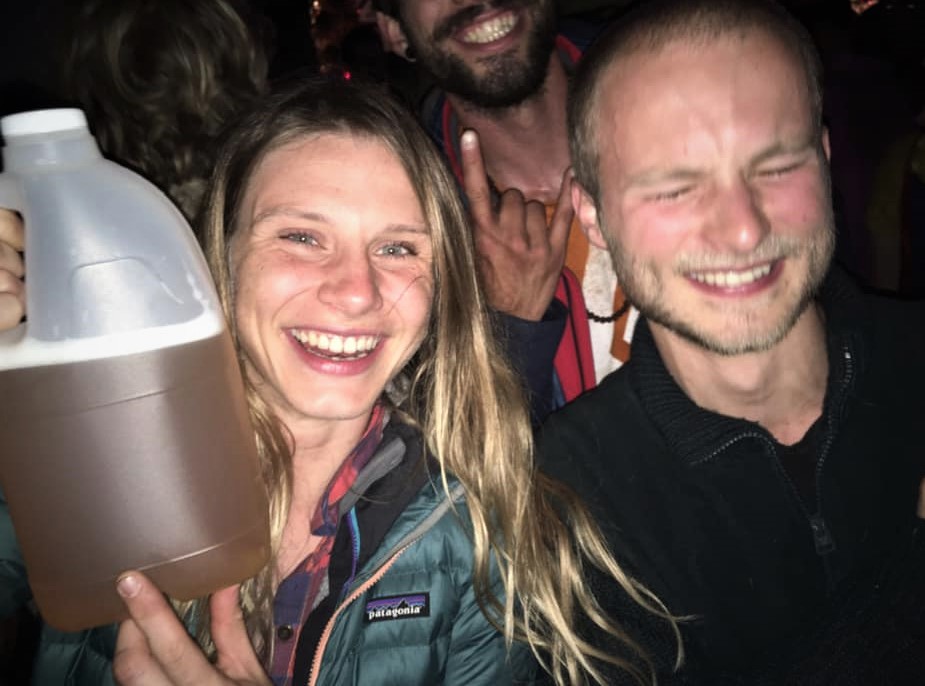
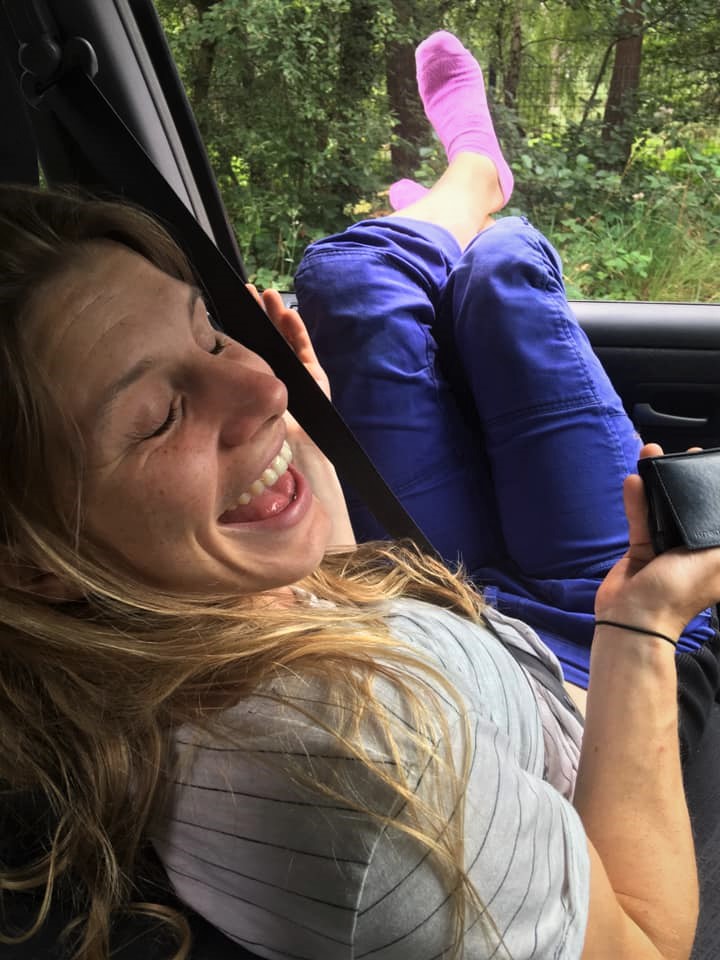
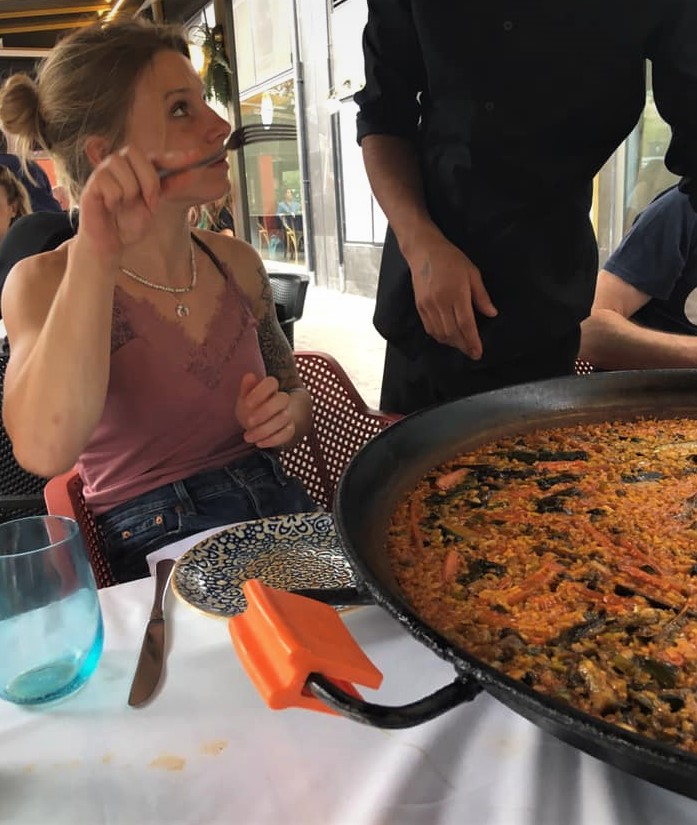
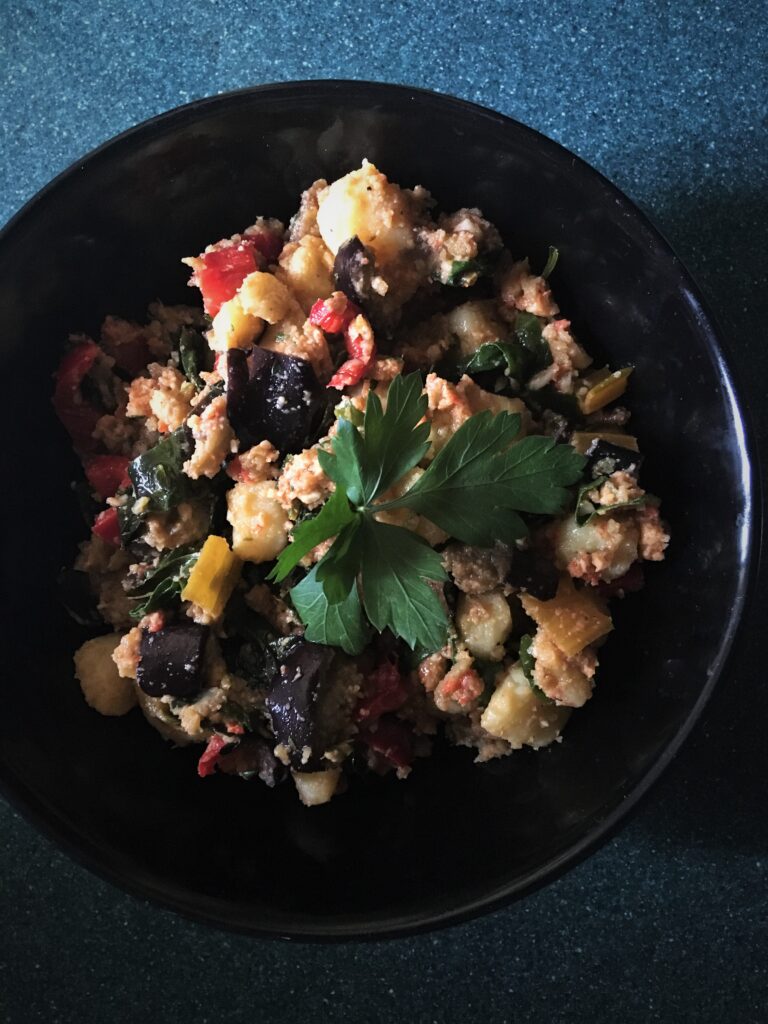
I’ve known Penny for about 3 years. We met at the Castle Climbing Centre, trying a cheeky little V6 on the slabs in fact, and just got chatting, as you do. And you actually do because that’s the climbing vibe whether you are at the wall or a the crag; day-tripping or travelling around in your van; or, indeed, happen to spot a few down-jacketed souls in a bar… striking-up a conversation just seems to be so easy; that’s just one of the lovely things about this sport. And, when the fellow climber is as chatty, personable and friendly as Penny then all the better. Thus friendships are forged.
Now, Penny’s as mad as a box of frogs with probably as much bounce, if not more! She rarely sits still, is always on the go, and is completely and utterly addicted to climbing. There’s keen, then there’s Penny. In fact she loves it so much that about 18 months ago, she moved to Spain. Happily we were able to fit in some trips and hols before she left as her good vibes are always an absolute delight to be around. When I asked Penny to contribute to this series she told me that I had a huge amount to do with the life decisions she has made in the past couple of years (like the wise old owl I am) but, as she explains she actually moved to (be with her partner) become a wad ?:
“I’m now situated permanently in Catalunya… it’s a typical love story, of girl meets boy and after a hefty attempt at long distance, girl follows her heart to where she was meant to be. I mean have you seen the place it’s covered in climb-able rock, who wouldn’t drop it all? I’m lucky enough that my entrepreneurial job allows me not only to have made this move but also to fit in as much climbing as I can. It’s been a whirlwind couple of years but I feel very blessed to be able to share what I love with people I love in a place I have fallen in love with”.
I’ve seen Penny blossom into a very strong climber. She made a move to live the dream and her climbing has gone from strength to strength (even if she did spend most of the first half of her move locked-down for several months in a small flat). This is in no small part due to her total and utter dedication and love for this sport but she has also ended up in arguably one of Spain’s top areas when it comes to the quality of rock and the quality of routes and just the sheer amount of both across the region. We’re talking Siruana, Oliana, Terradets and of course the pocket-lovers paradise that is Margalef. Catalyuna offers world-class limestone as well as some pretty funky looking conglomerate spots like Monserrat. It’s also just pretty fliippin’ beautiful out there really. Plus you have Barcelona, Tarragona and Girona to hang out in as well as all manner of other nooks and crannies to explore, so much sunny outside to delight in, wine, beer, amazing food… blah blah blah. Yeah, I guess she made an ok choice!
Along with fellow ex-pat climber, Prudence Morgan-Wood, Penny has also recently begun to channel her love for the sport and its community into an online venture “climbersreality“:
“Climbers Reality is a community-driven blog space. We strive to inspire, educate and cut the crap by producing content for climbers of all kinds, no matter how experienced. We are currently pulling together articles of our own and from around this close-knit community and we have plans to expand so watch this space…”
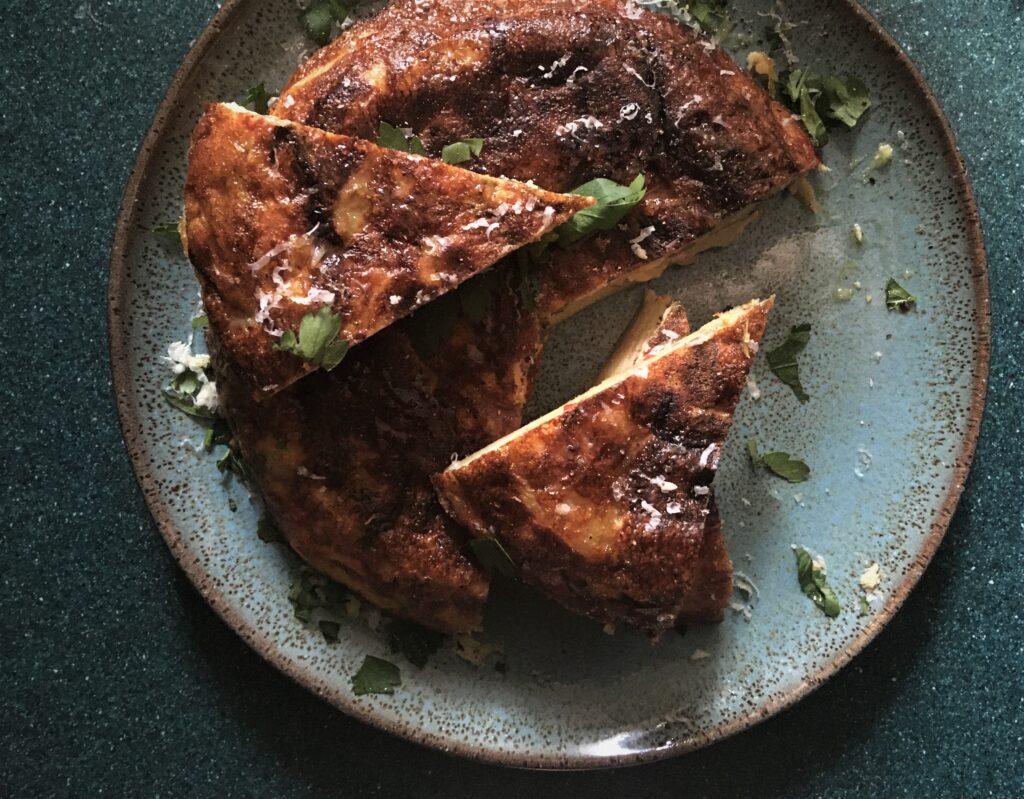
Just to complete the transformation into fully-fledged climber, Penny bought her first van last year so that “weekend warrior-ing is a little easier on the old bones” (she is 27 ?) but this also means that she can be more adventurous with her “on the road” cooking too which also makes her happy as she loves getting creative in the kitchen. A move to Spain means that, not only are you spoilt for choice when it comes to rock, but, of course, Spain also delivers when it comes to delicious ingredients. When I asked Penny to choose a van-friendly dish that climbers should try when they head out to this part of Spain, she picked, tortilla:
“You can’t come to Spain without trying a Spanish tortilla. Now, I’ll be honest, I was doubtful of the immense love for this dish when I arrived – I mean, egg and potato didn’t seem that special. But little by little or as we say here “poc a poc” I fell in love. So in love in fact that on one vacation in Teverga the north of Spain, I quite literally ate tortilla every night. The great thing about it is that there are so many types you can make and it’s so simple and easy!
And the one ingredient you can’t come here and not try…
“I would choose… not an ingredient, as such, but a beautiful sauce. Anyone and EVERYONE has to try romesco. It’s like a sauce and a dip and a dressing all rolled into one. It’s a bit weird in the sense it has bread in it I guess but it is completely amazing and I’m pretty sure it’s more versatile than just a dip – although I could eat it by the spoonful. Plus it’s an awesome colour”.
I love Penny’s choices. Not only are they are both really easy and fairly speedy to make but they are also both pretty versatile. I’ve rolled with one tortilla option as tortilla is something of a blank canvas for leftovers (unless you are a purest!), then I’ve gone all-out with the romesco and a few other bits and pieces to amp-up the Spanish vibes. There’s wonderful produce to be had out there and these recipes are a great way to make the most of it. Also, there’s always a few herbs (especially thyme/rosemary) knocking about on a walk in/out so that’s a nice thing to drop into your dishes – little bit of simple foraging!
Most of these dishes will work well for leftovers/crag snacks too so there’s a lot of eating for your euro here.
Tortilla with...
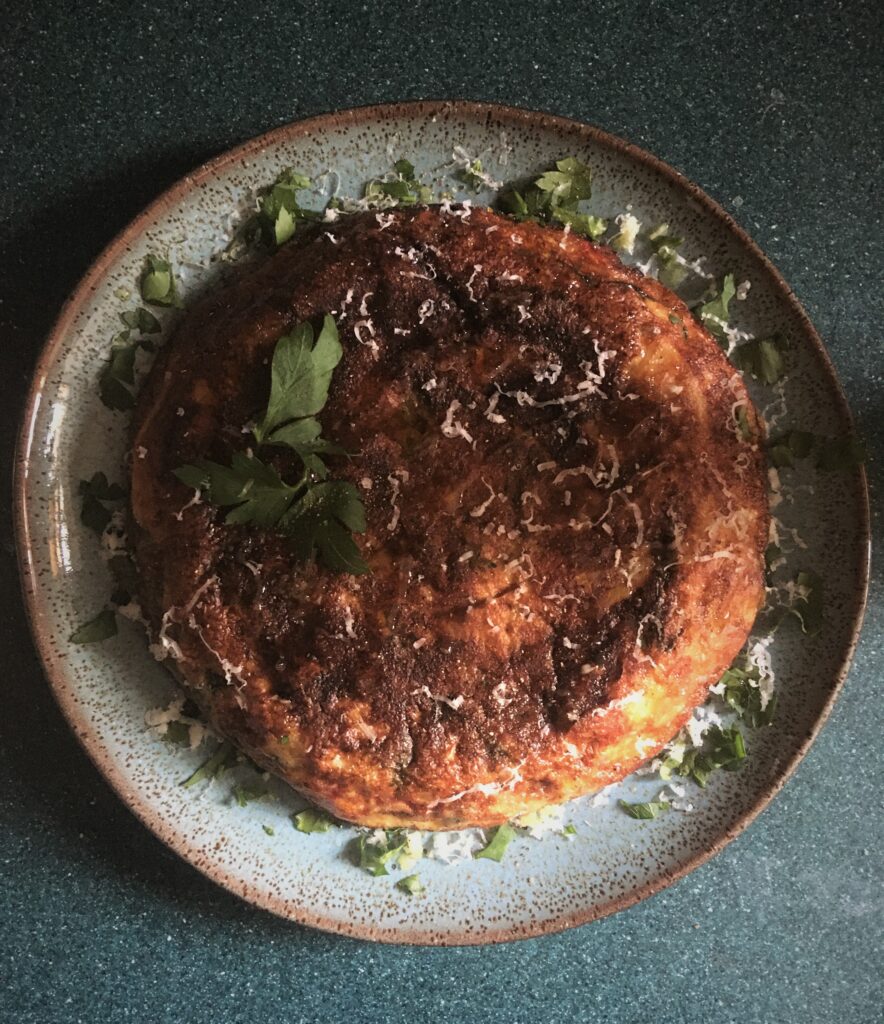
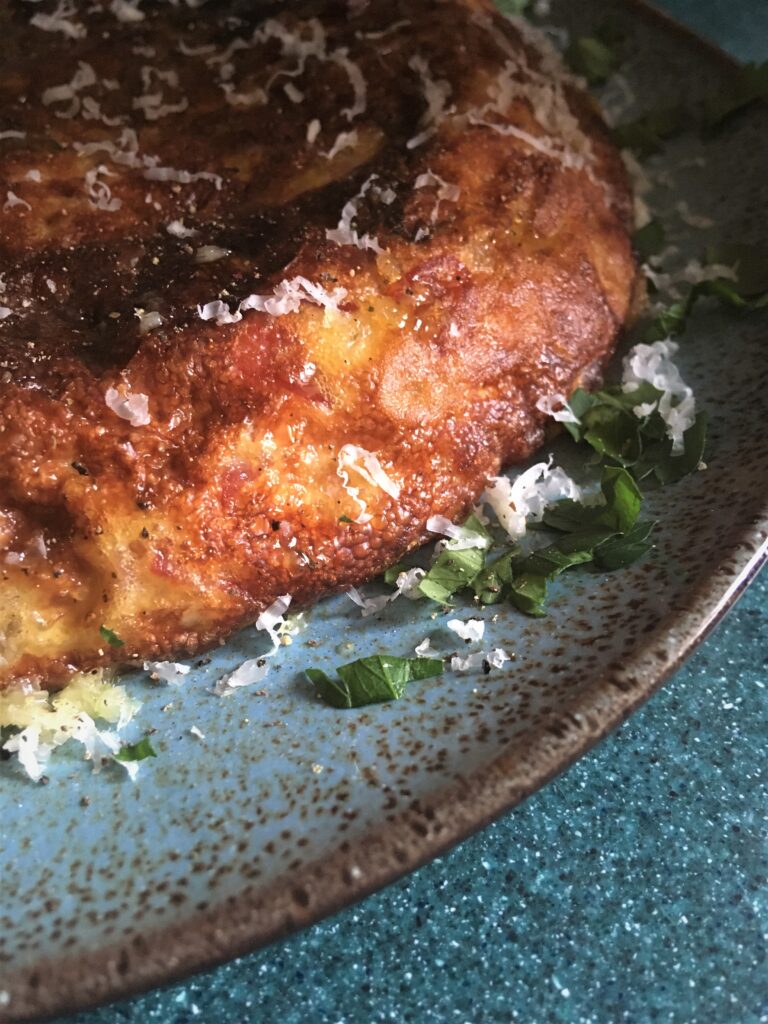
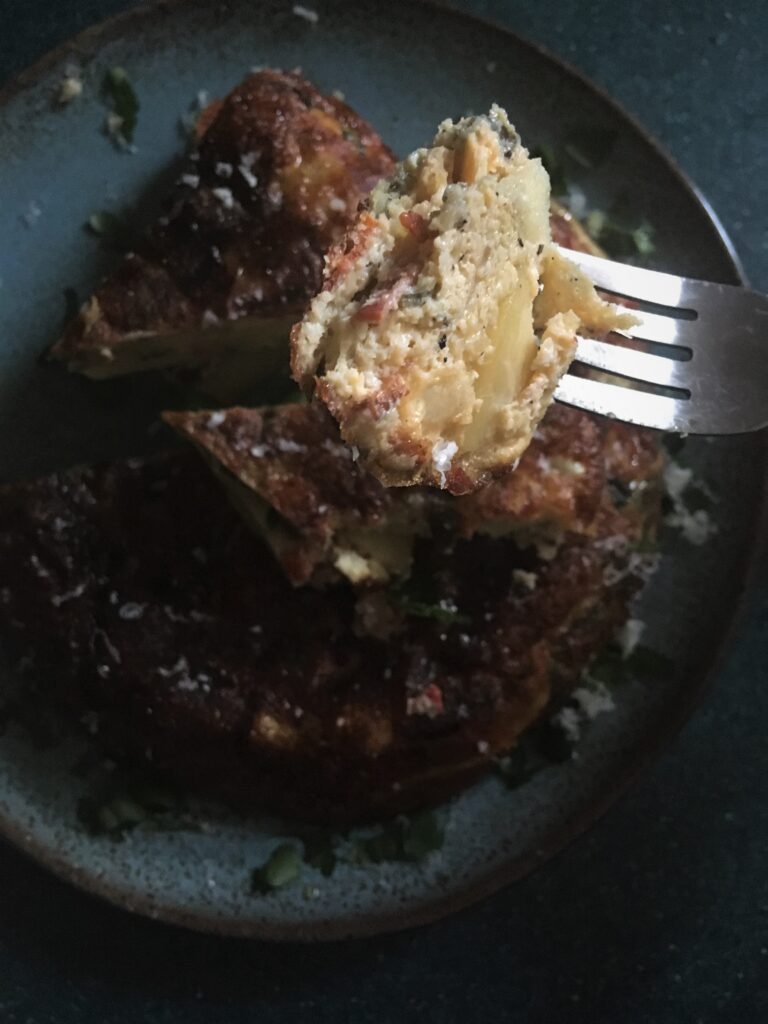
So yes, the tortilla. It’s an institution. That being said, a traditional Spanish tortilla is essentially just egg, potato and onion (and sometimes not even onion). Some folk don’t like messing with tradition others are happy to throw caution to the wind. I think there’s room for both. On this occasion, I’ve lent into the wind a little and added a few Spanish bits and bobs. Tortilla is a bit of a blank canvas in that sense and is a good way to use up any leftovers. It’s also delicious hot or cold so it makes a good crag snack (or indeed, if you slice it in a fancy way, a canapé… or, “vanapé” or, rather, some tasty tapas).
It’s a dense frittata that you cut into wedges but the difference is essentially in the cooking of the potatoes – they aren’t par-boiled, diced and chucked in with a load of egg, they are carefully sliced and braised in oil. That’s maybe the tricky part (apart from turning the thing over) – getting the potato texture right – softened and tender not fried and crisp.
I will say that unless you have a very sharp knife and enjoy thinly slicing potatoes (being very mindful of your fingers – you’ll need those on your routes), and you are going to be in Spain for a bit, get a mandoline (although, again, just mind the tips of your fingers – most of them have guards).
Spanish tortilla is also a breakfast dish so if you cook it the night before, it would work well as something to munch on if you have an alpine start!
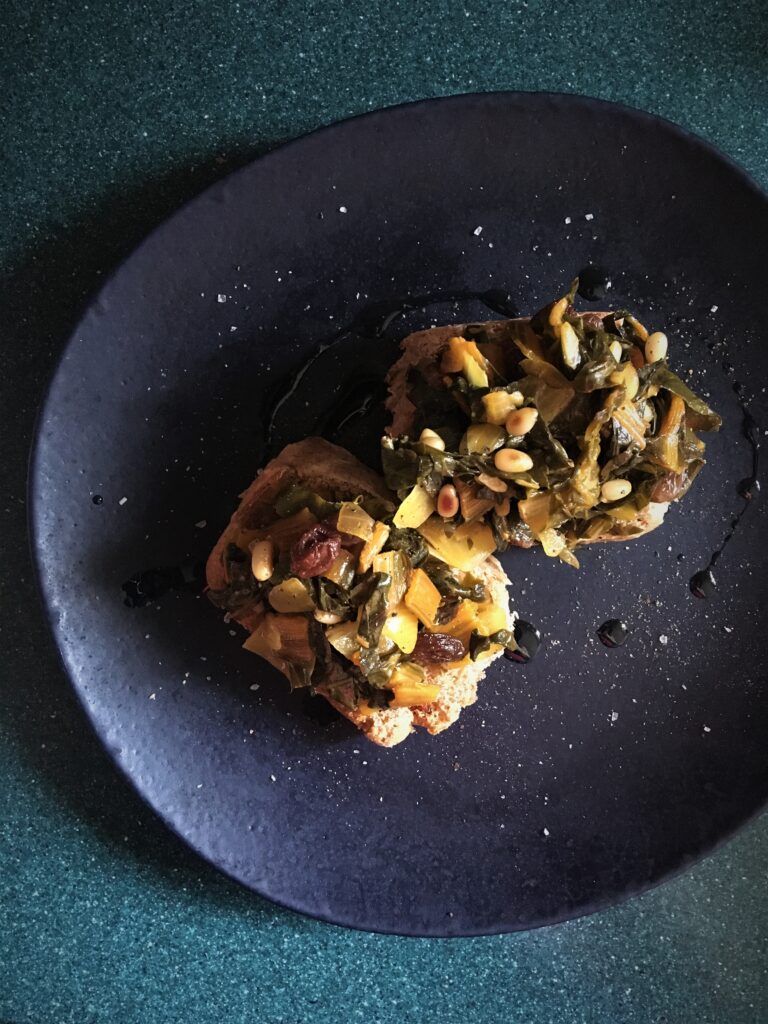
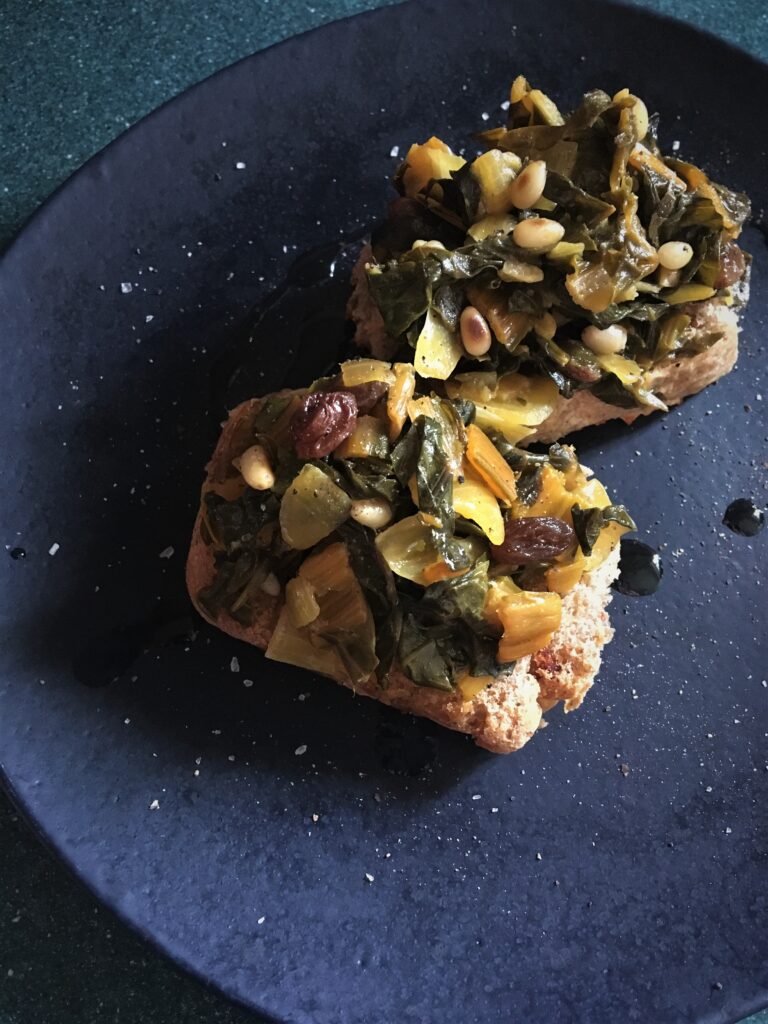
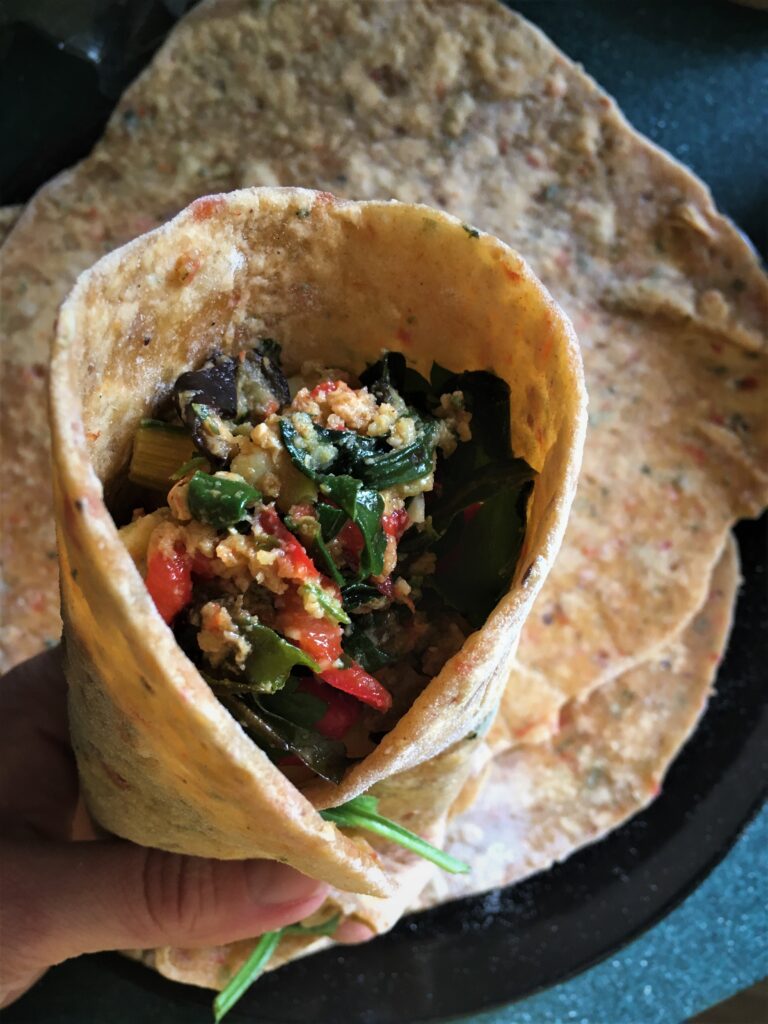
Chard, pine nuts and raisins
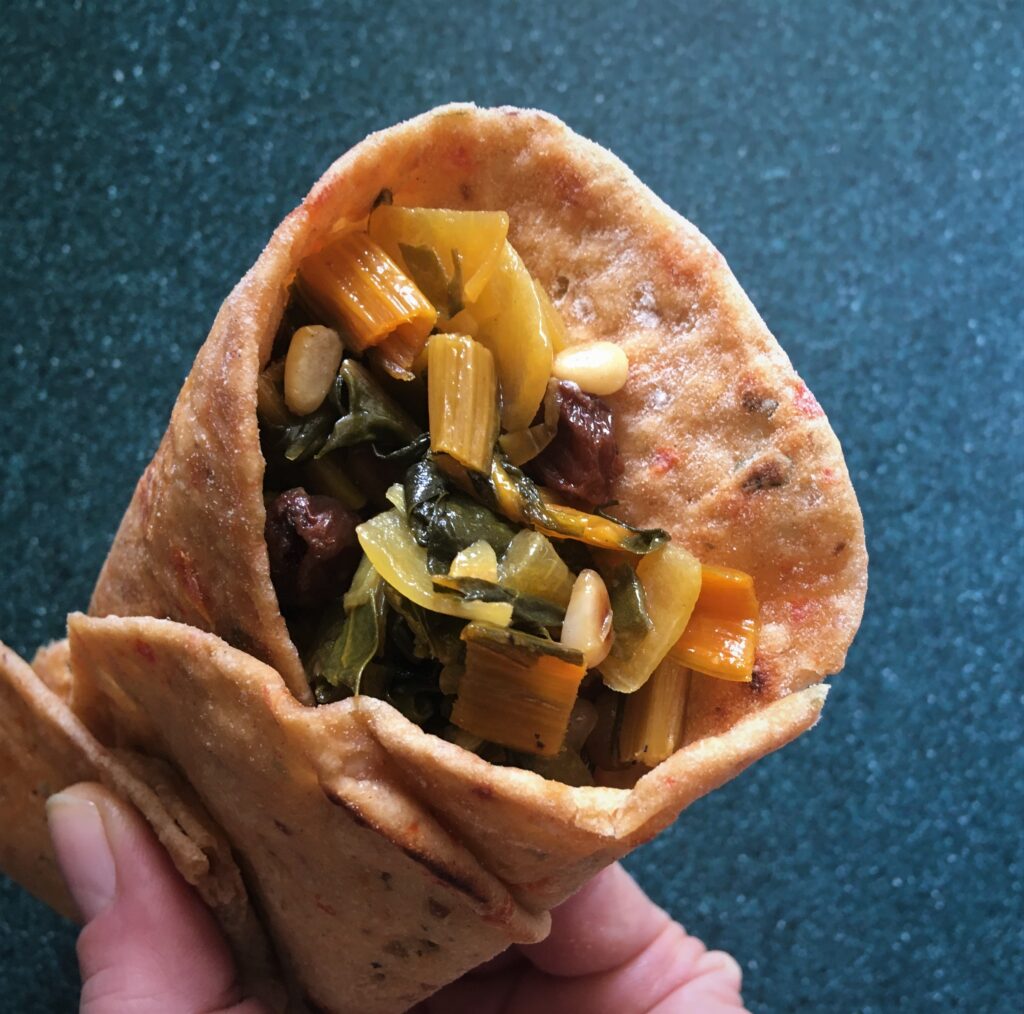
This is a local veg side (with spinach or chard) and as I am a super fan of chard and of the whole agrodolce (agridulce in this instance) vibe, I thought I would add it in because it is delicious. It’s super simple, super quick and super tasty. Plus you can put any leftovers in a wrap (which is good news for Penny – see Q&A below – she lives off them!)
(I also added a little romesco sauce – see below- and an avocado to my chard wrap which was a winner).
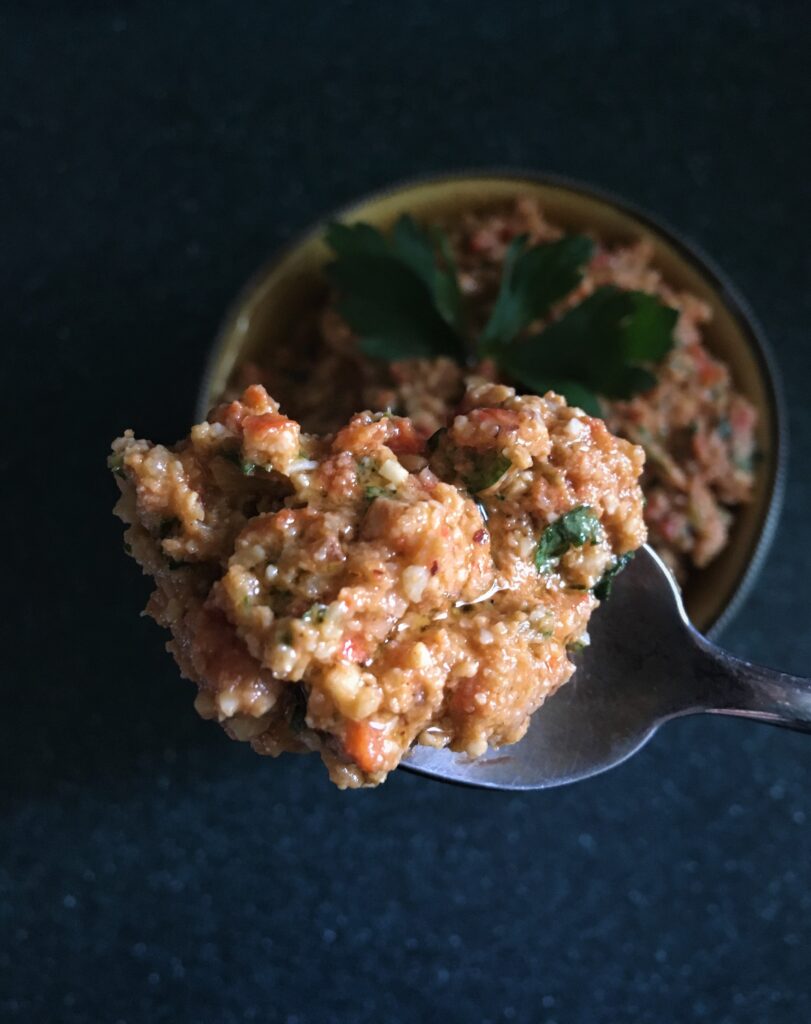
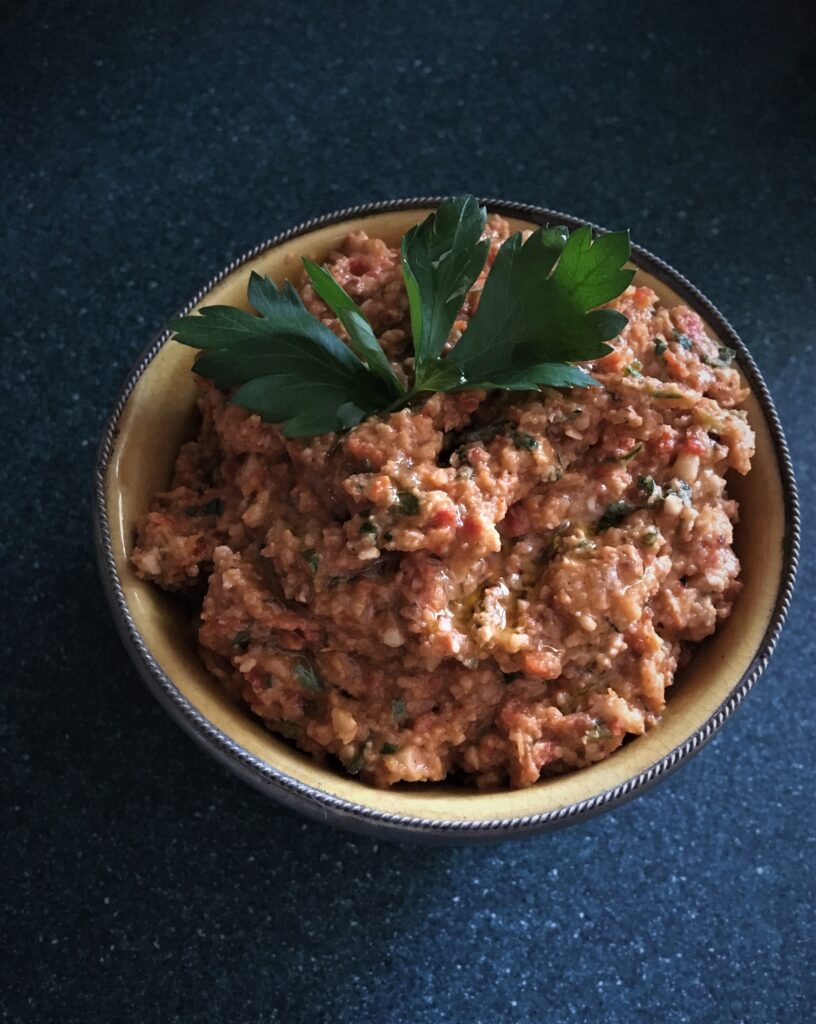
Romesco sauce
Penny is absolutely bang-on the money – this is indeed a beautiful sauce. I’m completely in love with it. It’s a classic Catalan dish, if nothing else because of all the almond and hazlenut groves that cover the southern hillsides and, when roasted are just one of the wonderful ingredients that make up romesco sauce. It contains so many goooood things.
The traditional version is made with ñoras peppers but I didn’t have access to these so I supplanted it with piquillo peppers and a little paprika (sorry purists!) – this also means that you don’t have to soak anything. There are various recipes out there and the one below is a combination of a few. It gives you a lot of bang for your buck after which, there then follows a variety “what to do with romesco sauce” recipes that I’ve devised (because you will have a lot of it…even if you do just want to stick your head in the bowl or mainline it as it’s so incredibly delicious).
It’s customary in Spain (and especially in Valls near Tarragona) to dip barbecued calçots (a kind of spring onion) into romesco sauce – a particular favourite in early Spring. I’ve not included a recipe for this process as it’s pretty simple! You could tempura the spring onions but I also reneged on including this as a van-friendly thing to do because disposing of a pan of oil in a little kitchen isn’t the funnest thing to do. Arguably you can re-use oil at least once but the contra argument is that this is not good for you. So, here we are – no tempura (but if you did do it, I recommend using beer or soda water) – but lots of other tasty ideas.
Another traditional accompaniment or rather, dish is baked cod with romesco. That’s pretty easy to achieve (although I guess in a van less so unless you have an oven/stovetop oven) – it would work fried too then with the sauce heated up. Anyway, I’ve not included it here but it is a delicious combo.
It’s also great with poached eggs (or even scrambled, or baked eggs for that matter).
Finally, it’s so delicious it makes a pretty bangin’ dip to be honest.
So – how do you make this wonder sauce…
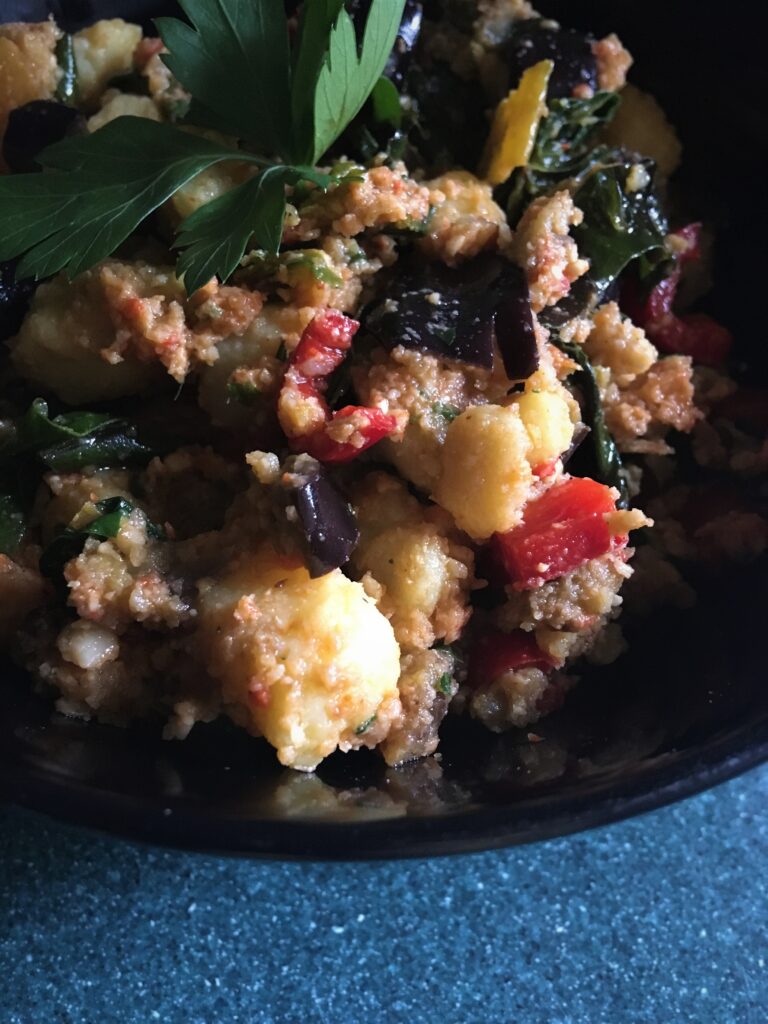
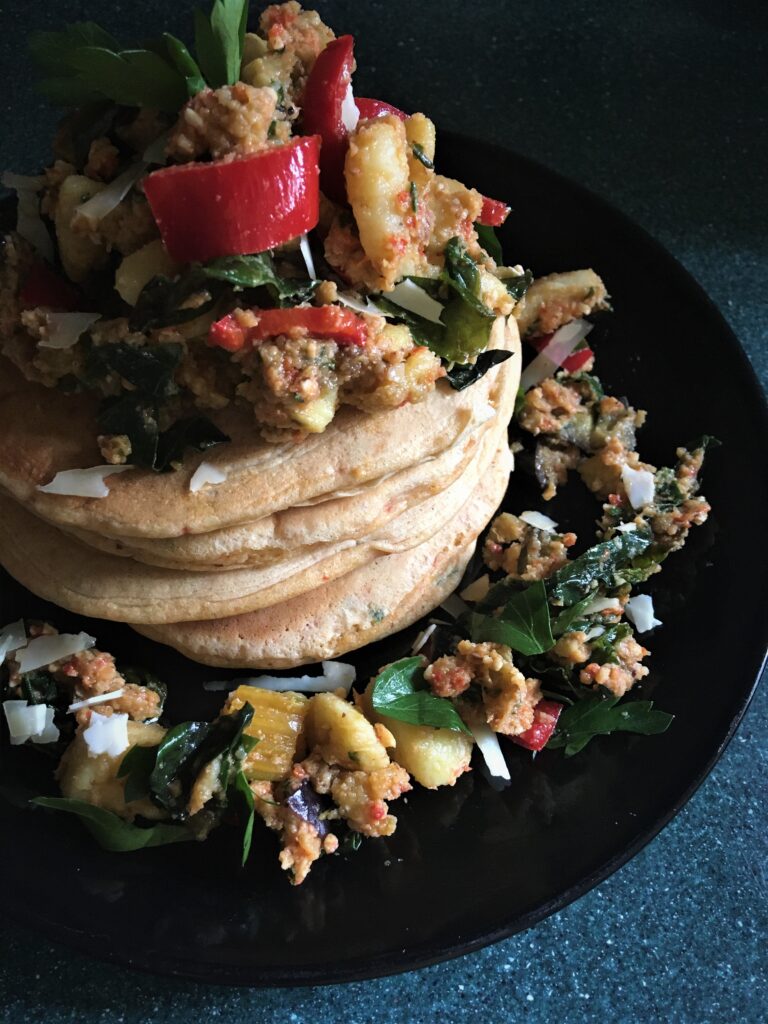
Romesco patatas bravas
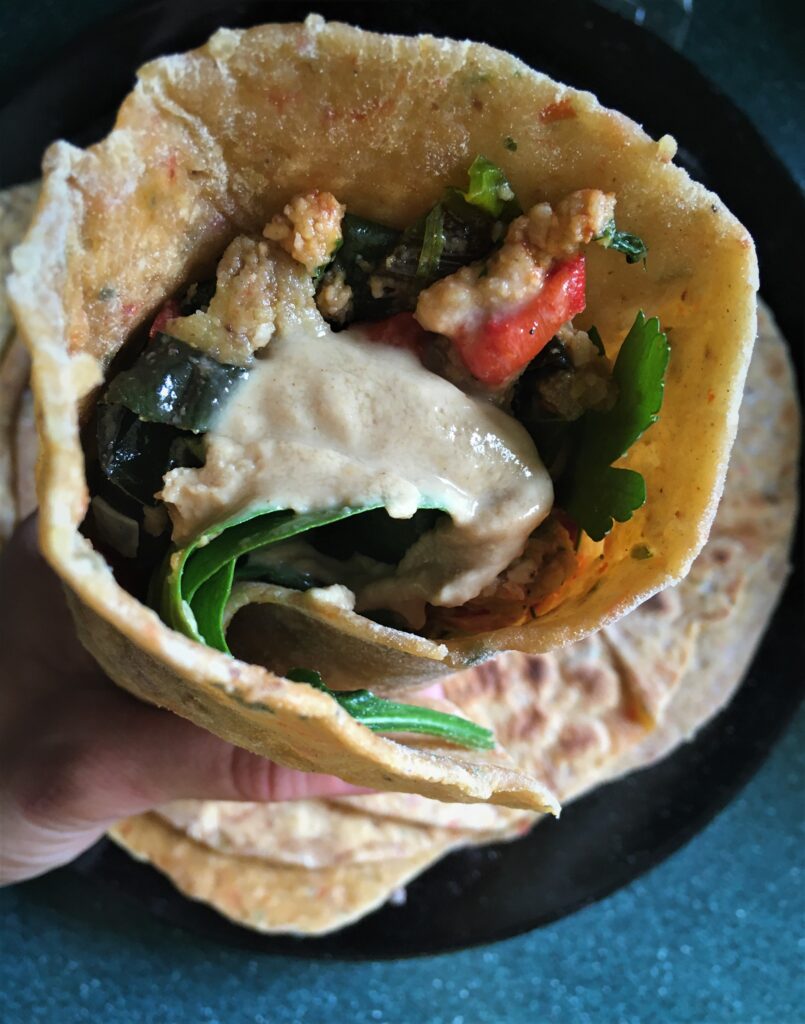
Why not – this is a nice way to use it up. I ventured a little further afield here and added a few other bits so it’s not strictly a patatas bravas but then it isn’t anyway as it’s a different sauce. And, you can put any leftovers in a wrap, which, again, is good news for Penny. I put some in a wrap and added a little tahini on the top which was marvellous.
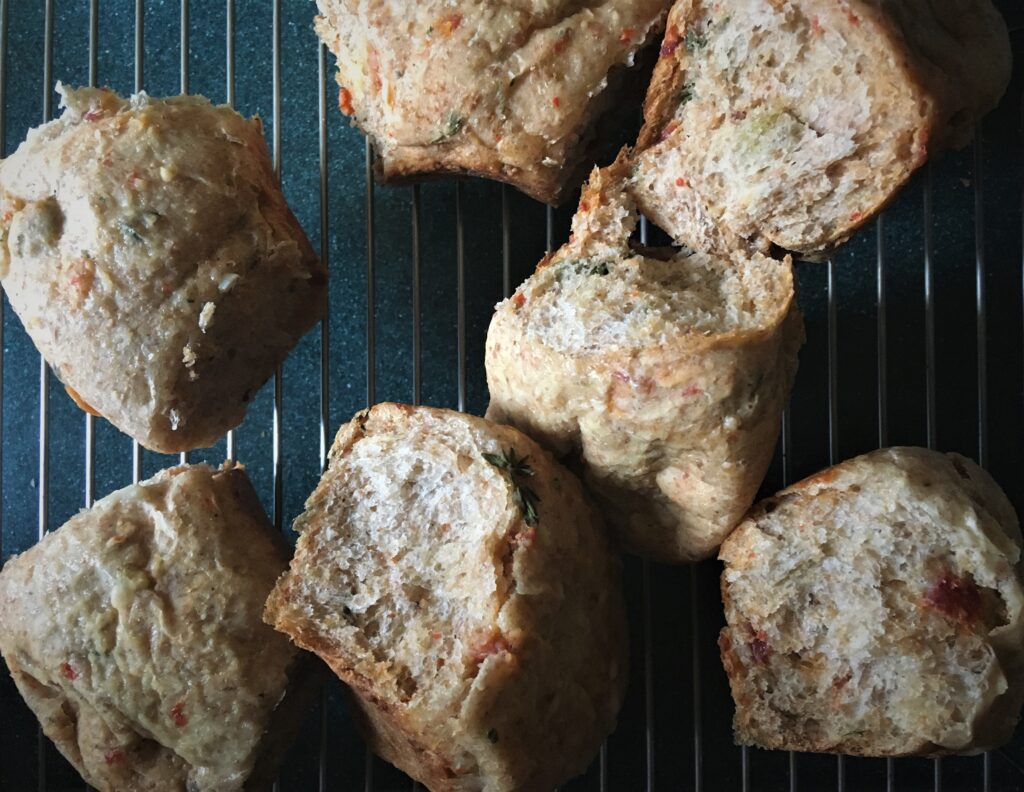
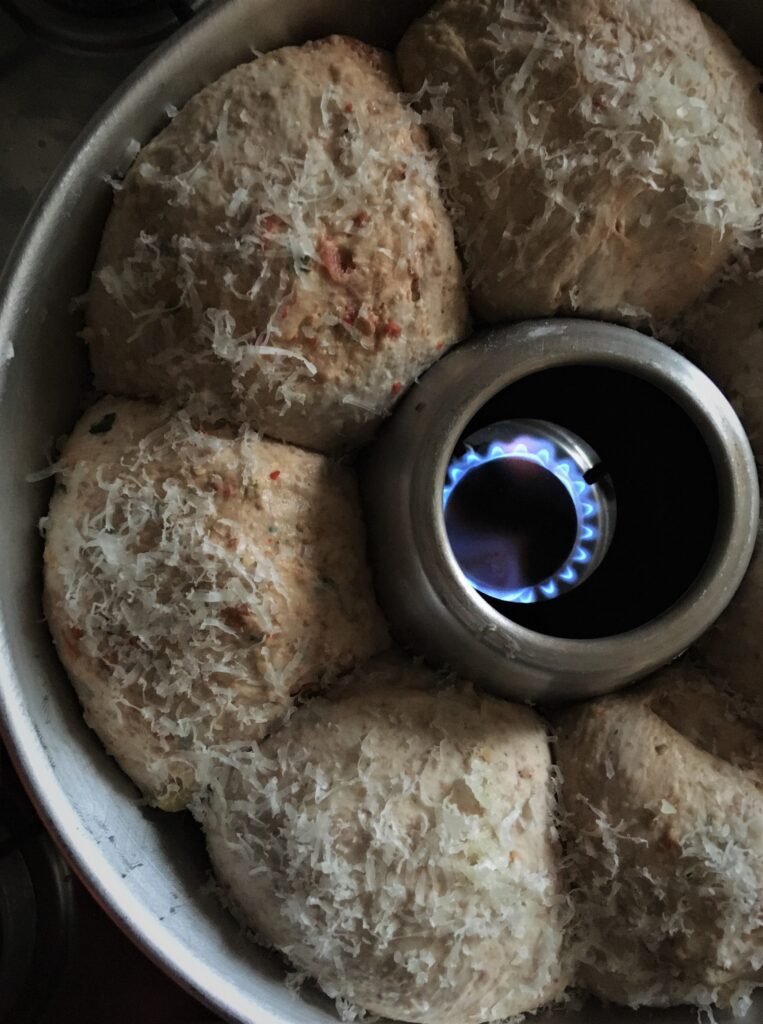
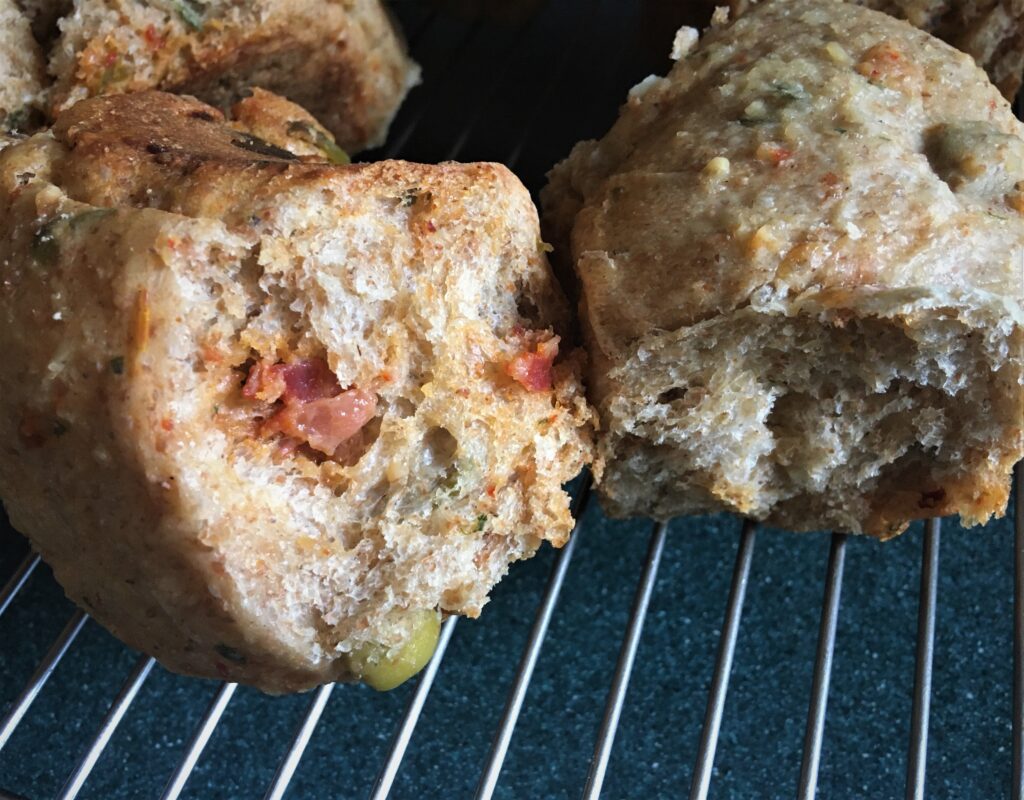
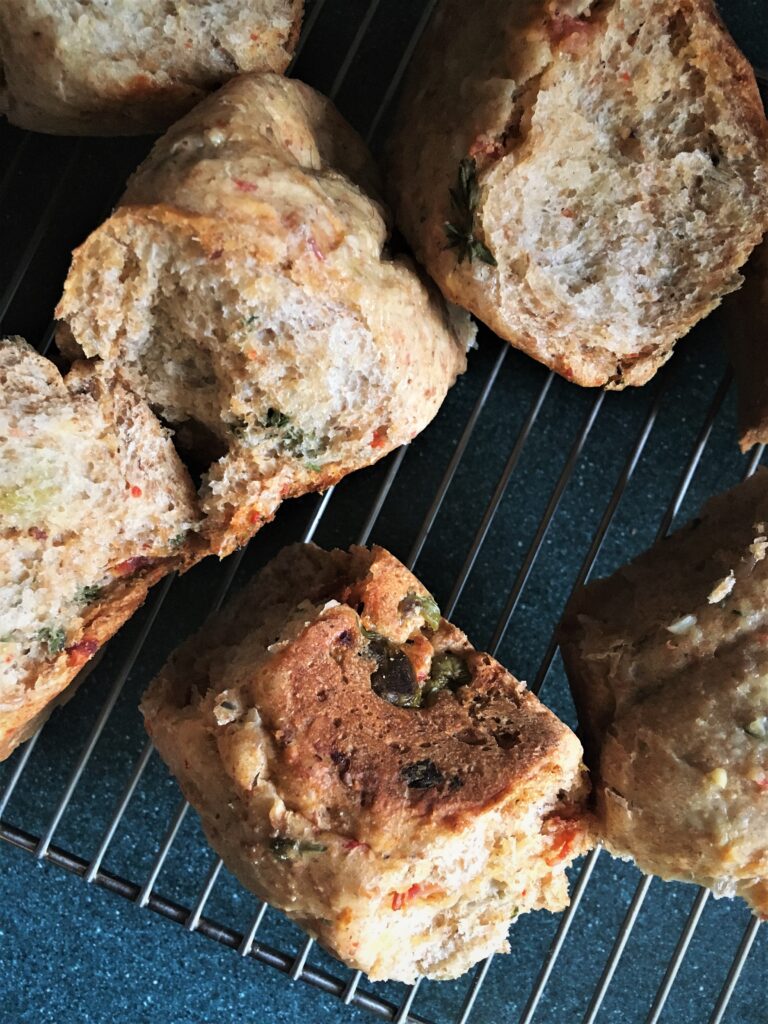
Romesco rolls
This I was particularly delighted with. I love bread and I also love cooking it in a stovetop oven. These are one of the best pieces of kit you can buy for a van. The rolls take pretty much no time in the grand scheme of bread-related things and they make excellent crag snacks.
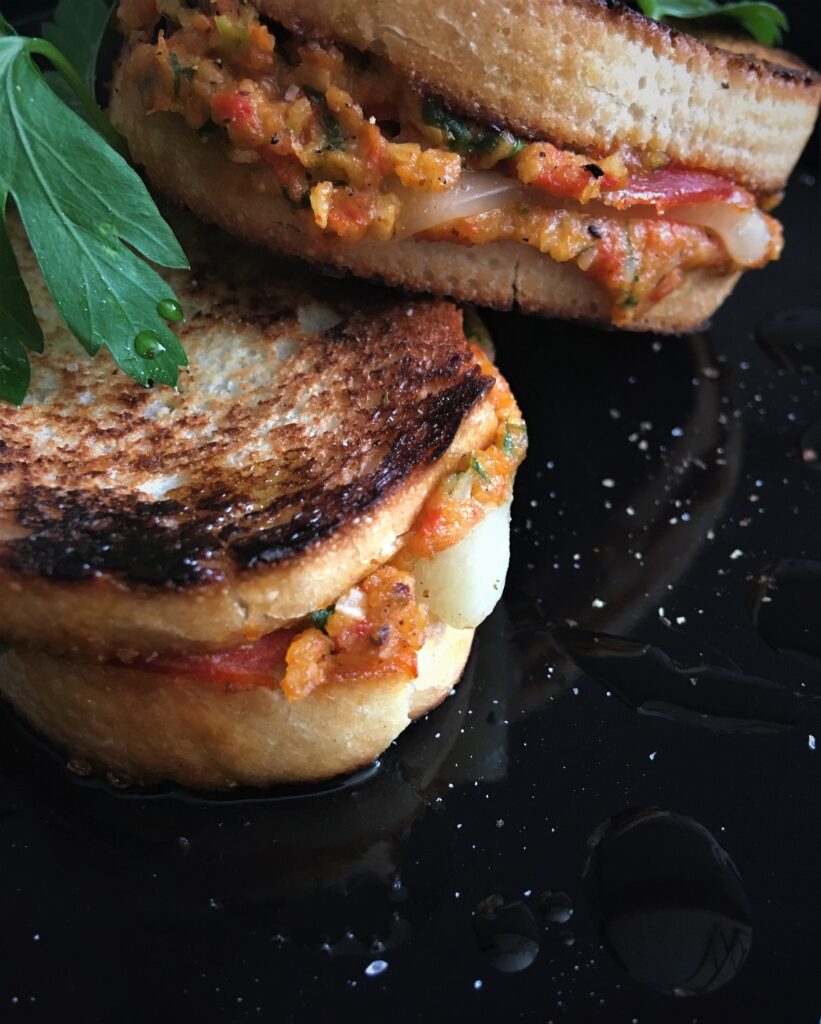
The other bread-related thing I used the romesco for was toasties! I couldn’t not make a toastie in Penny’s honour – as you will see here (where there’s further toastie ideas and a little video of Penny in action in the breakfast chain).
The ones pictured in this post here are little “vanapés” nibbles for while you are cooking maybe – but equally, get your toastie maker out and make proper normal sized ones:
- romesco sauce
- manchego (or cheese of your choice)
- chorizo
- a few fresh thyme leaves
- bread (of course)
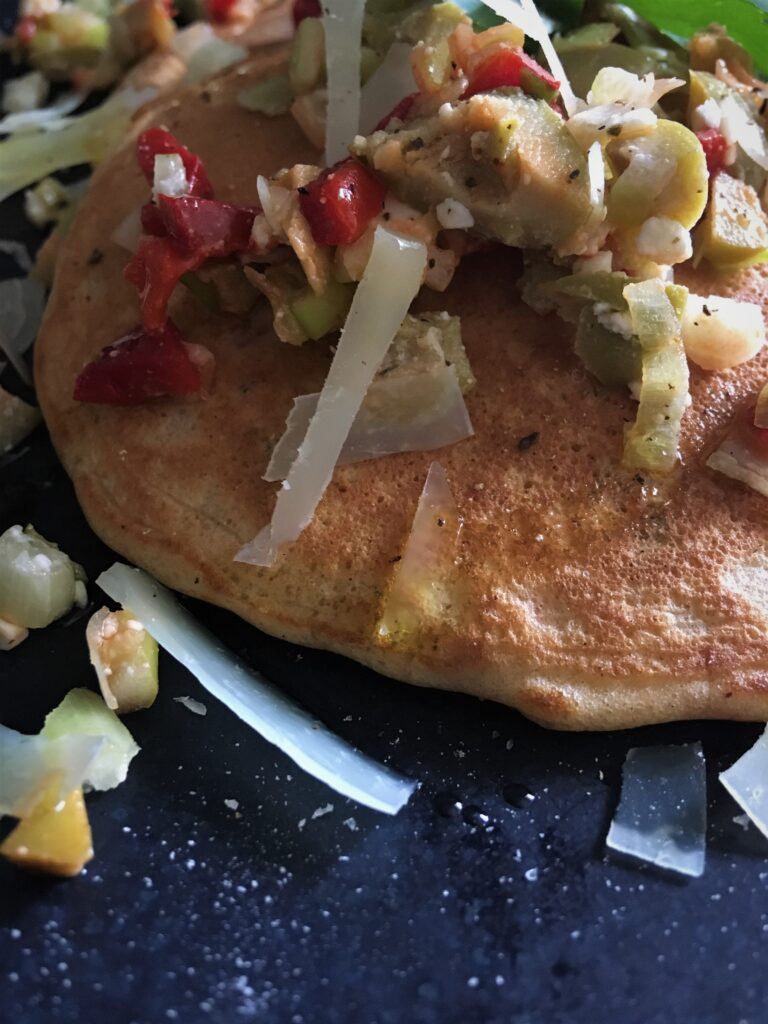
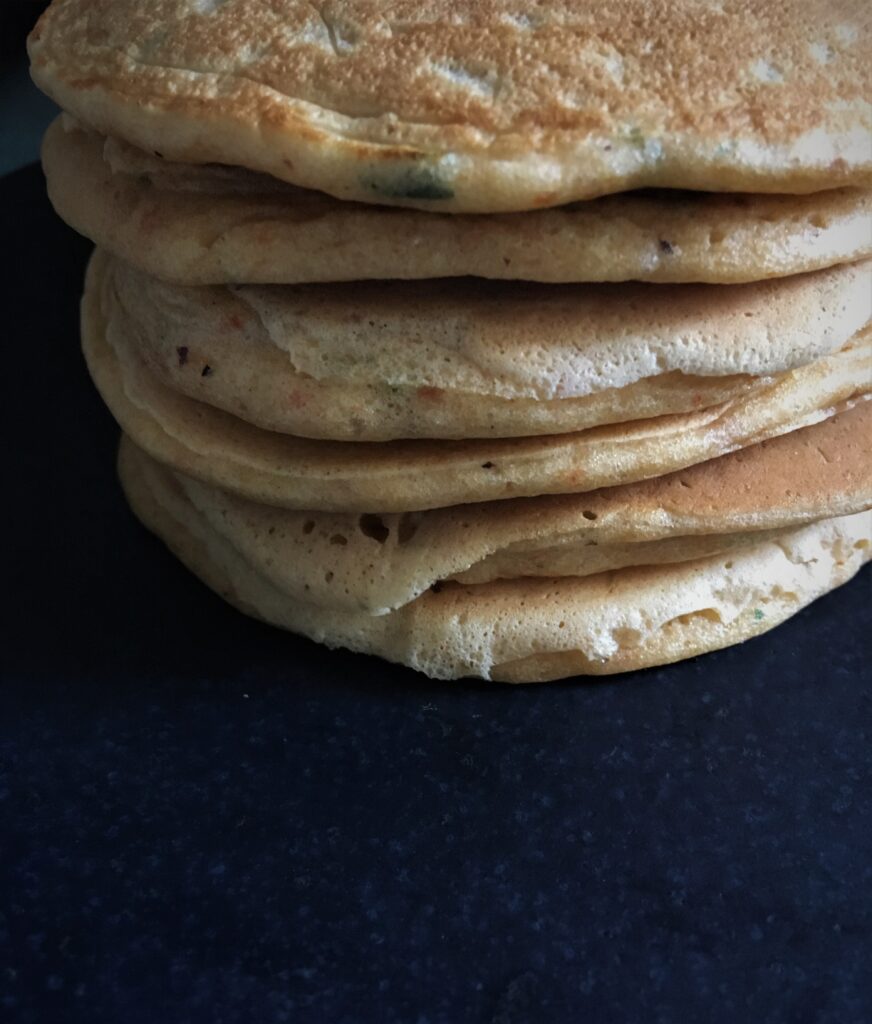
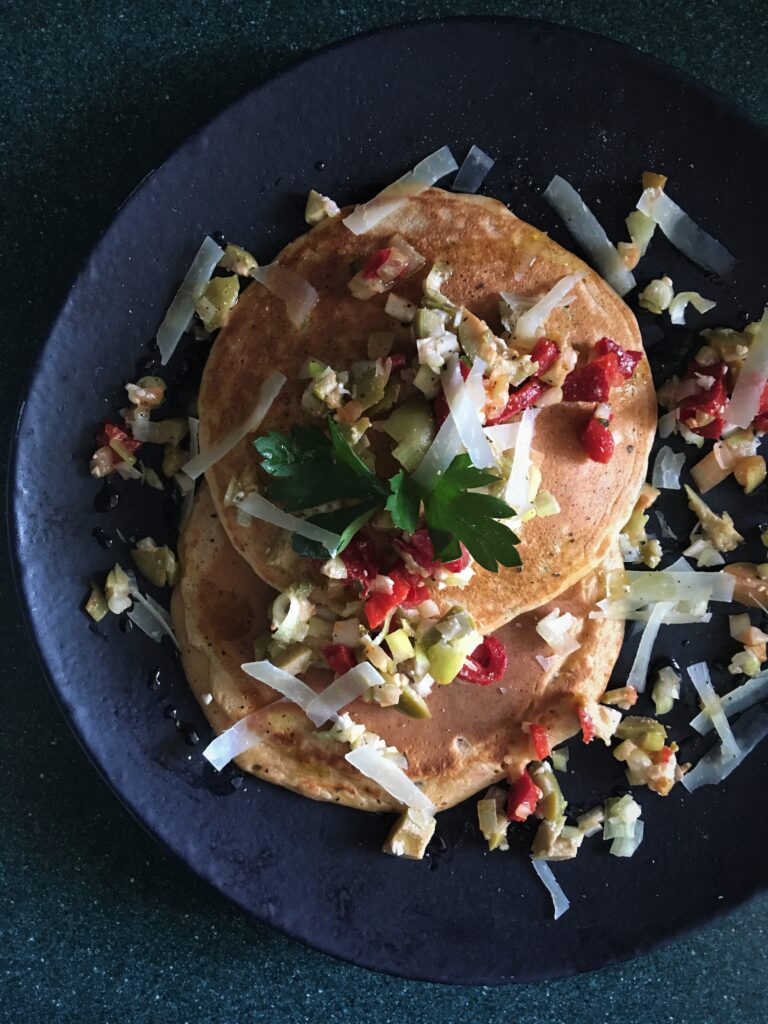
Romesco pancakes
This is another cheeky way to use-up romesco. These pancakes are really quick so make a speedy supper for sure if you are late down from the crag. Alternatively they make a nice brunch or indeed are pretty decent cold too if you want a crag snack. Also, the ones pictured here are the standard “brunch/breakfast” style ones but you could easily make larger ones and use them as wraps to take to the crag.
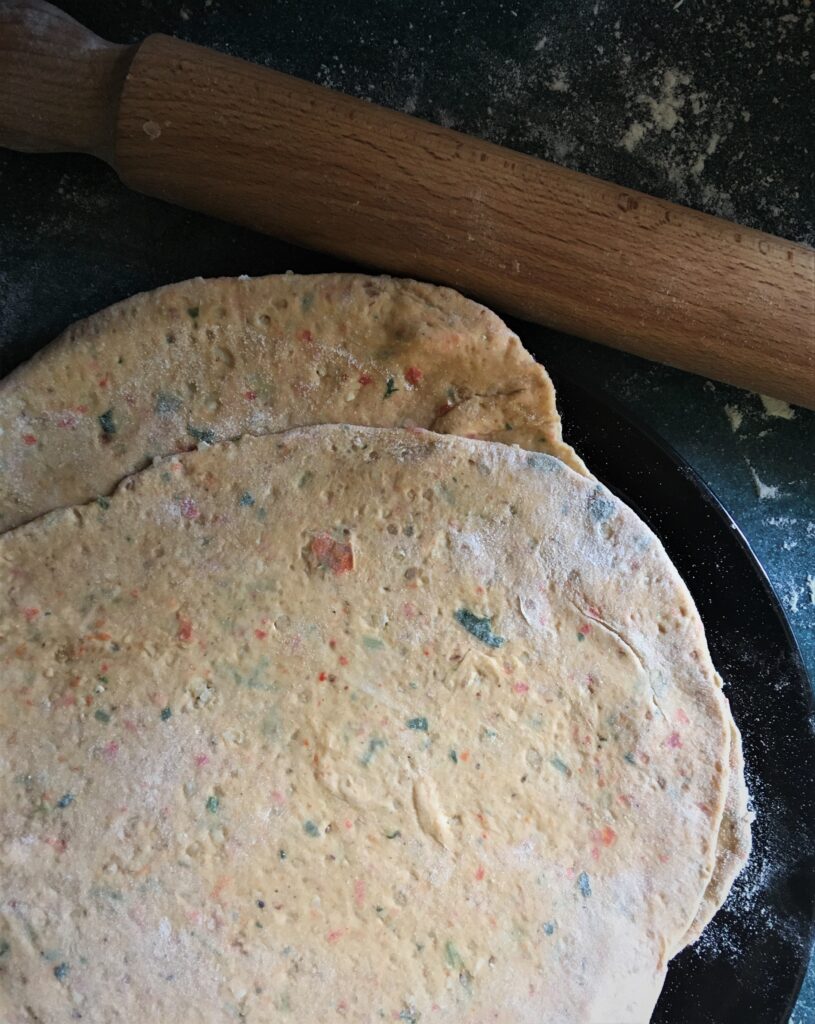
Romesco wraps!
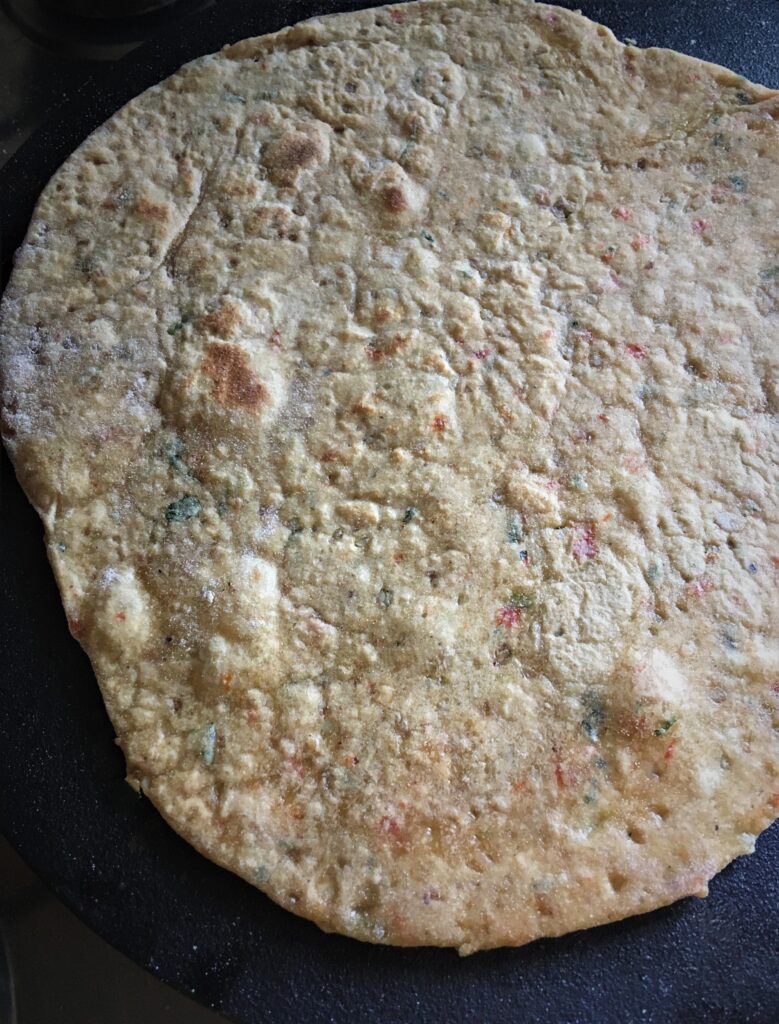
Couldn’t NOT make a wrap for Penny! These are your basic tortilla dough with an added hit of romesco running through it for a little kick of flavour. Like the rolls, super quick and super simple to make. This a good alternative carb option if you don’t have a stovetop pan to make the romesco rolls. They are also absolutely banging toasted with some butter.
If you wanted to add any meat to your wrap, some slow-cooked lamb would be great with any of these fillings. Equally a meaty fish would work too.
Any leftover tortilla is good sliced-up and fried in a little oil – makes great little crispy snacks/appetisers if you have some houmous or, indeed, some romesco… and there we are, full circle.
That’s a wrap.
And, last but not least, what to drink with these...
Whenever I think of climbing in Spain I always think of cool post-climb cervezas. It’s a given. That’s all you want, every time, right…
That being said, this region is known for Cava (the best being from the Penedes area) and that’s great news for those times when you are ready to pop some corks on account of strong sends. Cava is “essentially” Spanish Champagne except it isn’t because a) you can only refer to it as sparkling wine not Champagne as it’s not from Champagne and b) it is made from different grapes (Macabeo, Xarel-lo and Parellada instead of Chardonnay, Pinot Noir and Pinot Meunier) and therefore the flavour profile is different. These three are white varieties and offer a lighter, zestier drink than Champagne (athough champagne varieties are now being used). It is like Champagne in the sense that it is made in the same way – with a second fermentation in bottle to give it that yeasty, briochy vibe, although it doesn’t spend as long ageing. “Essentially” it’s a drink in it’s own right.
Sparkling wine is often overlooked when it comes to food-matching as it’s normally thought of as an aperitif. A cheeky Cava would work well with any of these dishes to be honest. Cava’s flavours are quite lively but they are also very food friendly as is the fact that it is bone dry. The zesty flavours cut through anything that’s a little on the richer side but they also complement things like manchego, fish, nuts, olives, salads with fruitier dressings, fried food, peppers (so many things really). Plus…Cava is in fact a good match for eggs which are notoriously difficult to pair wine with.
The white varieties that go into Cava are also available as single varietals if you want to delve deeper and pick out the individual flavour profiles. They tend to be very dry, with high acidity and lost of citrus – hence their being great for sparkling wine. That being said, there’s a lot of experimentation – tradition and innovation are always bedfellows in the wine world. And, as in a lot of places, lots of other wines to try from across the country too.
When it comes to the reds of this region, you are looking at Tempranillo (the mainstay of Rioja), Garnacha (the spicy Spanish equivalent of Grenache) and Monastrell (for a richer, more tannic glass) and for these guys, Priorat and Monsant are certainly worth checking out for high-quality quaffing.
As in France, Italy (…most of Europe in fact), there are vineyards and wine tours aplenty and this is certainly to be recommended for a rest day activity (although maybe not the day before you plan to assail your proj?).
Q & A
What do you find challenging when cooking on a trip?
Too much prep in a small area can be annoying and difficult to manage, especially in winter when you can’t eat outside and have multiple hobs on. I have developed a hack… given that we are always trying to prep in a rush and trying to do too many things at once so we can get to the crag as fast as we can… my hack comes in the form of a foldable table which I put by the side of the van then I can open the door and do prep here to give more surface room. Although it’s a little less great in winter.
Do you follow a nutrition plan and how easy is it to stick to when you are travelling/living in a van? What do you tend to eat at the crag?
Well, interestingly, I do plan to get a full-blown nutrition plan on the go in the near future. Reason being – because I am sure that I don’t actually eat enough at the crag… I can climb two or three routes and then typically I feel like I am low on sugar or energy, and cannot perform as well towards the end of the day. After recently talking with a friend who is on a nutrition plan, he expressed to me how controlling his intake means he actually eats more, but of the right things and feels like he has more energy to try hard throughout the day.
As for now, I tend to stick to wraps, my friend, Irena, shared the wrap trick with me a little while ago – she told me that if I ate a wrap I would send. One day exactly that happened and I never looked back. Wraps are good for me as they are light and not too heavy so I don’t feel sluggish after eating them. I tend to fill them with cheese, peppers, avocados and anything else I can find!
What’s your best van/camping hack – cooking or otherwise?
(apart from my extra bit of table…) GRANOLA FOR BREAKFAST! With all the fruit and rice milk. It’s super light and, super quick and easy to wash up… We used to have porridge but it was slow and involved too much washing-up when we wanted to get out to climb. This is much better and besides, it’s super tasty with all the berries I put on top.
What’s your top climbing trip/van cooking equipment purchase?
This may sound funny… but a cutlery separator for my cutlery draw. This has saved me a lot of frustration! Oh, and enamel mugs – which are great for coffee AND wine!
Do you do anything to complement your climbing while you are on the road – do you have any training hacks for vanlife?
We are never out in vanlife mode for too long as we are mainly weekend warriors. But given our experience of lockdown and how creative we were with the training when we were literally stuck in the flat, then it’s more than likely we would adapt our training.
What’s your most memorable climb?
My first 7c+ in Oliana, for sure. Plus it was my most recent success, big jugs and a spicy top crux!
Who are your climbing heroes?
Alex Puccio and Prudence Morgan-Wood.
Alex is so inspiring in the bouldering world, fiercely strong and strongly open on social media, which I appreciate a lot.
Prudence… Well, I have been fortunate enough to climb alongside her many times and she’s become a very close friend of mine and is even the co-founder of Climbers Reality with me. She lives and breathes climbing, and has focused her life on the sport, being an amazing climbing physio who was also brave enough to start her own consultancy. She is always amazingly brave when she climbs – always to her limit on rock and in competitions. She has also taught me that screaming whilst climbing is totally acceptable as long as you’re pushing hard!
What got you into climbing and what does climbing give you?
I was living in London at the time and had just finished university. I always played team sports during school and uni and I felt pretty lost when all that ended. One day, fortunately, a friend took me to the Castle Climbing gym for a boulder and within a couple of sessions I was totally addicted. I loved every aspect of the climbing gym – moving, staying fit and learning something new. Then, the more time I spent there, the more I discovered the community and way of life. And my past life quickly slipped away.
Bouldering or sport or trad?
SPORT. I mean, don’t get me wrong, I love all types but for me I really love pushing my limit at heights and not having to fear about letting go. “Will my gear placement hold…” that is not for me!
Climbers love gear. What bit of gear/clothing could you not be without?
Black Diamond Magnetron; and my EB Splits. If you’re climbing slabs, they are essential. Oh, and a Rab winter down jacket is crucial – they keep you so cosy!
If you were a pair of climbing shoes what would you be.
EB Nebula for sure … a little sensitive at times, takes everything to heart (or toe in this case) but very reliable when they need to be.
What’s the best view you’ve enjoyed at the top of a climb?
Ha, all of the views!
Where do you return again and again to climb and why?
Margalef! Because pockets and 2-finger drag is the best way to climb.
How do you choose where you want to climb?
It depends, it could be because of a project or it could be my partner’s projects. However if we neither have projects then typically the weather!
How do you manage your expectations/training/enjoyment?
Not to have expectations – just enjoy climbing and try hard! Some days you don’t perform and that’s okay, be nice to yourself, that’s the only way you will progress :). Probably one of the most important things I’ve learned is that when you come back down to the ground, you should let any anger you had or frustrations diminish – try not to carry them with you throughout the day.
What’s your best piece of advice when it comes to training?
Remember what your training for, and enjoy it. When you’re feeling shit, don’t force yourself to train… you’ll just end up hurting yourself or getting frustrated.
Have you ever been benighted or had a close call?
I’ve never decked but I did have a rope wack me on the head once which gave me a giant unicorn lump and a headache for a week. This has now lead to me running away whenever the rope comes down. I’ve also flipped and smacked my head on the wall once in Italy, which threw my mental game back a little but that was over a year ago now, and it’s safe to say I taught myself how always to keep the rope in the perfect position. I talk about this in a blog about climbing safety over on Climbers Reality… ?.
How has the climbing scene changed since you started climbing and how do you think the Olympics will affect it?
I don’t think the climbing scene has changed that much for me…. I started 3 years ago. But I have noticed a lot of new climbers not being taught the basics of being outside in nature, which is leading to more and more sectors being closed and unbolted which is a real shame. So I guess as the sport continues to grow in popularity, especitally likely after the Olympics (whenever that happens!), these sorts of page one basics should be addressed.
If you weren’t addicted to climbing, what would replace it?
Climbing changed my life. There was a hole in my life before I discovered climbing so, I fear that nothing could replace it – I just wouldn’t be whole without it.
Where you would you like to develop some routes (and what would be the first name)?
Hahaha, awesome question. I would love to open new routes. However, I have come across amazing sectors that have really dangerous lower-offs and need rebolting. So if I had the excess money to develop routes, I’d redevleop those already bolted – safety first!
Where is the most unusual place you have climbed and why?
Vegas, baby!… Desert sandstone! Awesome formations.
What’s the best thing about nailing a route / problem?
Depends on the project, and how long or how hard. But for me, it’s the feeling of making what seemed impossible possible.
What’s your proudest moment?
In climbing… I think it was when I skipped my first clip… this told me I was improving in my head game!
What’s your best tip for someone starting out in climbing?
Don’t be hard on yourself, climbing takes time (something I learned the hard way!)
Where’s your next trip and why?
Depending on restrictions I might make a trip to Ceuse where there’s some massive run-outs. I want to see how far I can push my mental limit!
What is your aim with your new blog (Climbers Reality)?
The blog is focused on educating and showing the real side of climbing from the locals in Spain! From 9+ climbers to 5’s, doesn’t matter what you climb, it’s about what you bring to the community!
What has been your experience of lockdown and what have you missed most?
Well I’m fortuate that when lockdown loosened I lived in Spain, so getting out climbing wasn’t as difficult for me as it was for my friends back home. But during lockdown in Spain the hardest was the 3 months of total no excercise – we weren’t even allowed to go for a run – not being able to burn energy and move around was really tough mentally.
So many of us hanker after moving to Spain to climb but what is the reality away from the pipedream, especially as it happened just before Covid? What has been your experience as a Brit living and climbing abroad with a load of Spanish wads?
Hahaha. I love this one! Yes, I am a Brit abroad, but I’ve been out of the UK for so long, I don’t consider myself much of a Brit anymore. I think for me it’s different, as my partner is Spanish so I already had intel and a man on the ground. I know when I moved to Germany it was a very different experience doing it alone and that was very hard. But when I moved to Spain, I was surrounded by friends and loved ones, for me it was like moving home. I am in a fortuate position to be able to have completely submerged myself in Spanish life, and have been welcomed with open arms.
End Credits
Penny is sponsored by Rab / Rab Noticias
You can follow Penny on Instagram
and you can follow Climbers Reality on Insta too and also on their website.
Comments
Hit me up with any variations you've got for these ingredients/dishes; any other van-friendly recipes you would like to share from your travels to this region; or, indeed wines that you have come across on your travels that you would recommend - either as a match or just for drinking!