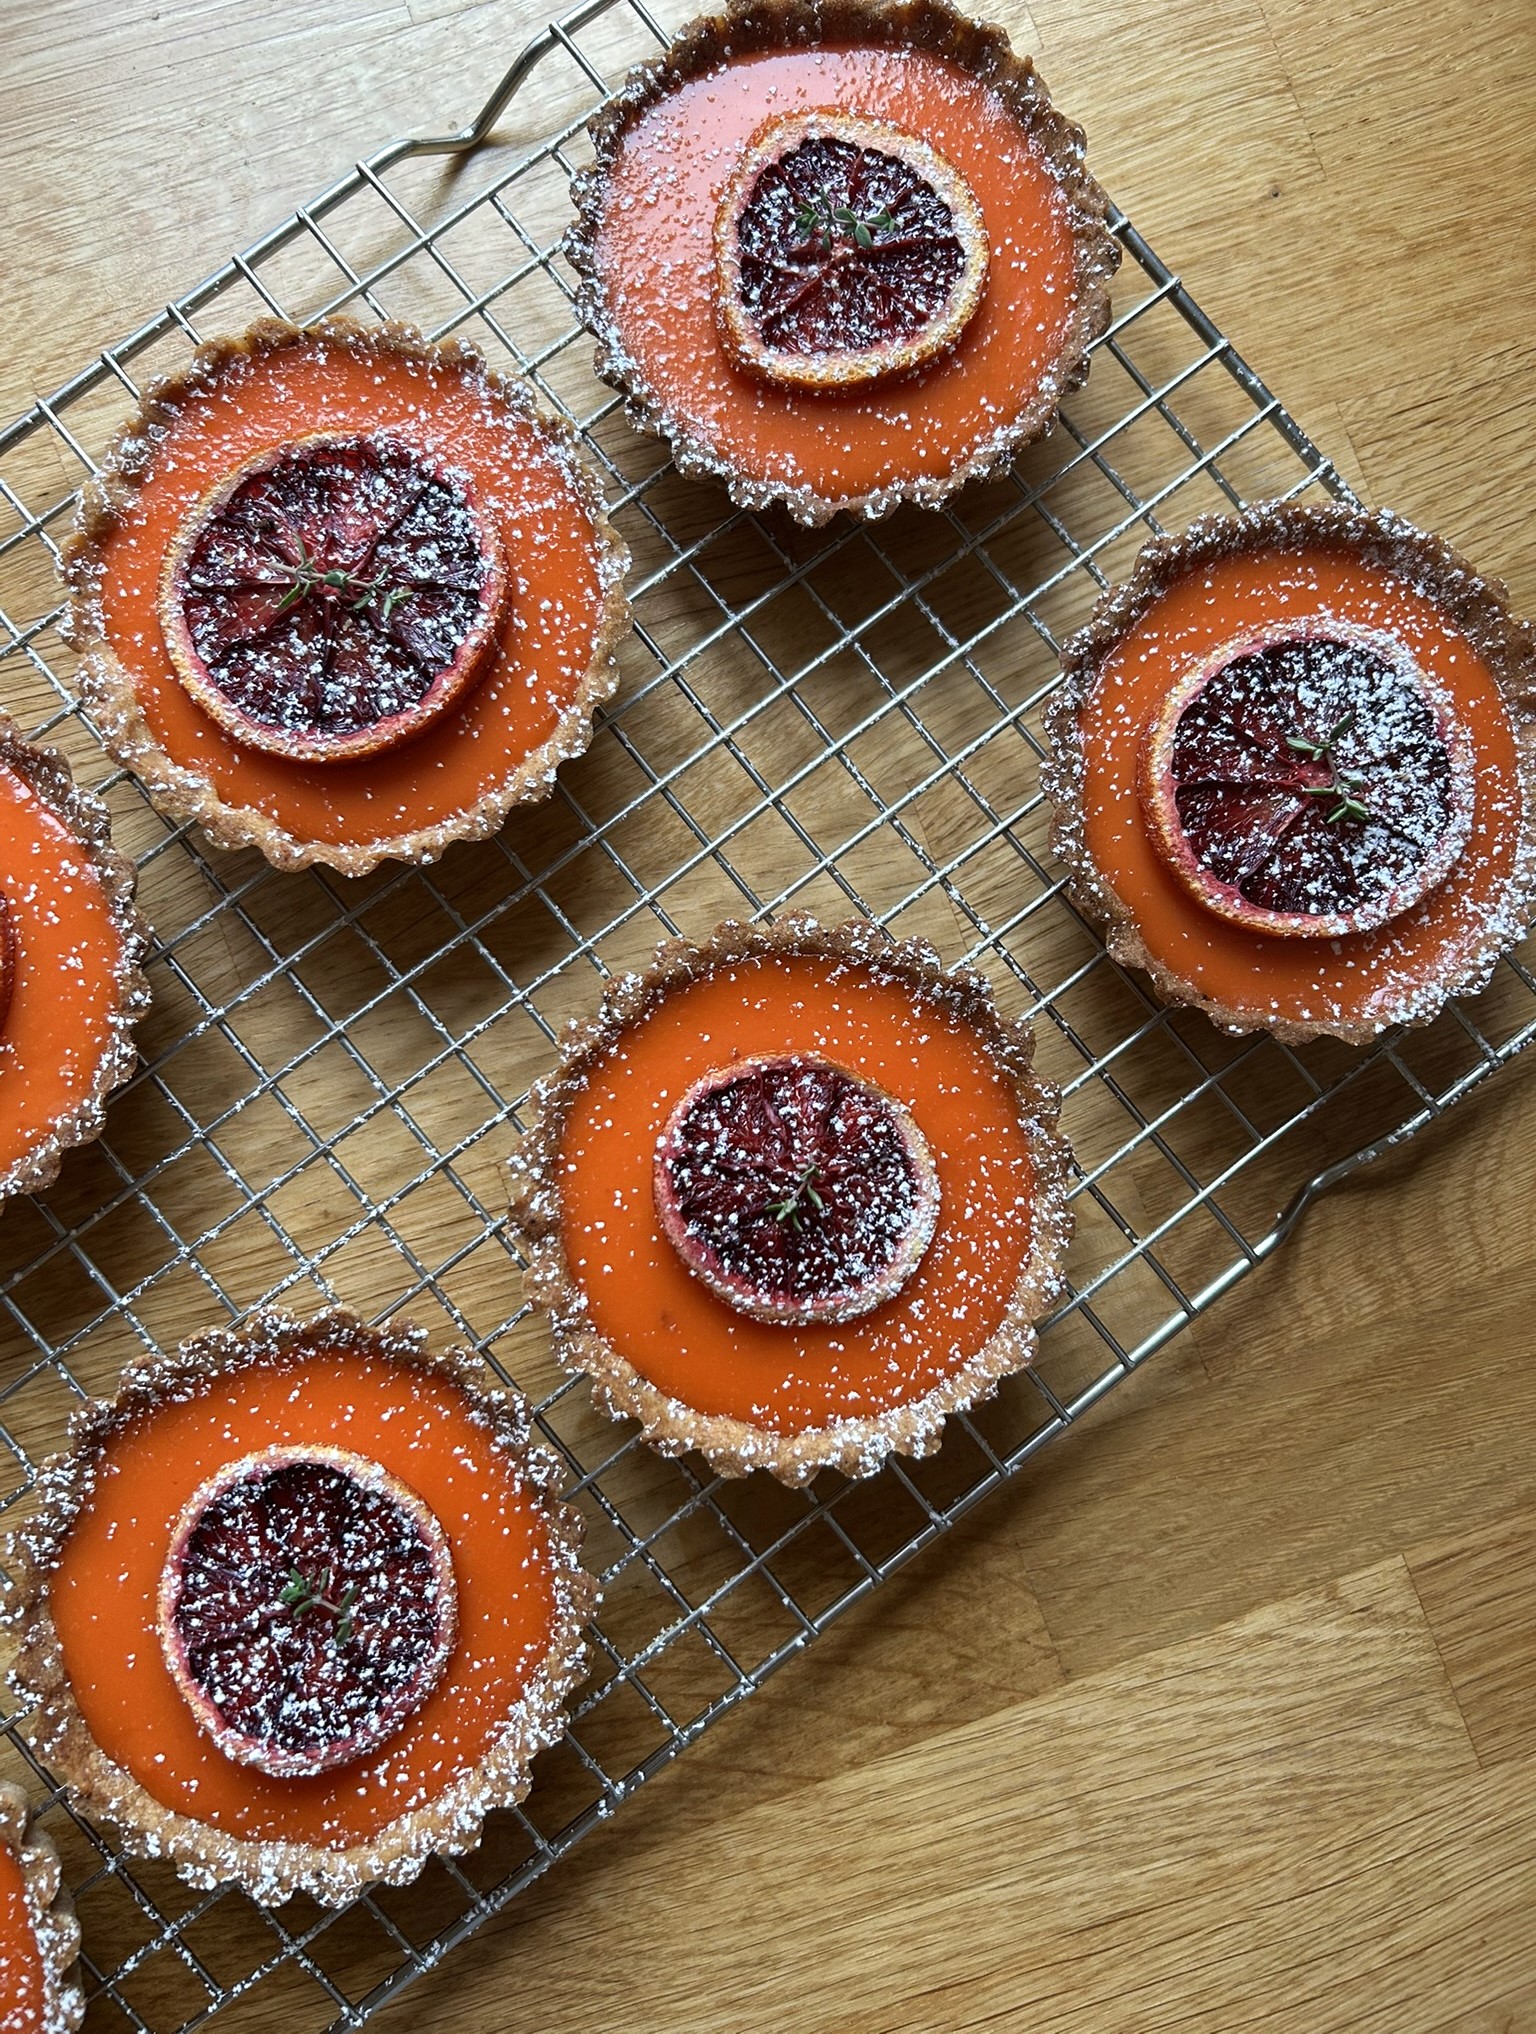
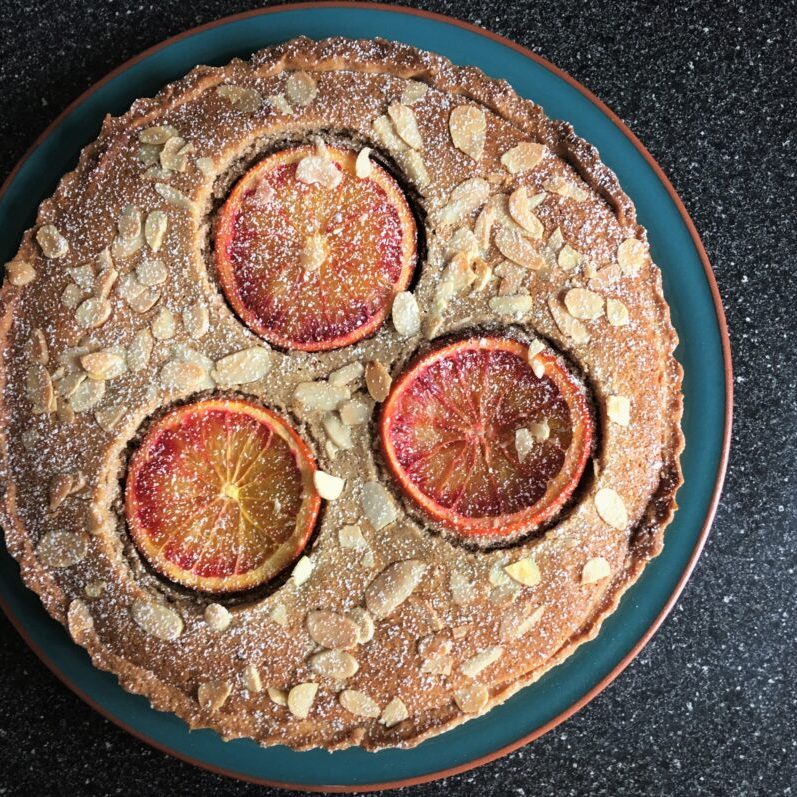
Makes: 8 tartlets / or you could make smaller / one large one, perhaps rectangular I feel that would work nicely
Takes: c. 10 mins for the pastry + at least 30 mins chilling time but you can also prep the day before (just make sure the pastry is room temperature before you use it); overnight for the oranges; 15 mins pastry assembly; 20 mins for the curd.
Bakes: (just the pastry). C. 20 mins. Preheat the oven to 180C (GM4) and grease and flour 8 loose-bottomed tartlet tins (or a tin of your choice). You’ll also need to pop a baking tray into the oven to heat-up – helps to cook the base. You can make the cases a couple of days in advance too and keep them in a tin until you’re ready to fill them. DO NOT overbake them – they crisp up a little when they cool.
Ingredients
For the pastry
- 250g plain flour
- 50g ground almonds
- 75g caster sugar
- 190g butter
- 1 tsp sumac
- 1 tsp ground cinnamon
- 1 tblsp fresh thyme leaves finely chopped
- 1 egg
For the curd
- The juice of 4 blood oranges
- 100g butter
- 150g caster sugar
- 2 eggs + 4 egg yolks
For the decoration
- 2 blood oranges – finely sliced
- Sprigs of thyme
Method
For the pastry
Pop the dry ingredients into a mixing bowl then add the butter and rub it in until it resembles fine breadcrumbs. Obviously you can do this in a mixer – I don’t have one so I am old school when it comes to pastry. When you have rubbed the butter in, add the egg and egg yolk and bring it all together into a soft, pliant dough. Form it into a ball, wrap it in cling film and pop it into the fridge to chill. I normally leave mine in there overnight.
For the dried oranges
Place these on a lined baking tray and pop into the oven at a low temperature. Keep an eye so that they don’t burn. It should take c. 20 mins for them to start to dry. When they have, turn off the heat and leave them in the oven overnight to dry out a little more.
To cook the tarts
When you are ready to roll, just make sure that you take the pastry out in good time so it is up to room temperature.
Dust a clean worktop with a little flour and roll the pastry out to c. 3-4mm thickness. I find the easiest way to get the pastry into the tins is to pop a tin underneath the pastry, cut around it fairly generously, gently ease it into the tin, press it into the sides (so you get that nice ridge effect) then level off the edges with a sharp knife, and prick the base a few times. Repeat this with the remaining tins. The pastry is fairly forgiving so you can re-roll it at least a couple of times. Put them in the fridge to chill for at least 15 mins. You may have some leftover – no problem, you can either freeze it or use it for biscuits. Or just make some more tart cases and freeze those for future use.
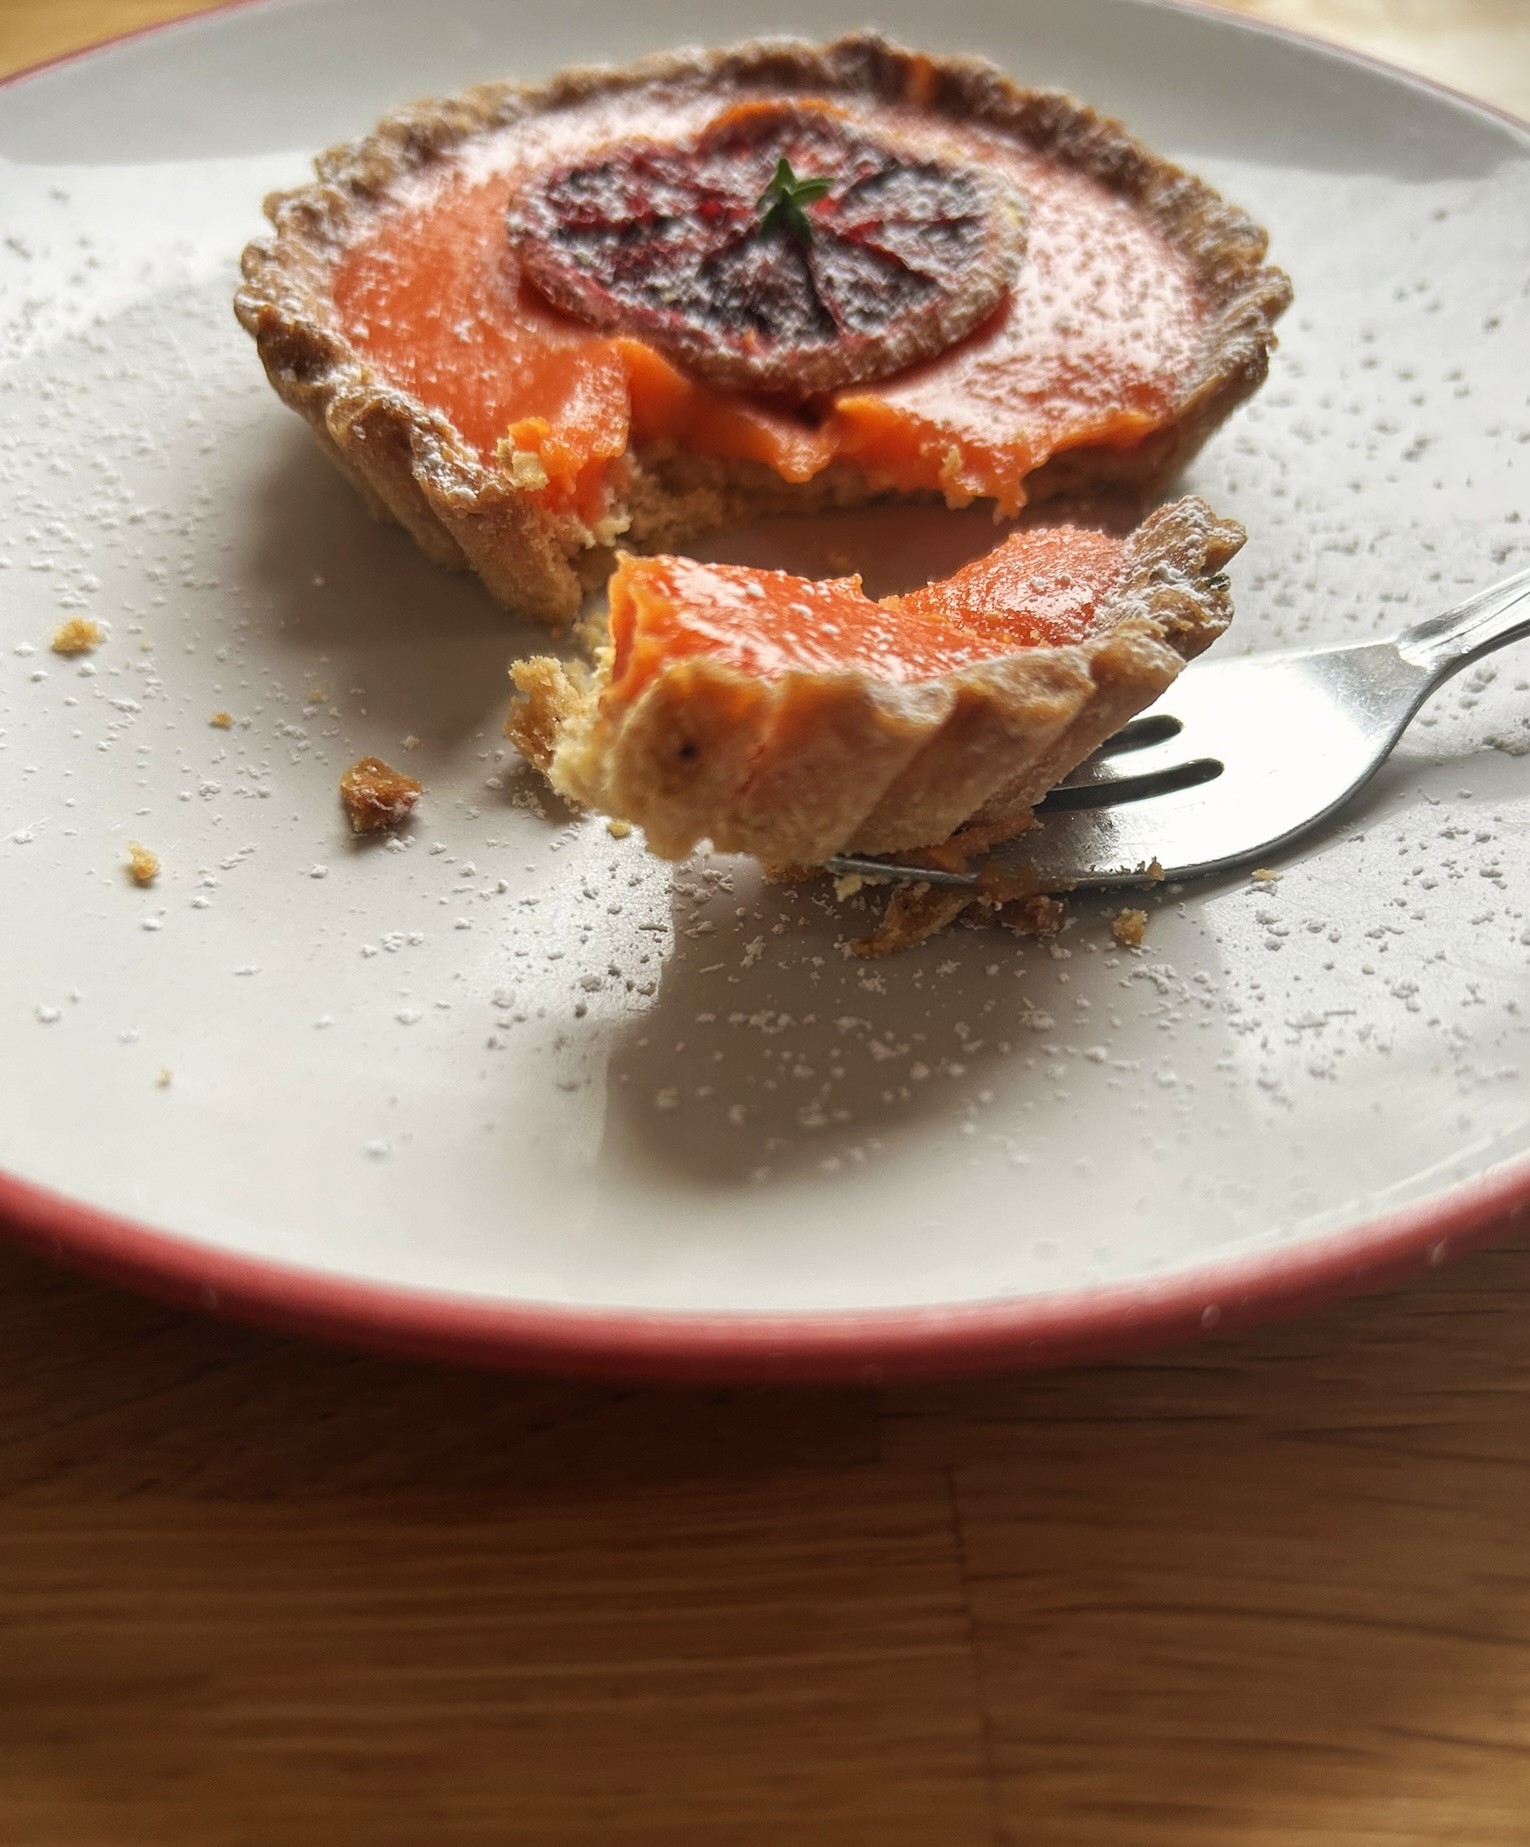
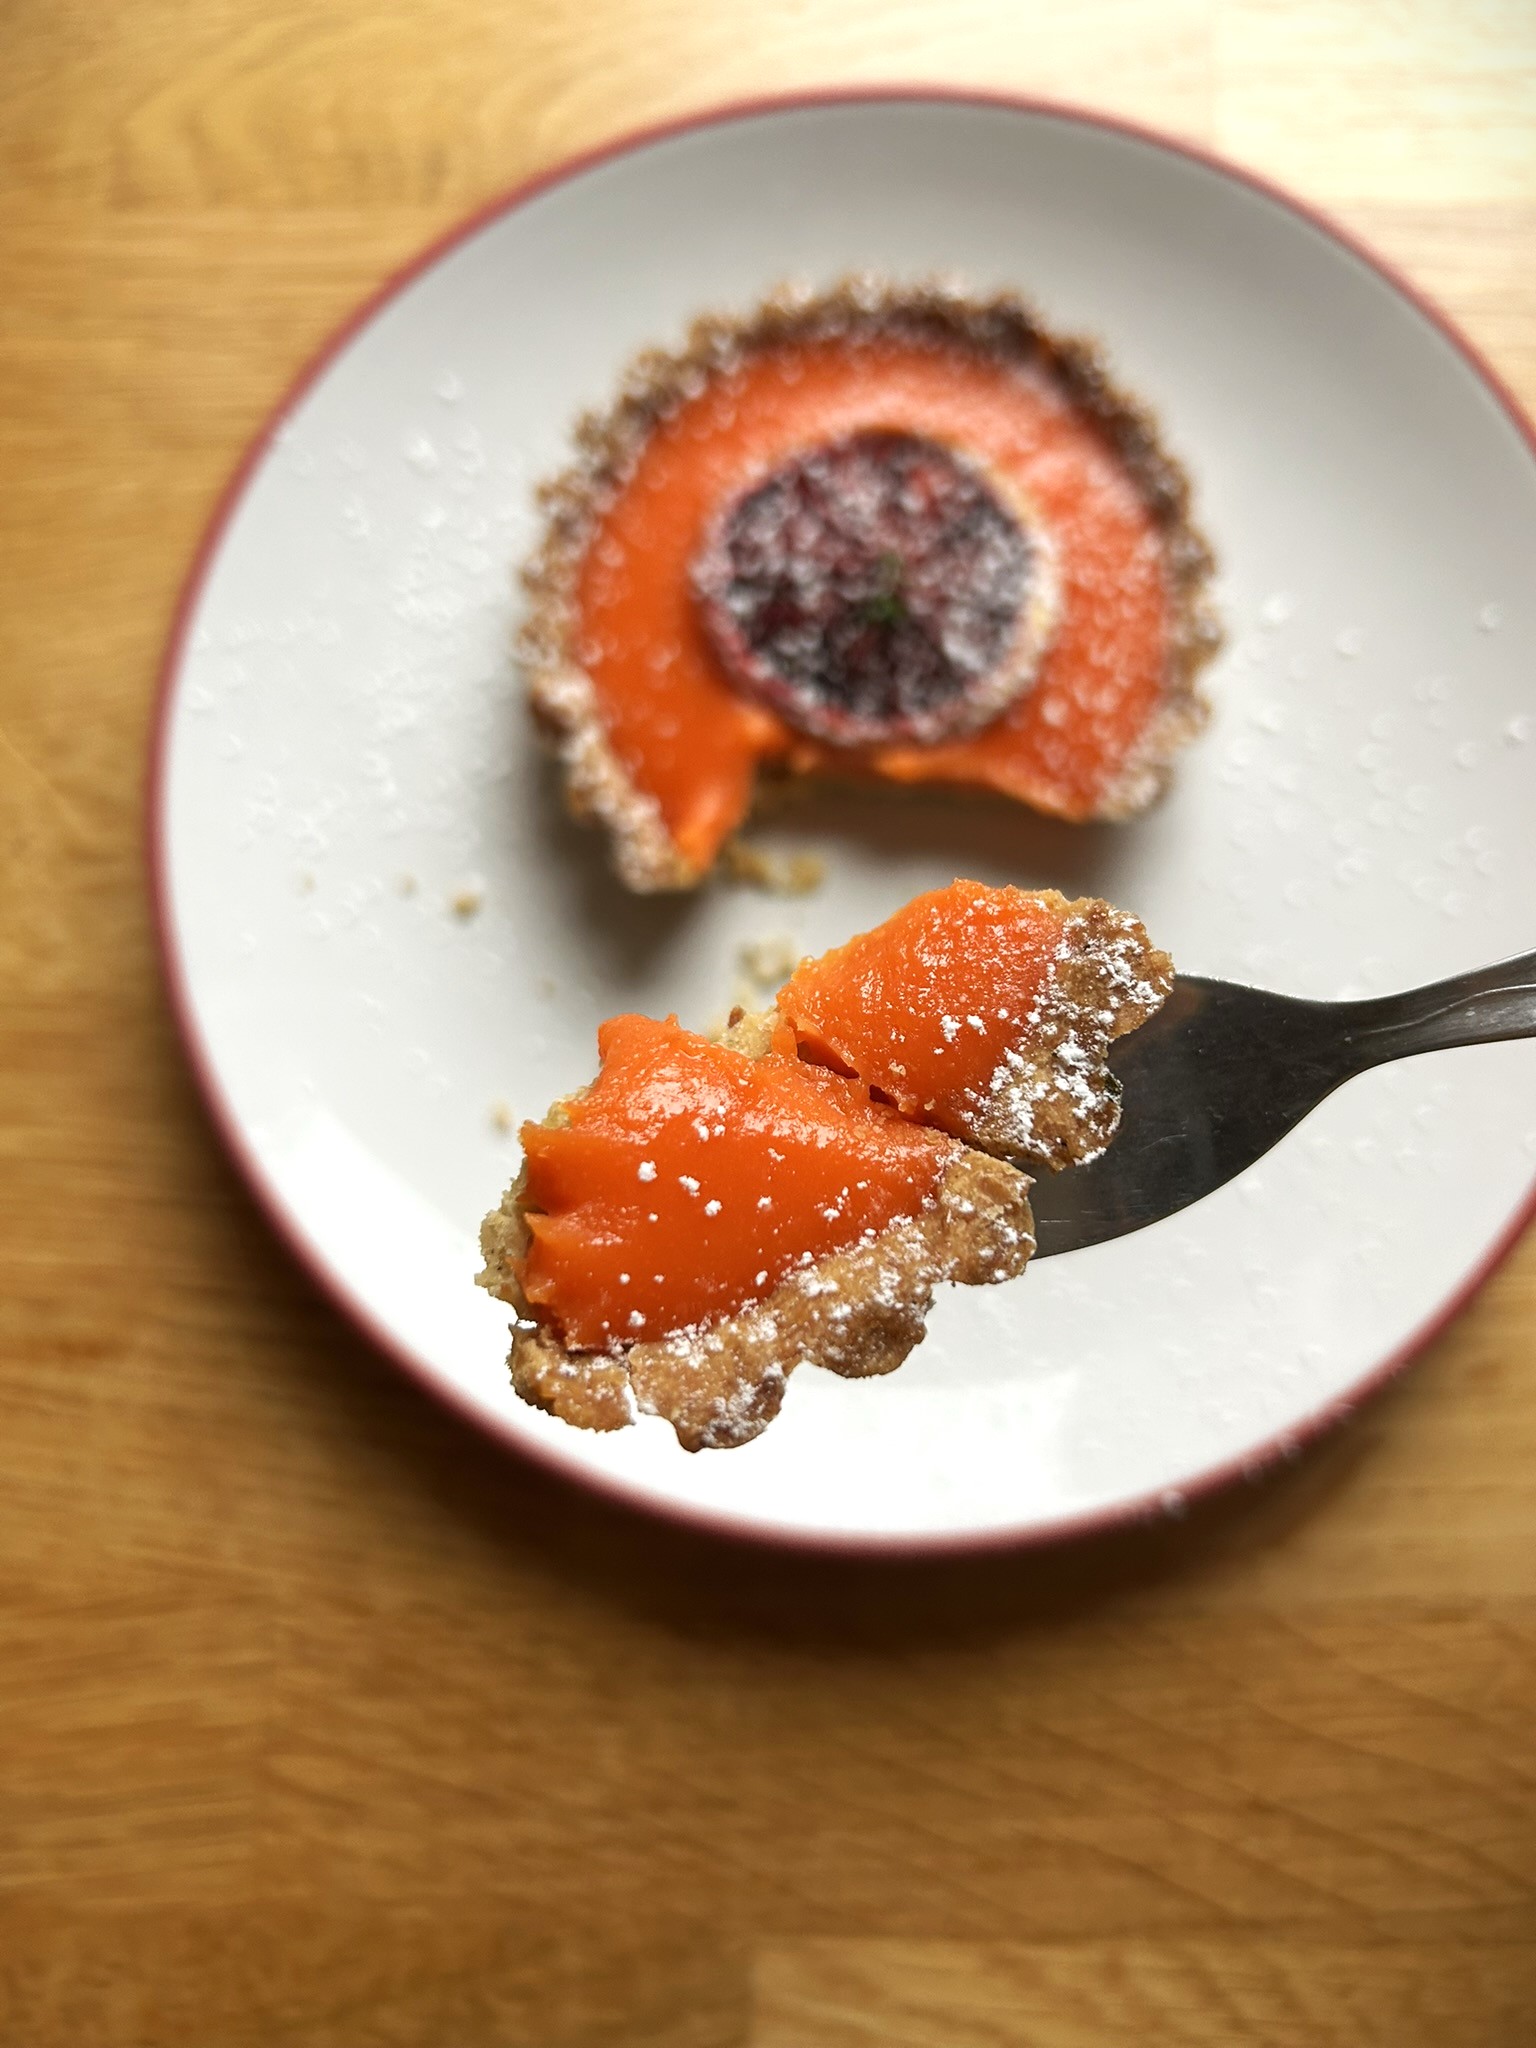
When they are chilled, line each with a little baking parchment and pour in some baking beans. Pop them all on the pre-heated baking tray and cook for 15 mins. Then remove the beans and paper and return the tray to the oven for a further 5-10 mins until the bases are pretty crisped but don’t nuke them and def don’t burn the edges (they will crisp-up more when they are cooling). Carefully remove them from the tins and leave to cool on a cooling rack. When cooled you will be able to add the curd.
For the curd
To make the curd set glass bowl over a pan of boiling water (but do not let the bowl touch the water). Melt the butter in the bowl then stir in the sugar and when this has dissolved, add the juice and stir to combine. Next add the eggs, yolks and zest and lightly whisk (a balloon whisk is best for this task) until the mix has thickened to the consistency of a thick pouring cream (should be about 10-15 mins – depending on the heat and your stirring!). When you’re happy with the result, turn off the heat and leave the mix to cool (but not set!). If it isn’t thickening enough in the bowl (not all oranges are created equal – so you may have a little more juice) then you can transfer it to a clean, non-stick saucepan for a final push for thickening but this will take seconds so watch carefully!
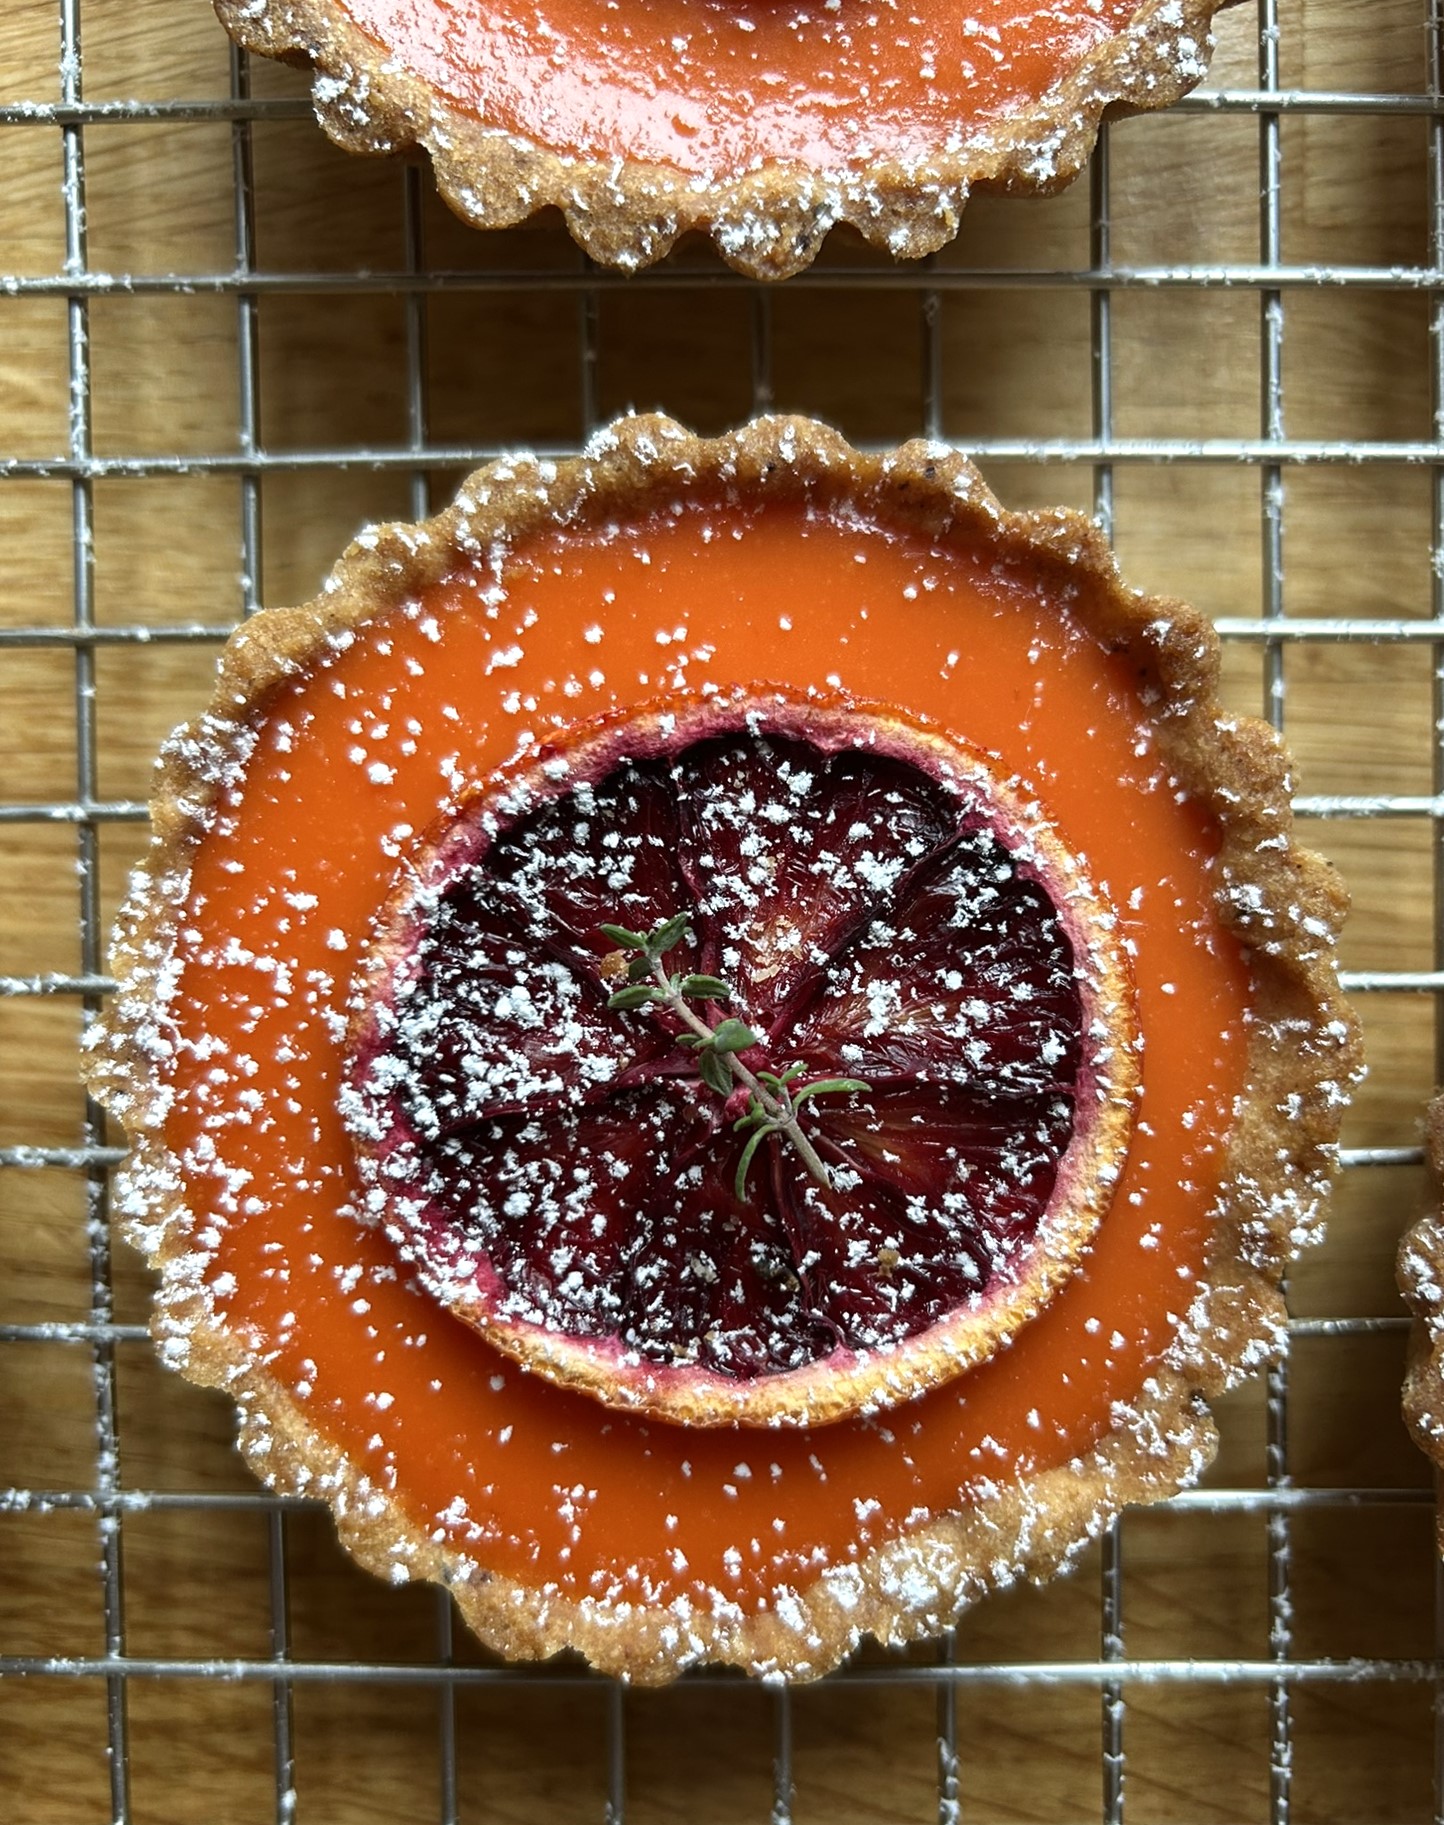
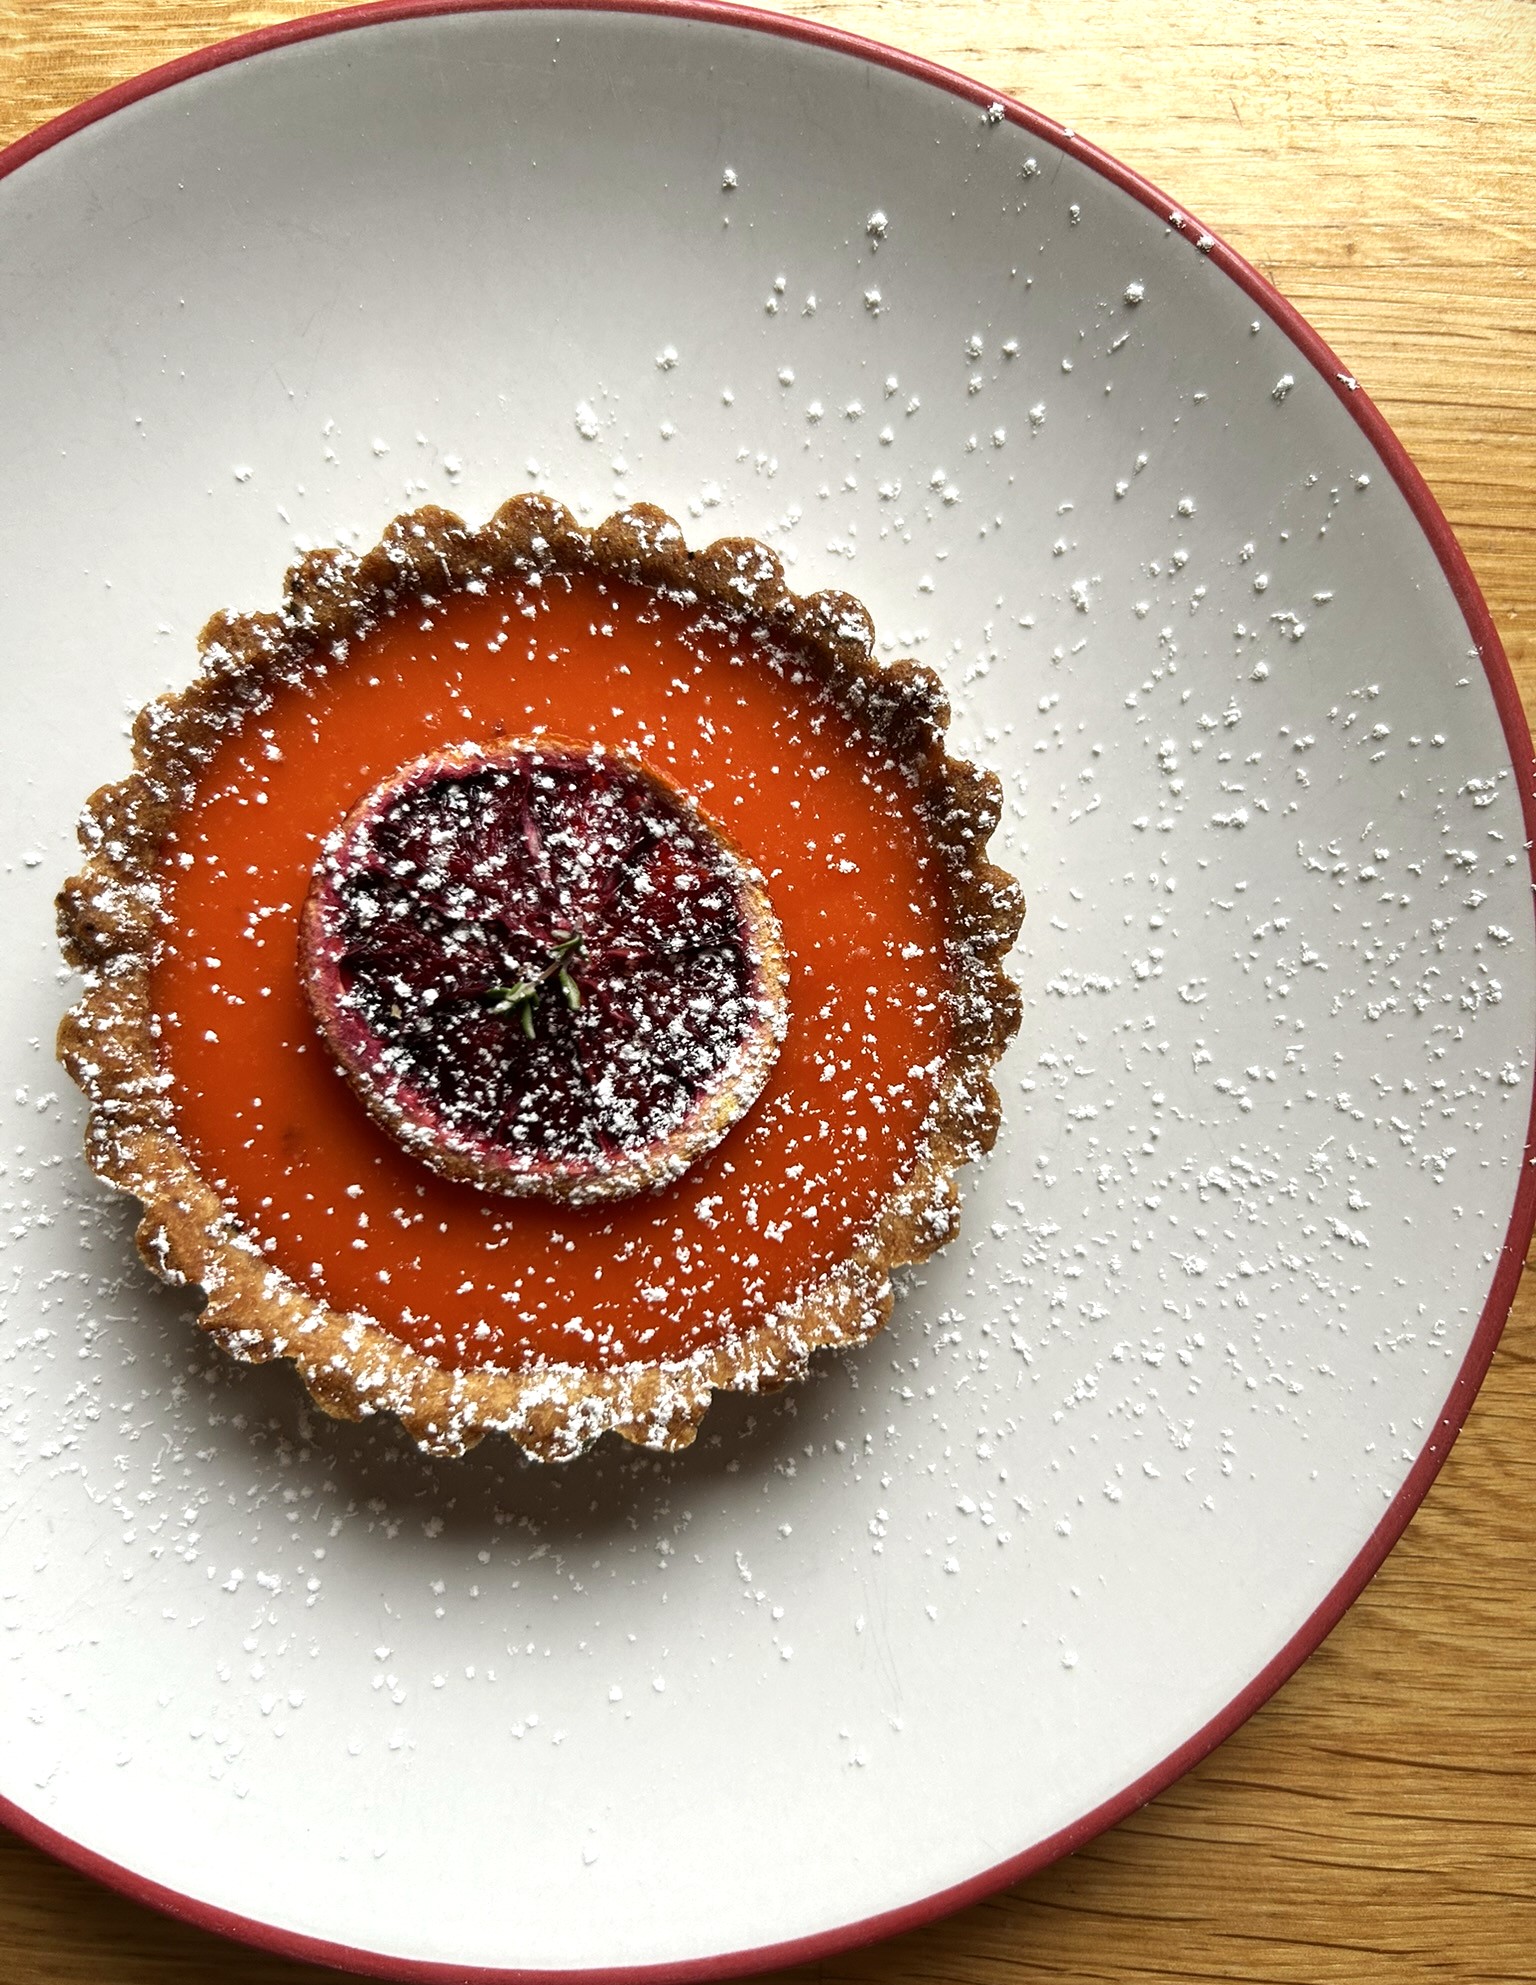
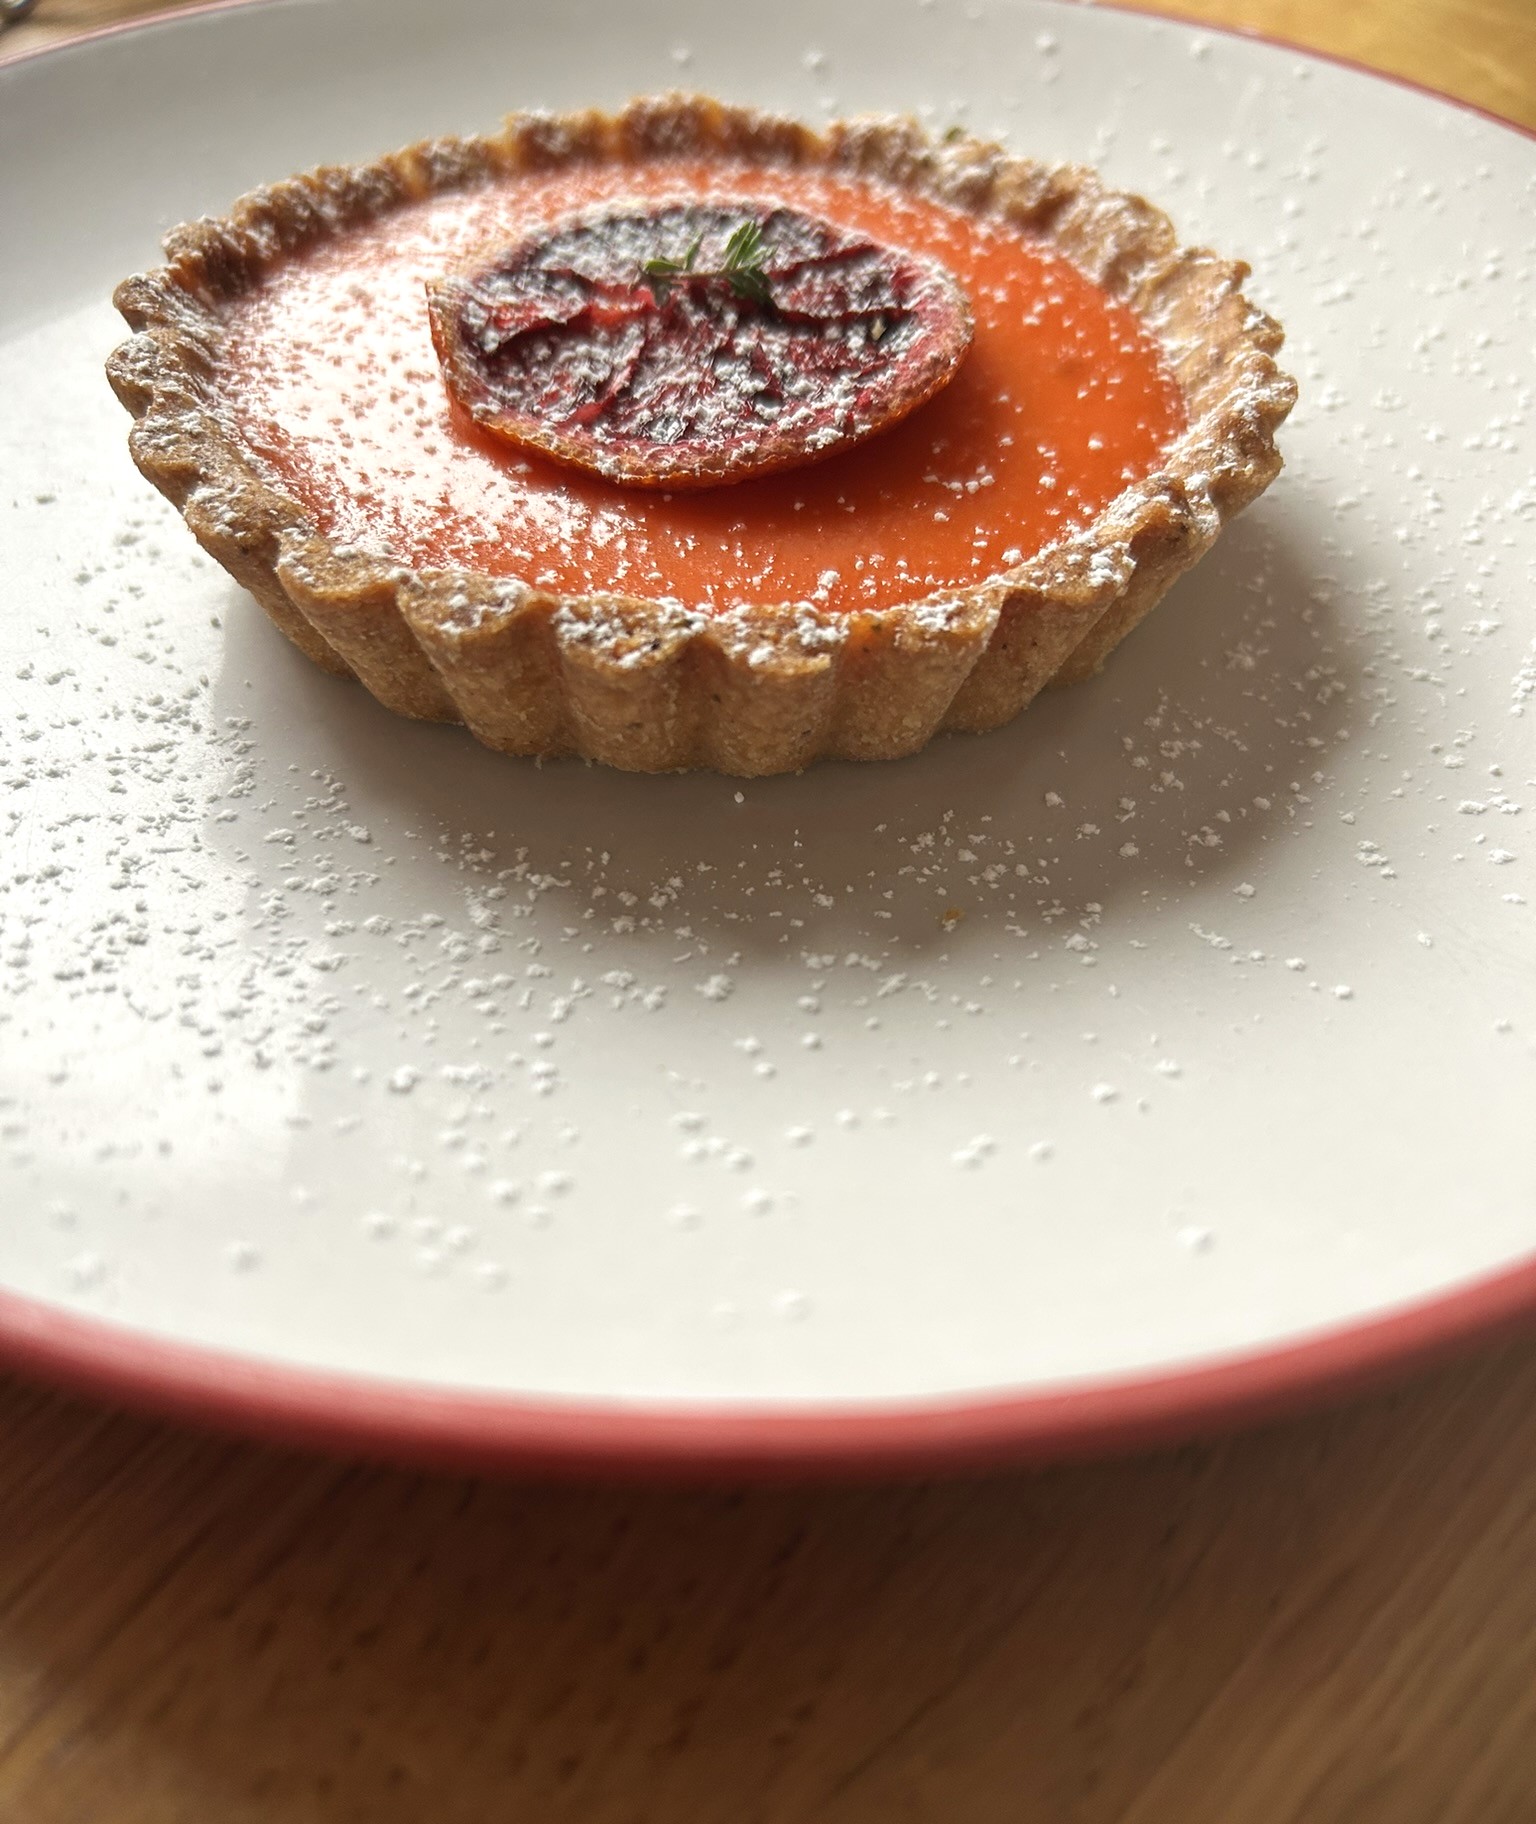
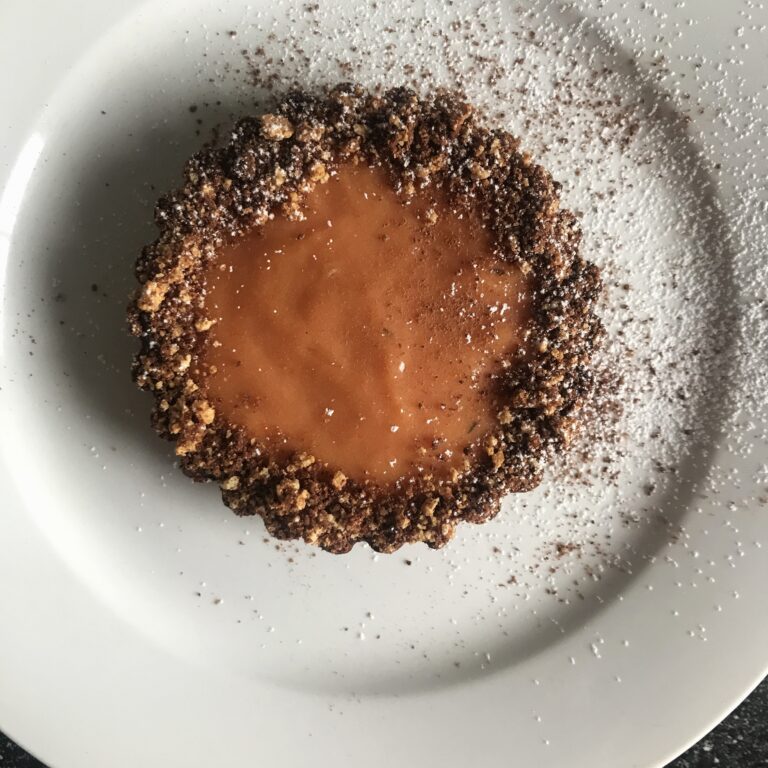
A final note on the curd, when you add egg yolks to the curd it will lighten the colour (red and yellow makes orange, after all) but whilst I was initially a little dismayed to lose the dark red colour, I think the orange looks better with the contrast of the red slices on top.
Assembly
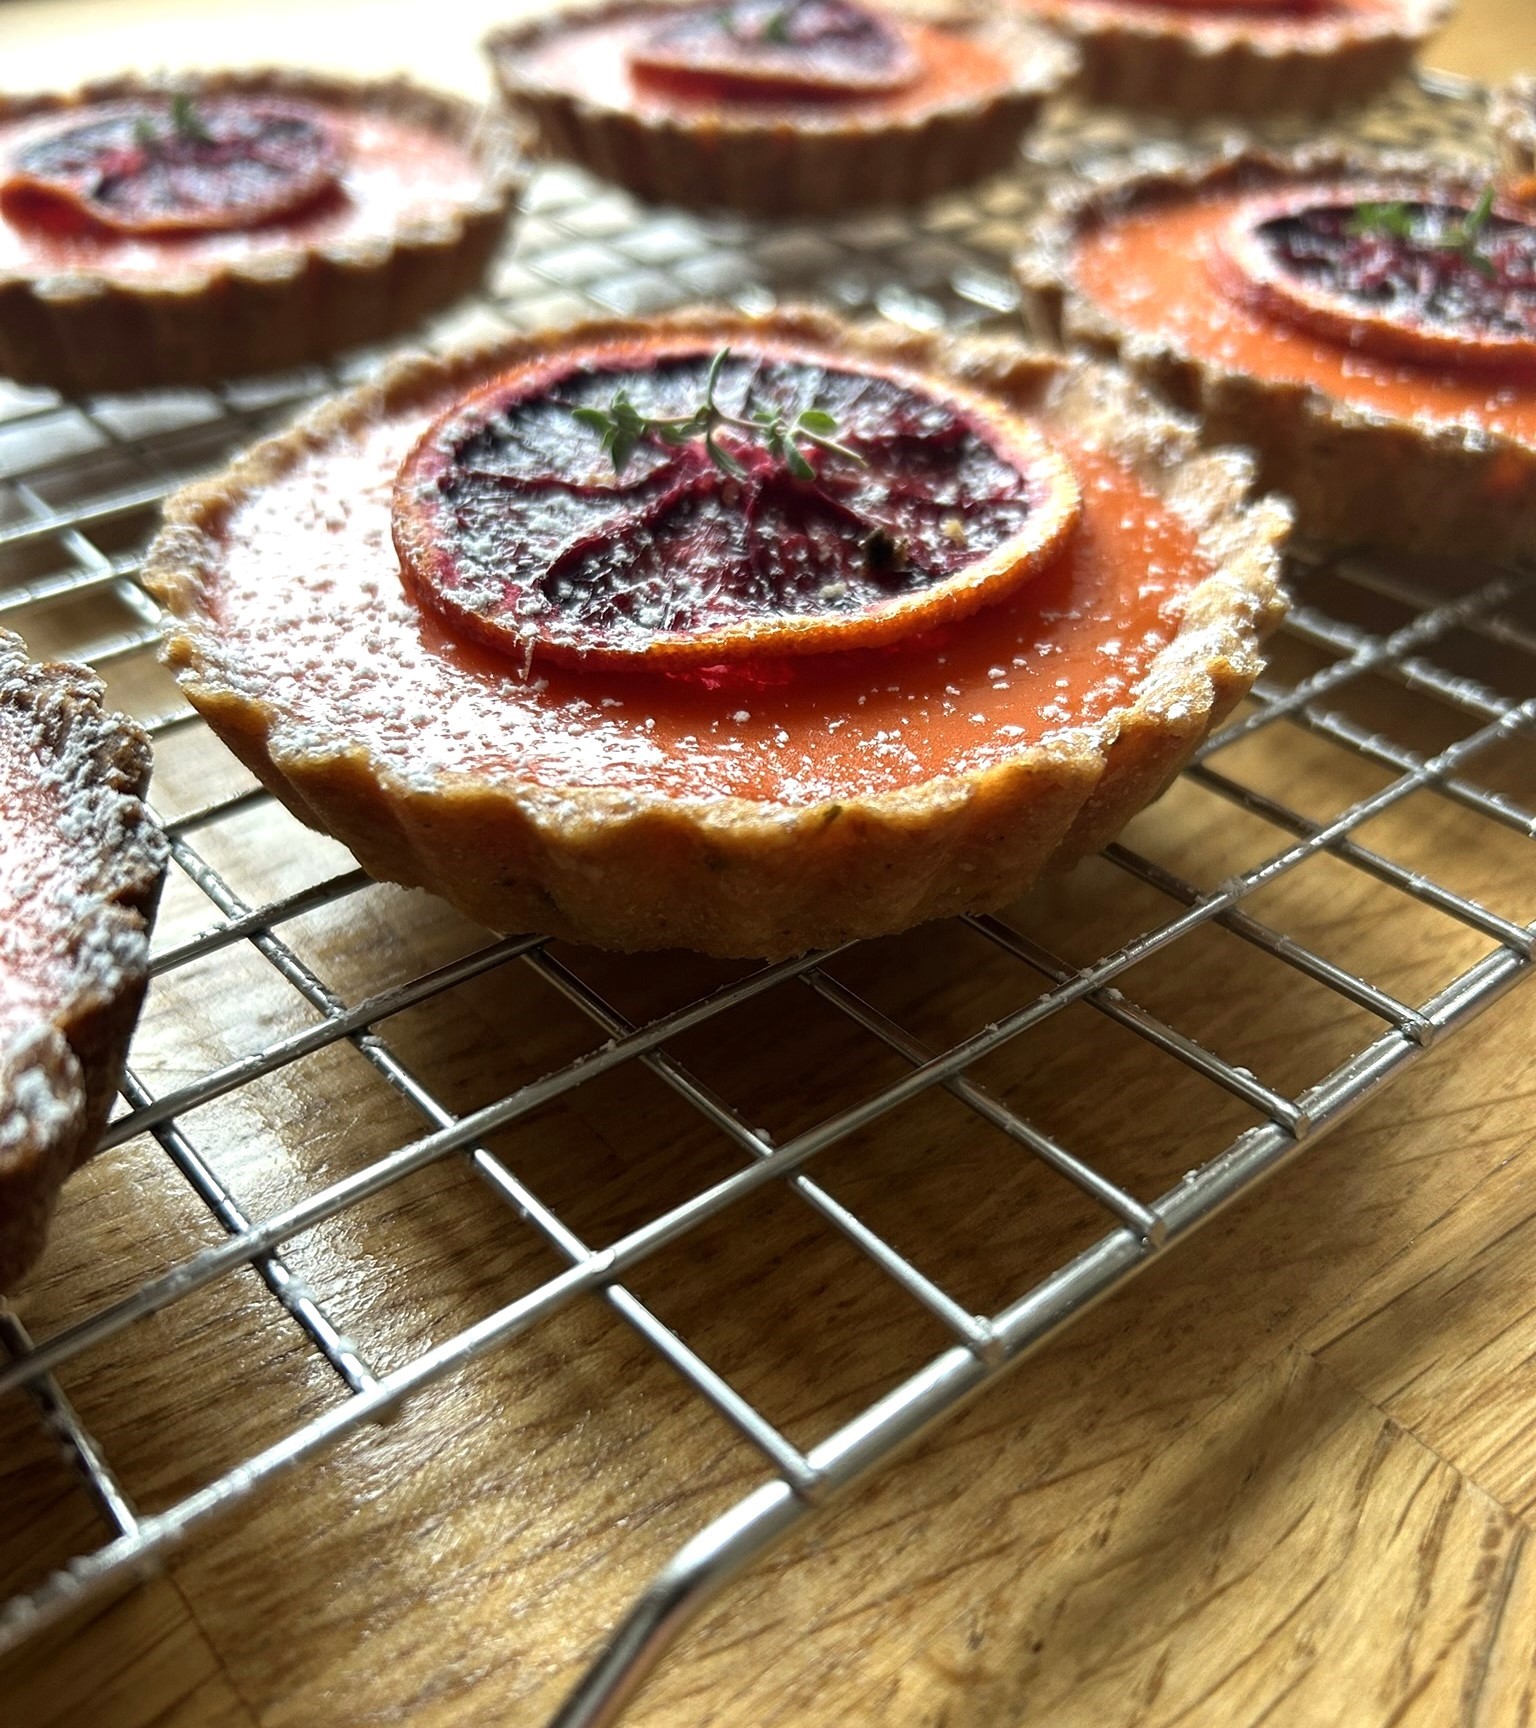
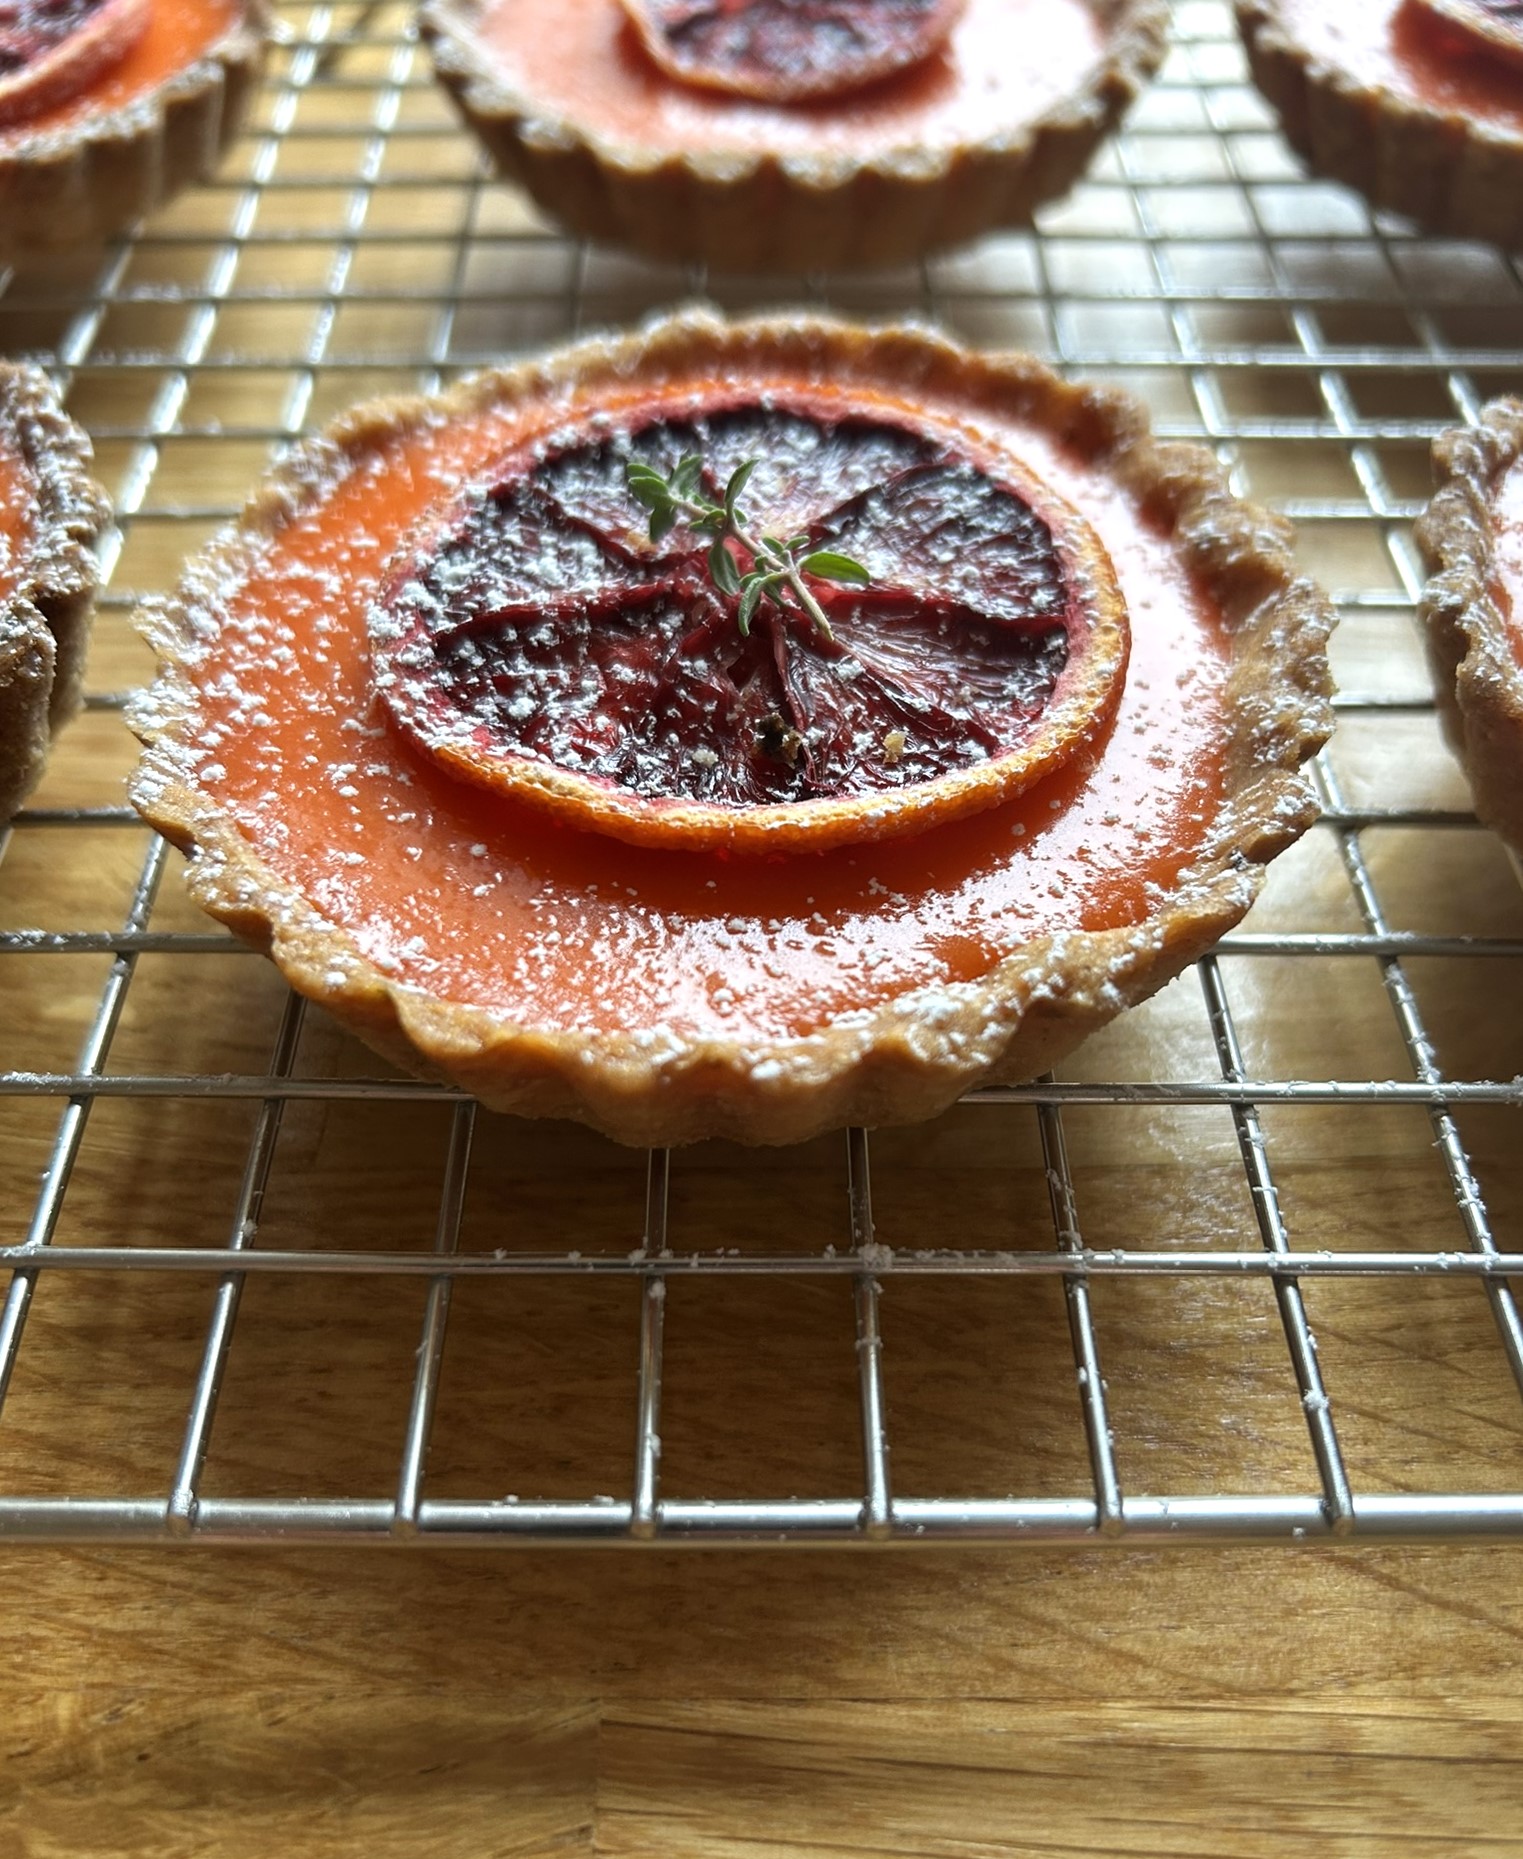
When the curd has cooled but not set (!) pour it into the empty tart cases. Transfer them to the fridge and leave to chill so the curd can set. When the curd is set, top each tart with your dried oranges, a sprig of thyme and a dusting of icing sugar.