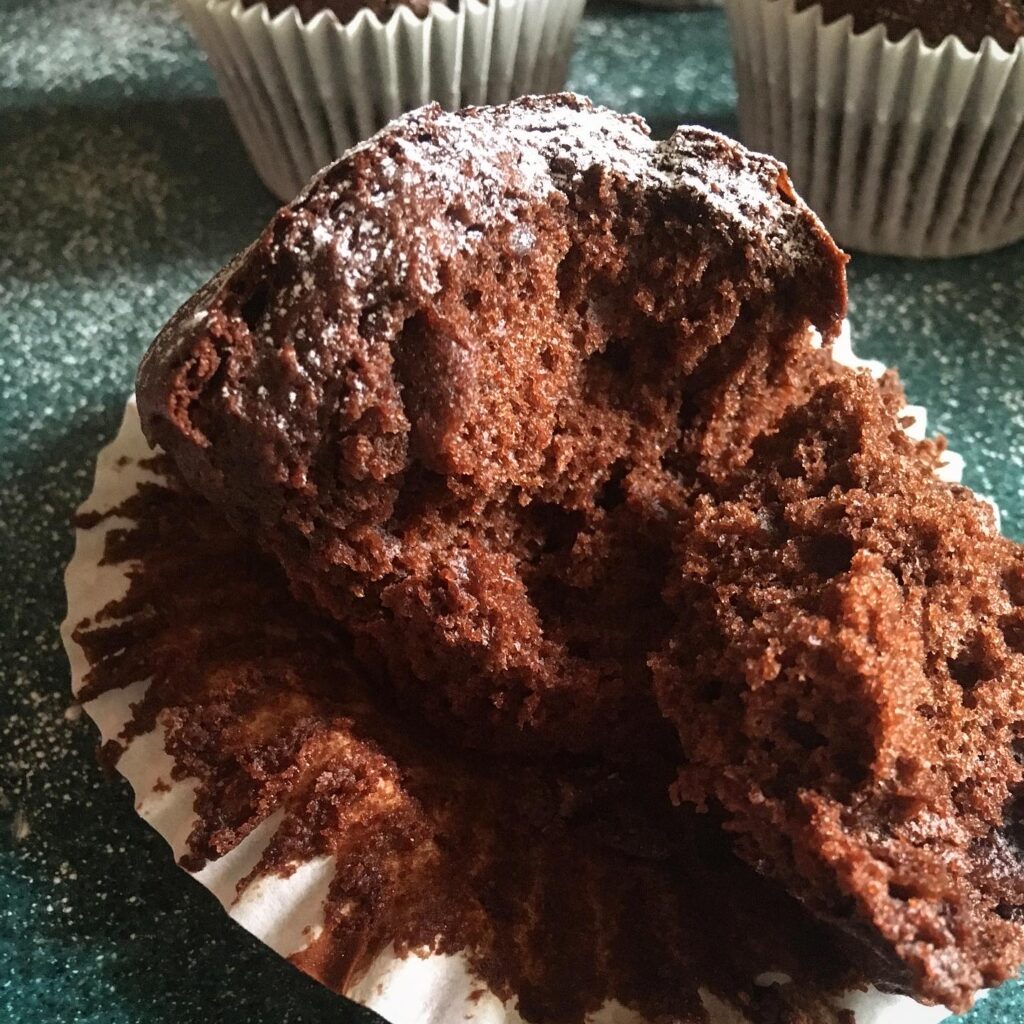
Makes: 12 spiced muffins
Takes: very little time at all to make the cakes – no more than 15 mins; longer to decorate – but enjoy that part!
Bakes: c. 20mins. Preheat the oven to 180C (GM4) and line a standard 12-hole muffin tin with paper cases (I prefer these in this instance as butter and flour can make the cakes a little dry on the base)
Ingredients
- 2 large eggs
- 230g tinned pumpkin puree
- 120ml vegetable oil
- 80ml milk
- 1 tsp vanilla extract
- 225g plain flour
- 1 tsp baking powder
- 1 tsp bicarbonate of soda
- 1 tsp ground cinnamon
- 1 tsp ground ginger
- a pinch of ground cloves
- a few gratings of fresh nutmeg (c. ½ tsp)
- ½ tsp ground allspice
- 140g dark brown sugar
- 50g raisins
- 25g butter (softened to room temperature)
- 50g icing sugar
- 1 tsp ground cinnamon
You will also need:
- ready to roll white icing
- orange food dye
- green food dye
- black food dye
- icing sugar (to dust the worktop with)
- a mini rolling pin
- 2 mini paintbrushes
- a little icing smoother tool
- some edible sugar eyes
Method
For the muffins
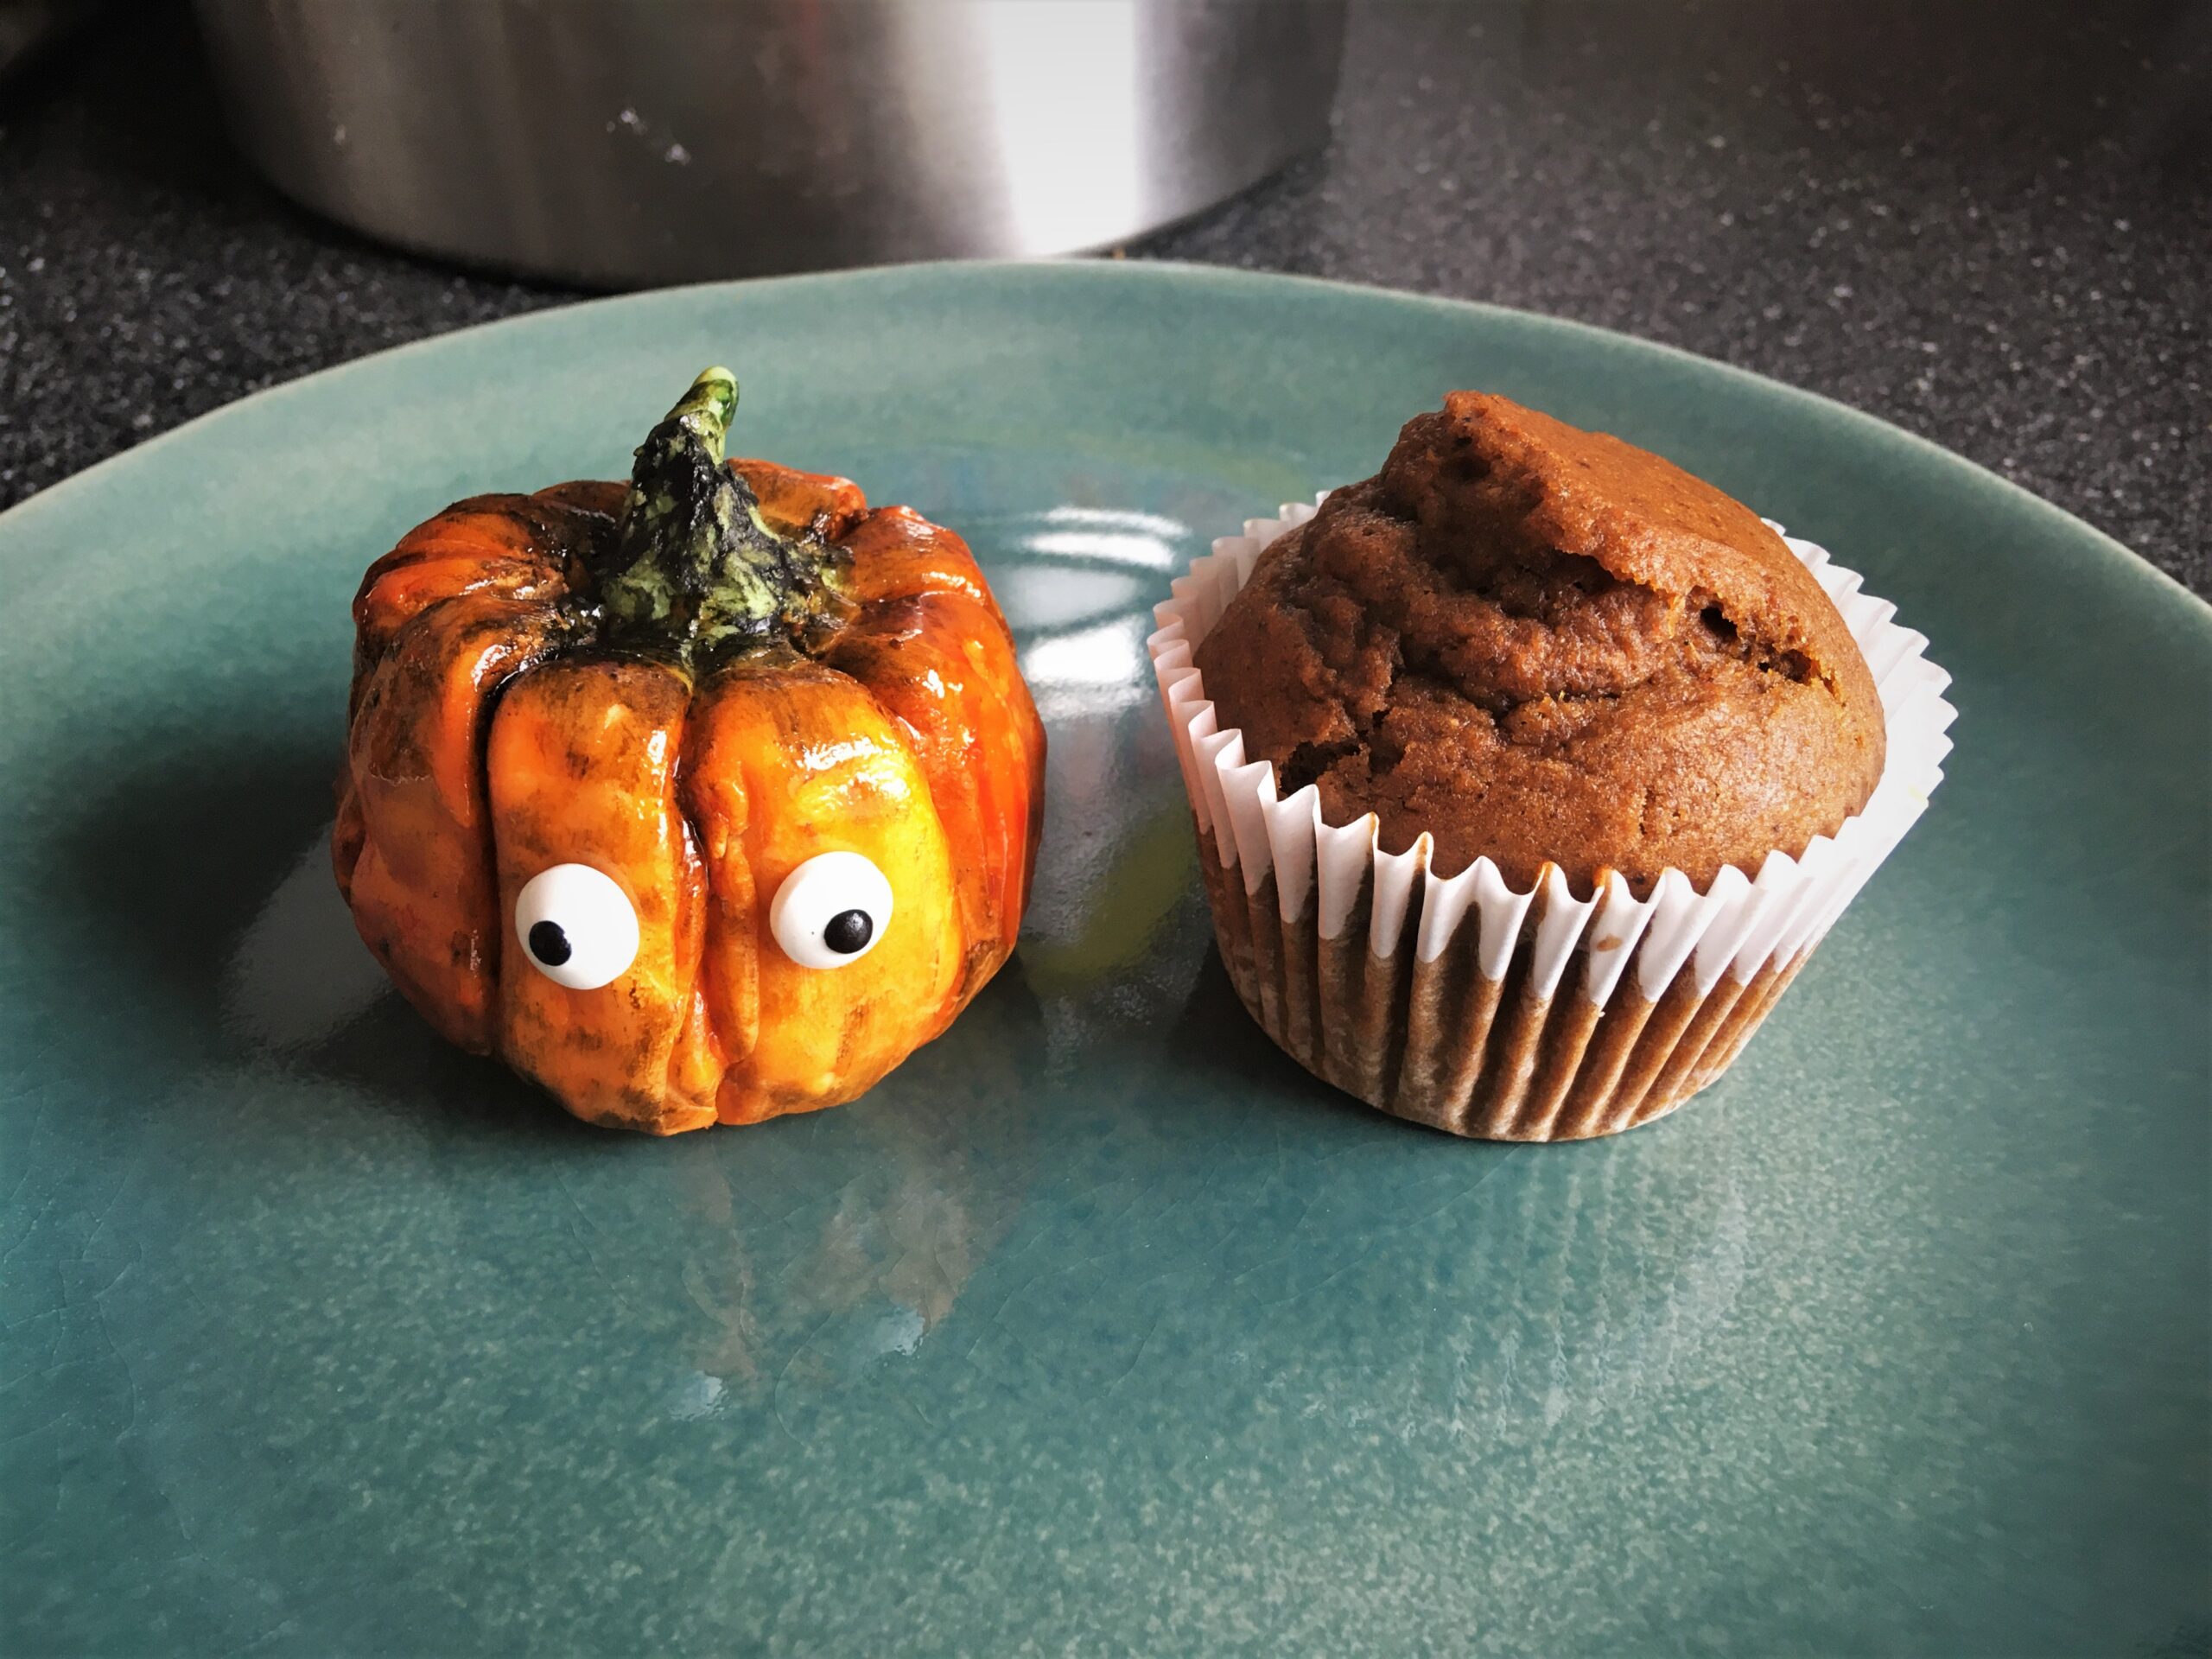
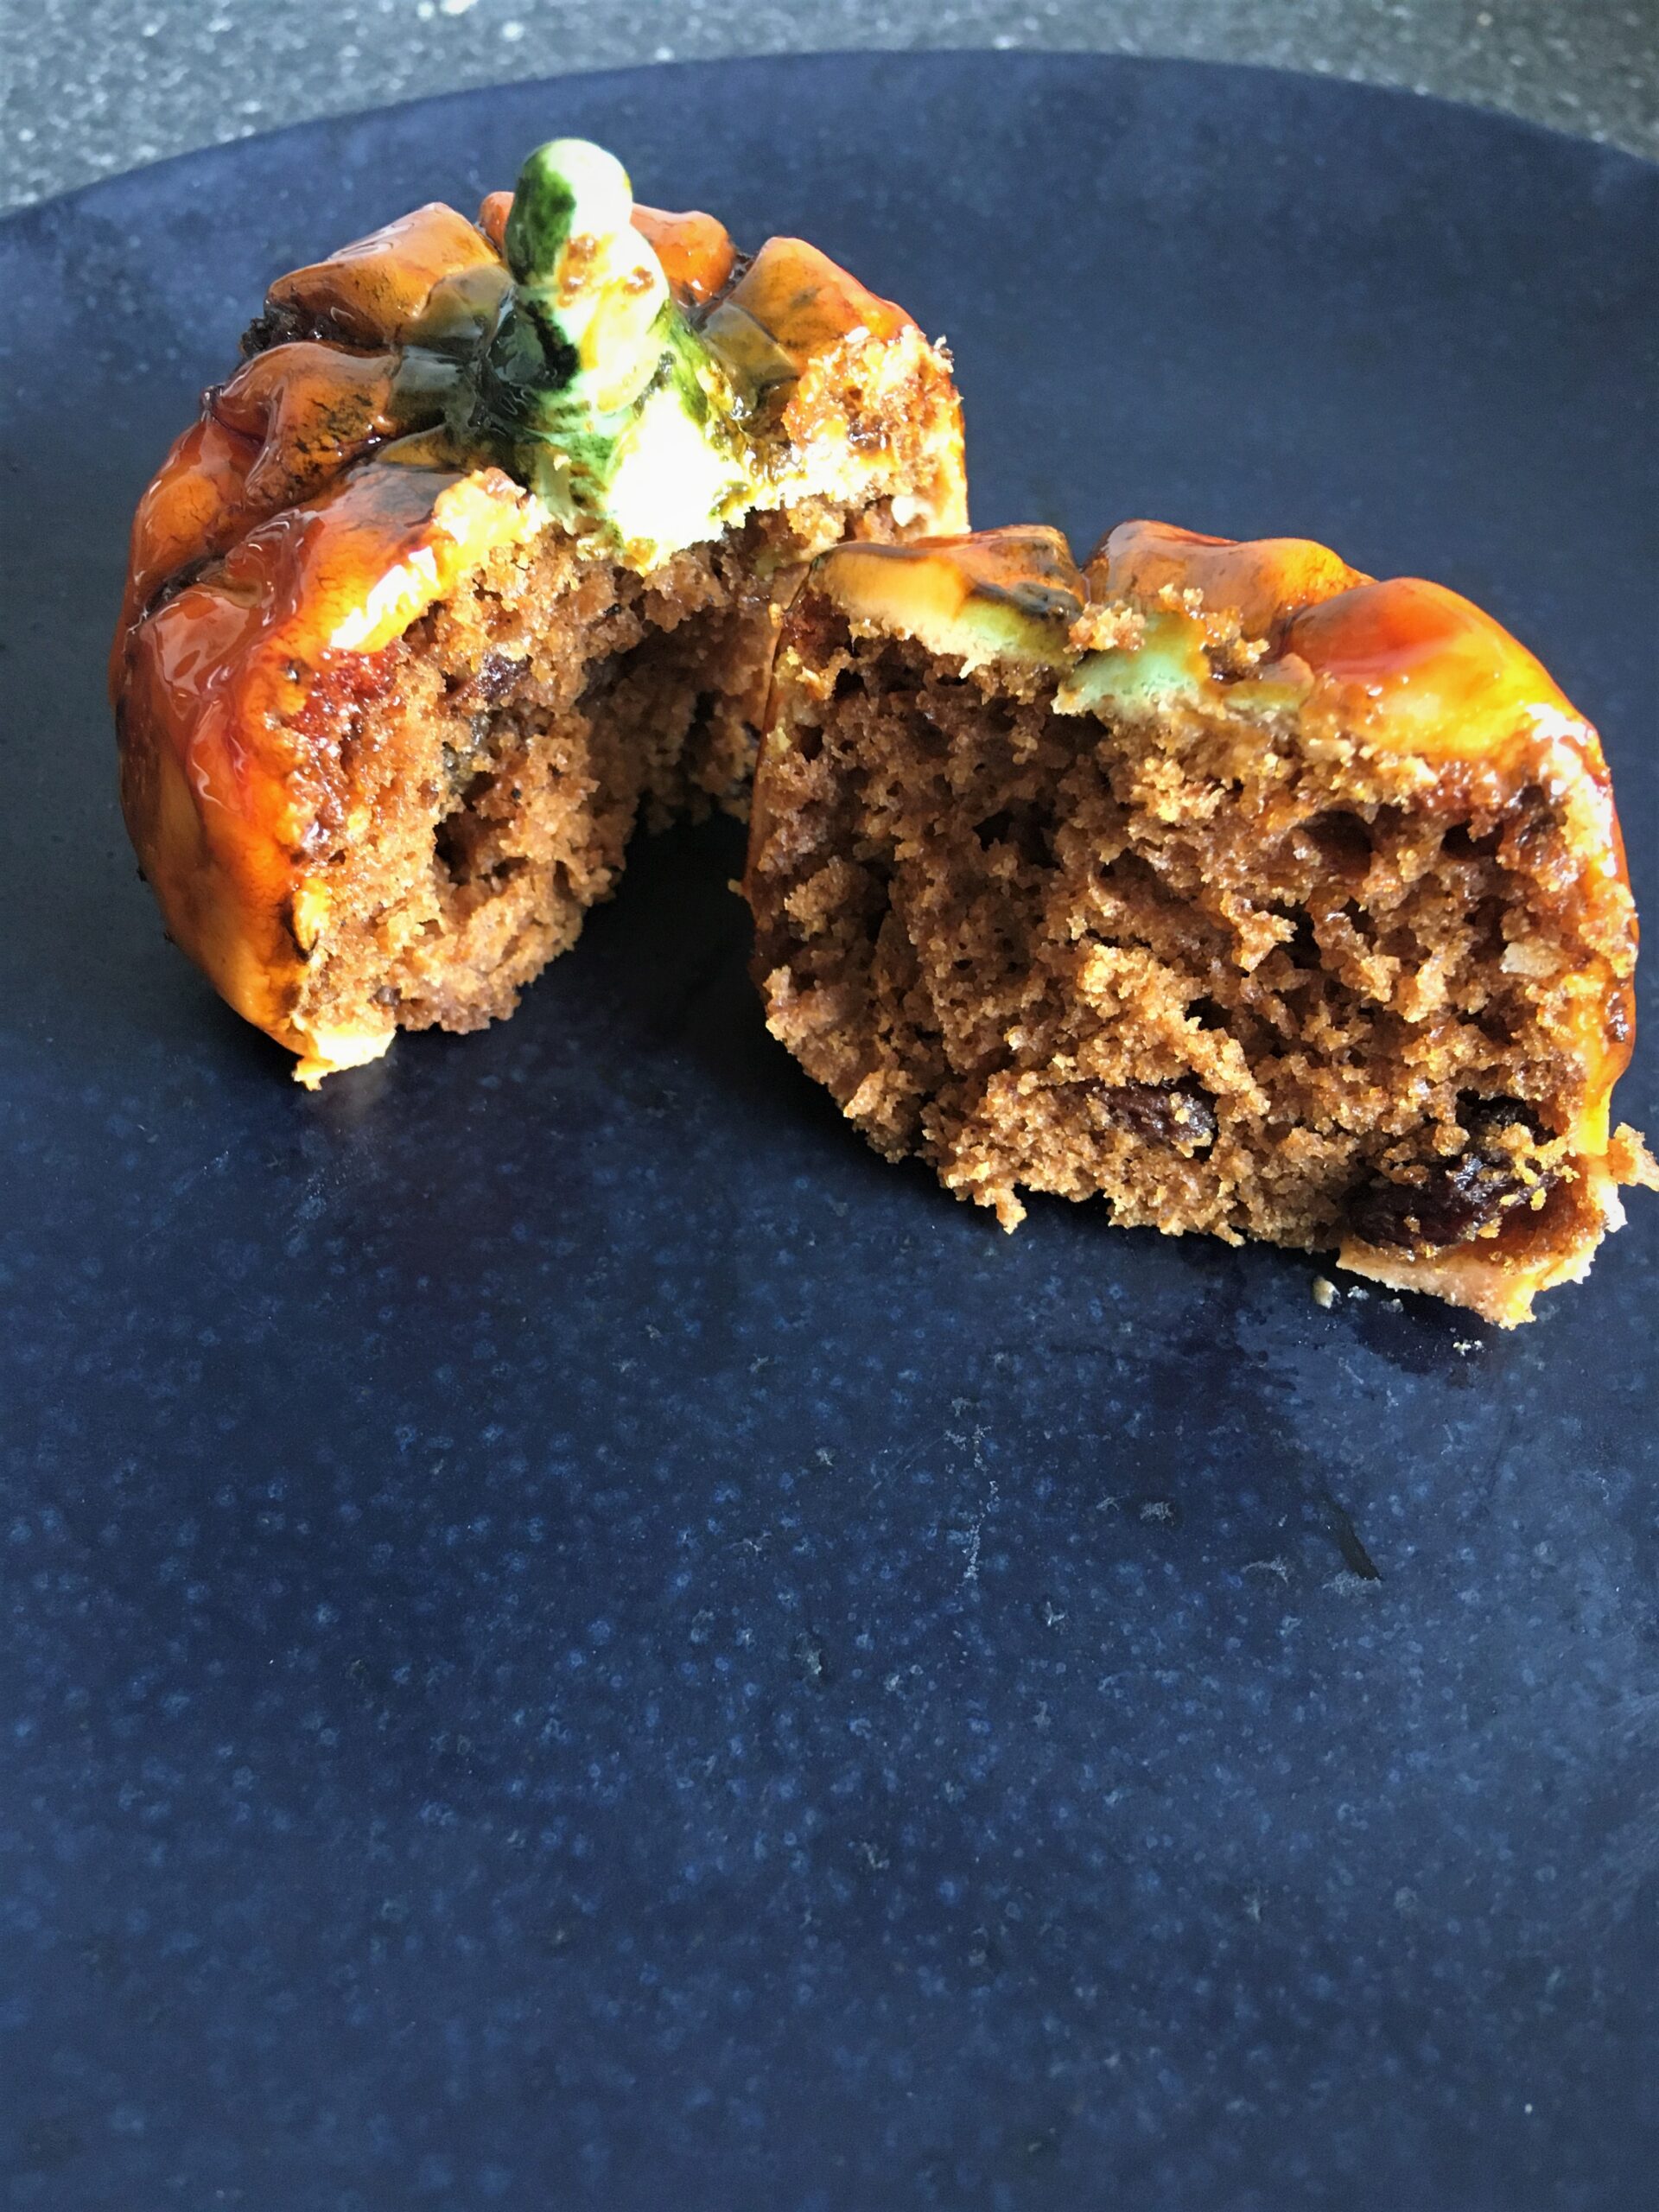
Super simple. Pop all the wet ingredients into a large mixing bowl and go in with a balloon whisk to combine them. Don’t overmix, however – just until they are well-combined. Next combine all the dry ingredients in a separate bowl and fold these into the wet mix. Finally fold in the raisins. Pop the batter into the cases until each is 2/3 full (you may have a little leftover and could possibly get two more). Smooth out the tops as best possible but don’t worry too much, then pop the tin into the oven to bake. The muffins will be cooked when a knife inserted in the centre comes out clean. They will be (or rather, should be) very springy).
To make the butter icing, simply cream the ingredients together in a bowl and leave to one side.
To decorate
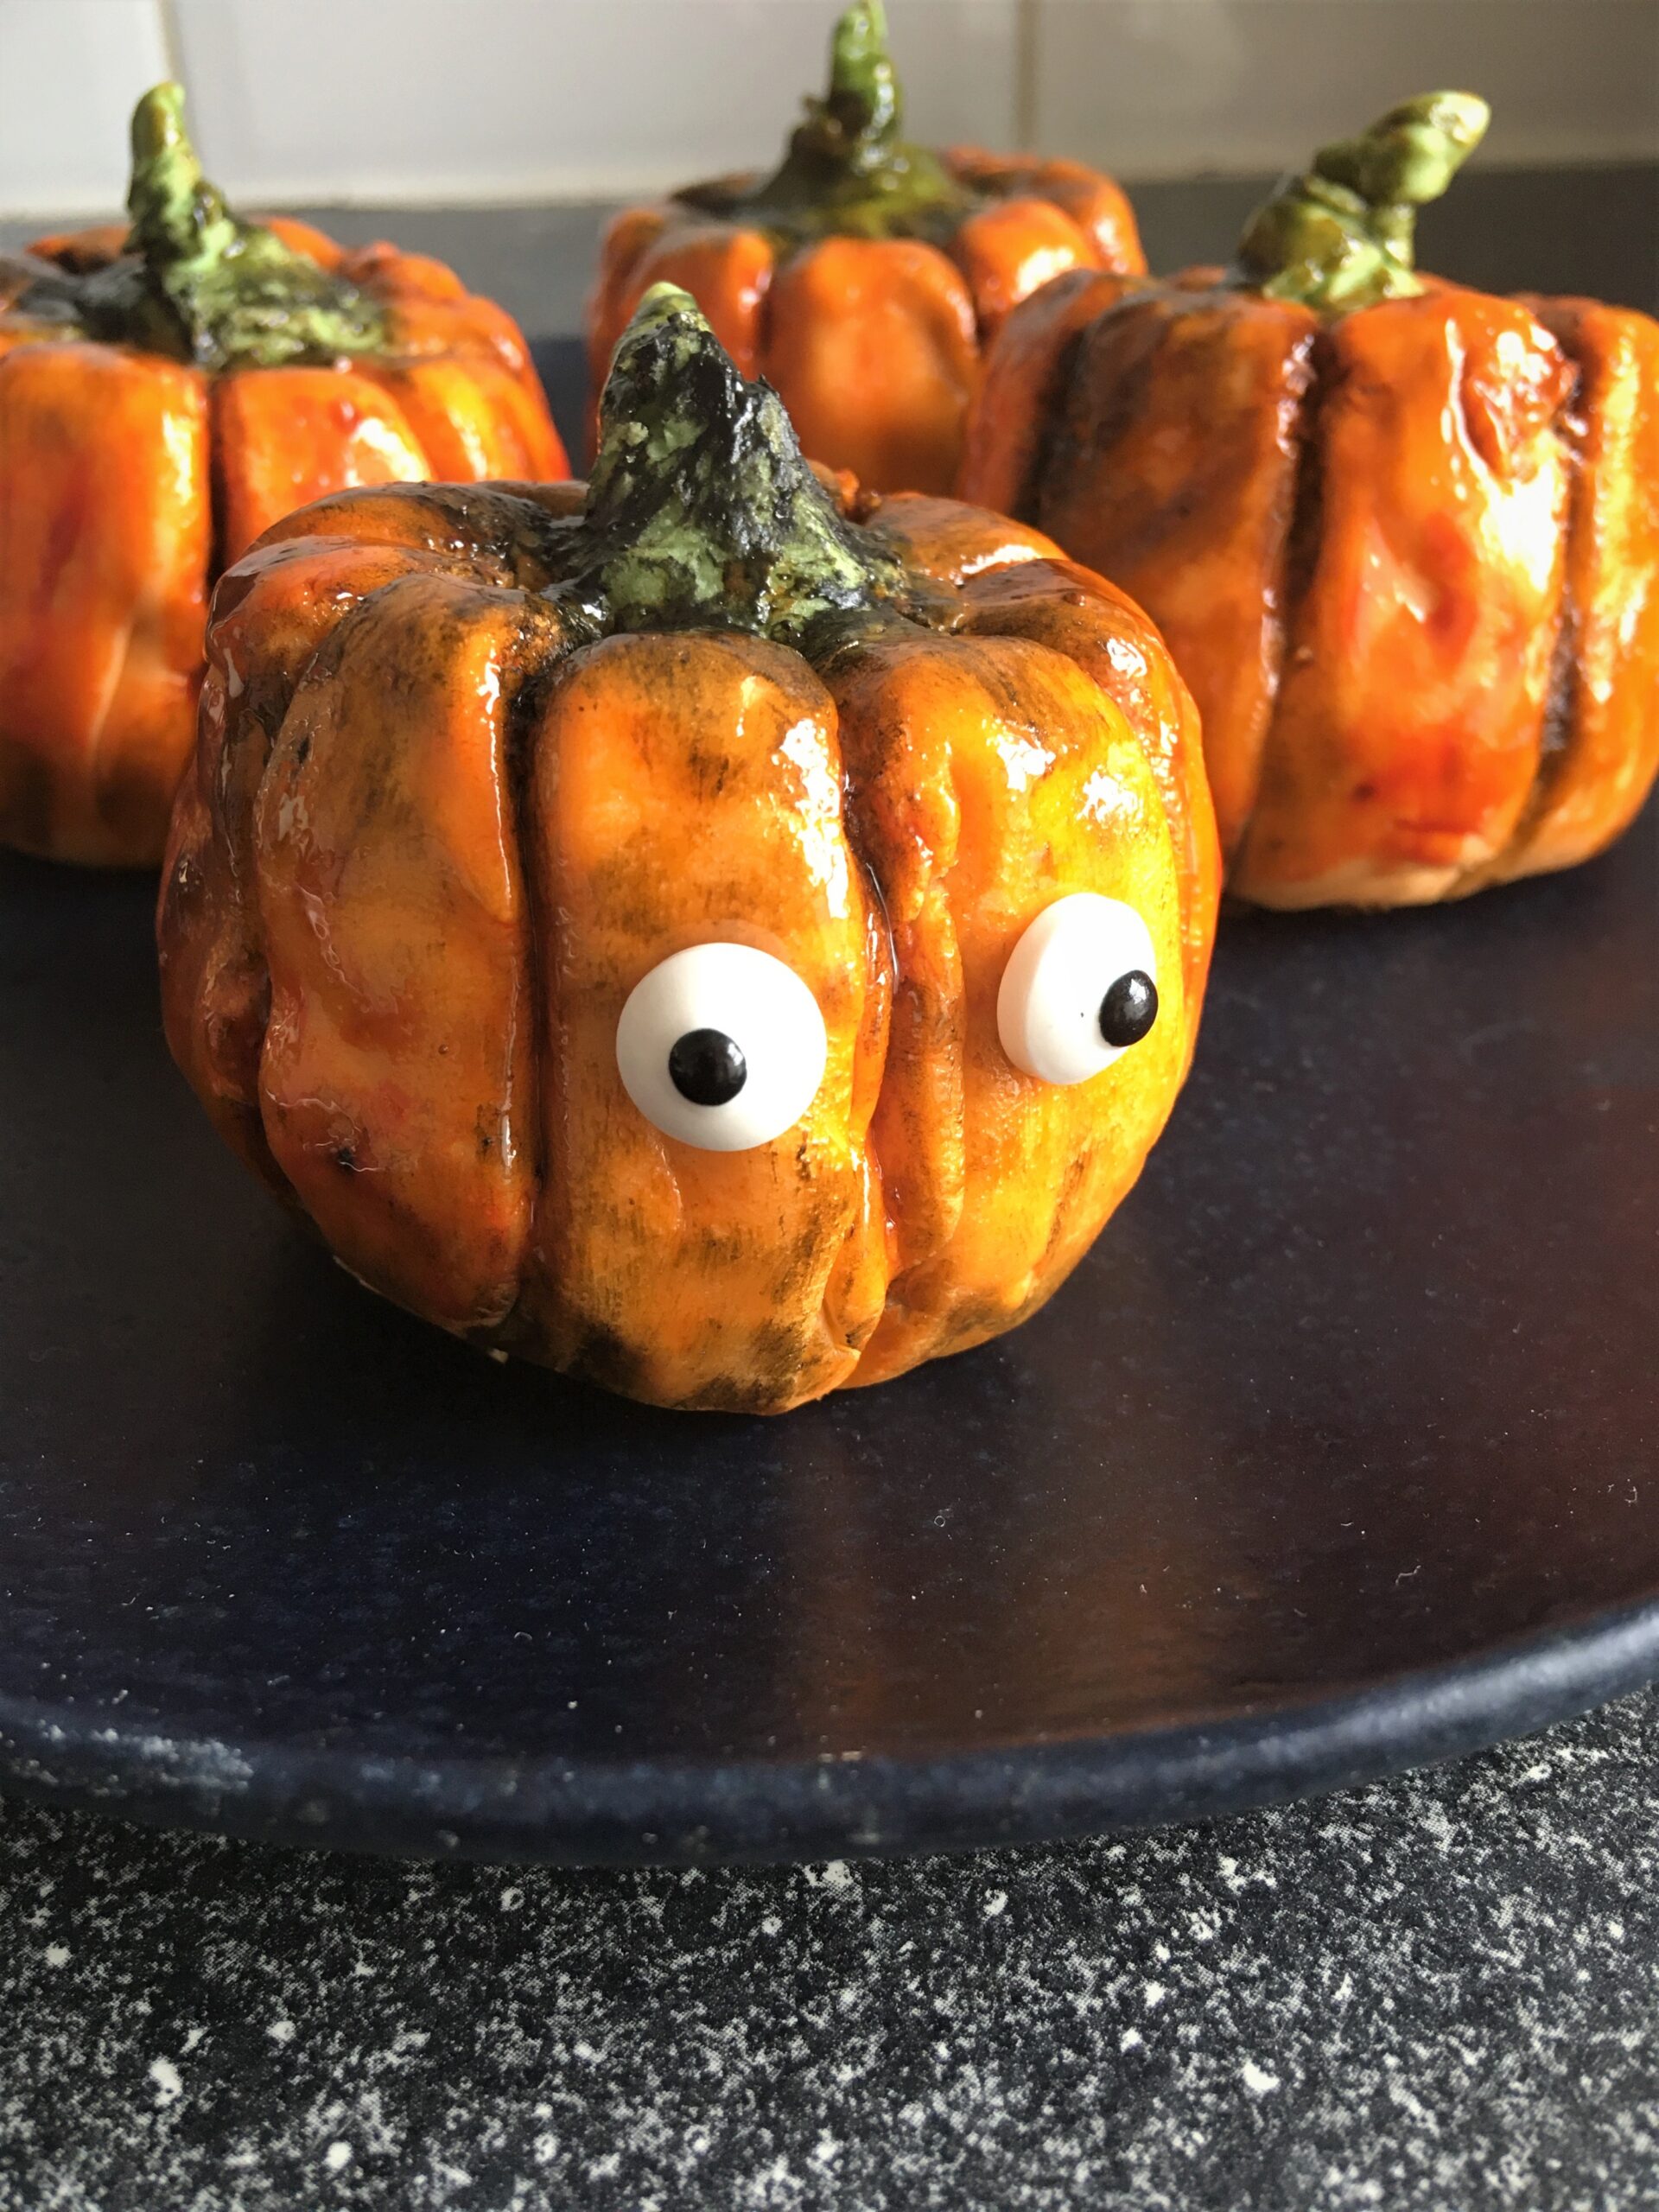
Peel the cases off the muffins, slice the pointed tops off each and turn them upside down. Spread a thin layer of buttercream over the tops and sides of each.
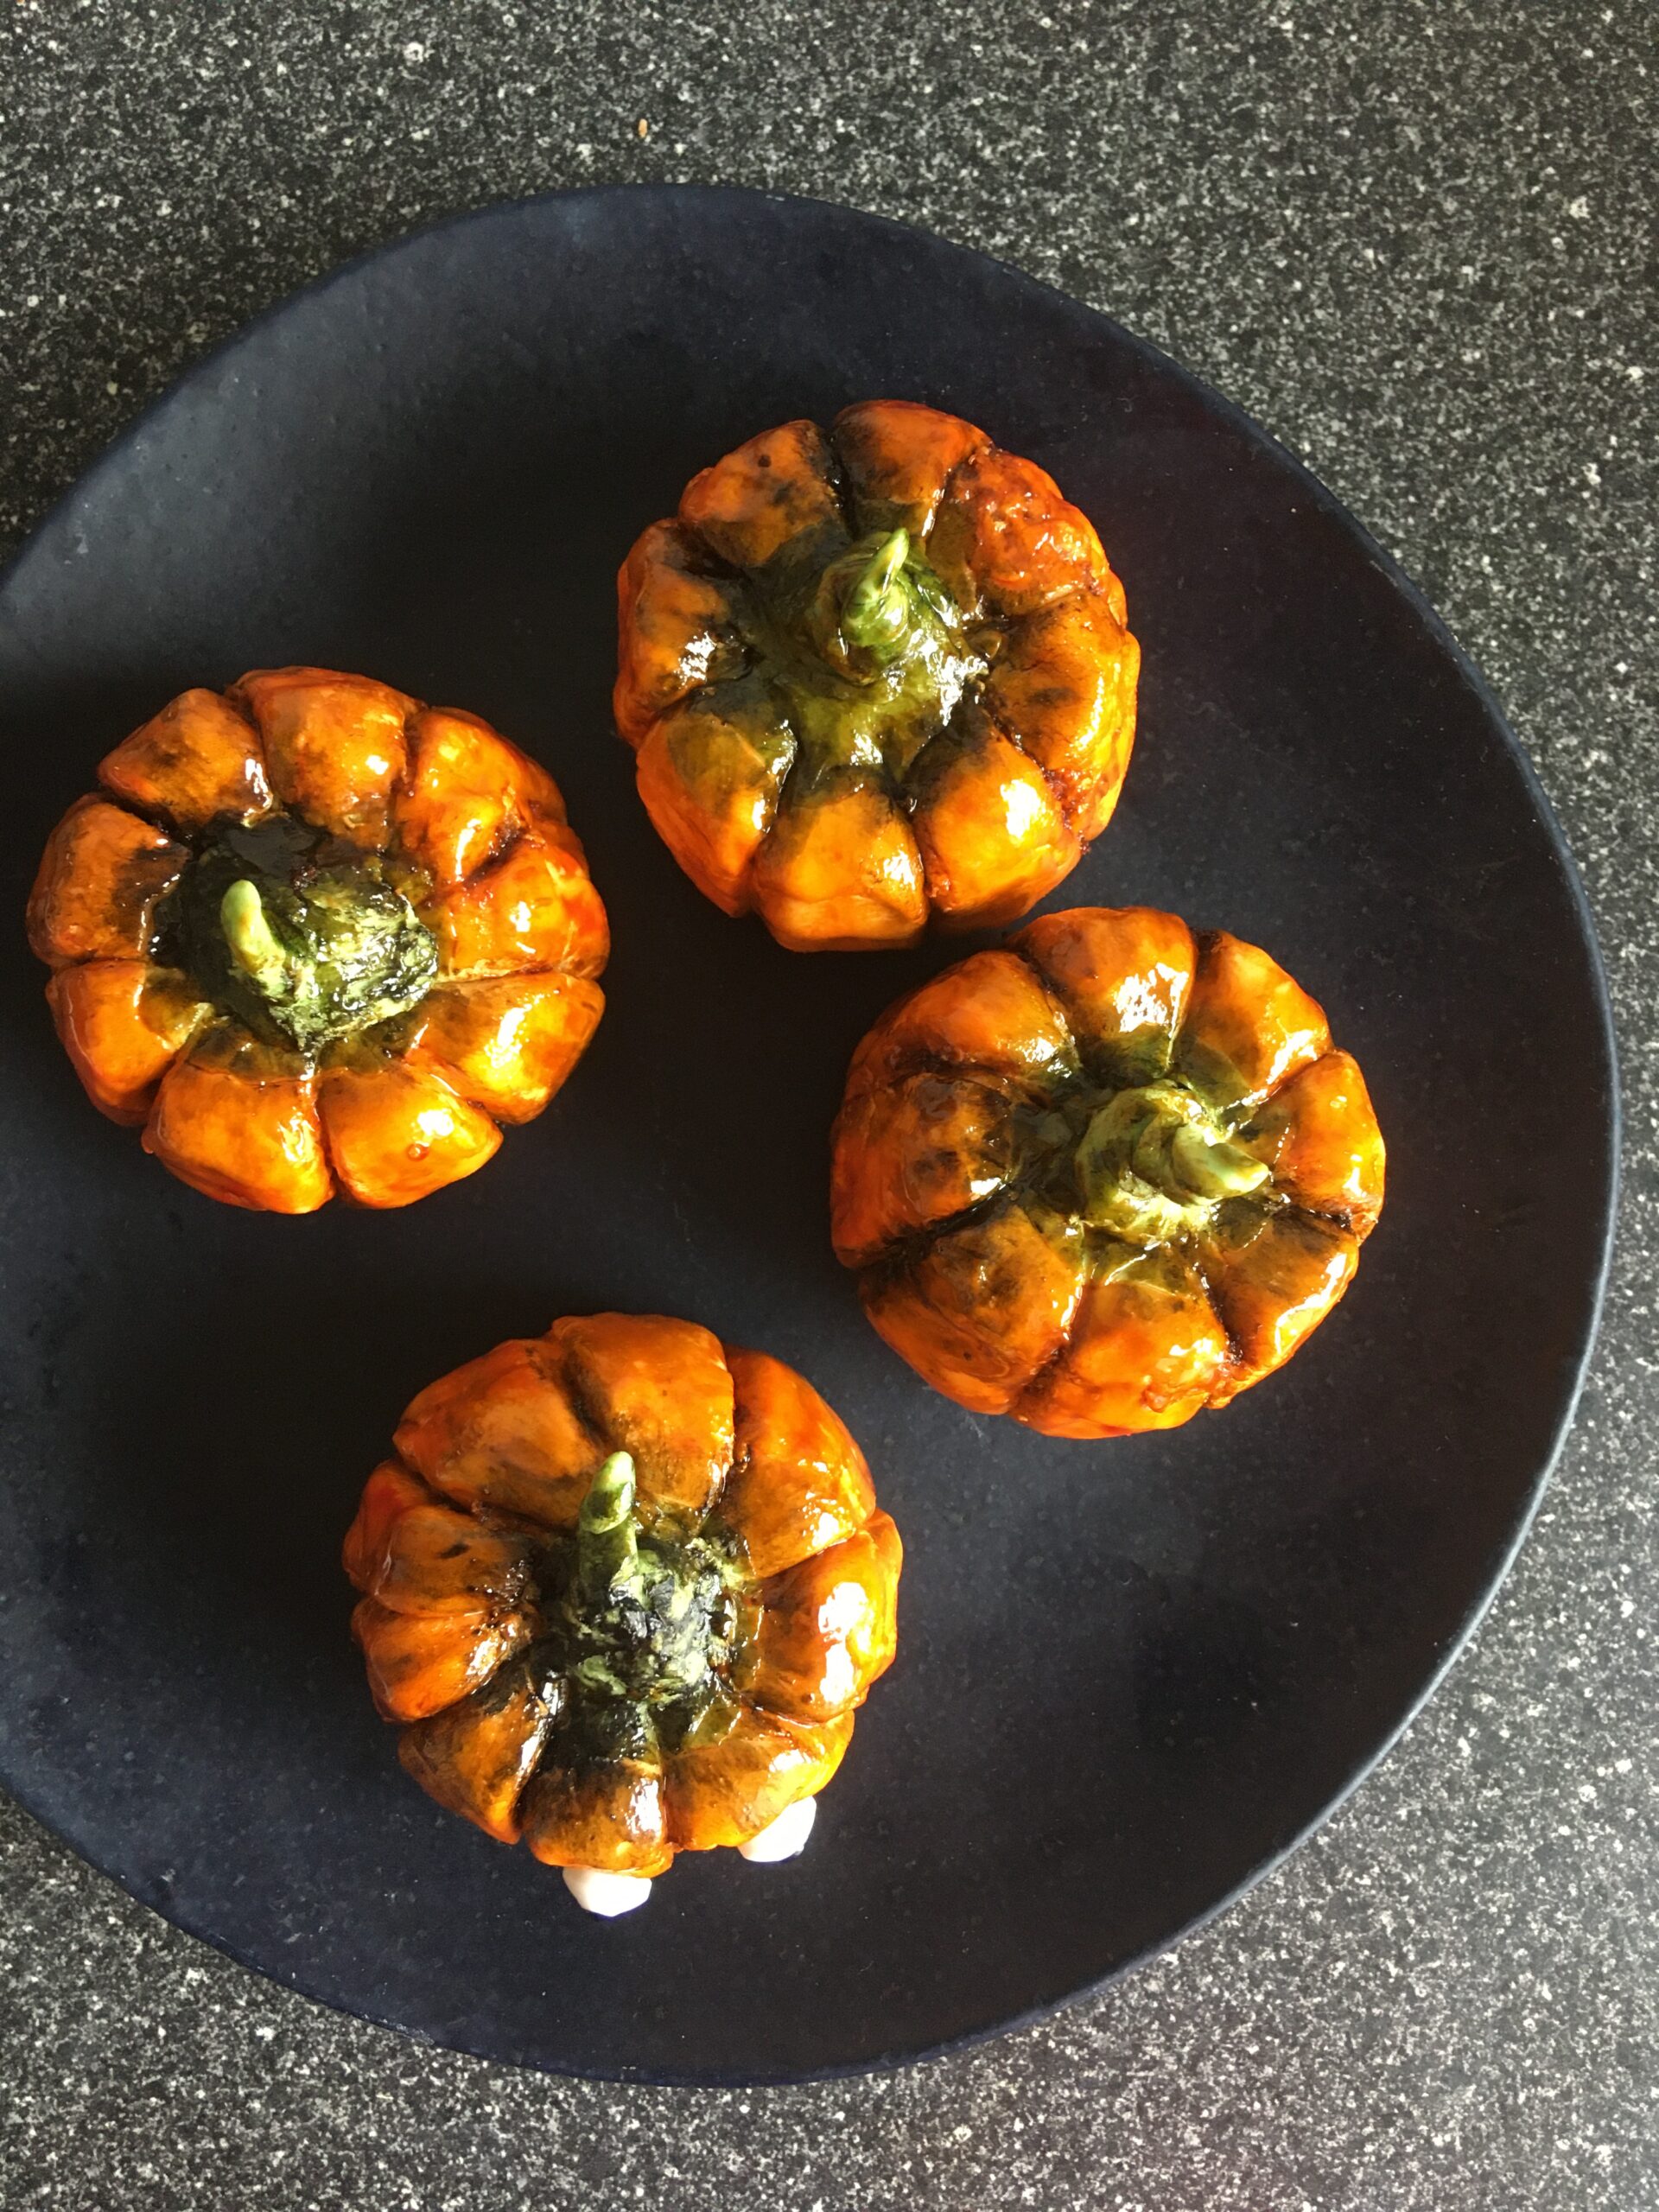
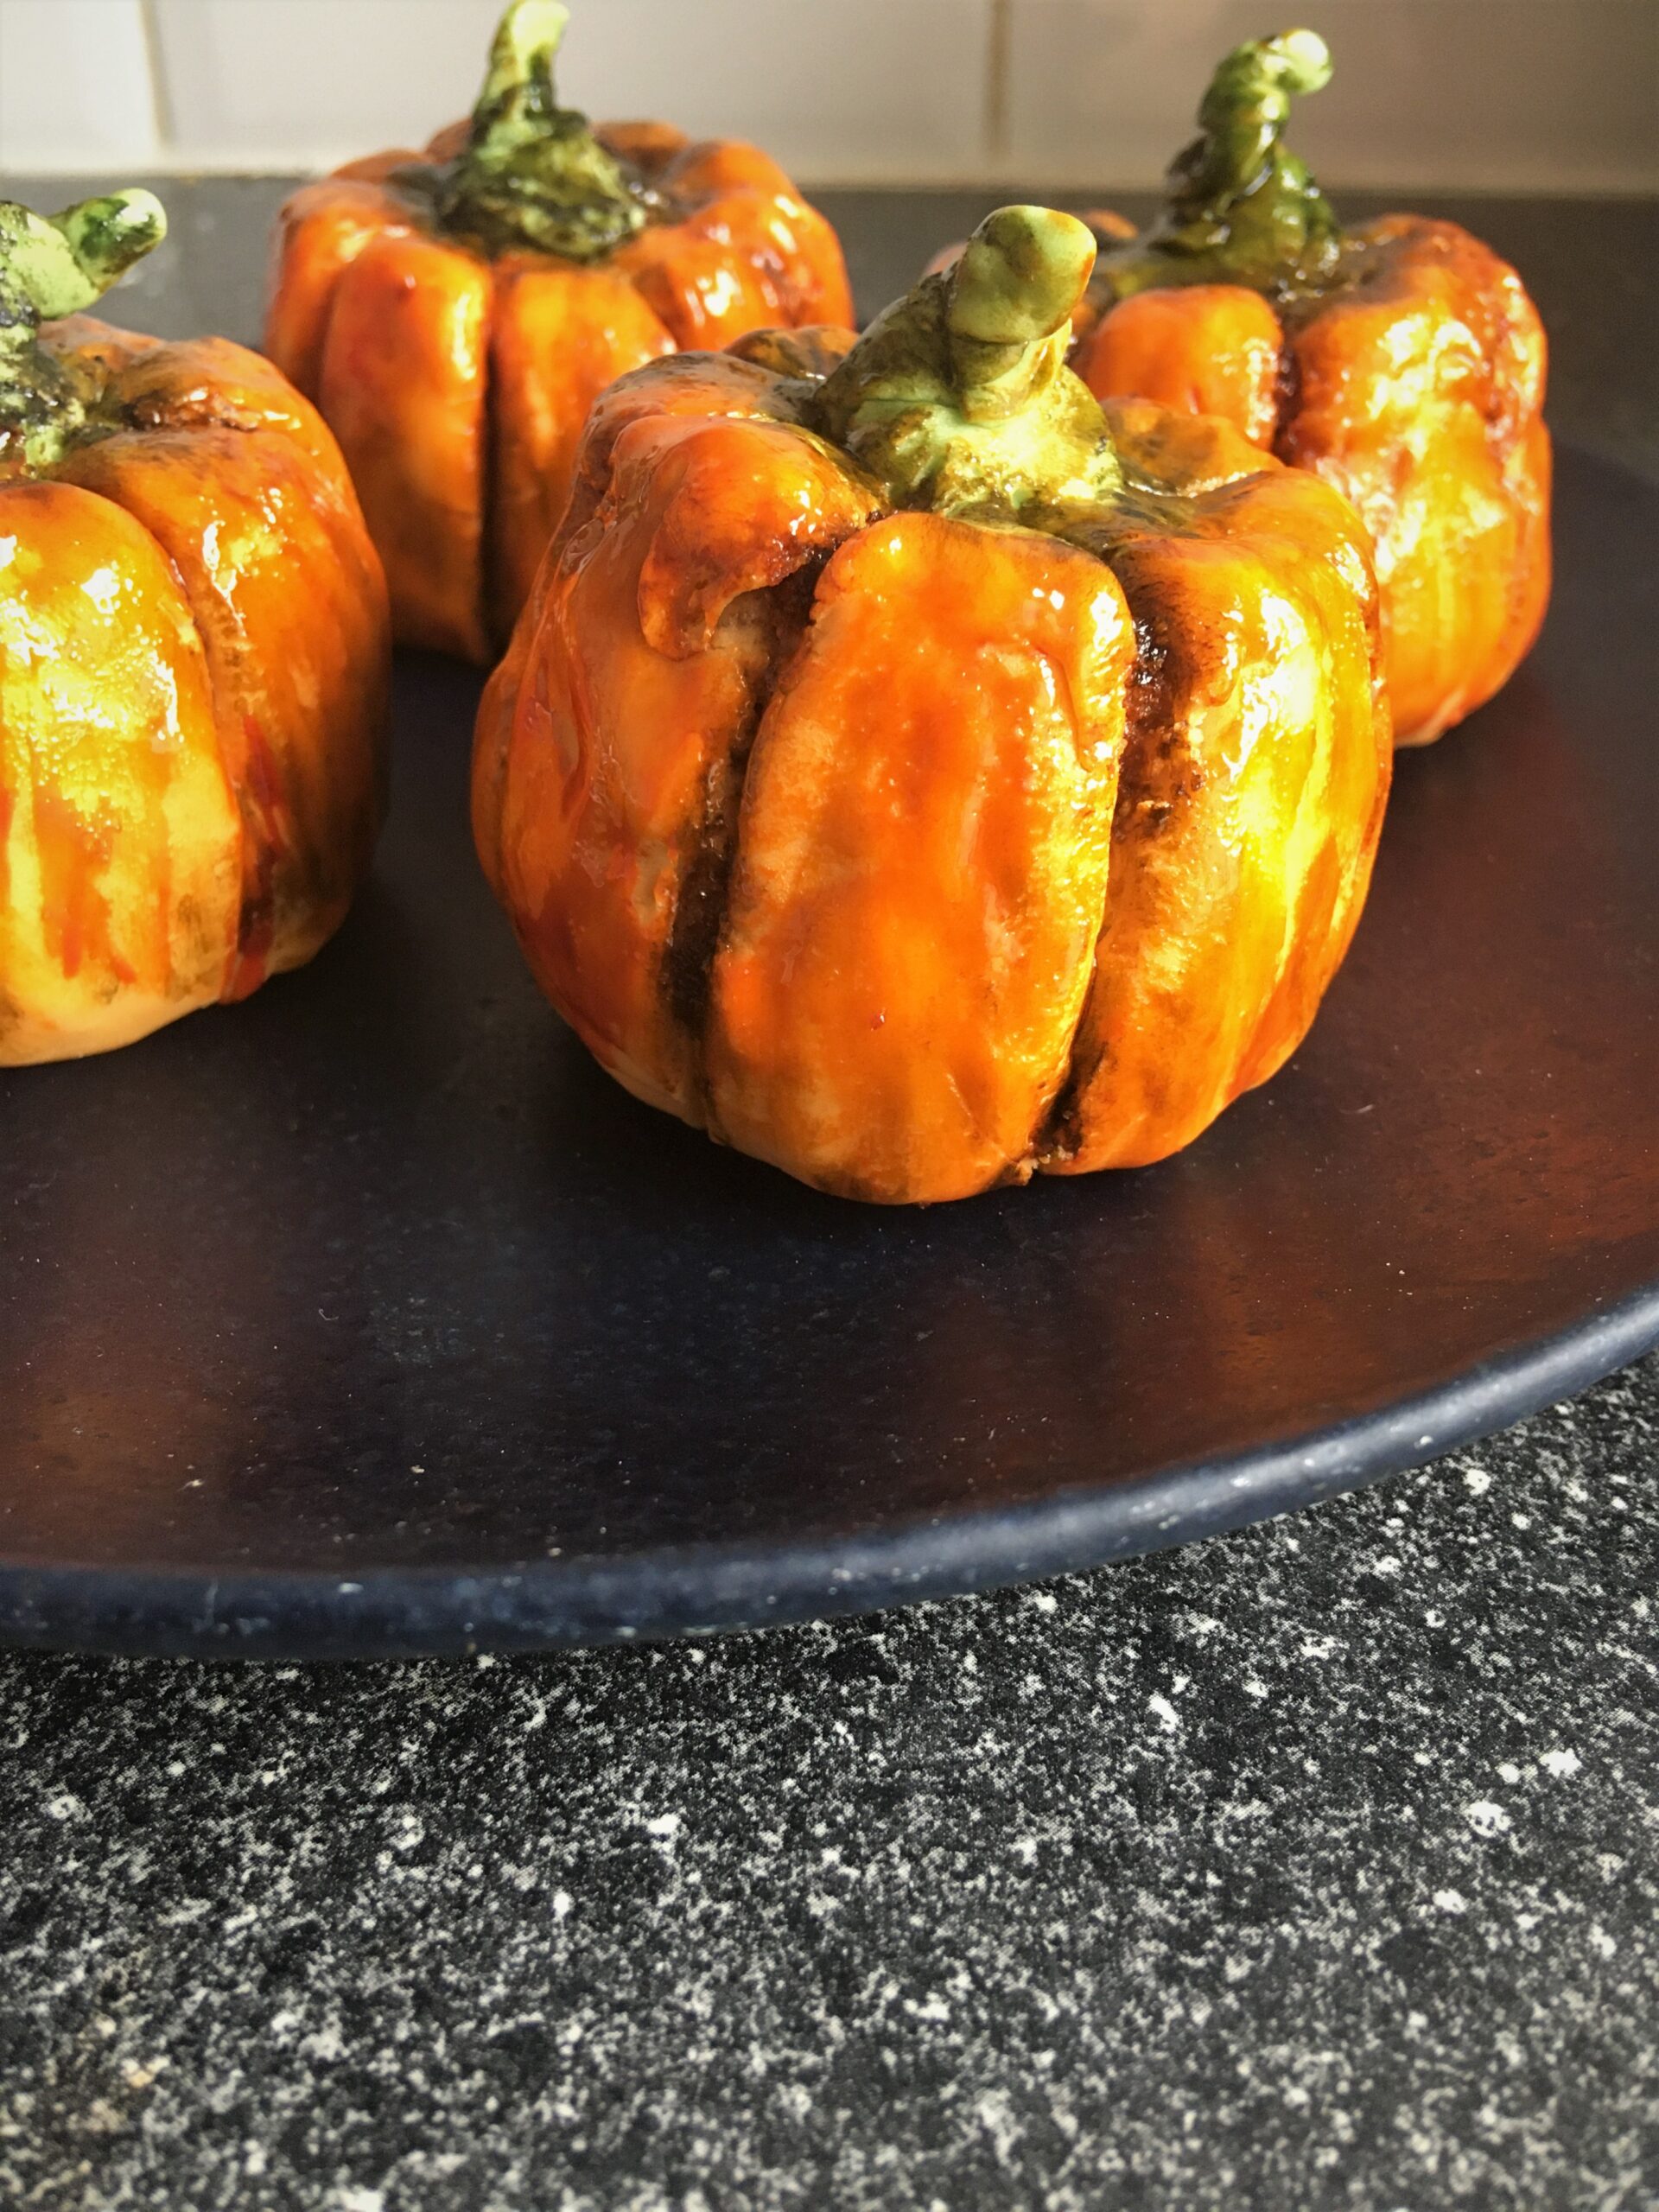
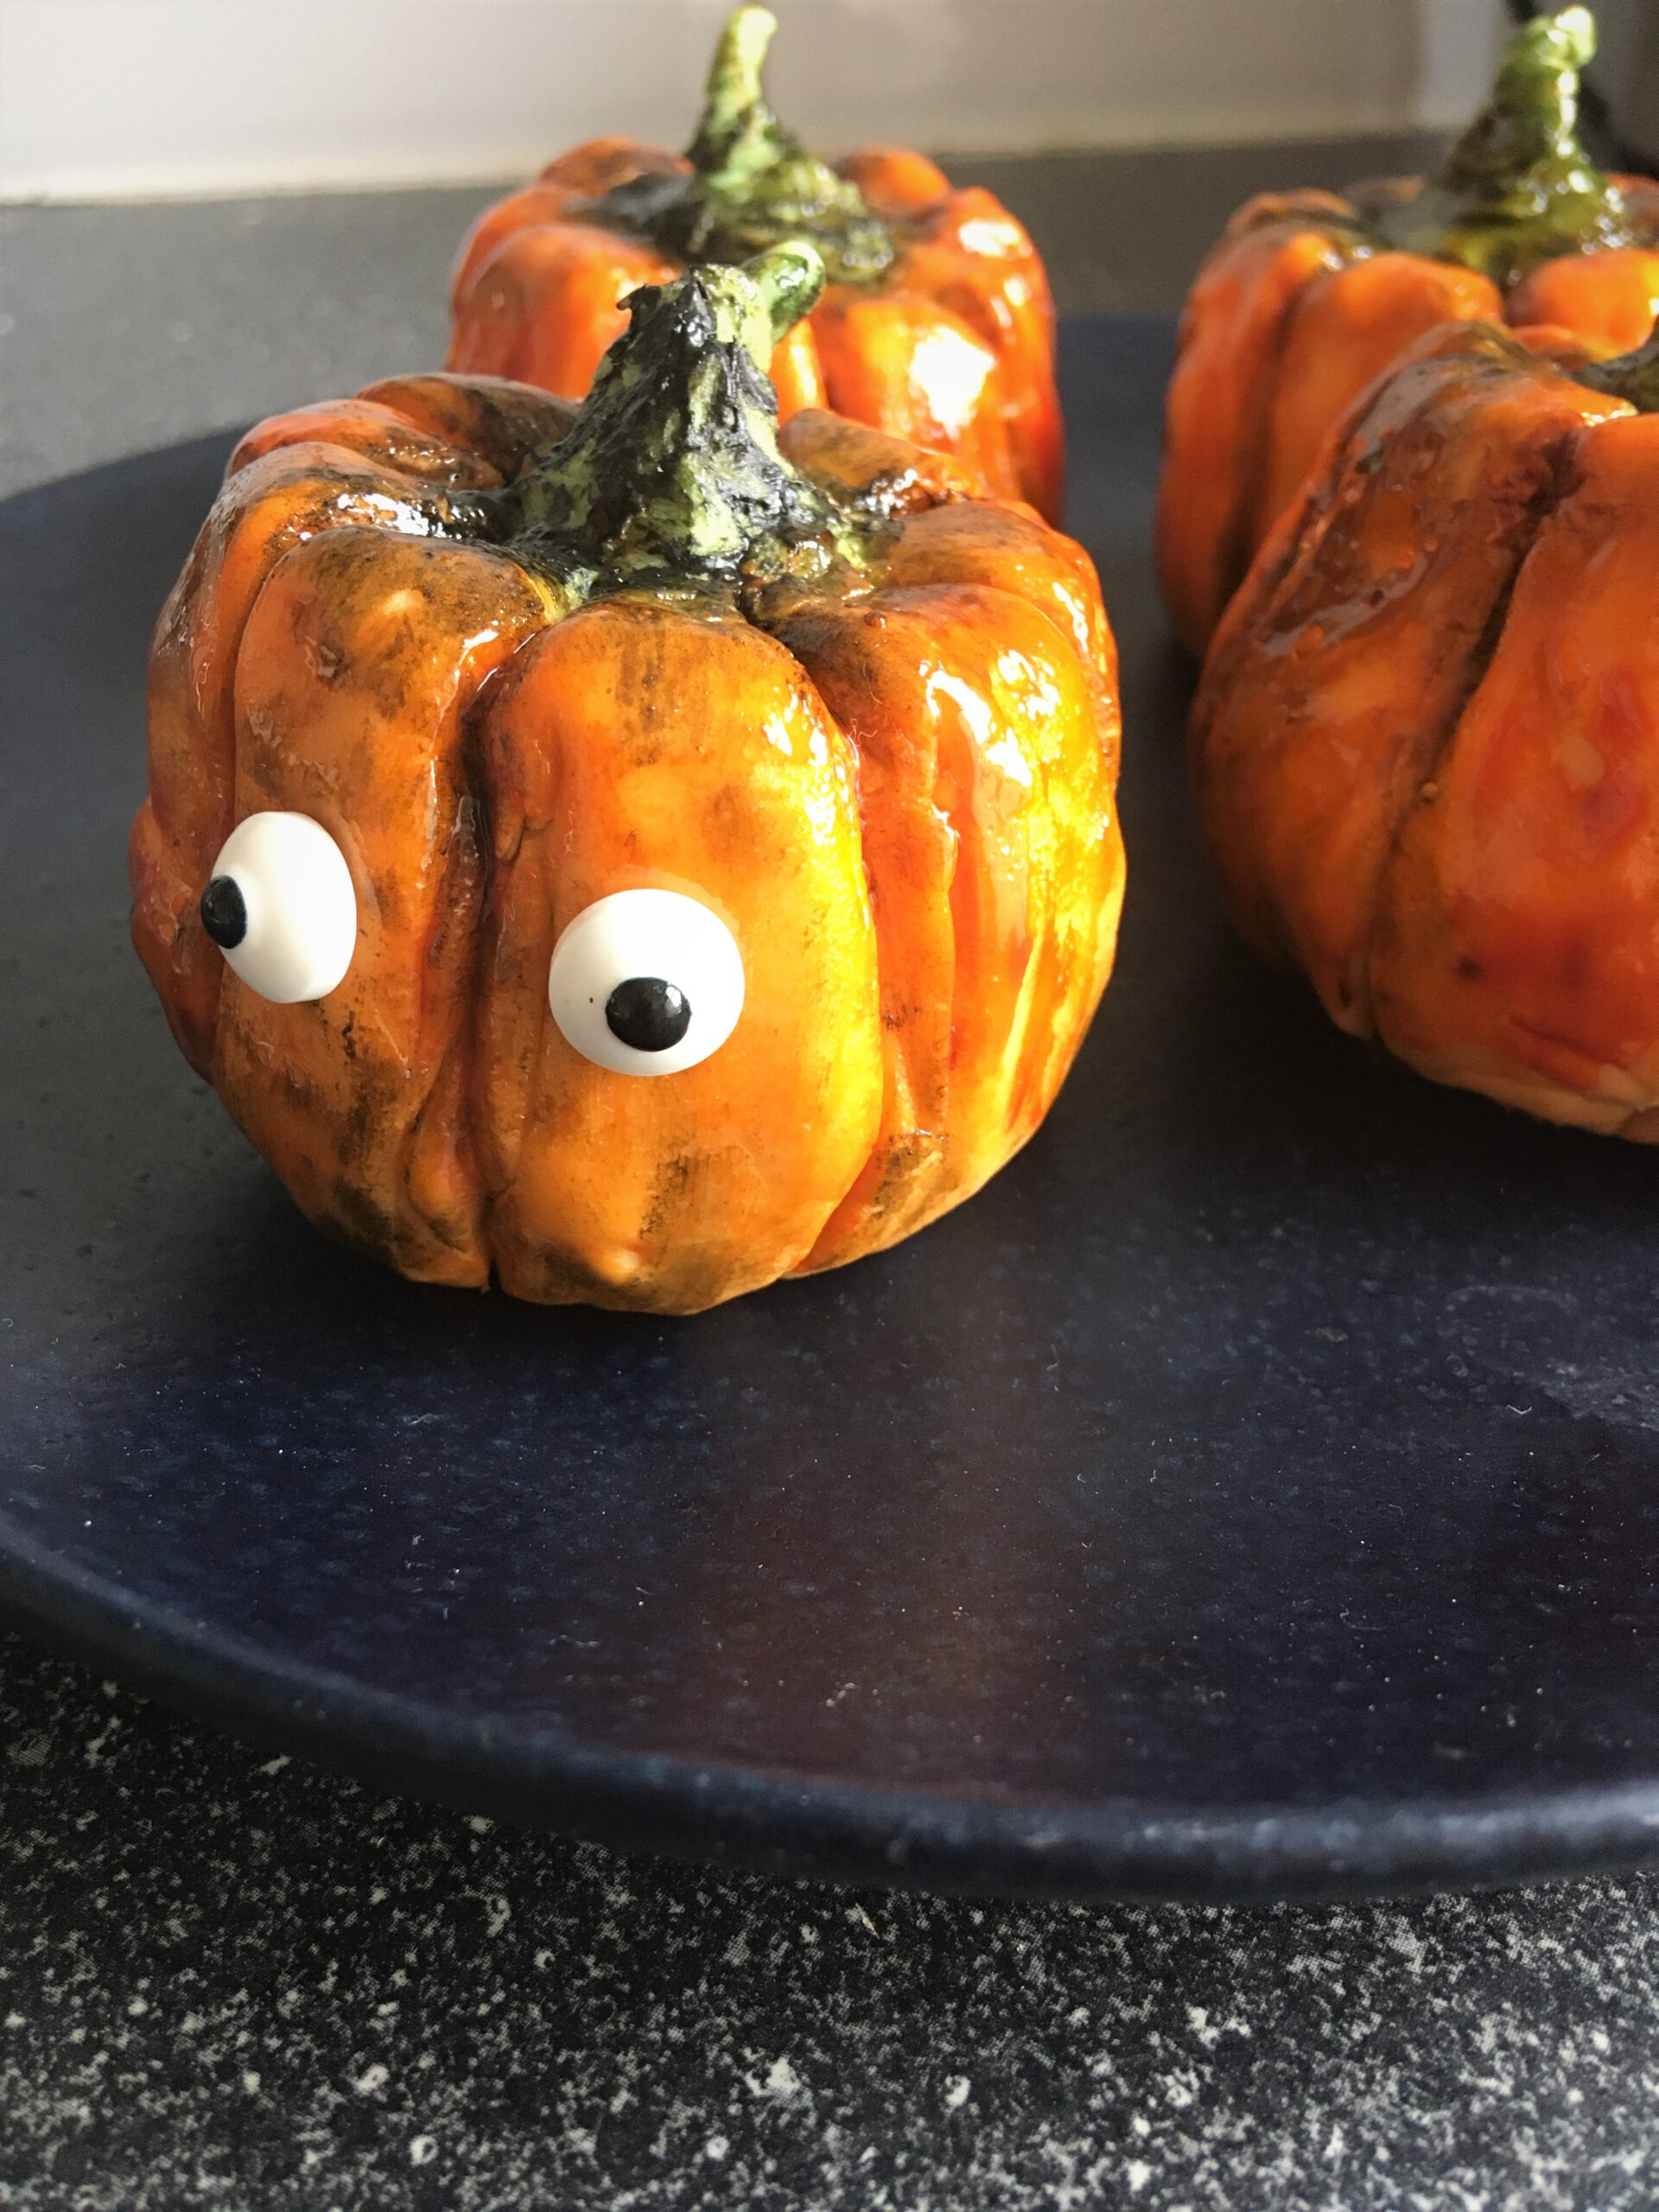
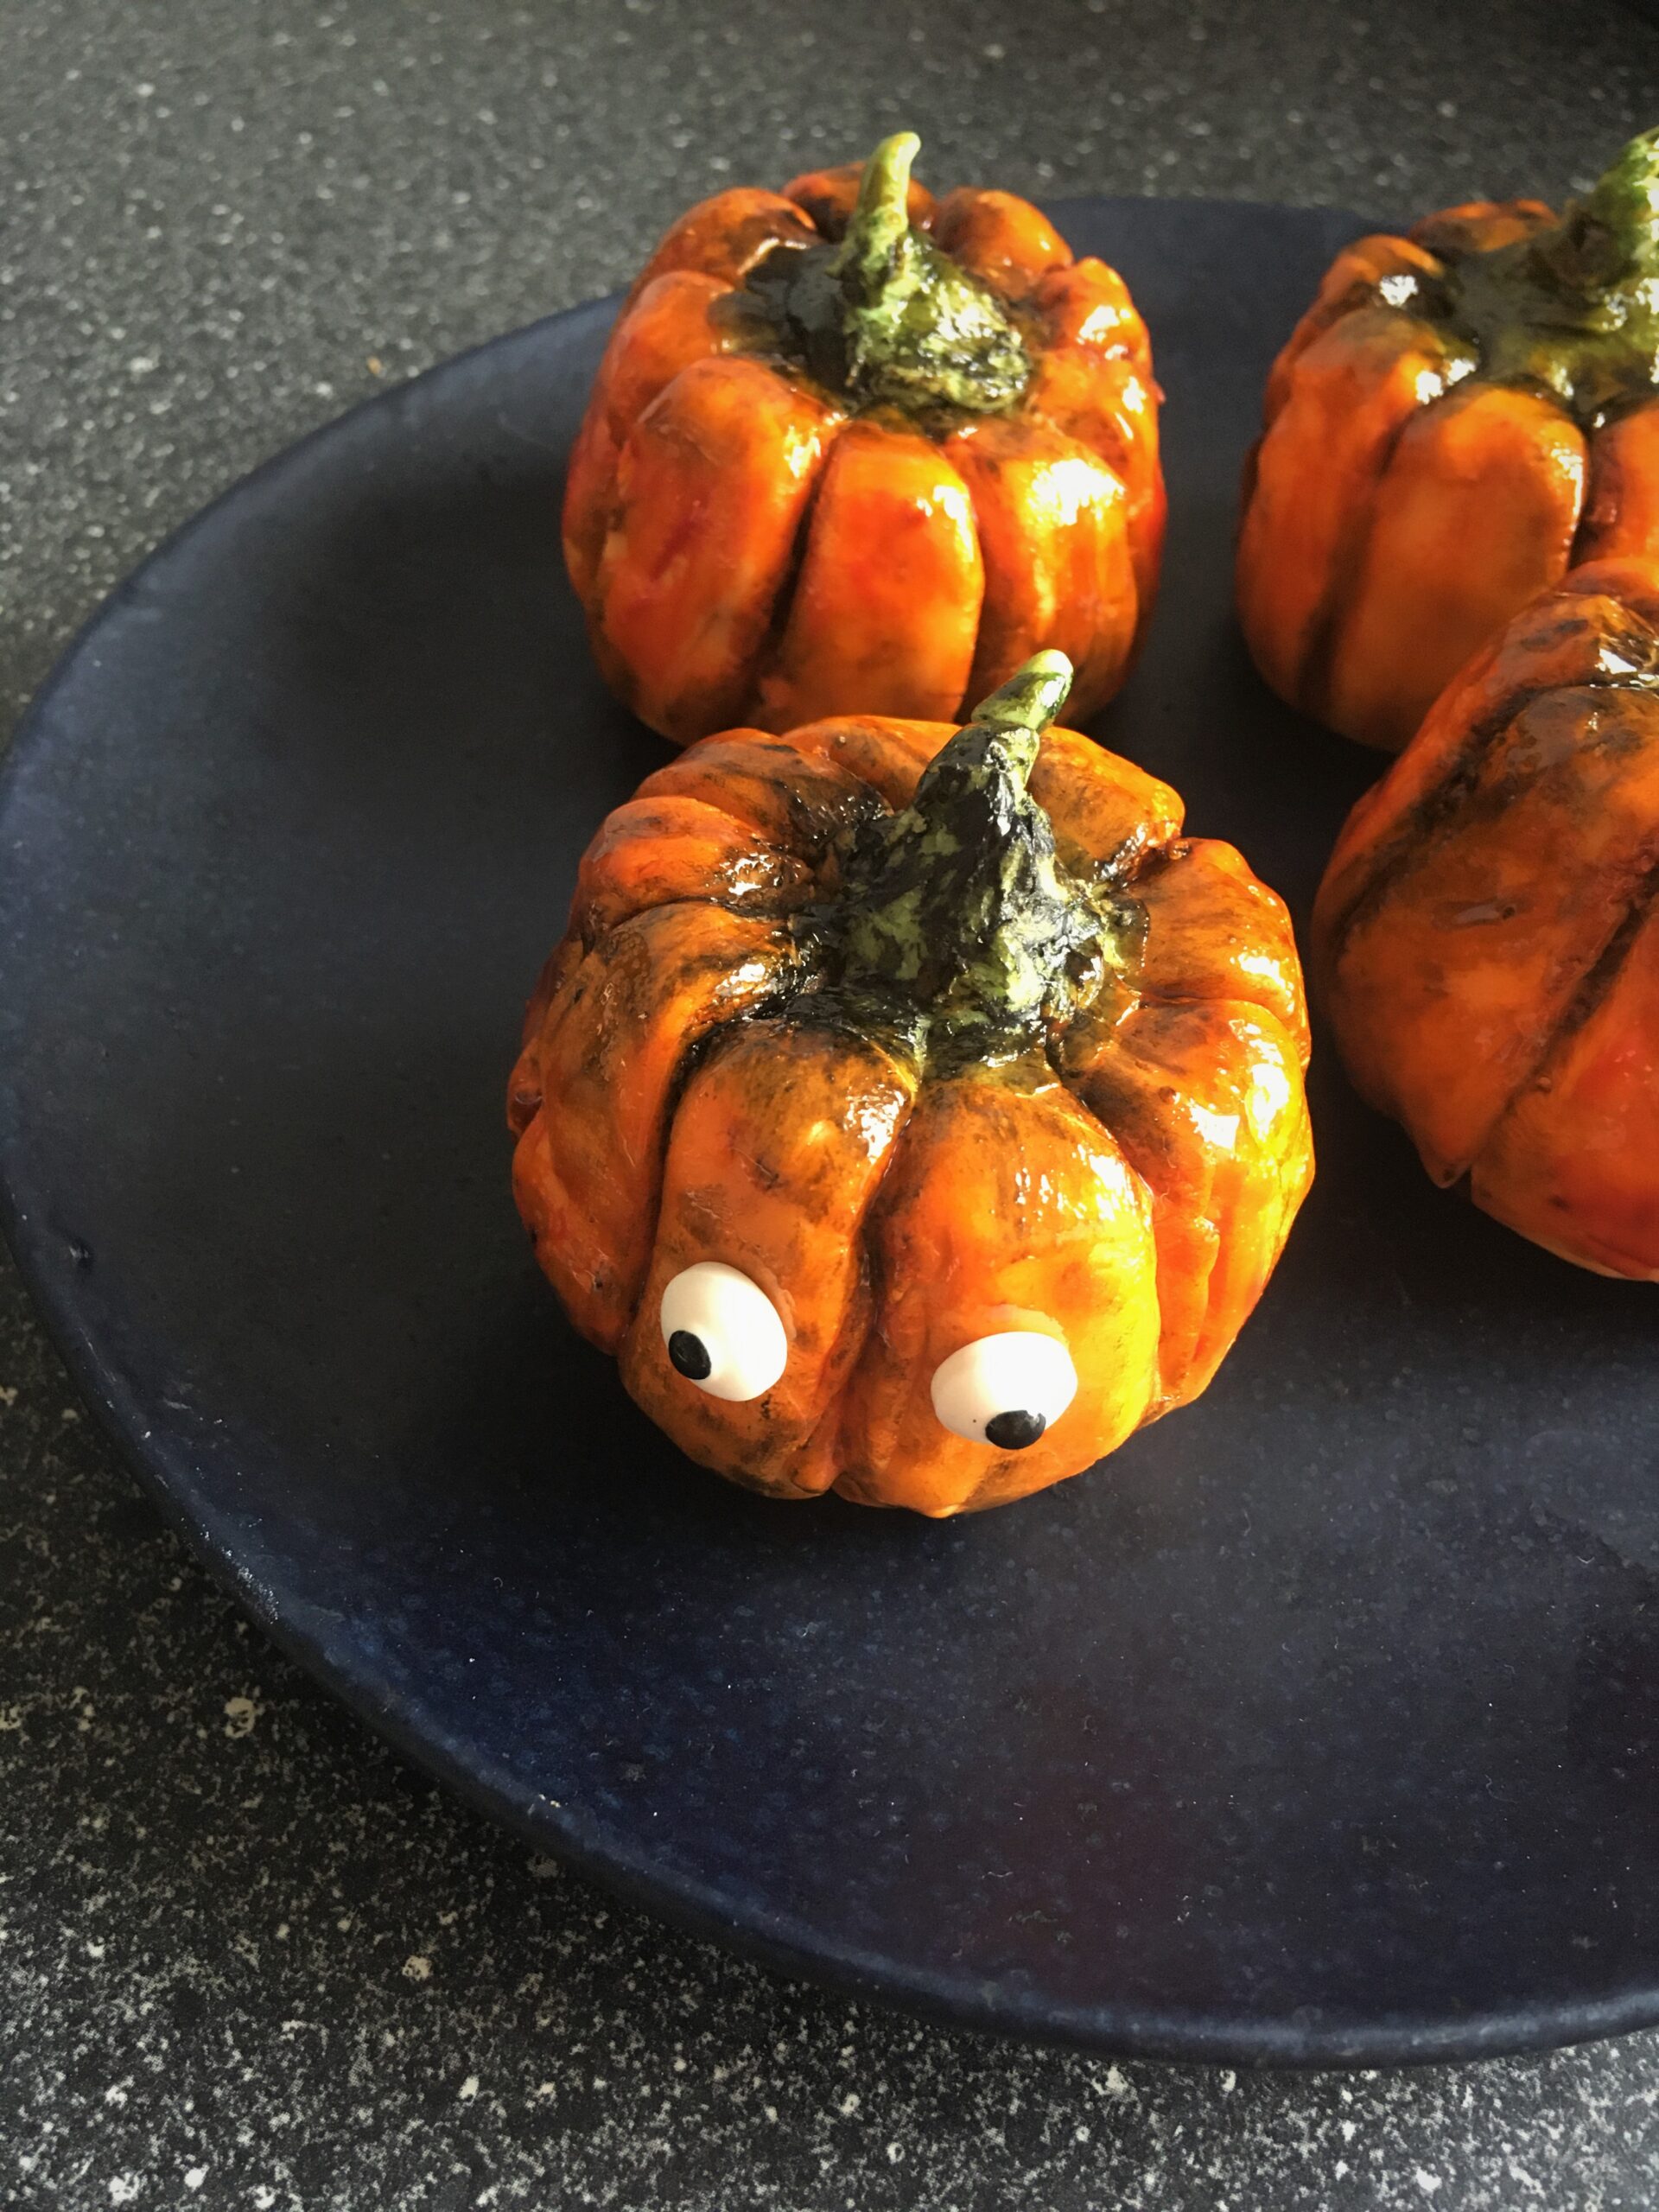
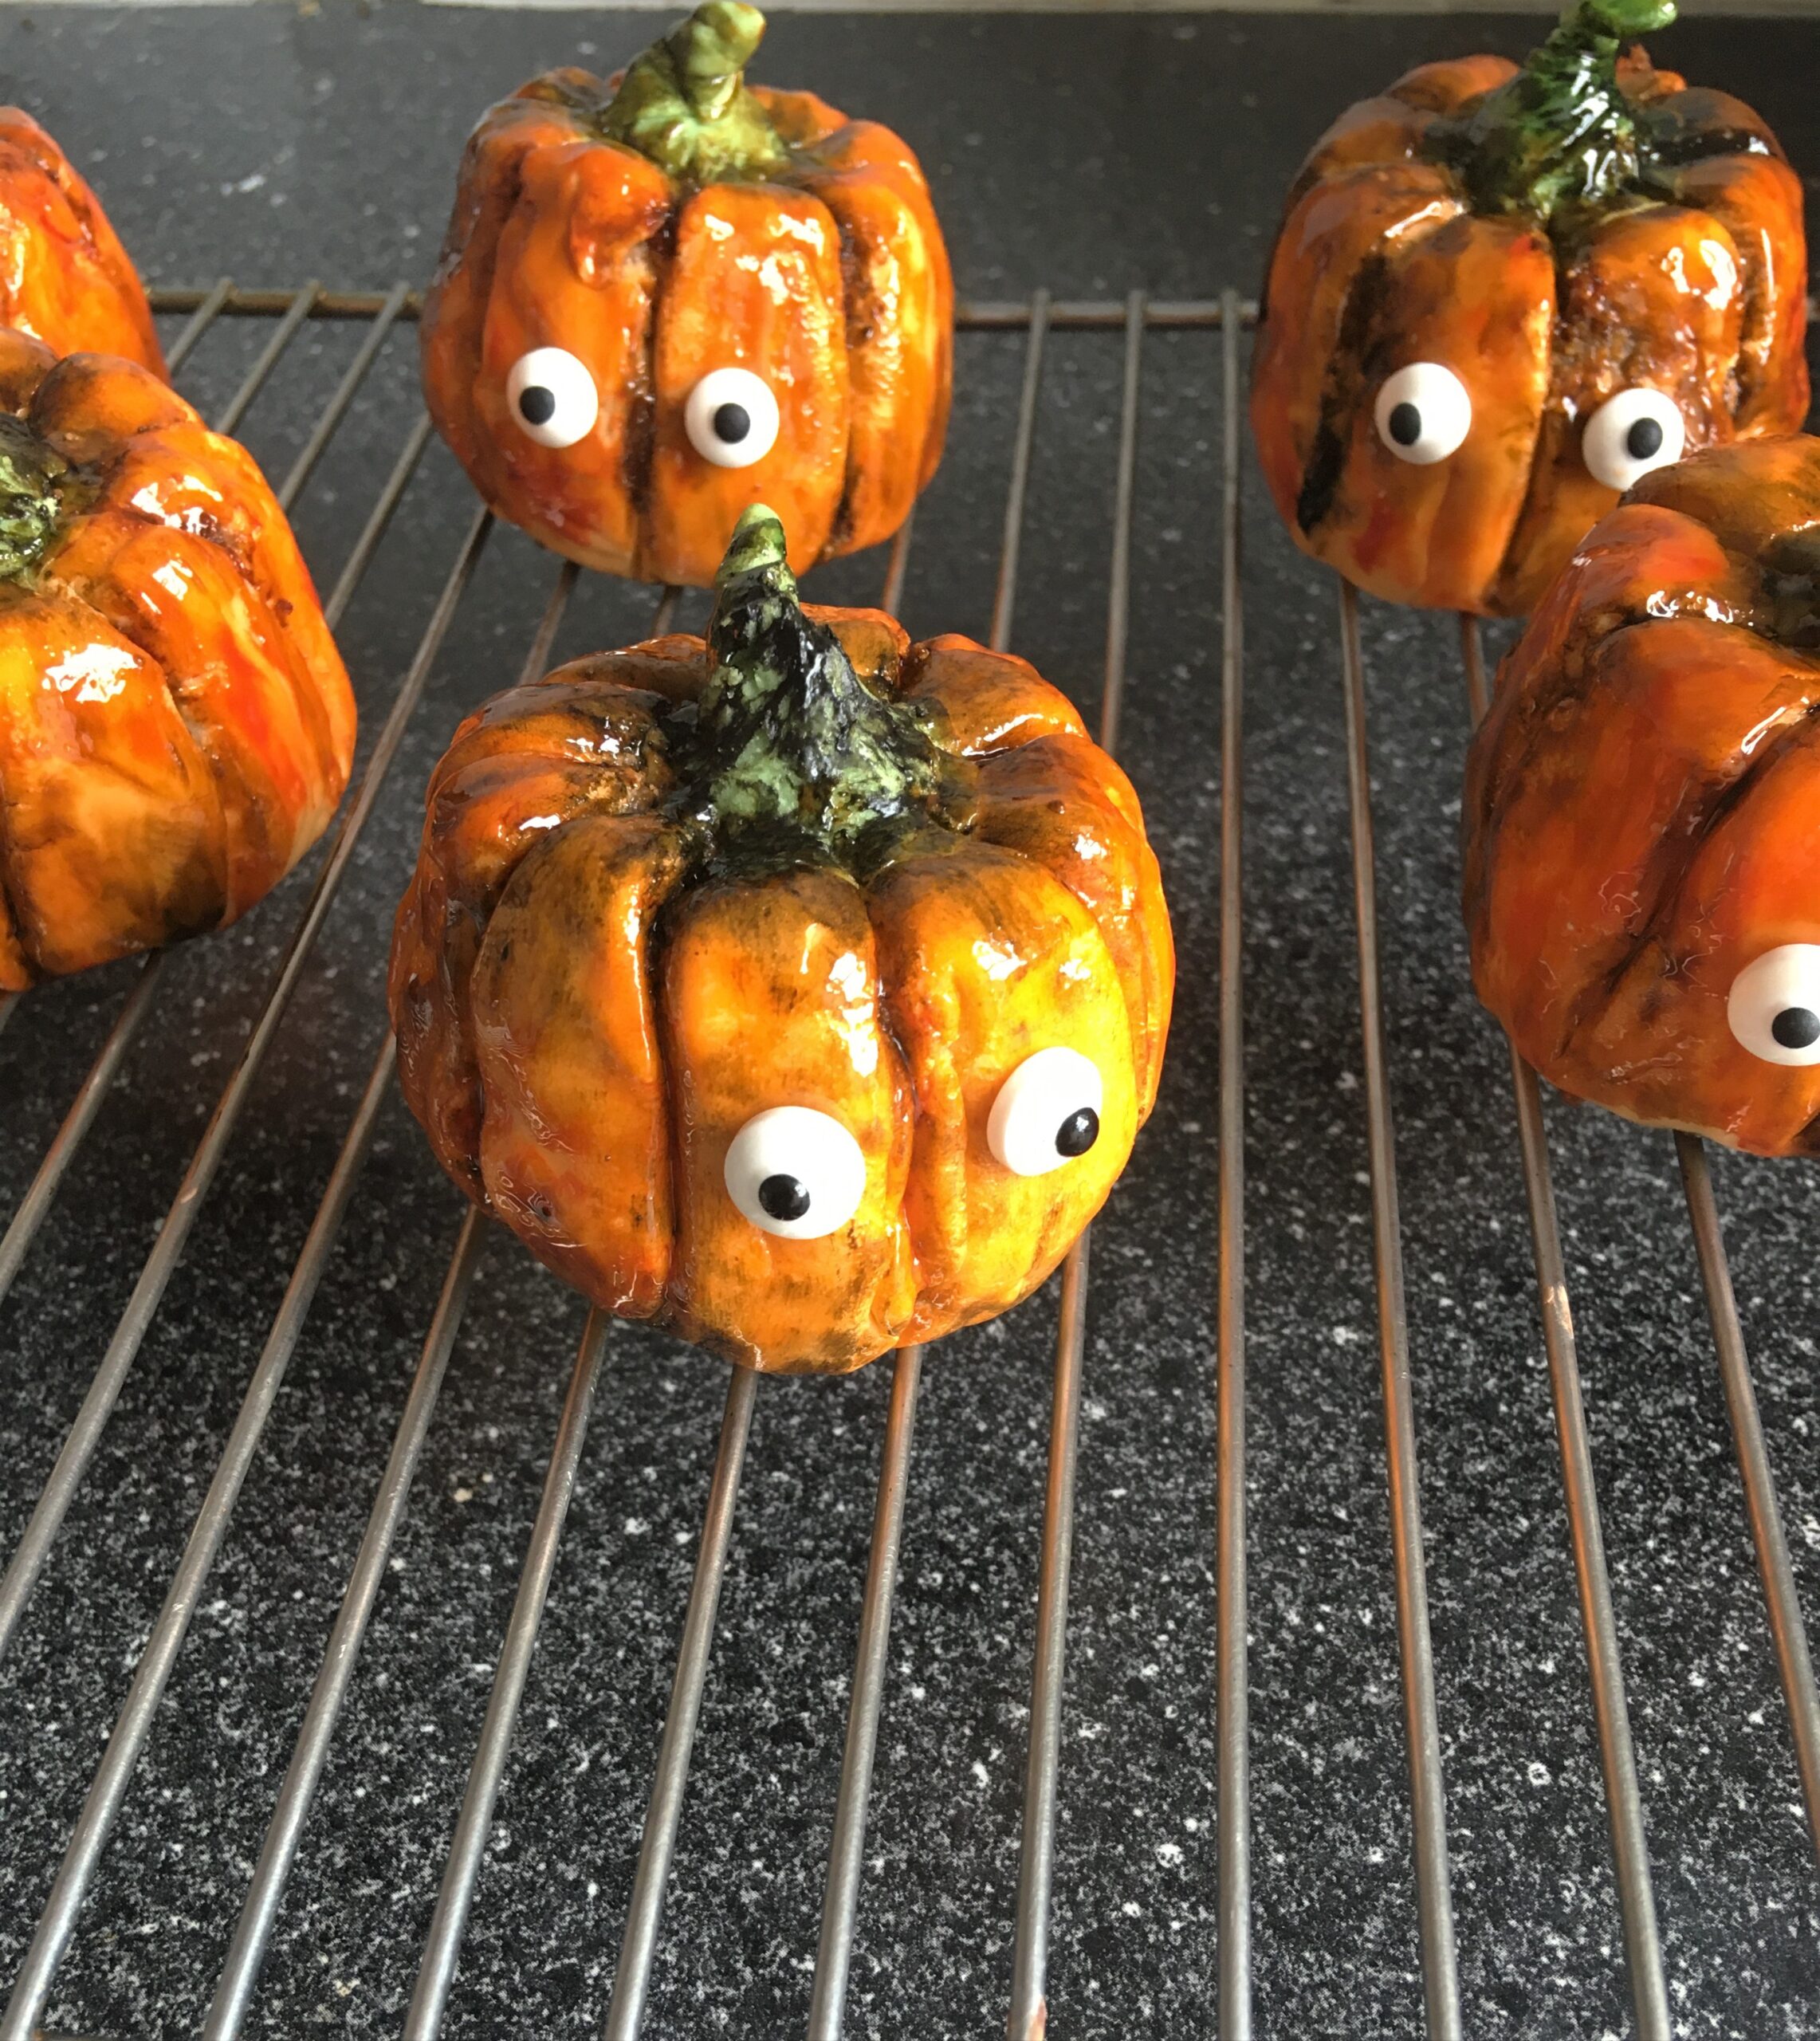
Next prep your icing (tbh, you can do this while they are in the oven). Take a healthy chunk of white icing and add some orange dye to it. Keep rolling and kneading until it is well incorporated and is a solid orange colour. Roll this out super thin (we’re talking no more than 2 mm depth) and divide it into squares which will cover the top and sides of each cake evenly. Do the same for the stems – but with the green dye; you won’t need as much icing for this as they are only little. Carefully and gently cover each cake with the orange squares, smoothing it around and neatening up the edges. Just leave enough to tuck under the base (for neatness). You can mould them a little bit at this stage to get a more rounded pumpkin shape. Carefully press down in the centre of each so you get a little divot (the cakes are very soft so go easy). Roll-up your green stalks and sit one in each divot, smoothing them into the orange icing using the shaping tool. Give each a little twist so they look a bit jaunty. Next gently carve the lines into the icing – almost through to the cake – doesn’t matter if you do go through. Then, go in with your paintbrush and orange, green and black colouring to bring them to life! Finish off by using a teeny amount of the butter cream to affix the eyes on. Et voilà!