
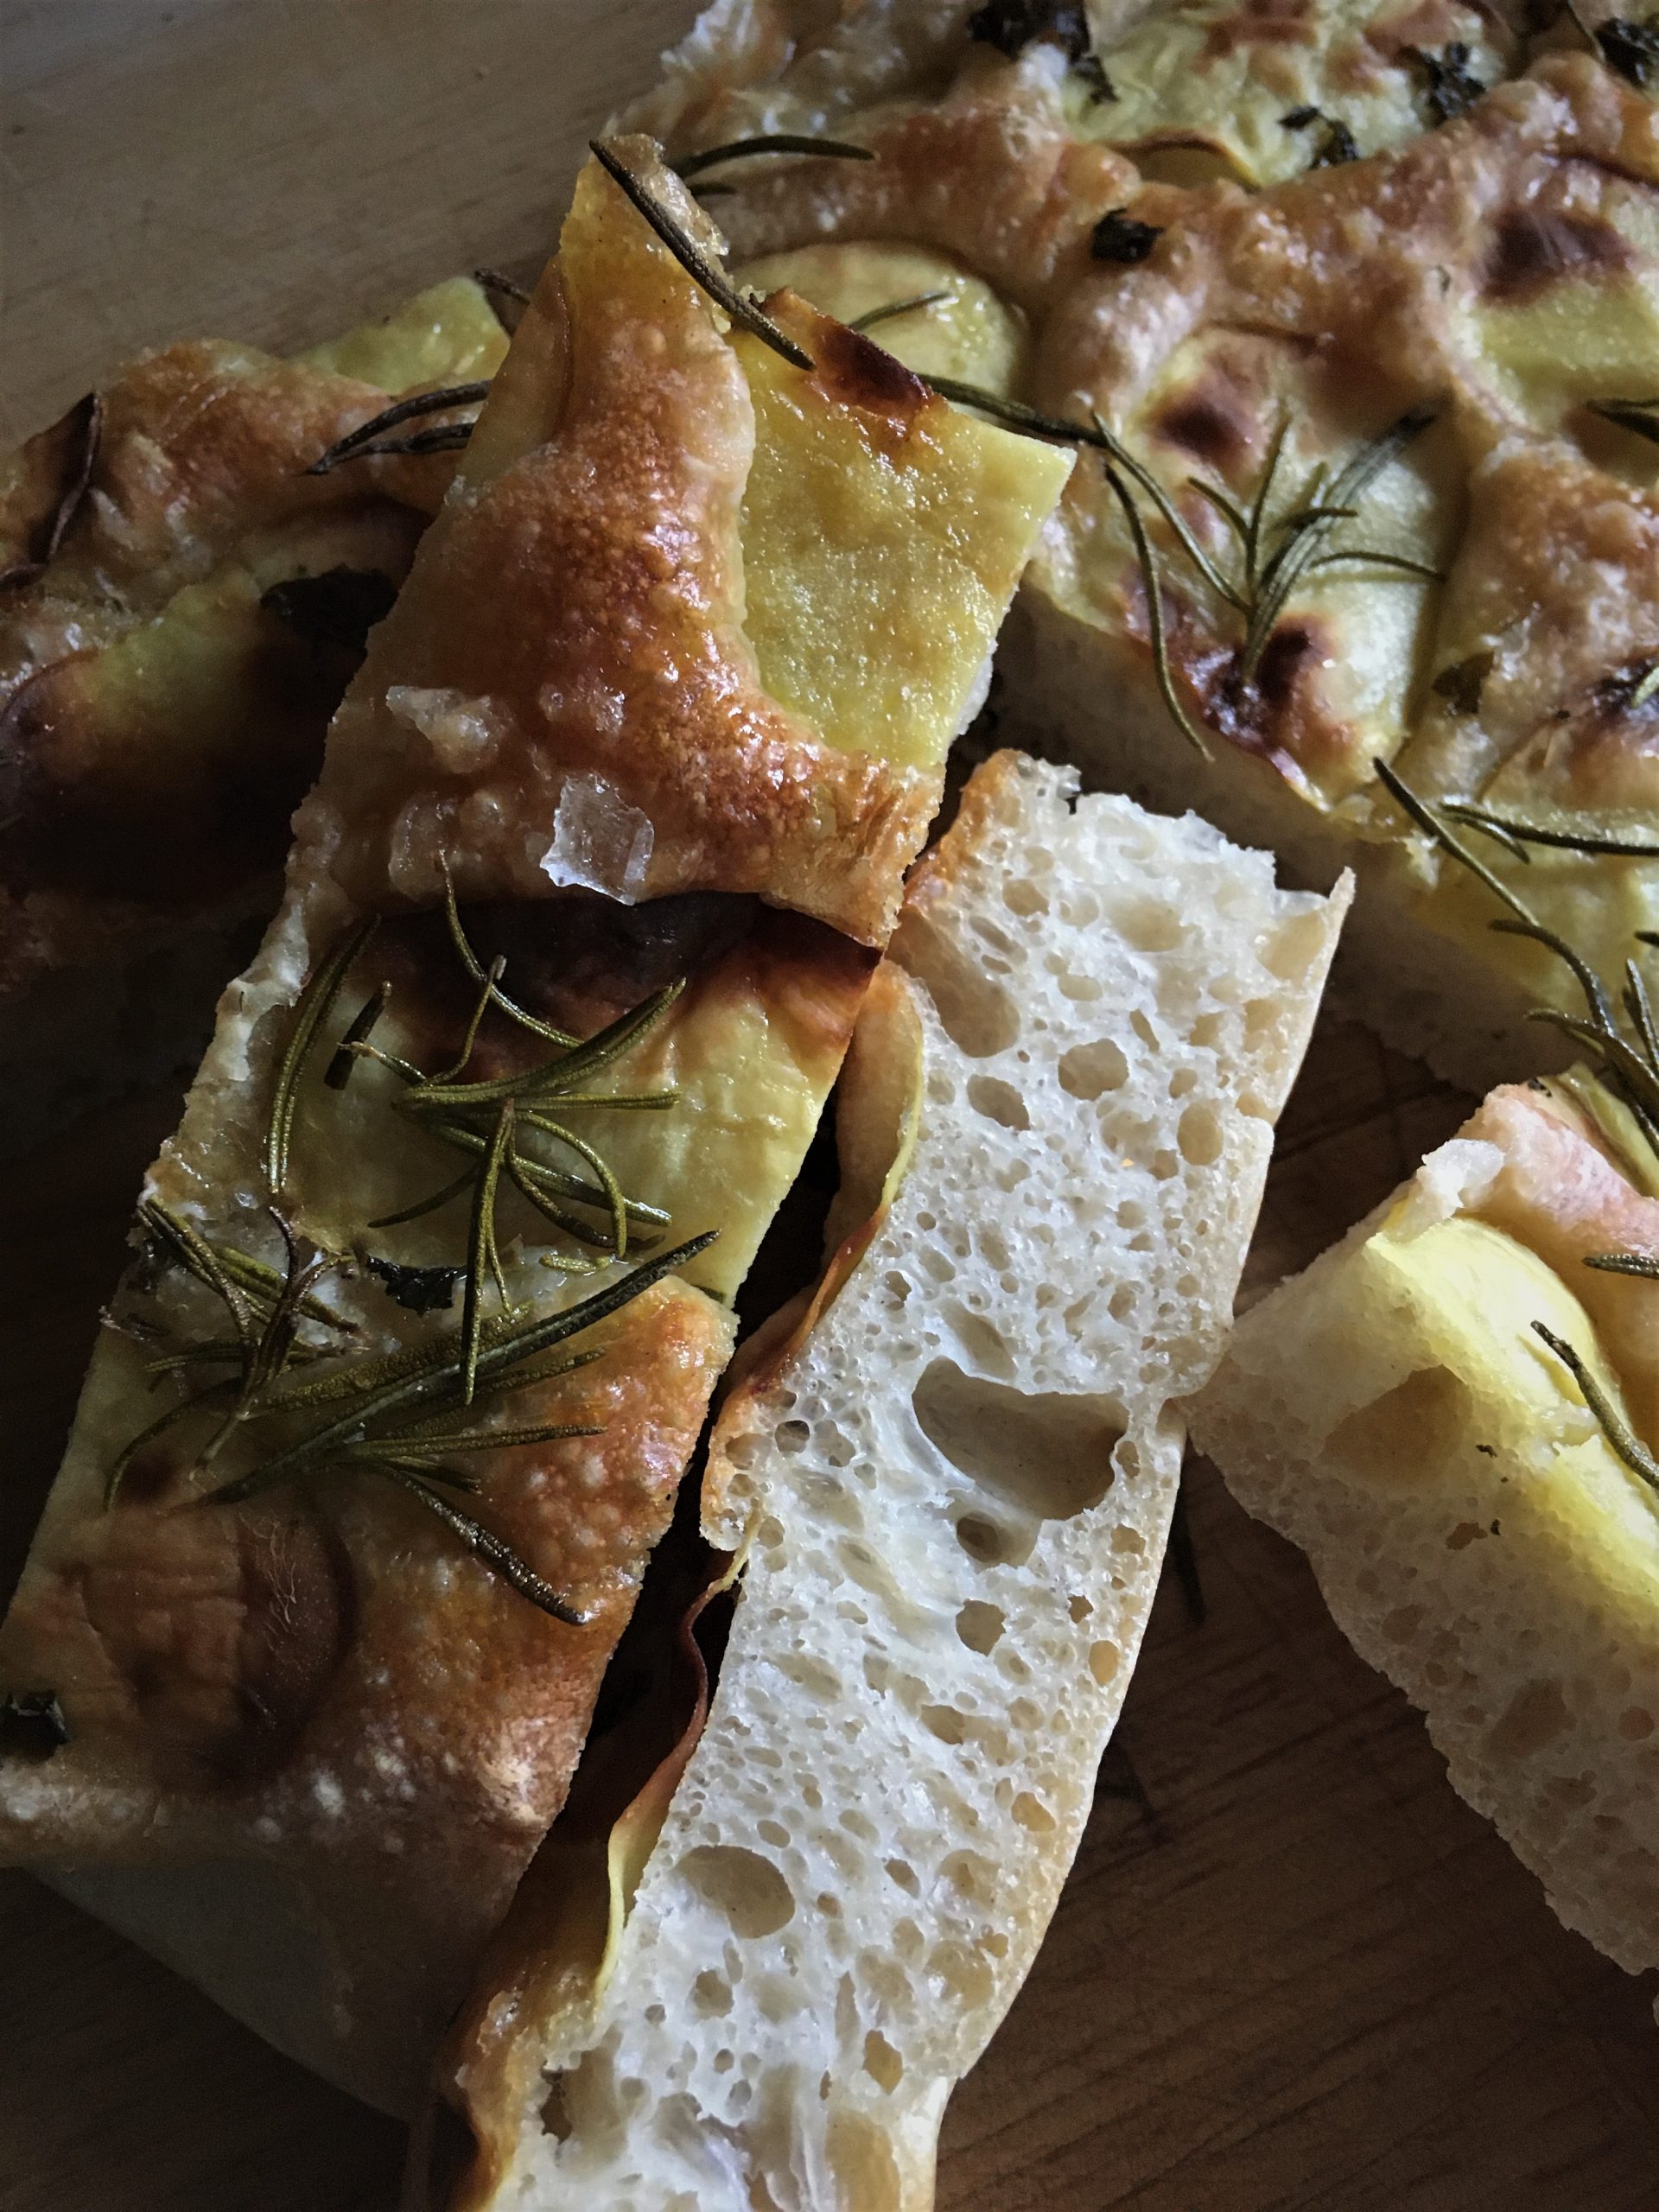
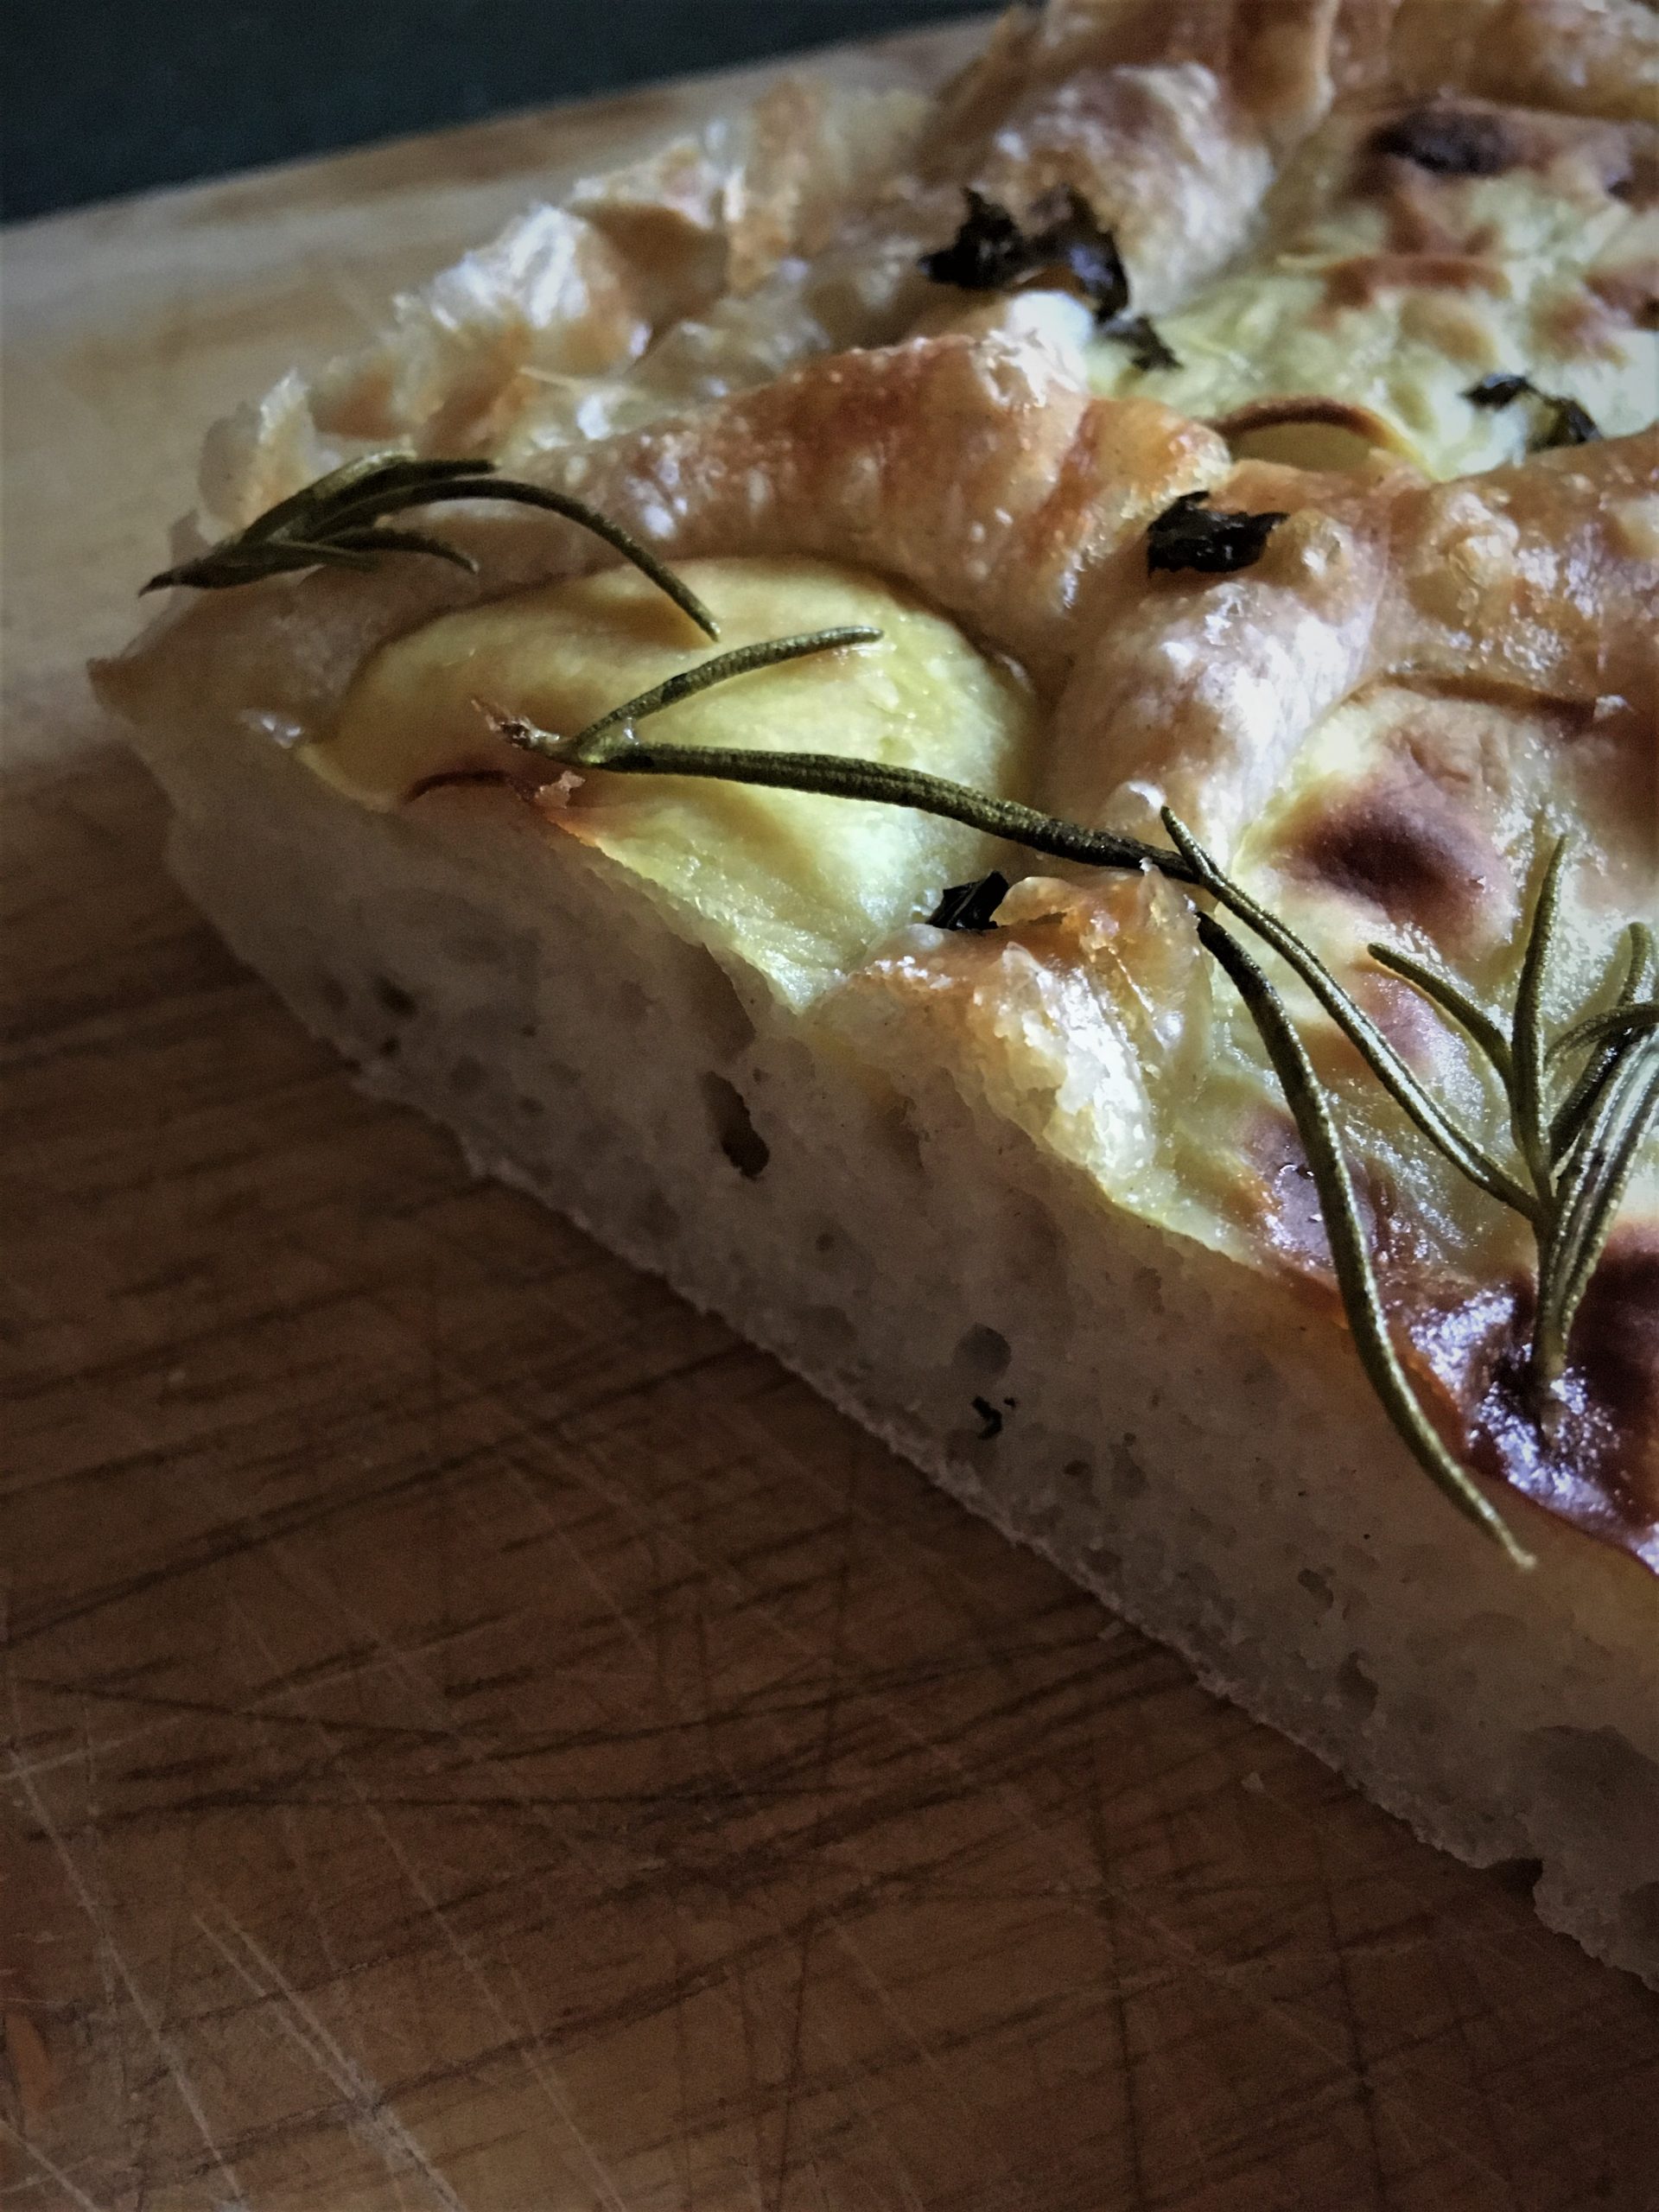
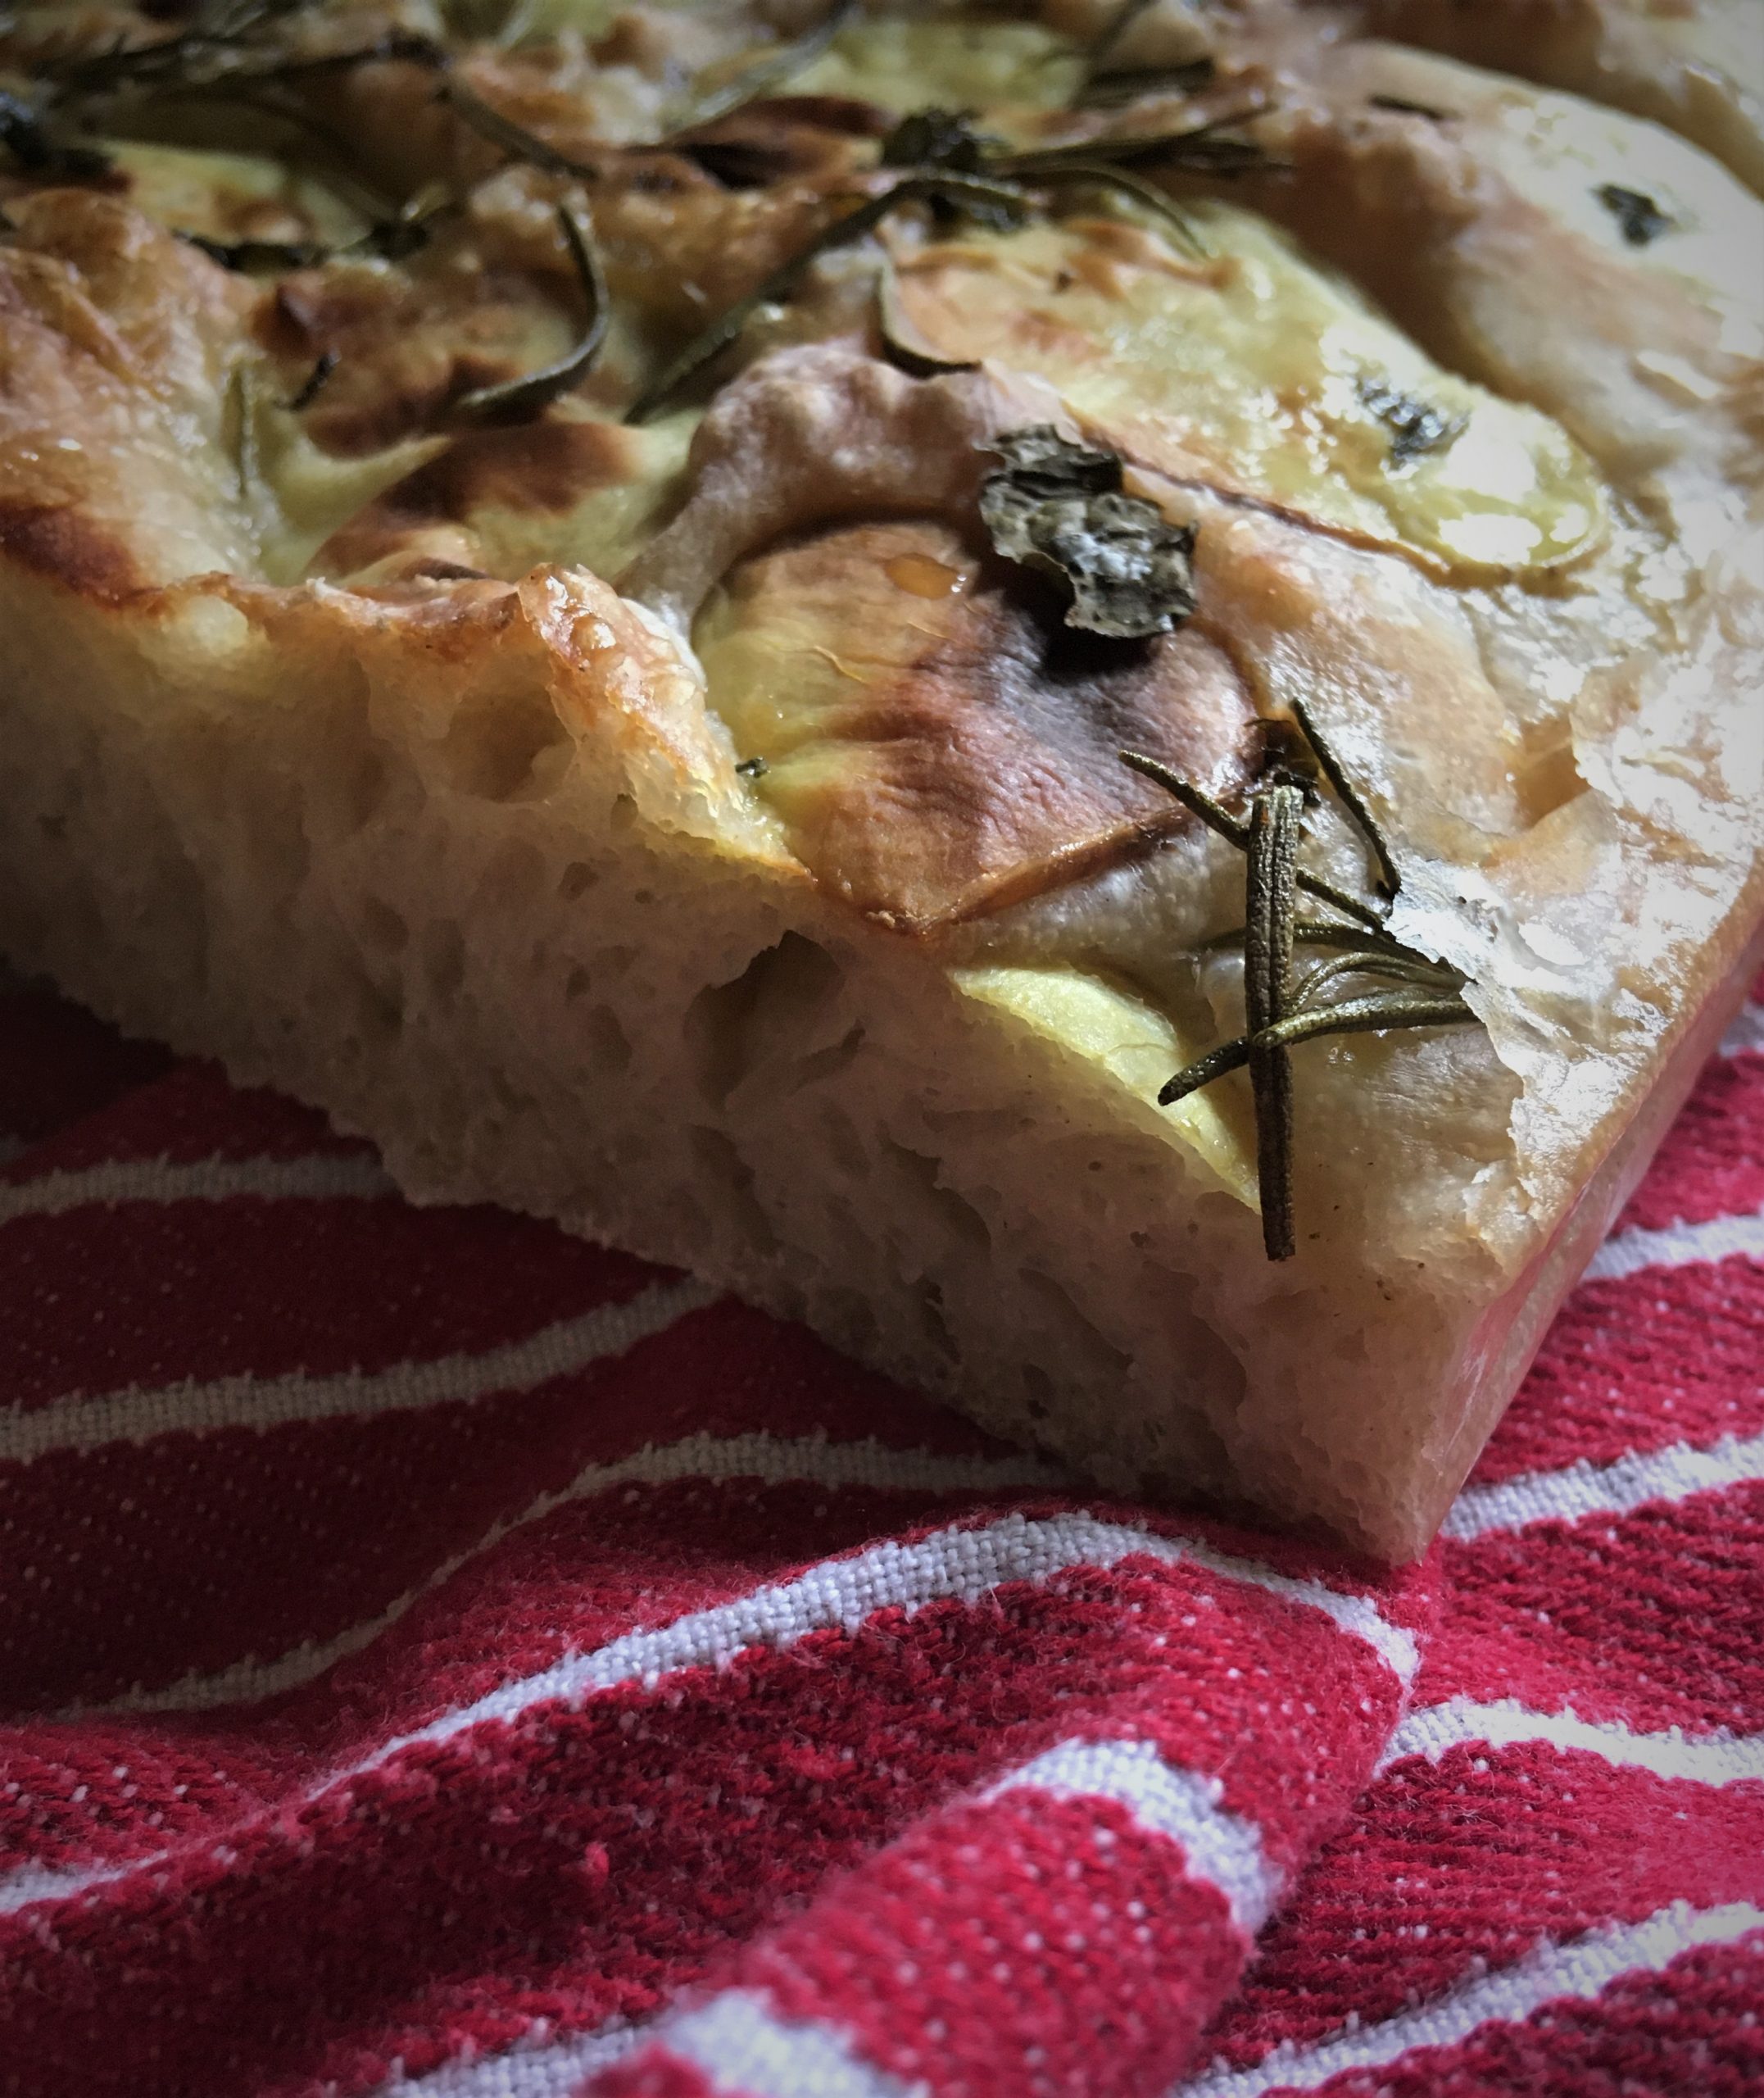
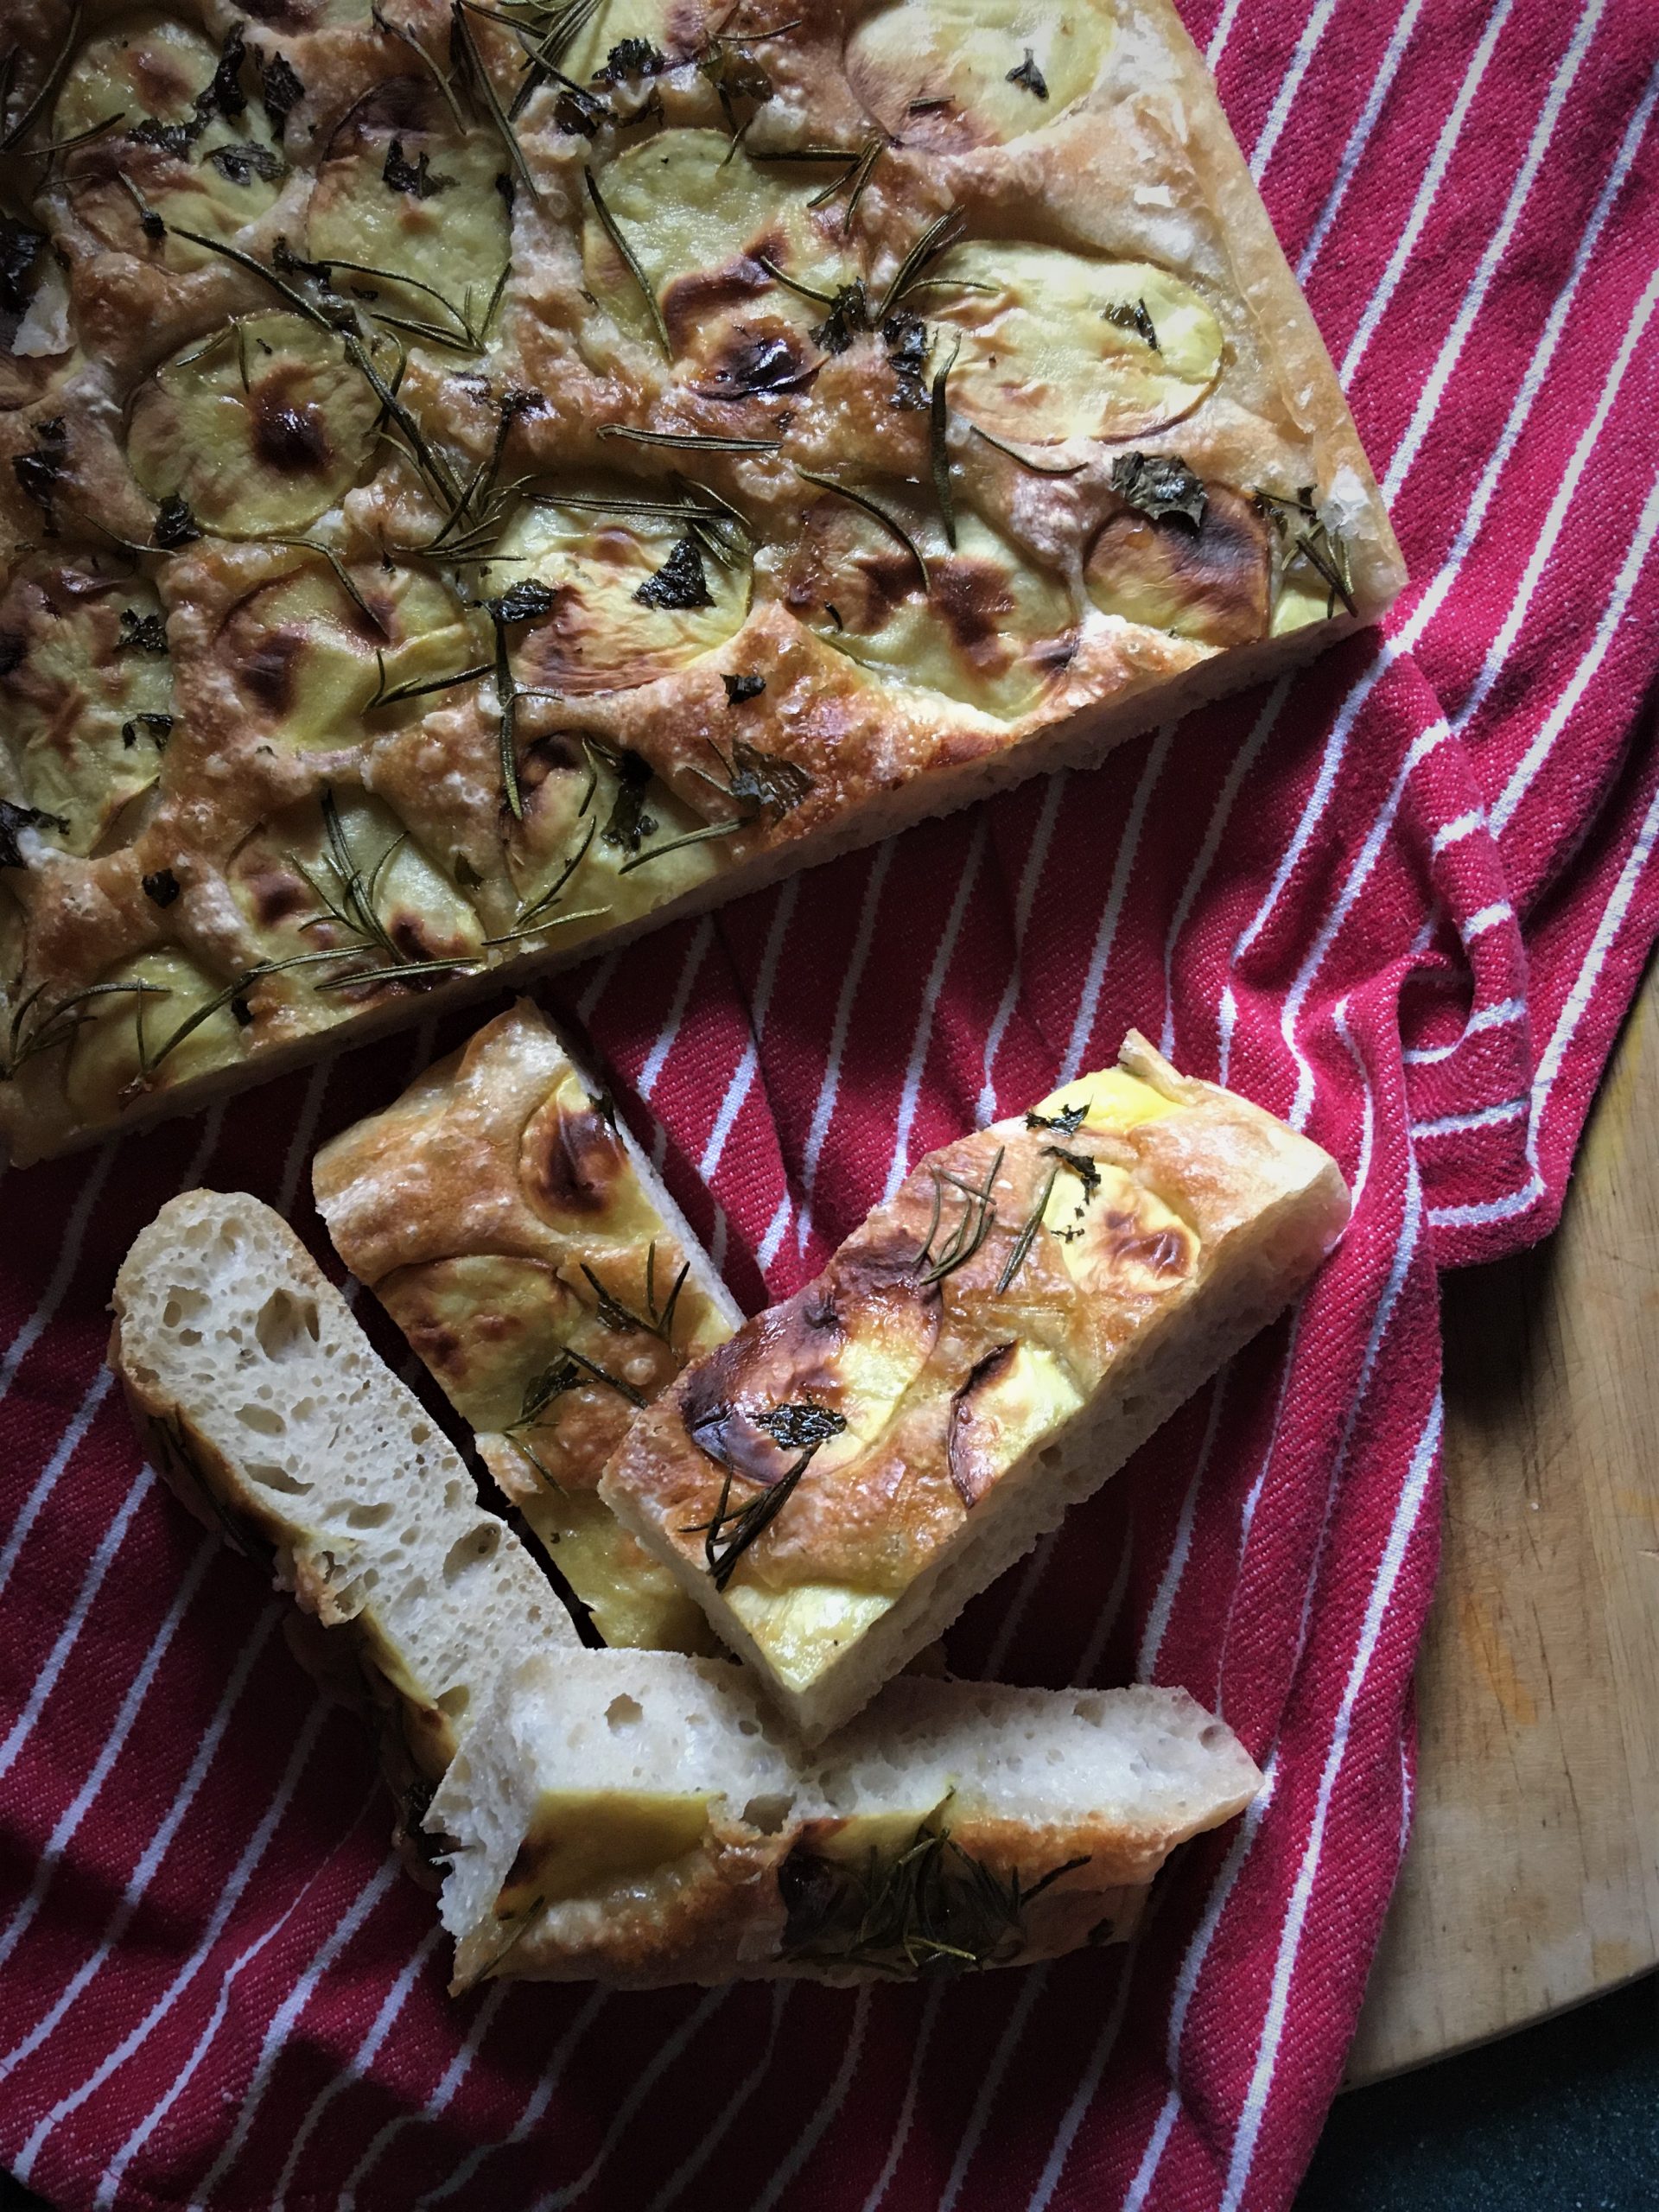
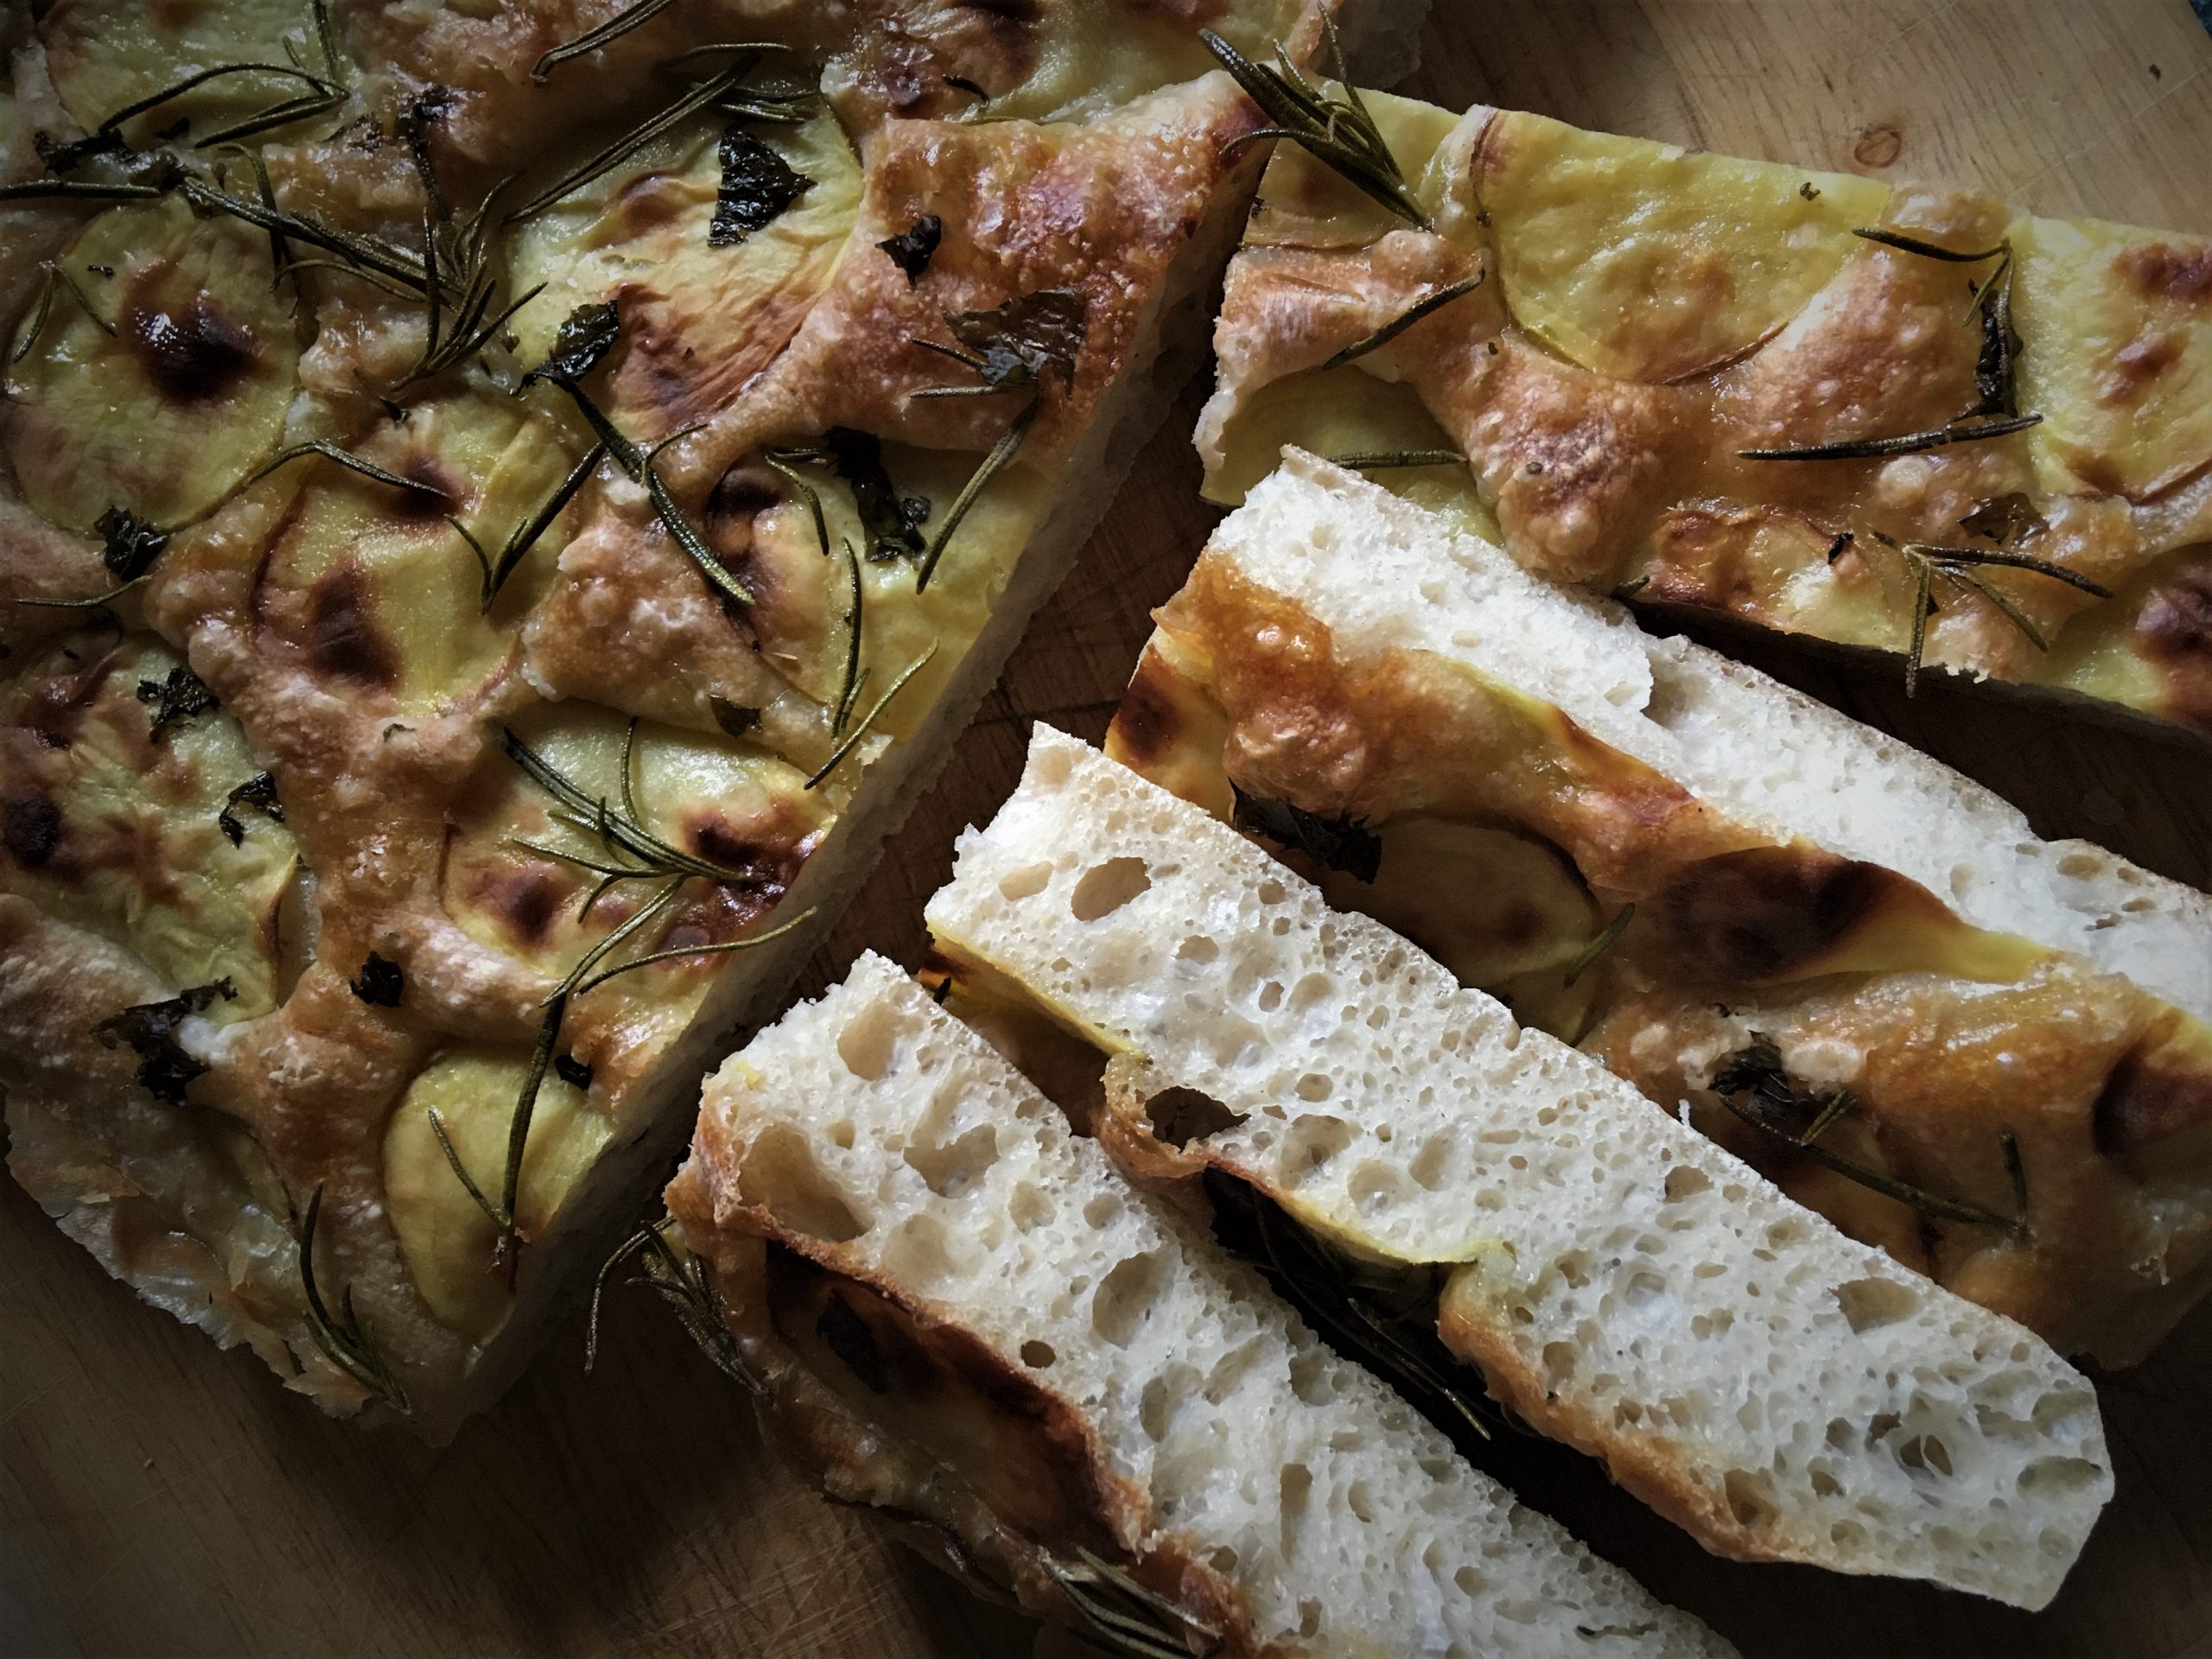
Sourdough focaccia

Mmmm bread.  This is a little thought bubble that pops up above my head most days really.  I’m a carb-ivor when it comes to bread and have been ever since I was very little and used to ask my mum if I could eat some crusts (this may, indeed, be why my hair is so curly ;)).  When I got a bit older, I developed a clandestine habit of just dipping my hand into the bread bag to tear off the crusts without asking but, you know, that was back in my hedonistic, wild phase.  Focaccia is one of those things that burst onto the UK eating scene back in the 90s.  A new and enticingly exotic type of bread we were all the height of sophistication dipping it in oil and vinegar.  Nowadays, obviously, it’s everywhere.  It is also pretty simple to make and is generally pretty failsafe.  It’s a very forgiving bread and is one of those things that looks like you’ve gone to a lot of effort to be fancy when in fact it’s taken not much time at all.  Well, this recipe isn’t one of those.  This does take a bit of time and a fair bit of effort but it’s 100% worth it.  Off the back of the resurgent interest in sourdough, I decided to make a sourdough version and spent a fairly athletic afternoon slapping and folding my ever expanding dough which ended-up creating a pretty heavenly bread.  I’d been meaning to make a double carb potato focaccia for a while so these two dovetailed nicely.

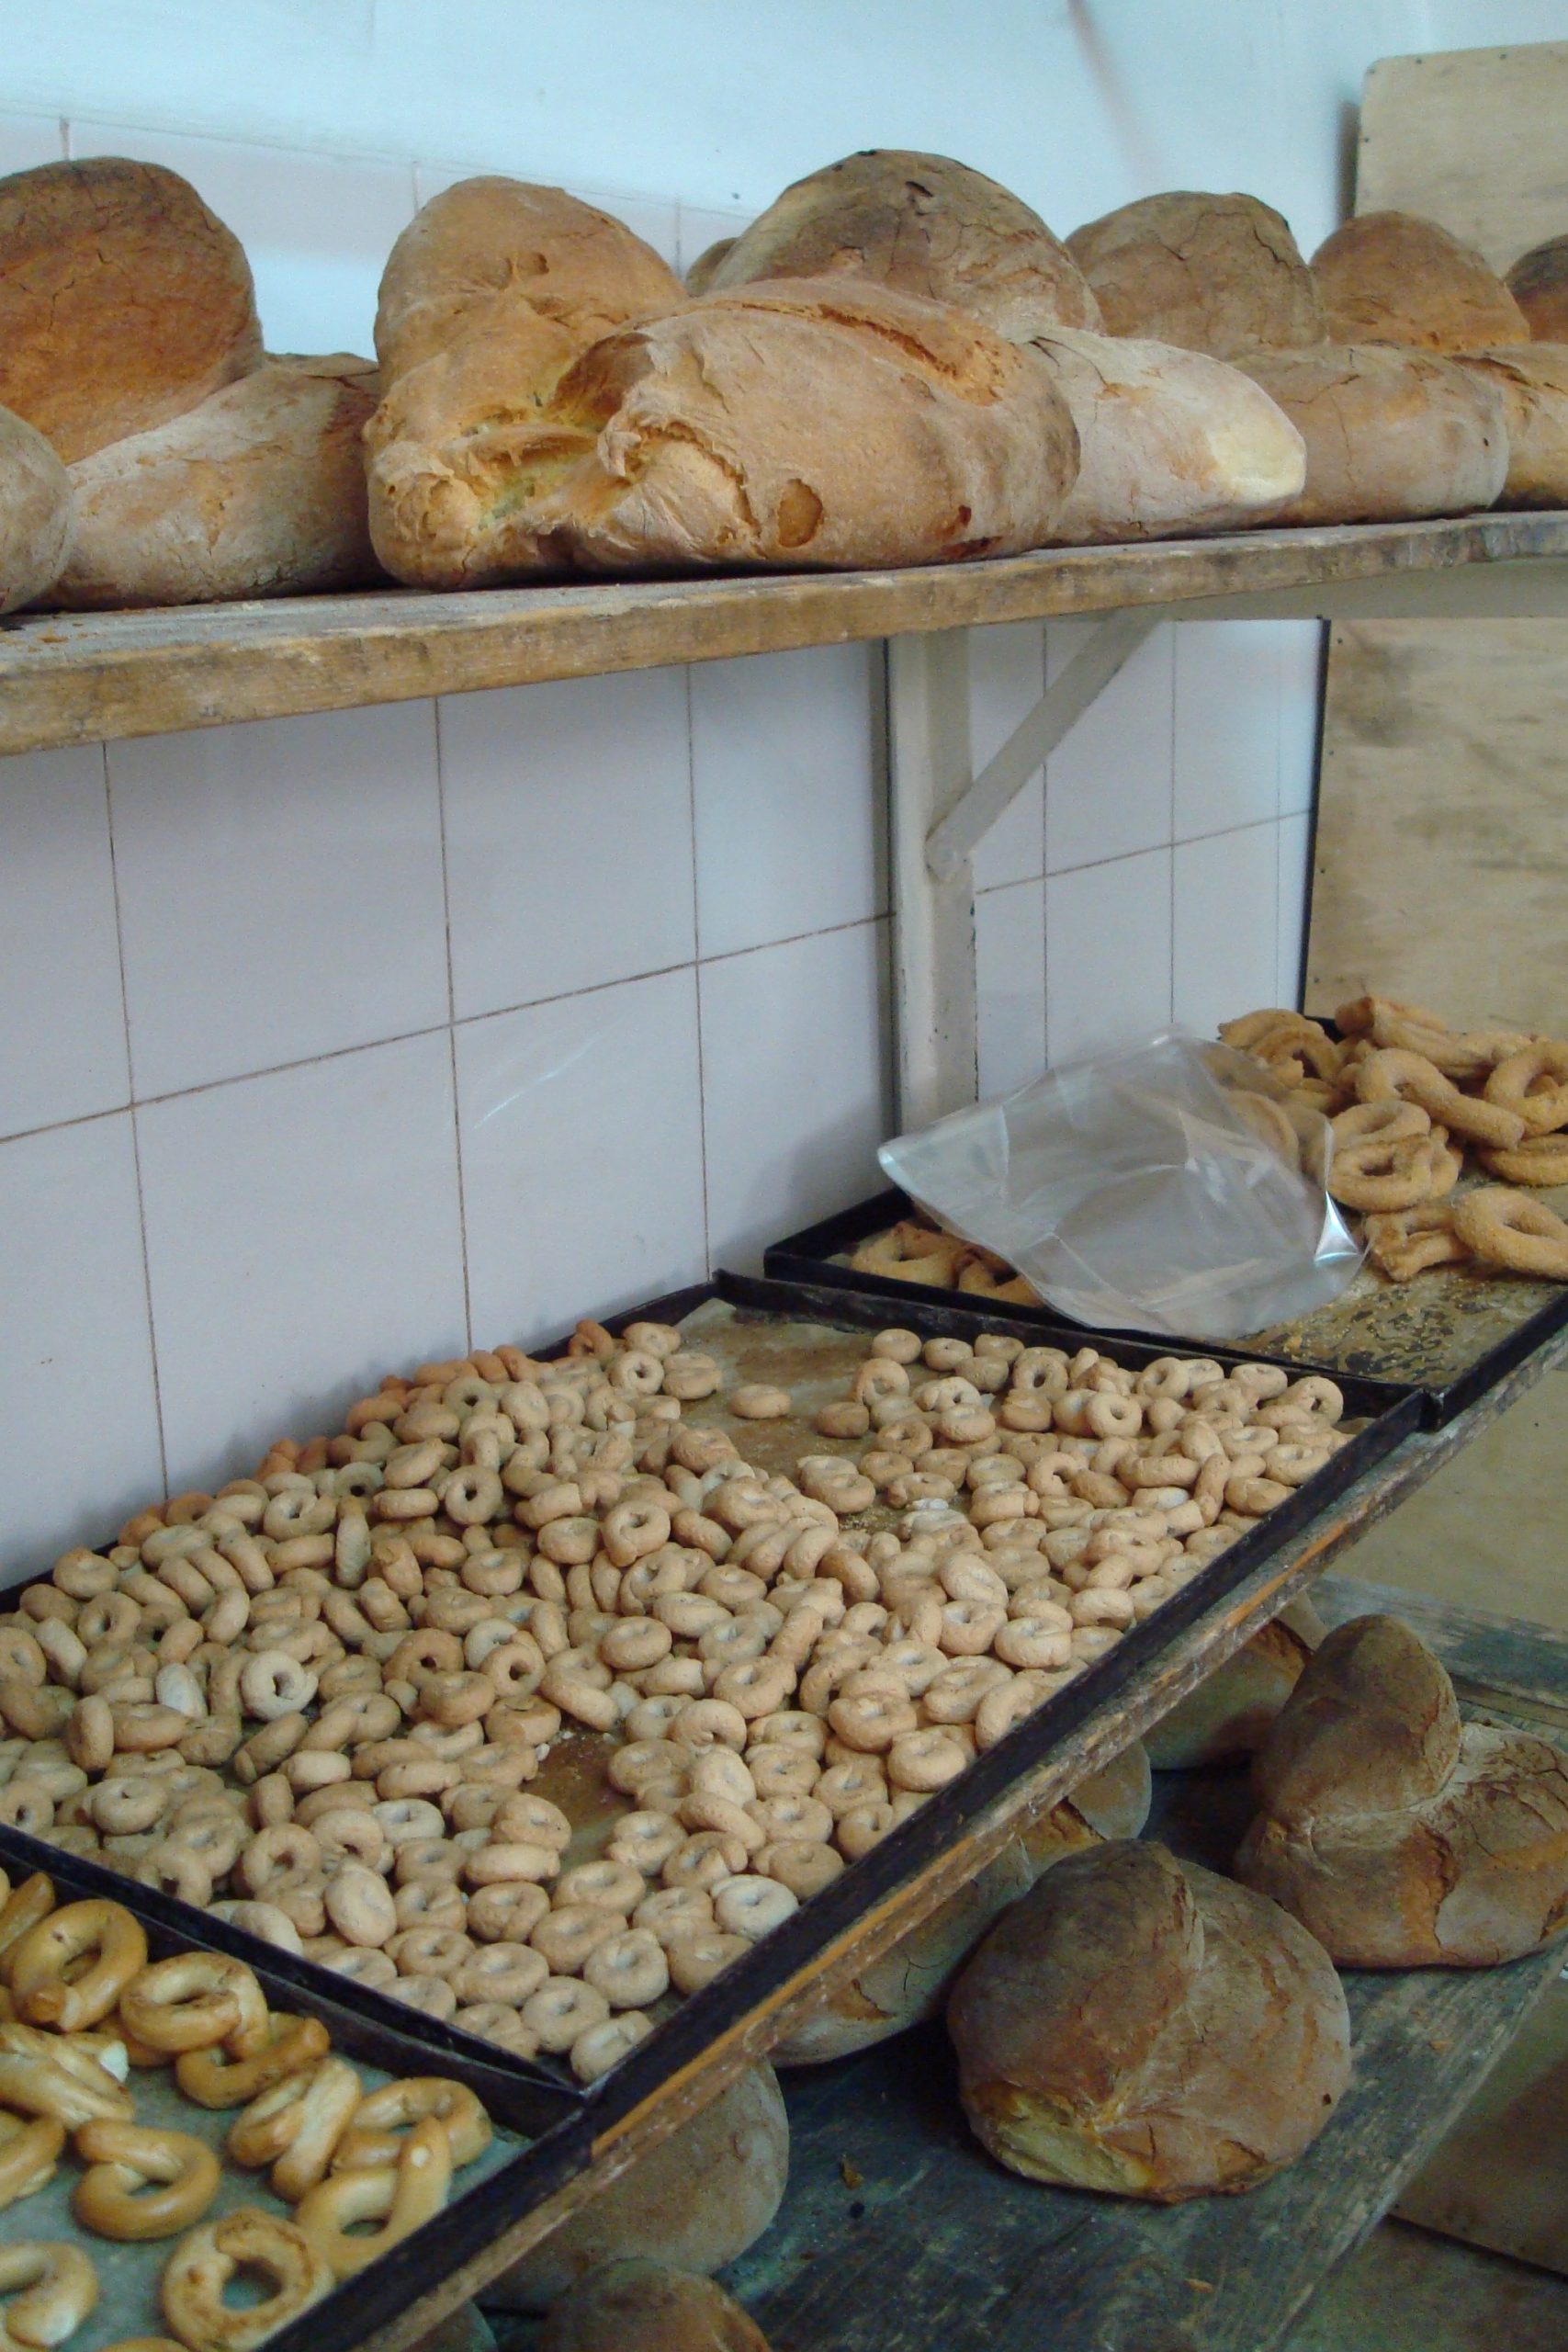
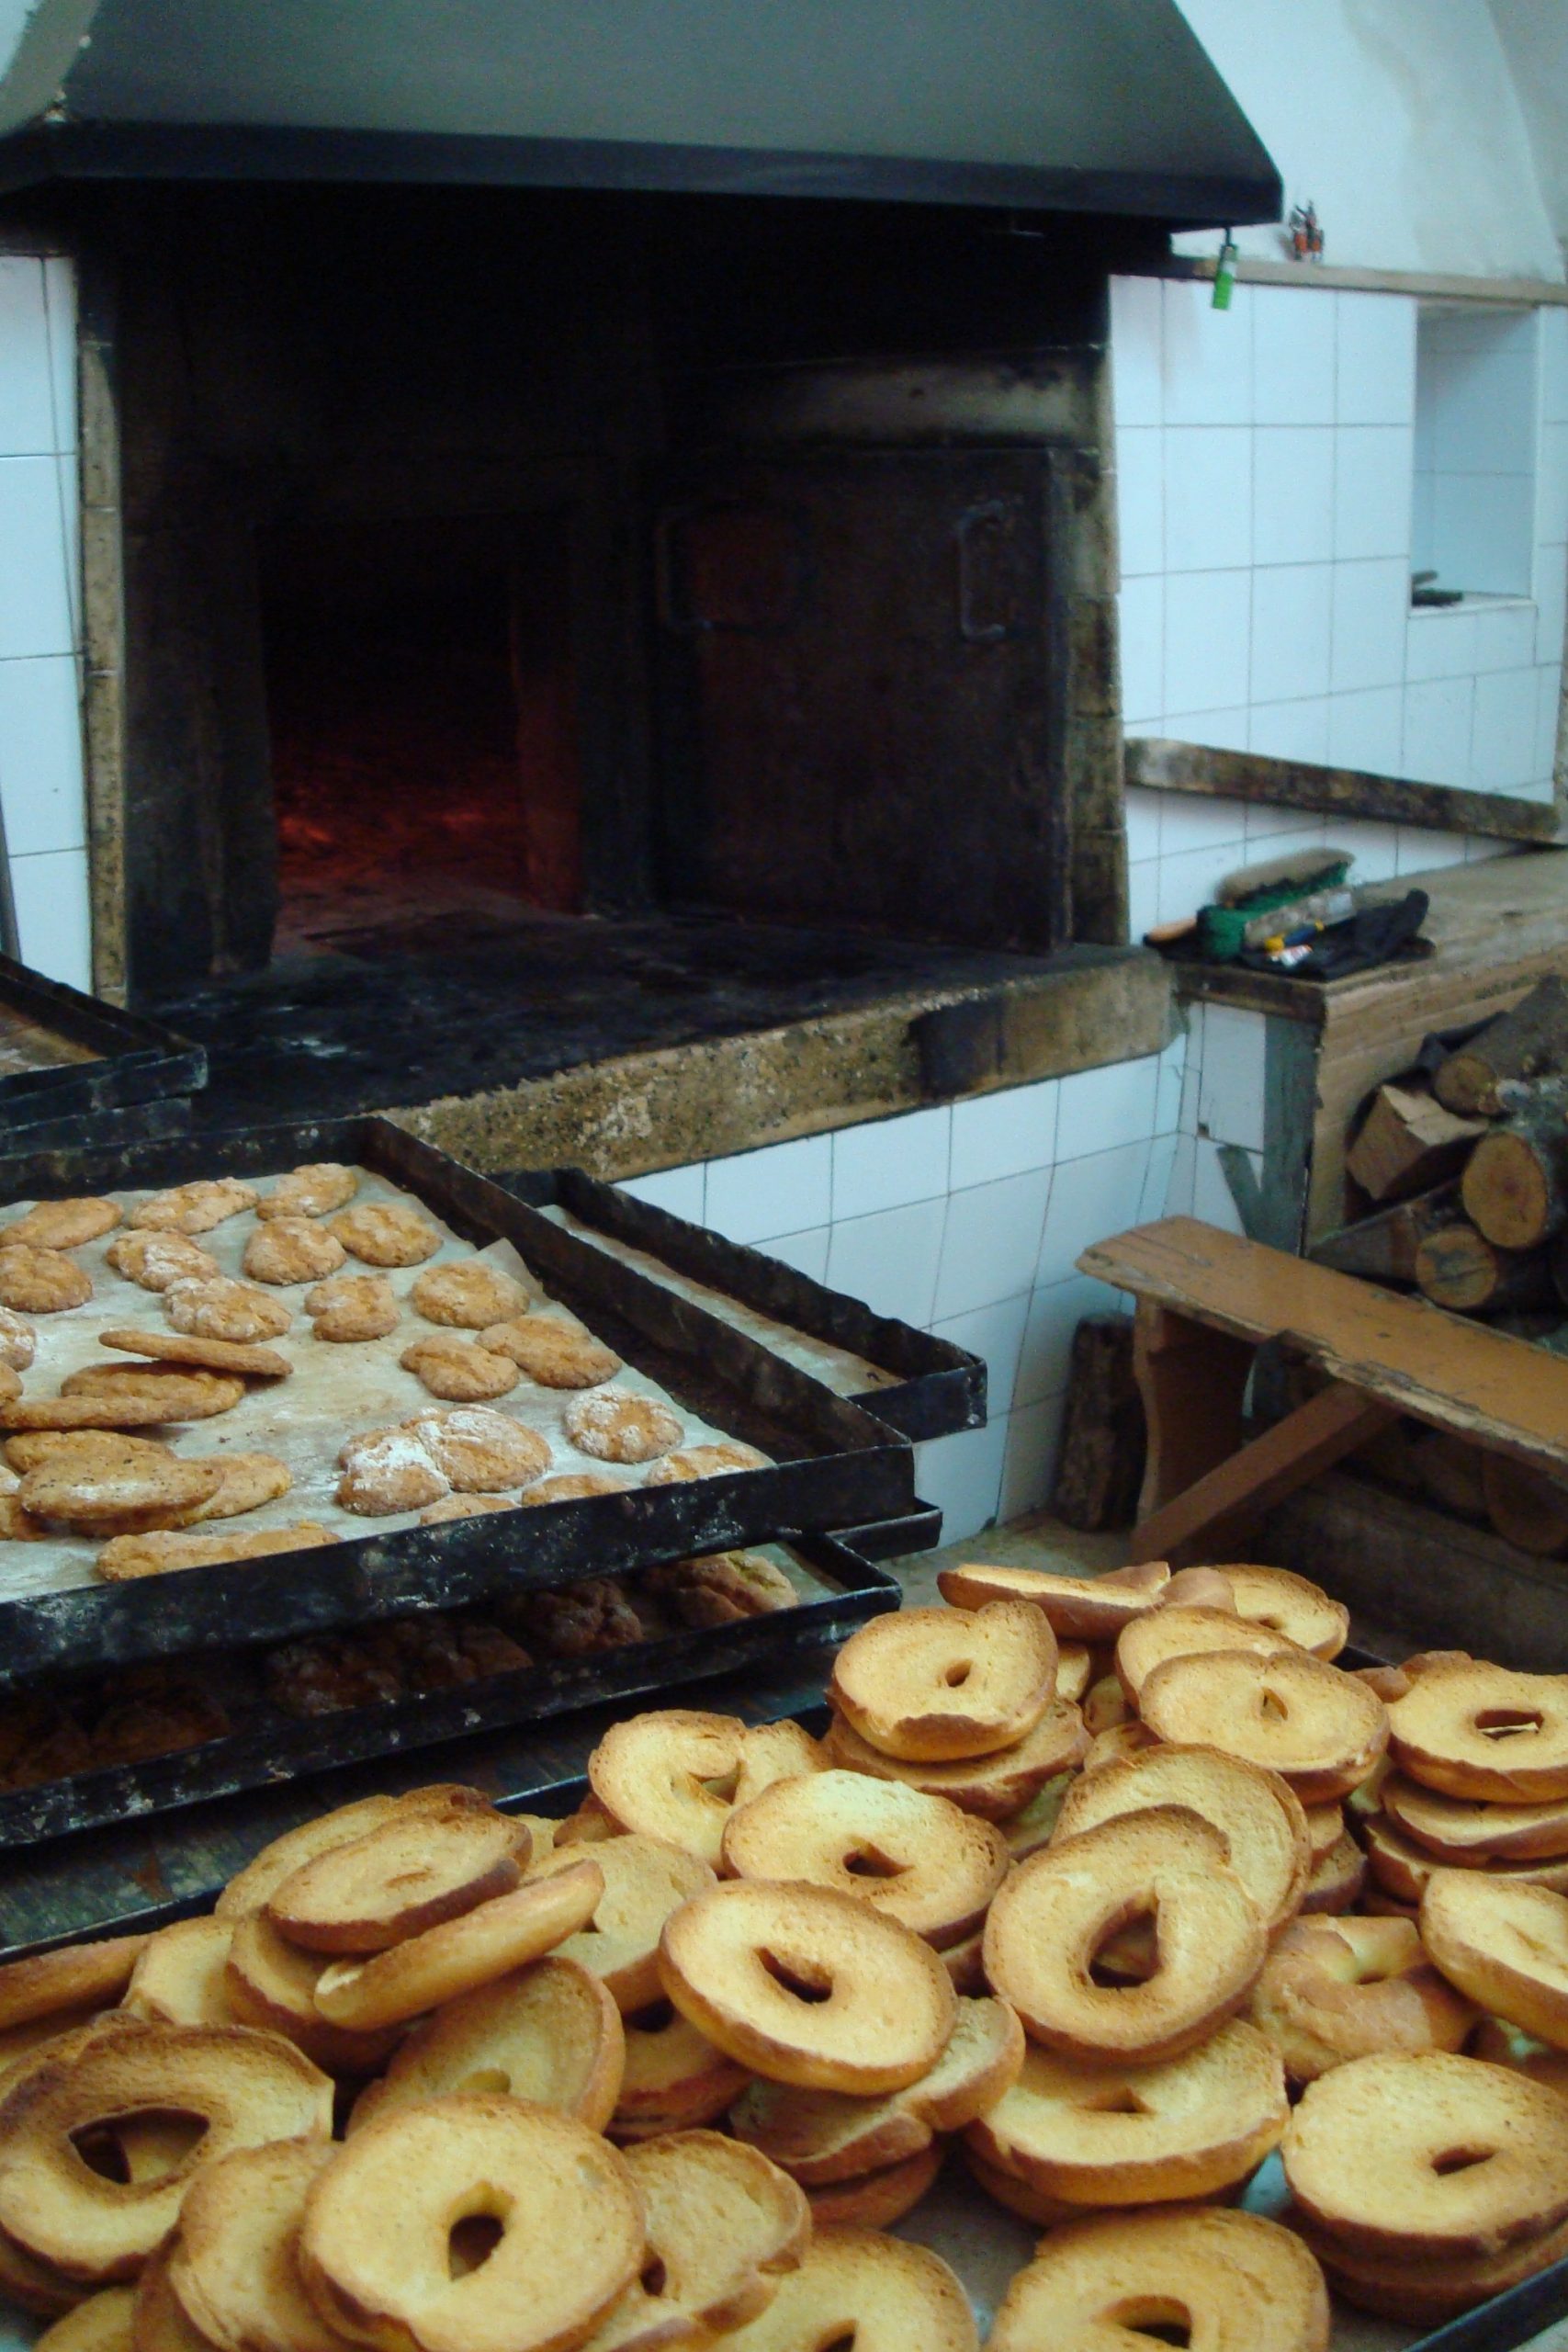
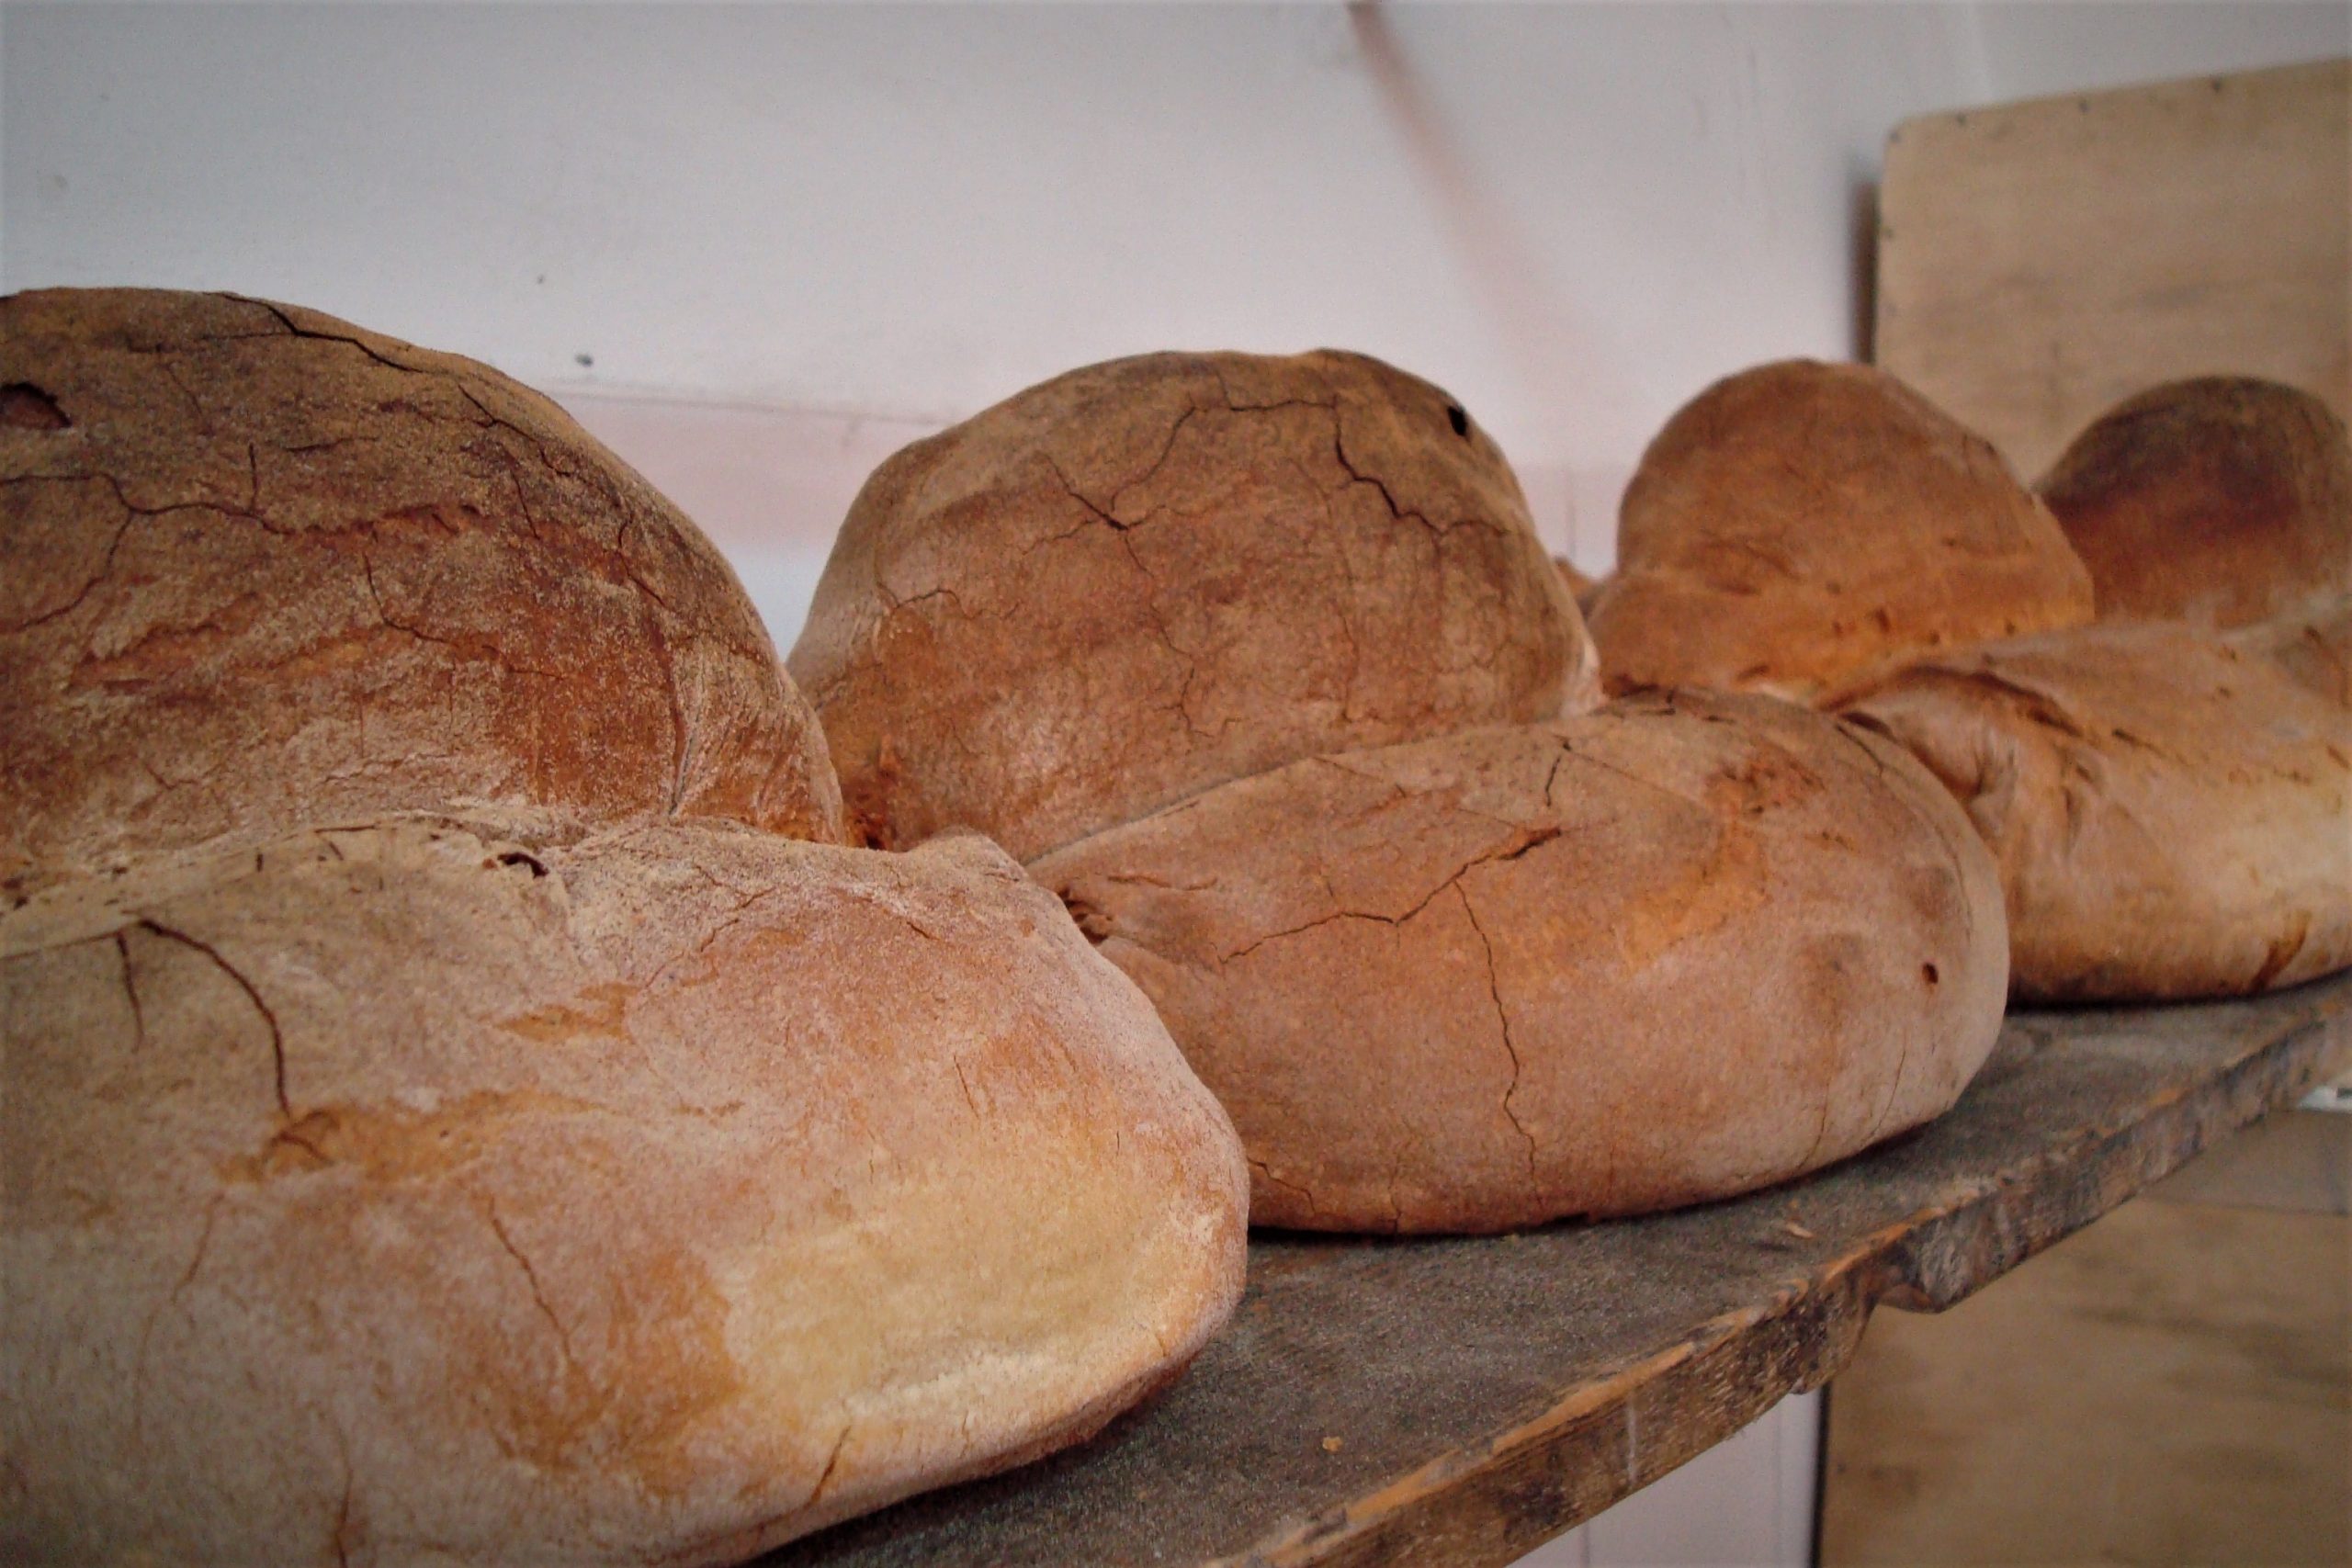
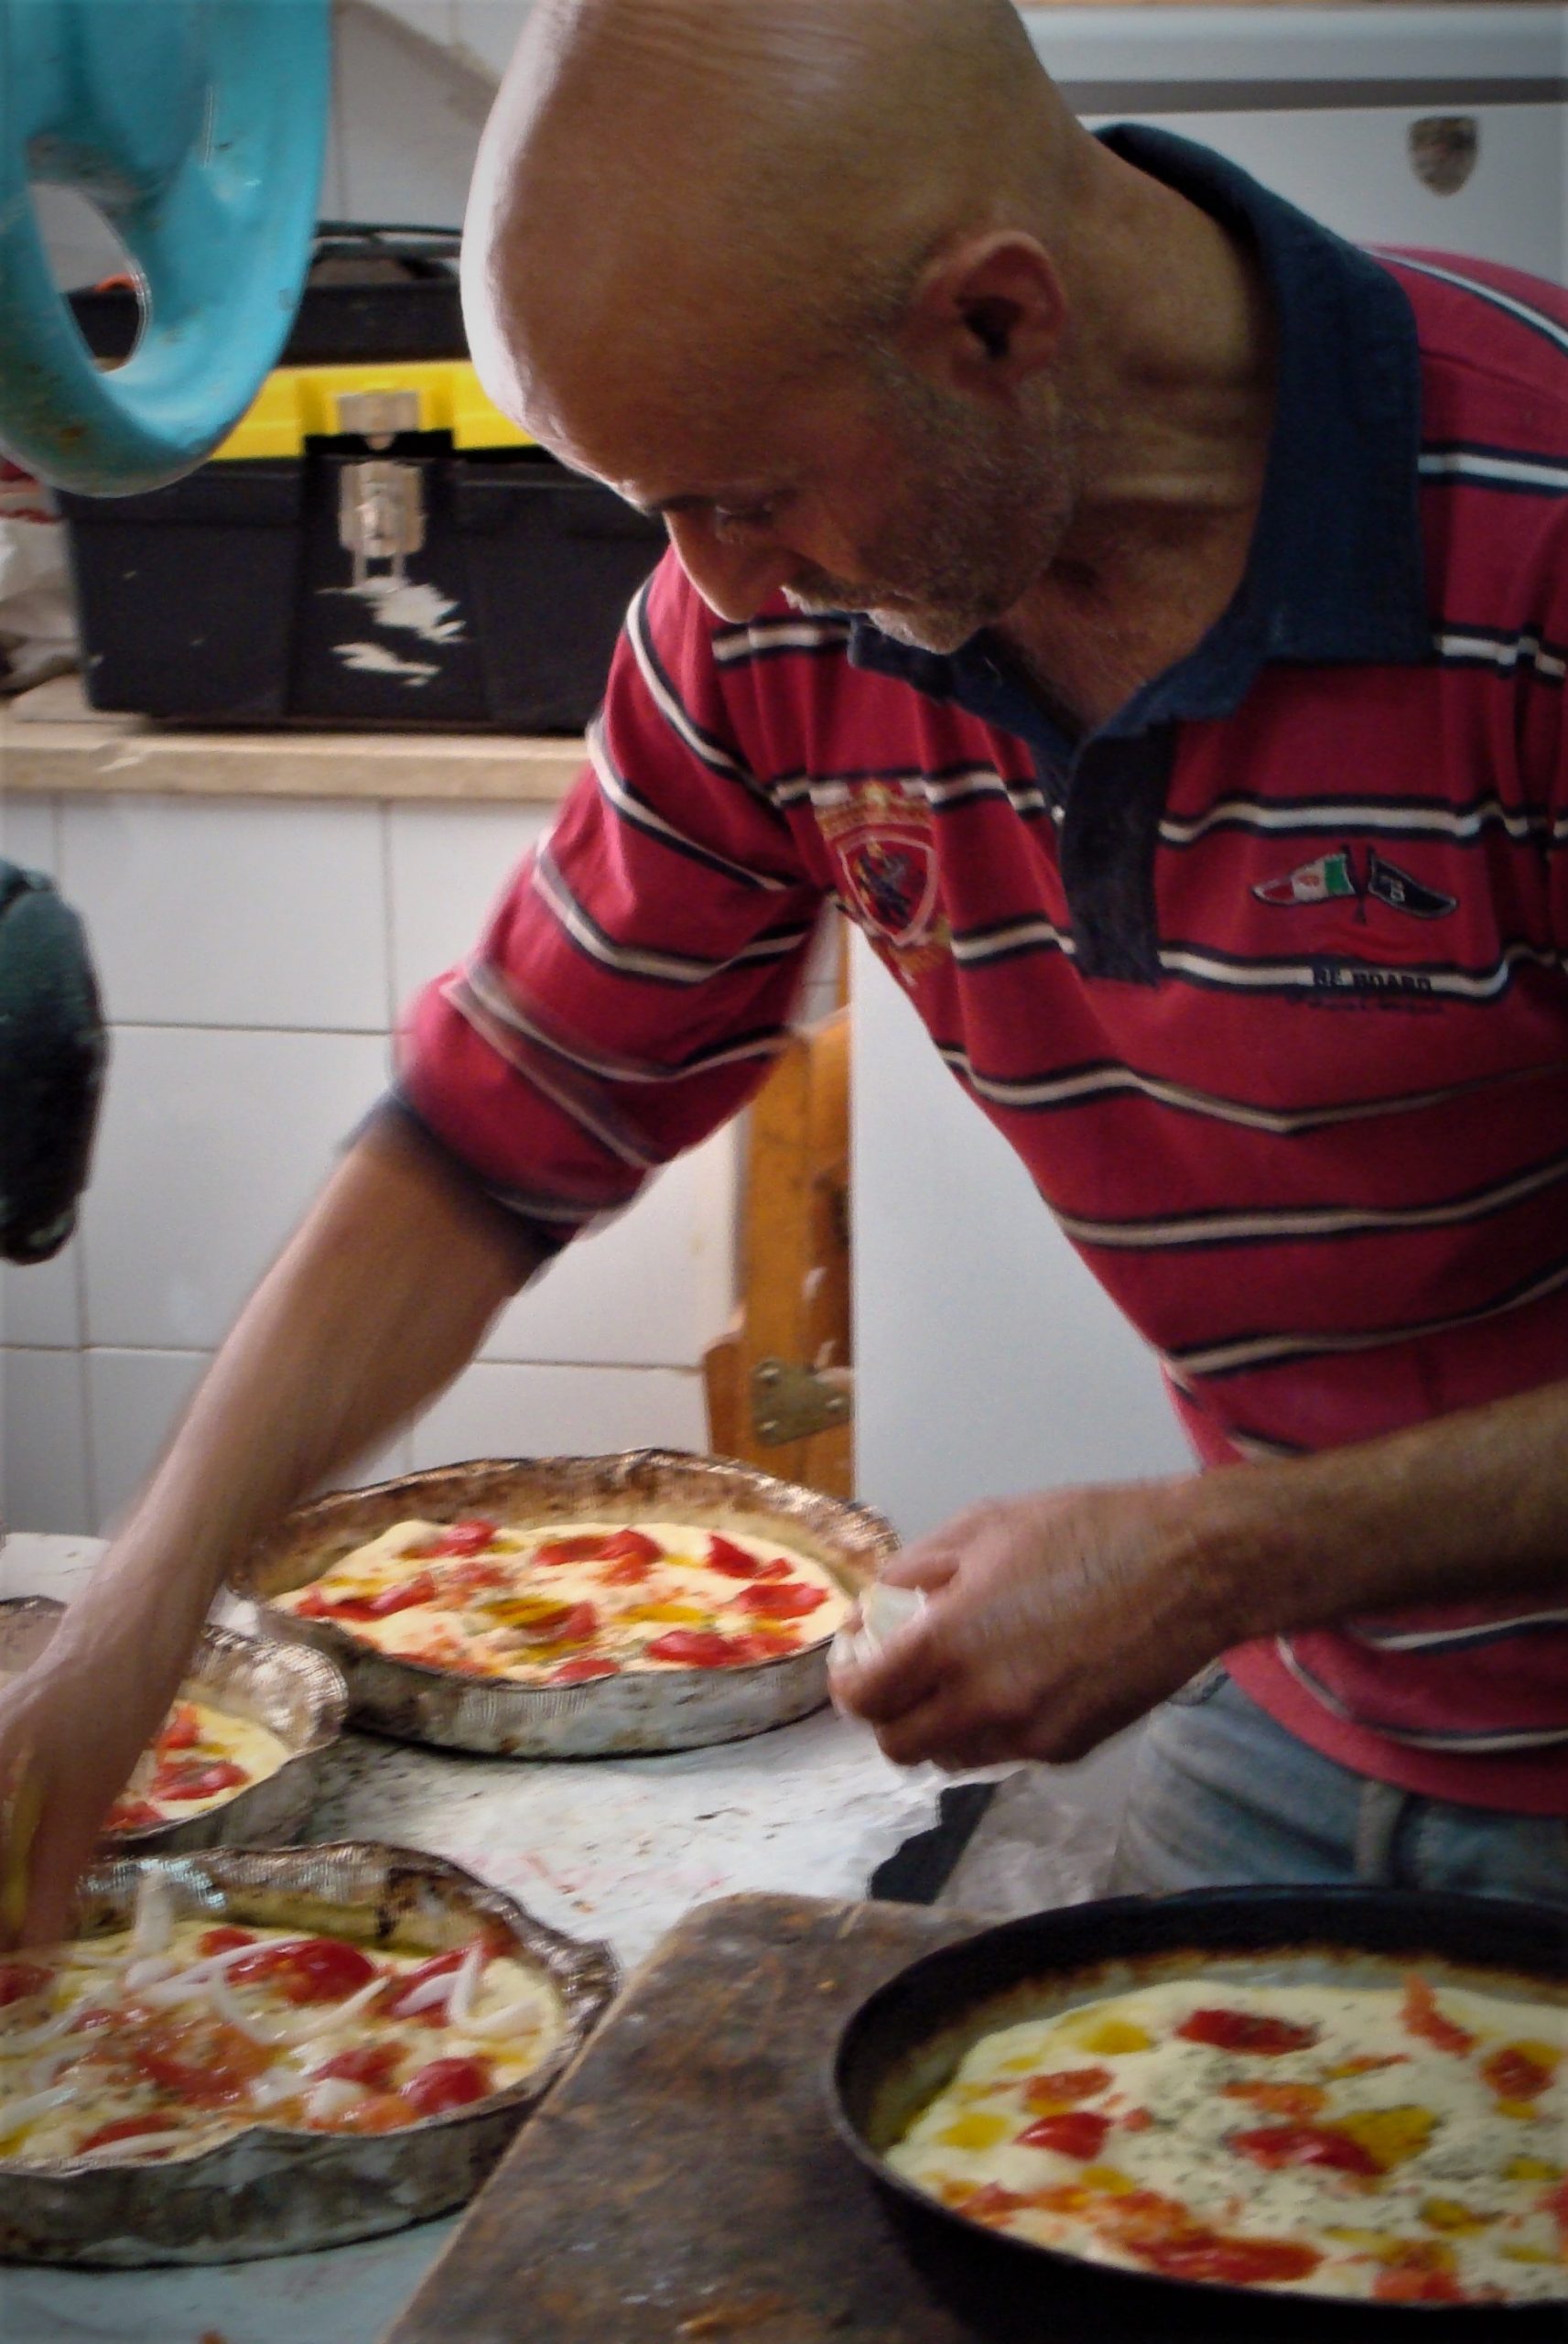
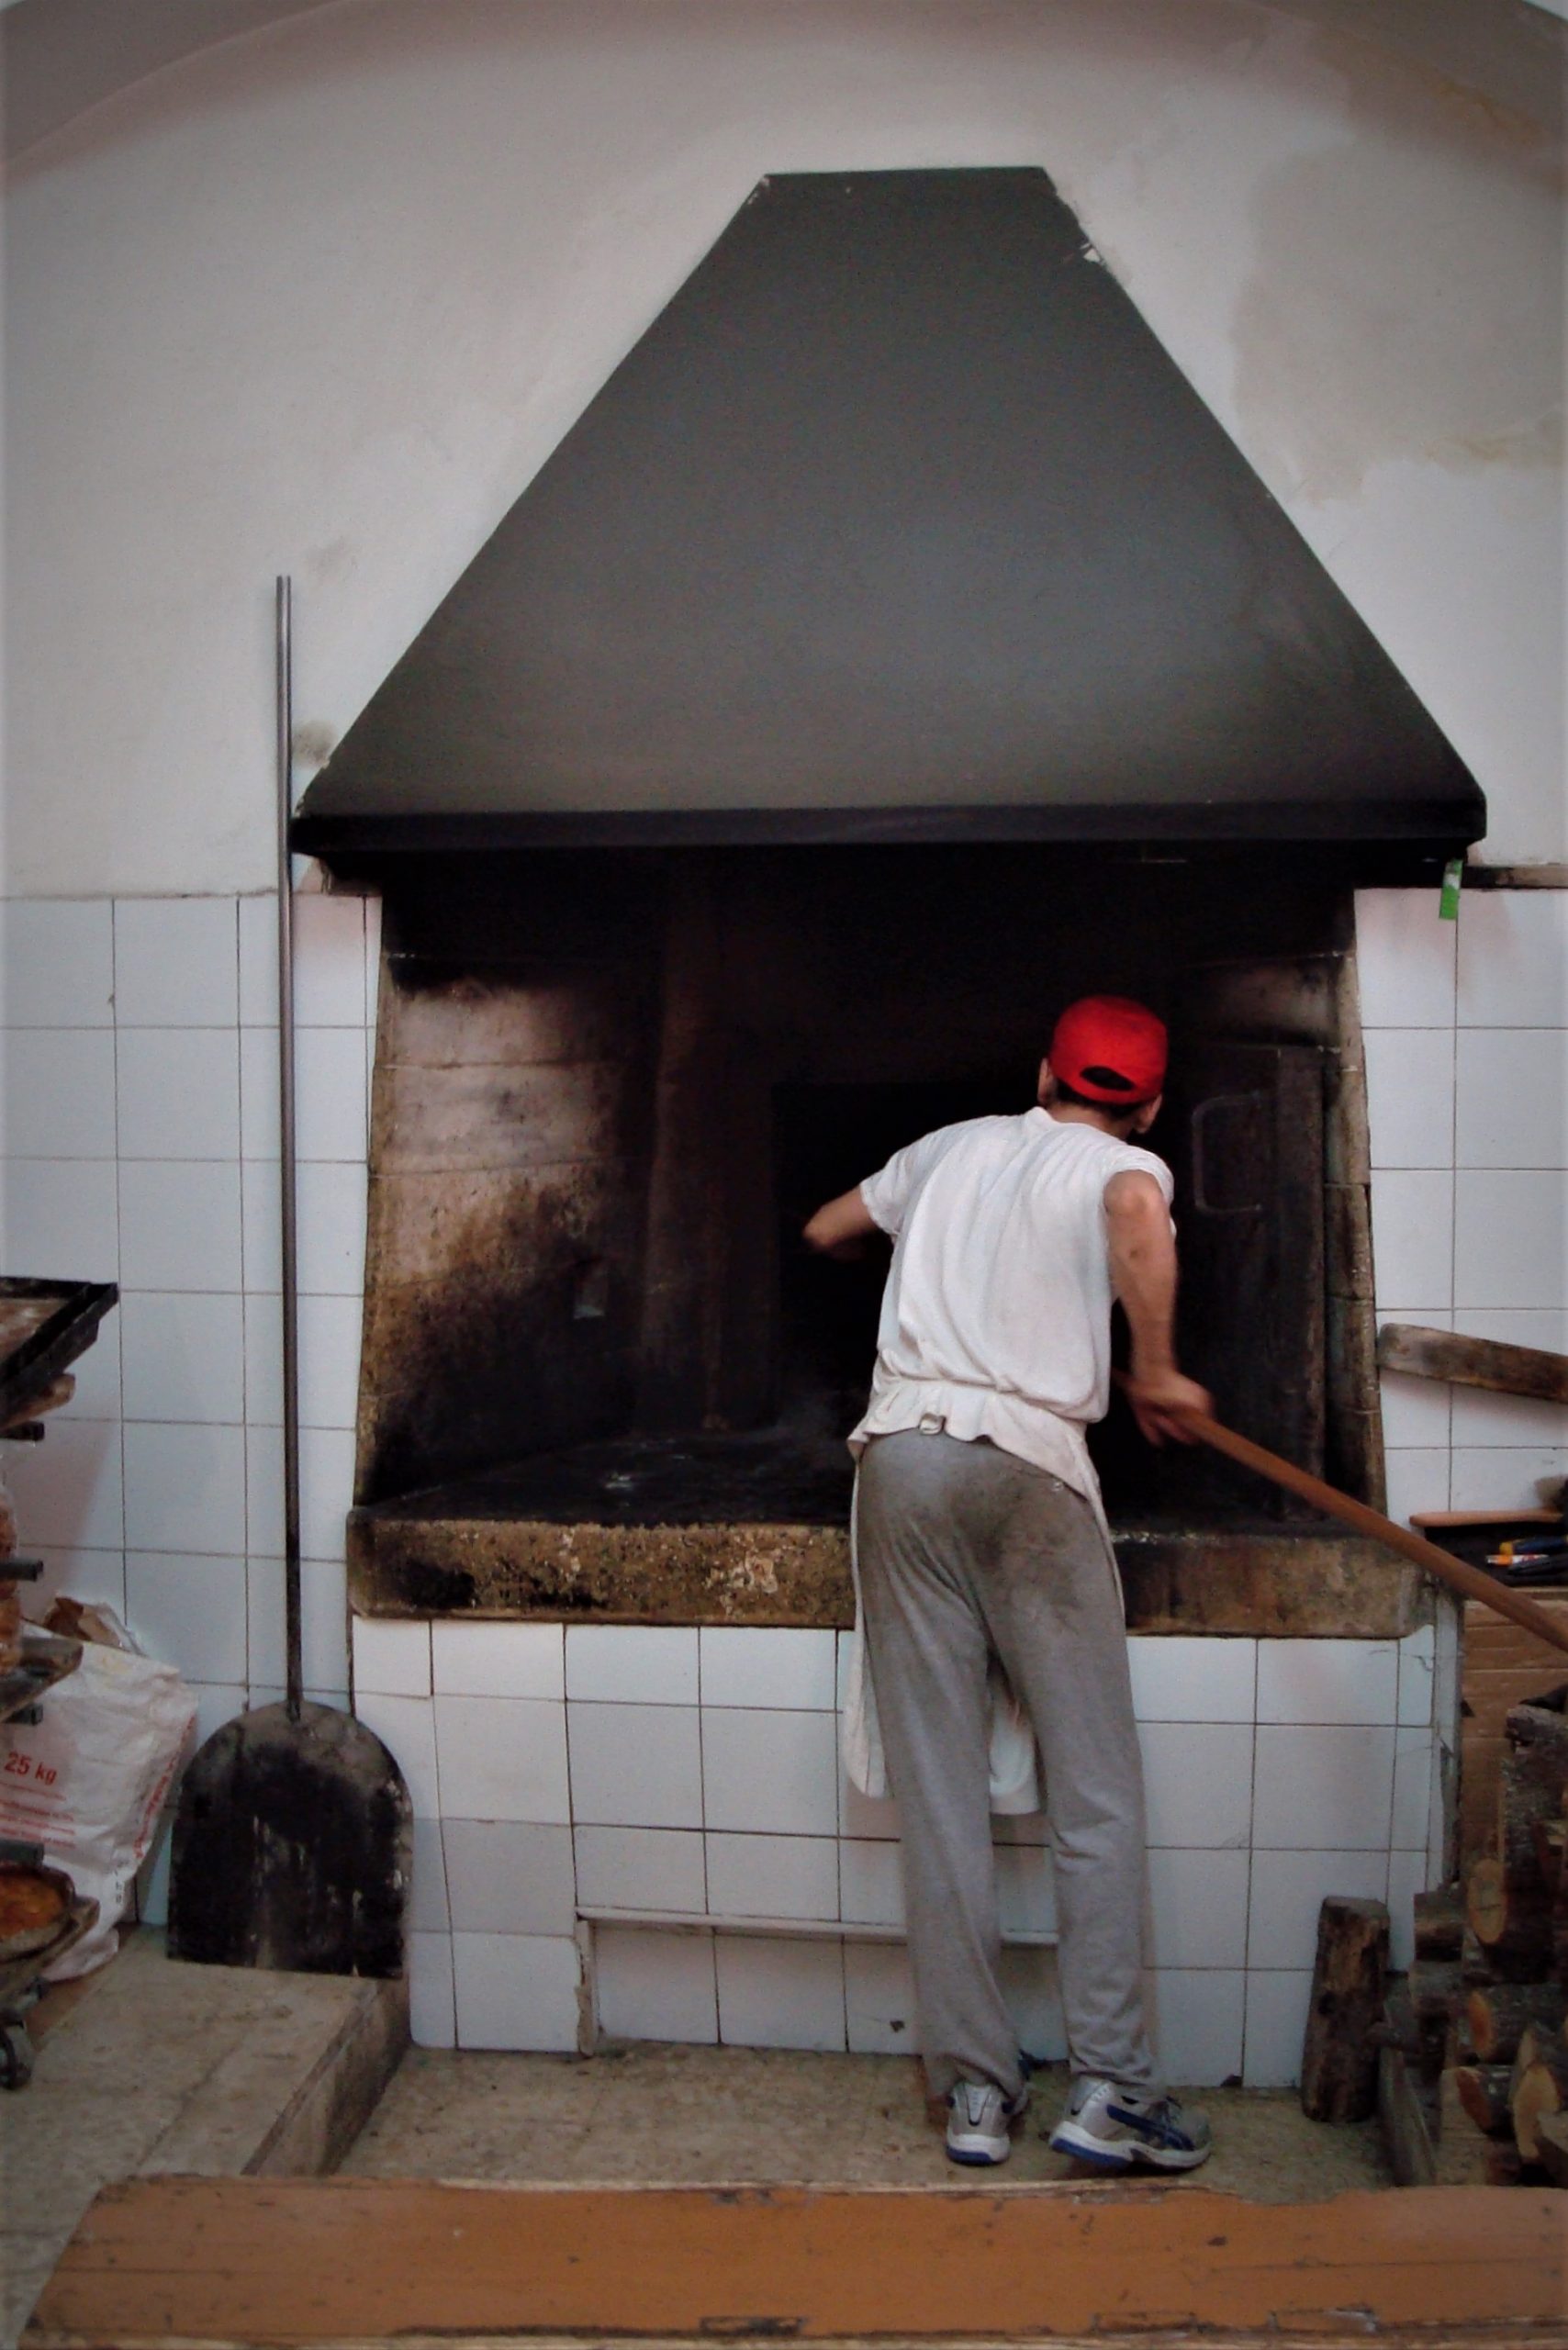
This bread’s flavour and texture reminds me a little of some of the Puglian breads I tried in a little bakery in Altamura in Puglia where they make breads to very old recipes.  The love, time and attention you need to give this bread reminded me of the guys in the bakery, Focaccia isn’t Puglian per se although the basic recipe is believed to be Greek or Etruscan – both of whom spent time in and around Puglia. This bread’s ancient origins date back to 2nd Century BC (when it would have been made with barley, rye or millet). The name, focaccia, comes from the Latin, focus, – “cooked on fire”. It appears to have a religious connection which continued into the Renaissance. “Focacce” were offered to the gods by the Romans; then, during the Renaissance in Genoa this type of bread was eaten with wine/oil at weddings and at funerals.

Nowadays focaccia is made all over Italy but with the region of Liguria (and more precisely, Genoa) claiming true authorship. In the South of Italy and especially in Puglia, they add cherry tomatoes and use boiled potatoes in the dough which gives it a particular taste and texture.  They also use a lot of their incredibly delicious peppery Puglian olive oil to drizzle over it.  I’m a huge fan.  One of the best tips for a winning focaccia is a good quality olive oil to drizzle over the top (Italian, obviously). Please make this bread; it’s delicious.  You don’t have to roll with potatoes and rosemary; you can add whatever topping you like.


Makes: 1 satisfyingly large focaccia

Takes: be prepared to devote time to this mission: leave overnight following step 1 (step 1 is pretty speedy); leave again overnight following step 2 (although you can cut out some time here and not have such a long “sitting” time) step 2 takes about 10 mins; 4 hours folding + 1 hour proving for step 3.  So, somewhere between 2 and 3 days.

Bakes: 25-30 mins; set your oven as hot as it will go (ideally 240C).  Mine will only reach the dizzy heights of 220C and that worked fine.  Line a large roasting tin/tray with sides with baking parchment.


Ingredients

  • 100g sourdough starter (you will need to have this ready – otherwise the process will take longer)
  • 850g strong white bread flour
  • 7g dried yeast
  • 20g fine sea salt
  • a few new potatoes (very finely sliced – ideally on a mandoline)
  • a few sprigs of fresh rosemary
  • a few sprigs of fresh mint
  • good quality olive oil
  • Maldon sea salt (for topping)


Method

Step 1: making the leaven

Put 100g sourdough starter, 100g water into a mixing bowl and mix together by hand.  Then add 100g of the strong white bread flour, again, mix by hand and ensure you have no lumps.  Then pop some cling film (or environmentally-friendly wrap of your choice) over the top of the bowl and leave it in a warm place overnight.


Step 2: making the dough

Measure out 620g water, 100g of the leaven (from the day before) and the yeast and mix these together by hand.   Any leftover leaven can be stored in a airtight jar/tupperware in the fridge by the way.  Now add the remaining flour and combine.  Leave this to sit for an hour for a spot of autolysis.  After an hour, add the salt, mix thoroughly and then knead for a good 8 minutes.  After that, this is the point where you can either leave it for another hour or so and then get stuck into the folding; or, if you have time, cover it and put it back into the fridge overnight.  If you opt for the latter, make sure that the dough comes up to room temperature before you do anything further with it.


Step 3: getting physical with the folding

This is a big dough and it’s easier to manipulate it in a large roasting tray (I find) – as opposed to lifting it out of the bowl, putting it onto the worktop to fold etc.

So, transfer the dough to a large tray (with sides – it’s lively) and picking it up from the middle, fold it, turn it, fold it, turn it etc.  There are schools of thought that advocate a certain number of folds.  I roll with about 4-6 per slot.  After folding, leave the guy alone in a warm spot for 30 minutes (you can cover him if you like); then repeat the folding. Continue doing this for… 4 hours.  By that time, the dough should be coming together really nicely, be growing and spreading somewhat, and will have formed bubbles on the surface.

At this point you need either to transfer it to a similar sized dish/tray (or do what I realised I had to when I found I didn’t have a second tray, take him out and pop him onto some baking parchment, quickly wash the dish, then pop him back into the lined tin.  Carefully tease the dough out towards the corners but don’t fiddle with it too much.  Then leave it for a final hour’s proving (during which time he should find his own way into the corners).

Finally, the topping.  Push the potato slices down into the dough and scatter the rosemary and mint across the top of the dough; then add a generous sprinkling of salt flakes and an even more generous drizzle of oil.  Then, into the oven until golden brown.

When it’s cooked, peel away the parchment and pop it onto a cooling rack.  Finish it off with more salt and more oil.  Then get stuck in to some serious slices.  Believe me, it’s worth it!


Comments

Hit me up with any variations you've got for these ingredients.

Leave a Comment