Stovetop sourdough!

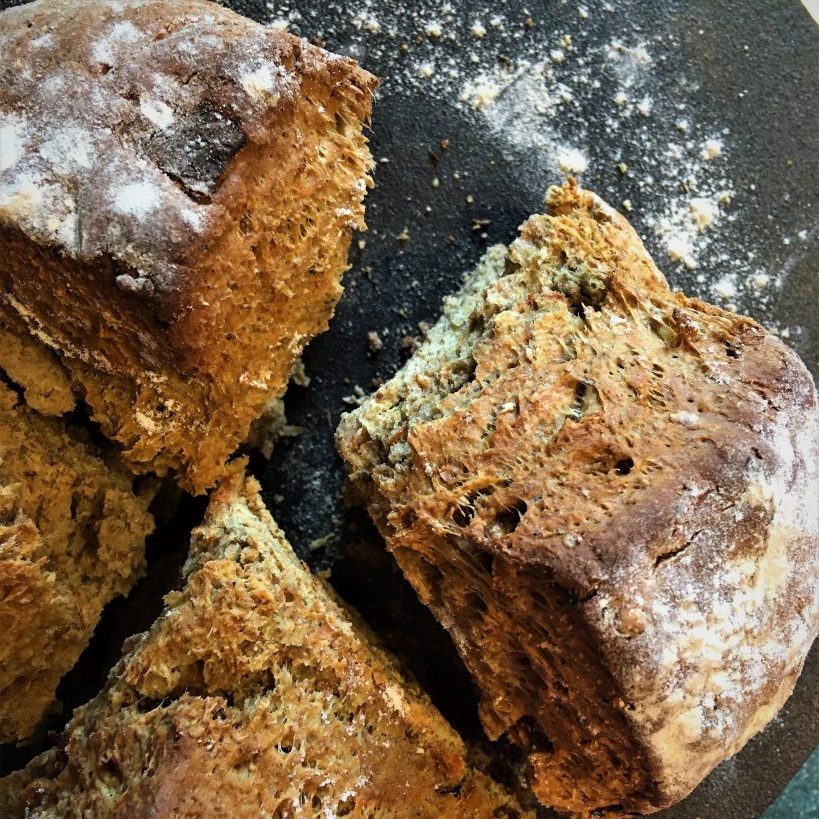
If you are a regular follower of this website you will know that a) I love bread and b) I’ve recently formed a pretty close relationship with my Omnia stovetop oven.  Together we’ve produced a fair few successful sweet and savoury delights and today we conquered sourdough.  So, if you are in your van, on your travels and don’t mind nurturing a starter then you too can make sourdough on the road :).  Just to jazz it up a bit because I’m feeling super summery and missing travelling, I went a little bit fancy on it and added rosemary, chilli and lemon zest.  To sum-up, it’s pretty bangin’.  The rosemary and lemon offer an olfactory caress; the chilli isn’t intrusive, it brings a nice touch of heat at the end.


Tips:

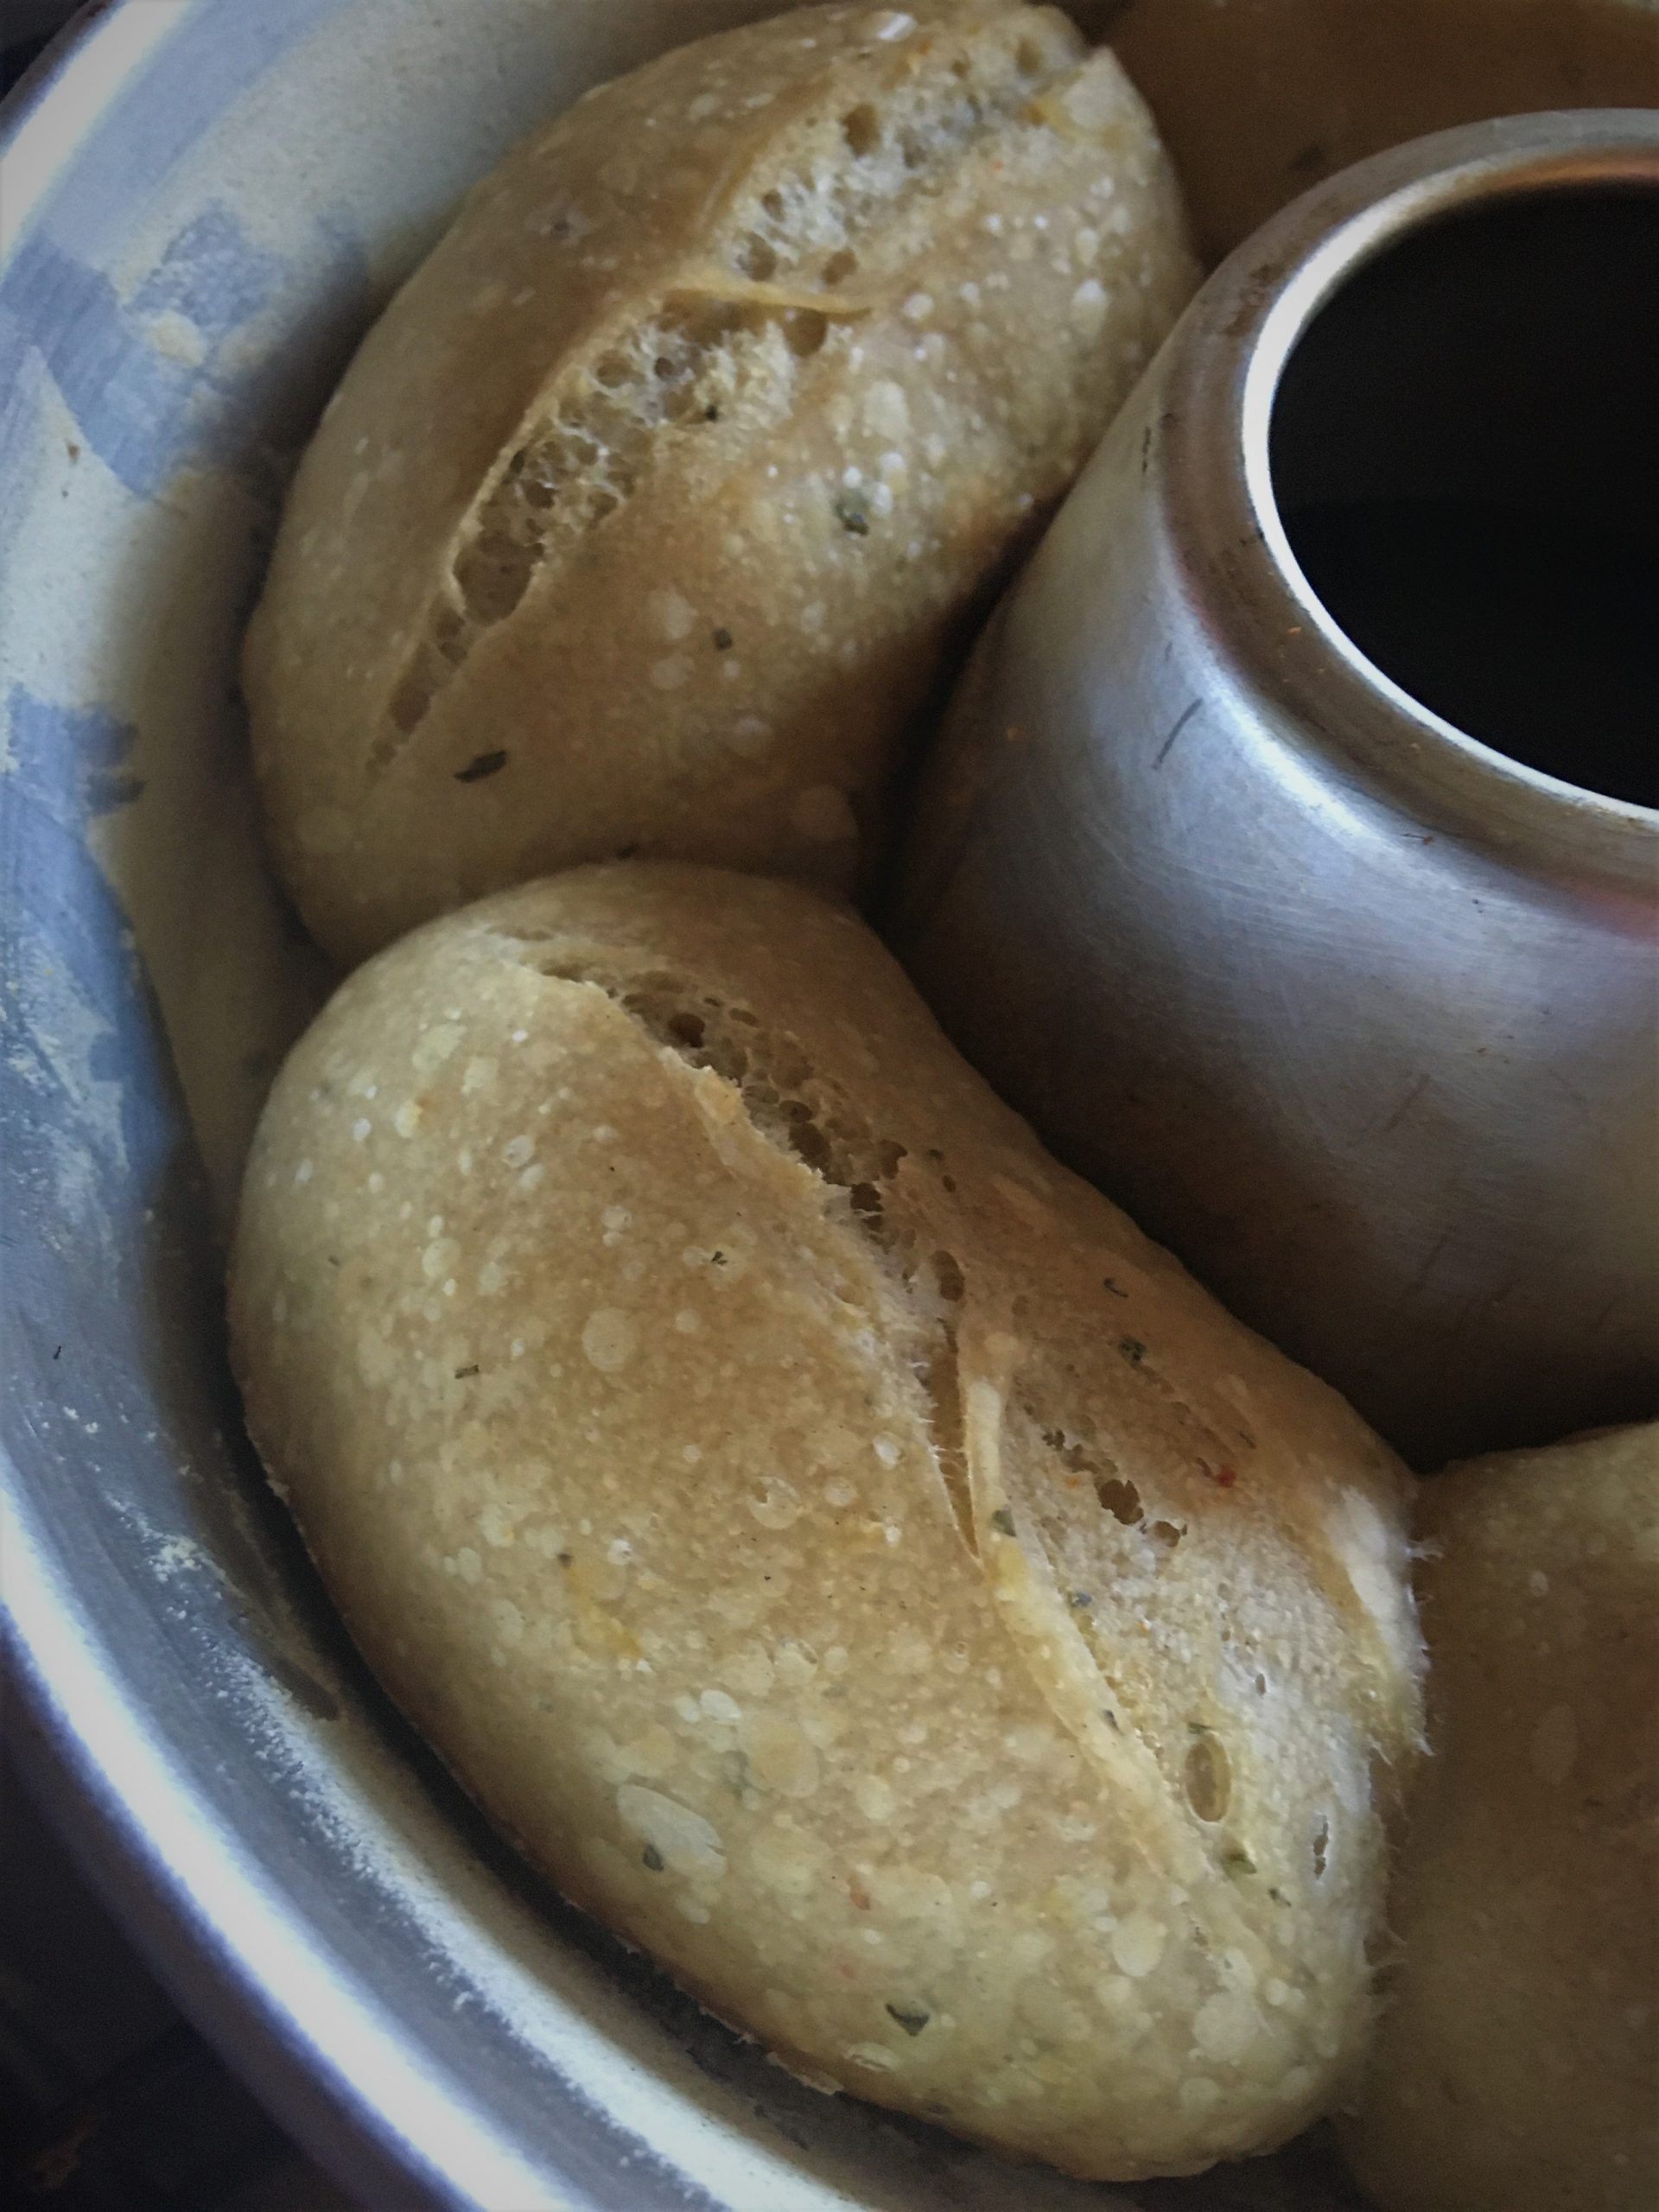
You need to make the final prove in the pan.  To separate the rolls so I didn’t end up with one big splurge of sourdough, I just popped a few bits of folded baking parchment between each roll.

Alternatively, you don’t need to make rolls, you could indeed make one big ring loaf.

You need to oil and lightly flour the pan (I used rice flour because it’s gluten free and so won’t stick (and this is what I use in a proving basket) but plain will probably do in the tin to be honest).

This is a good base recipe that you can add anything too.  Don’t overfill your dough though and bear in mind that things like zest/mi-cuit tomatoes/artichokes etc will bring additional wetness to the dough.

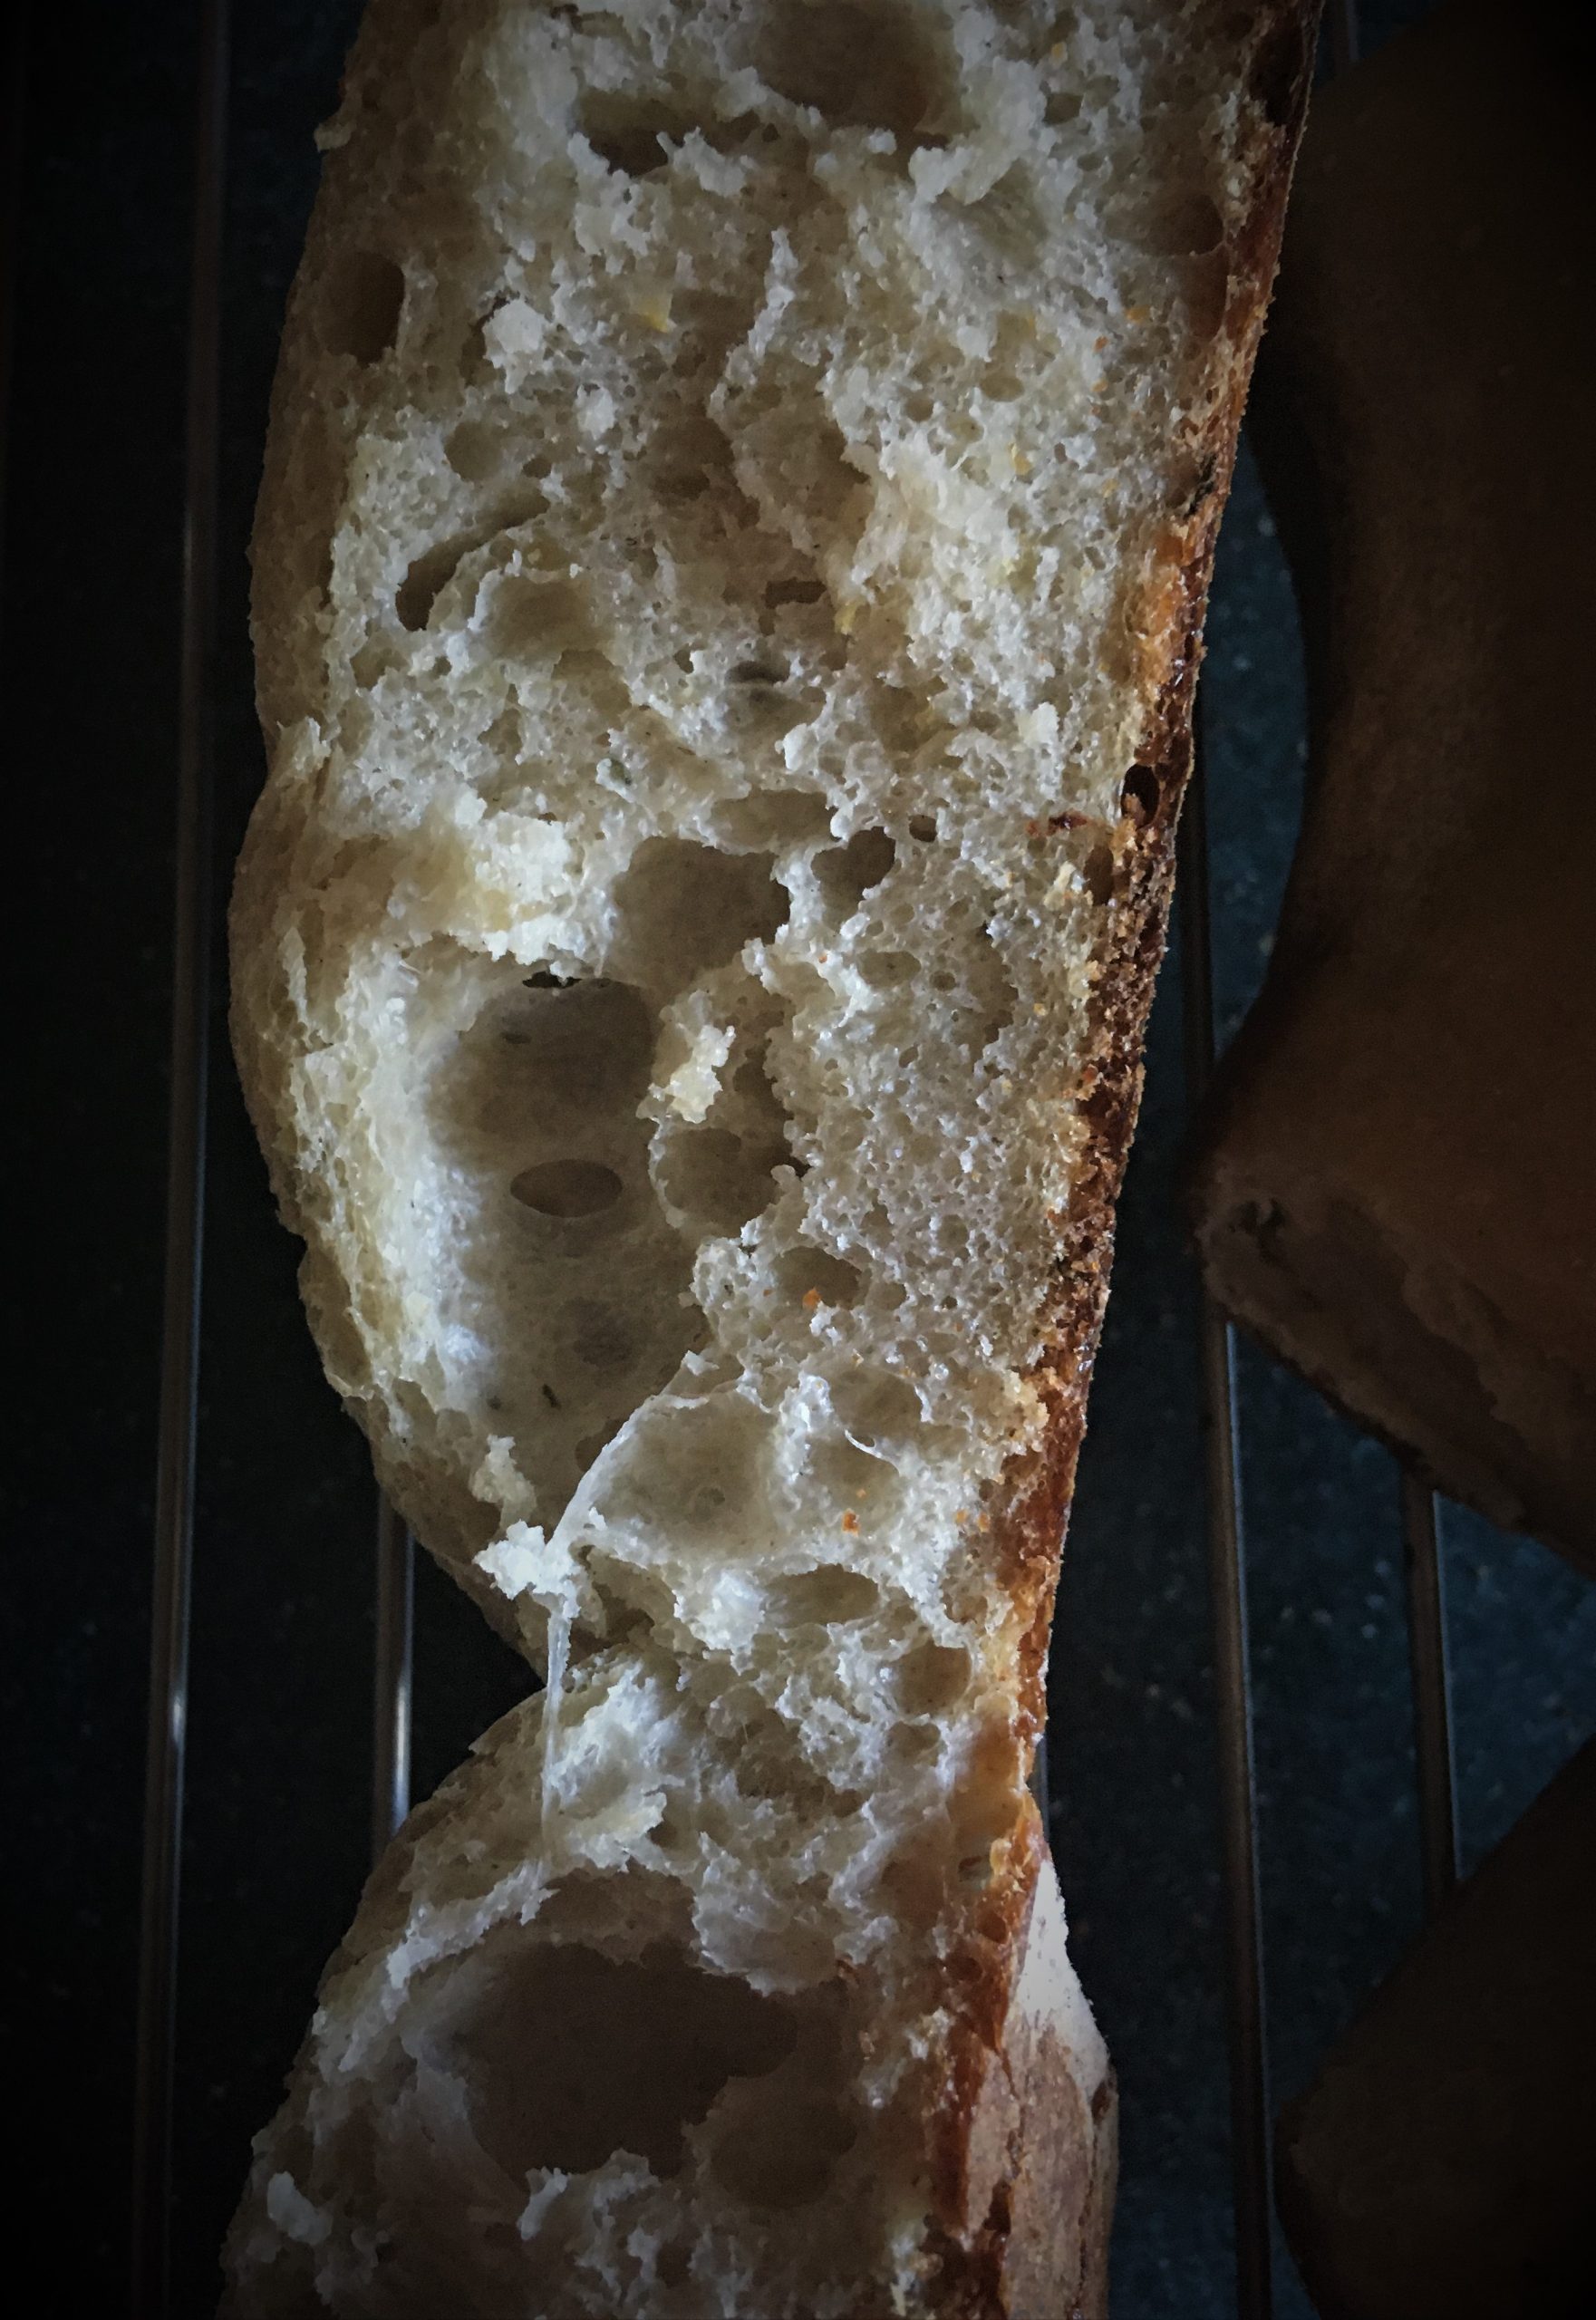
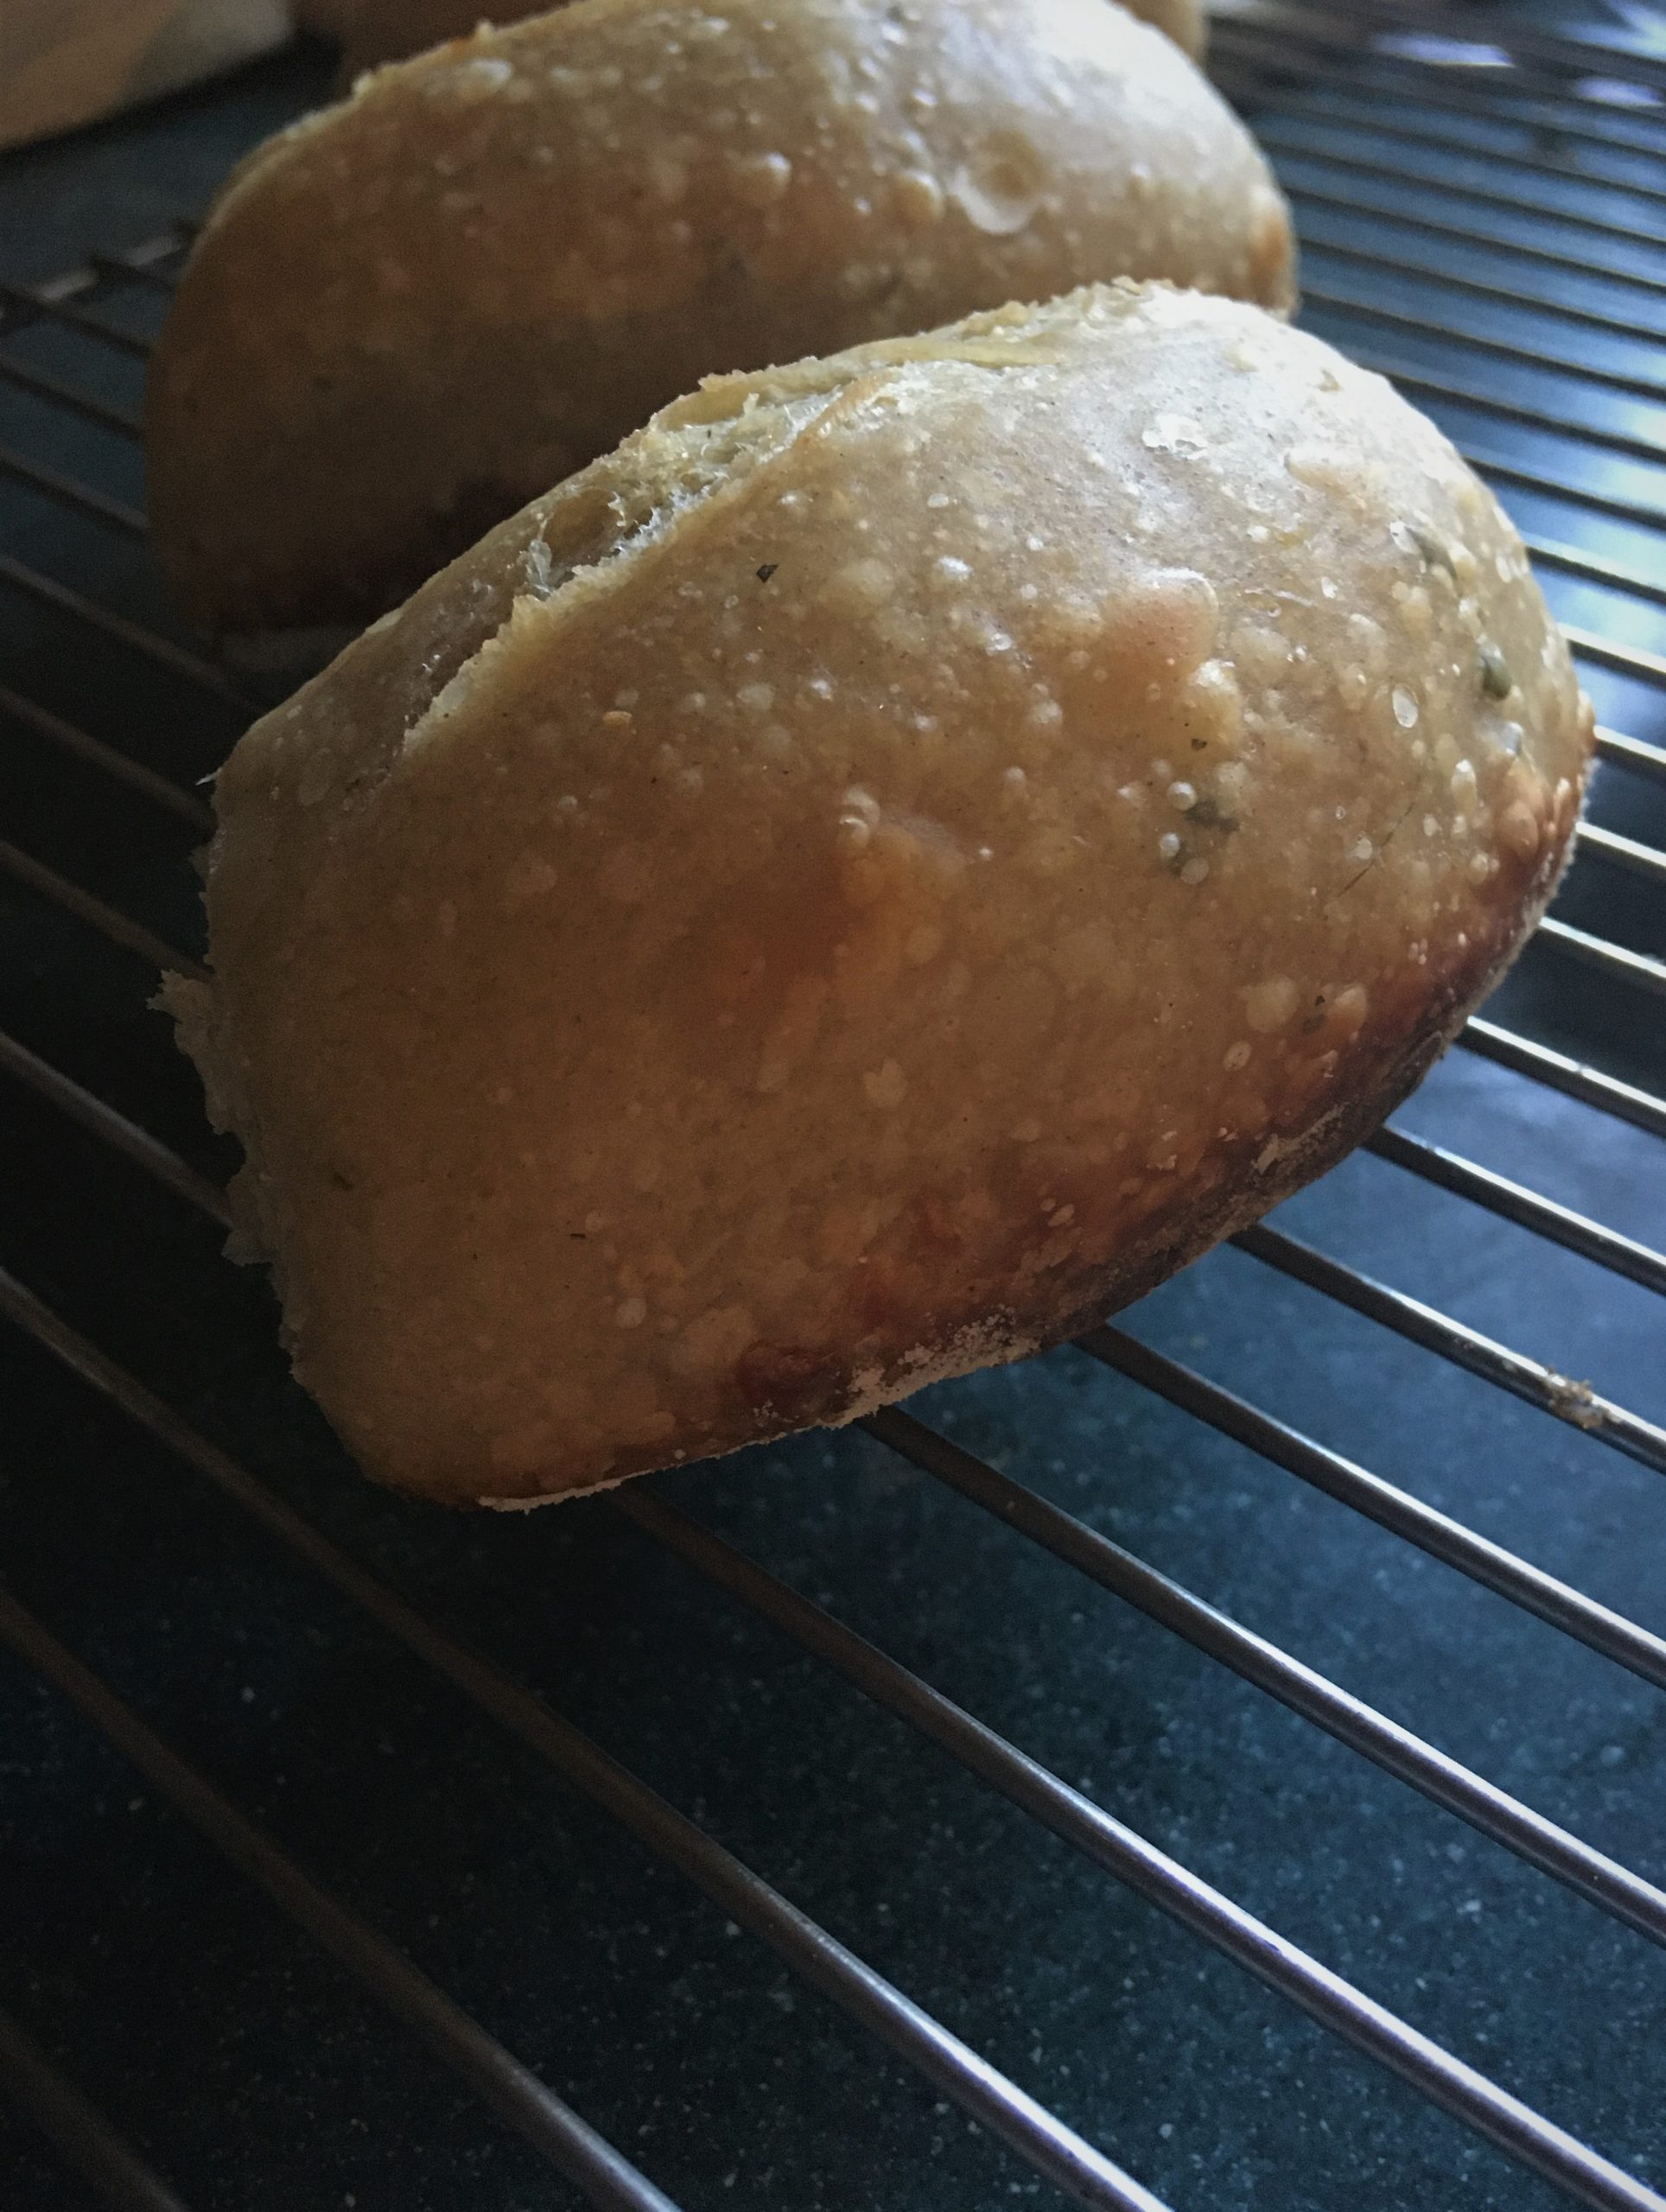
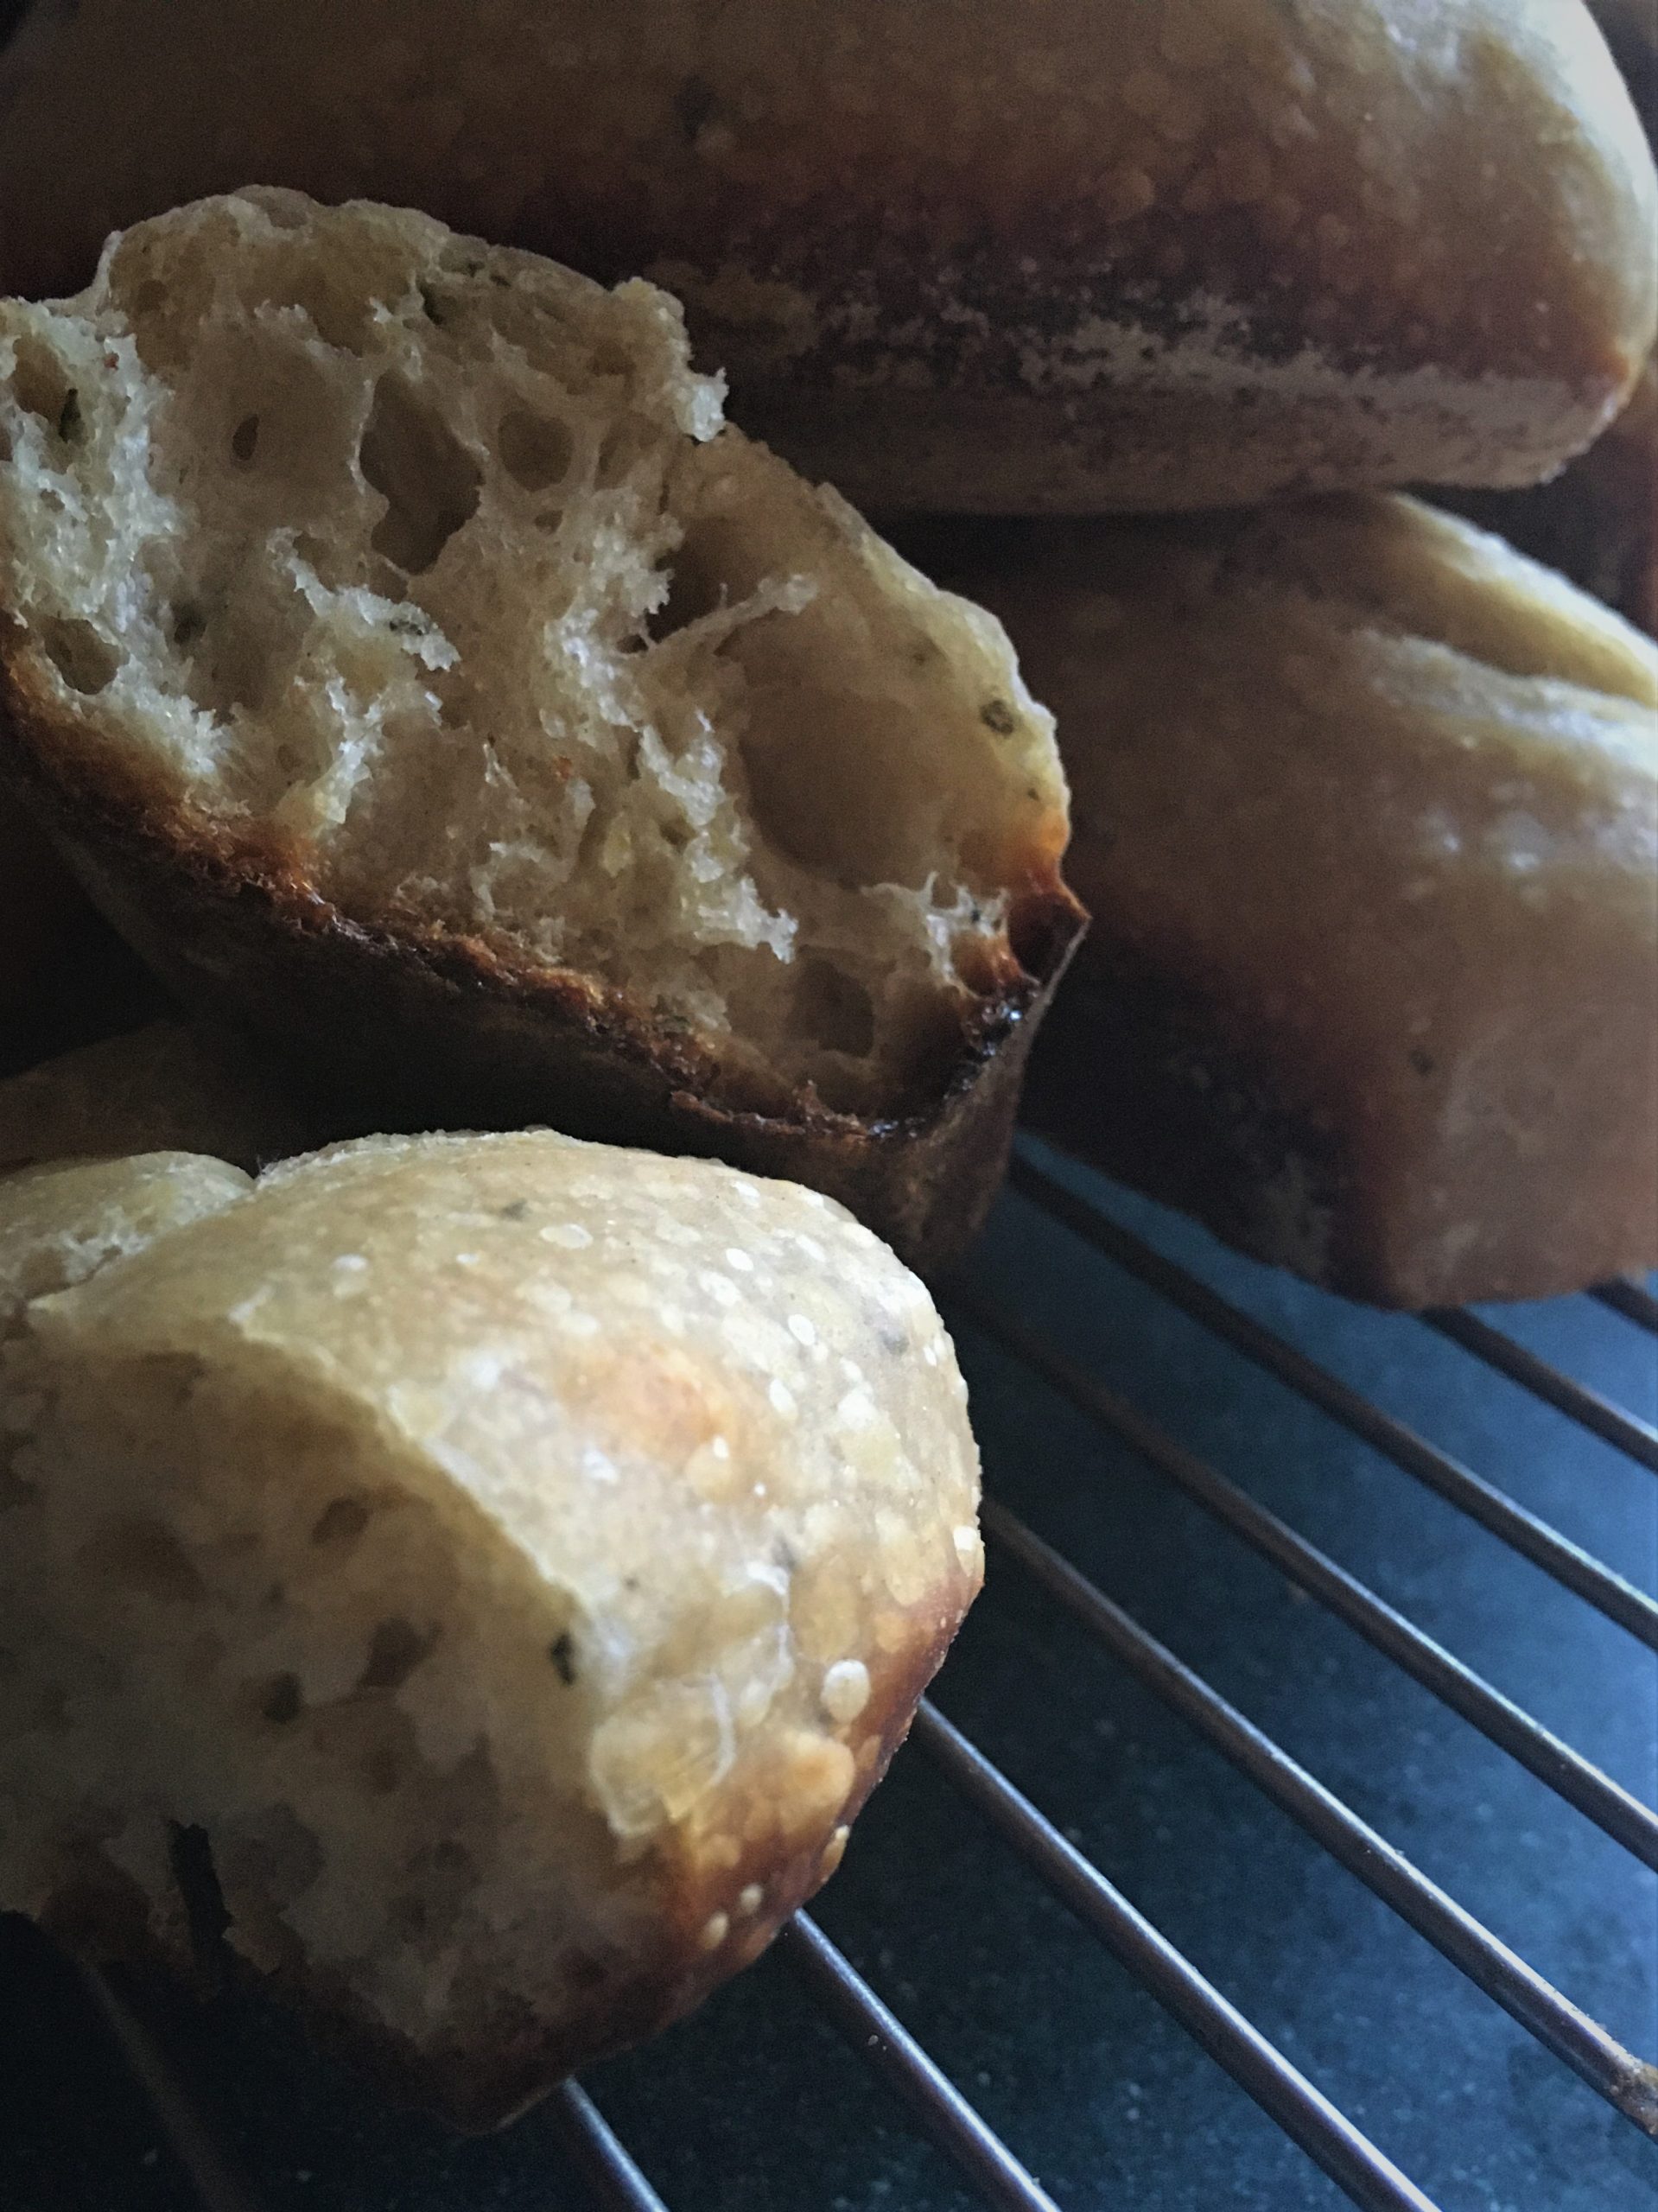
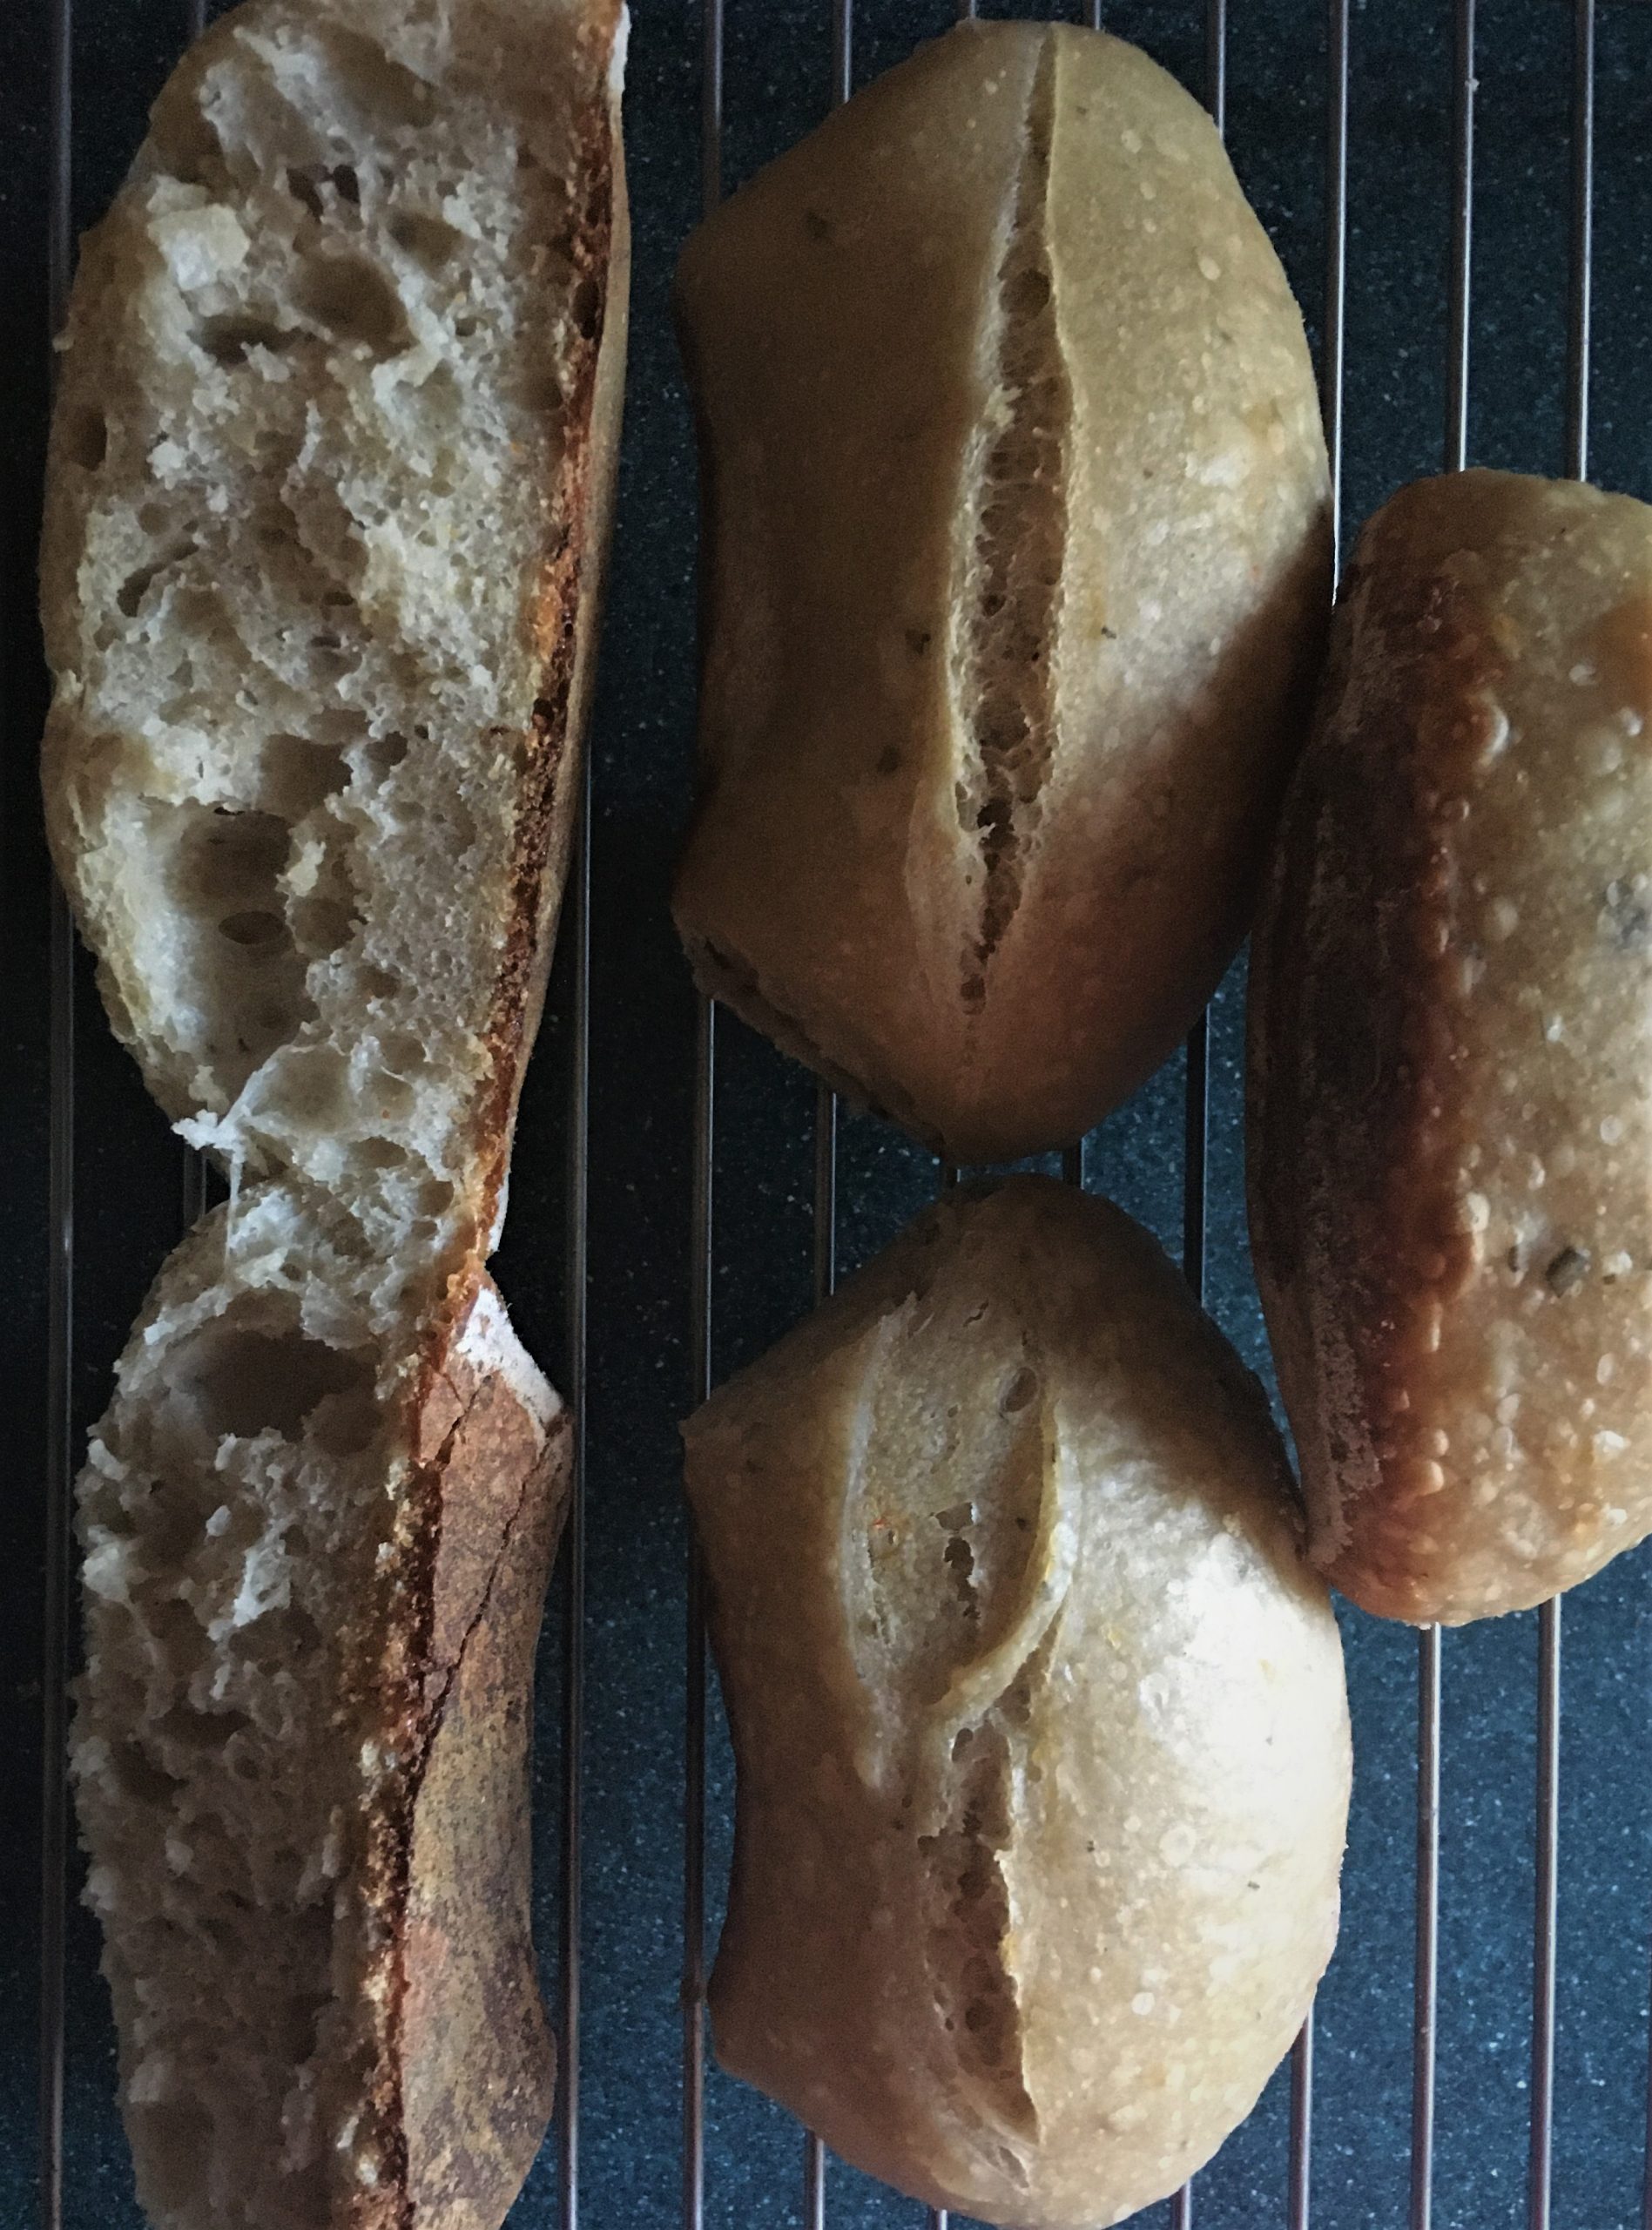
The base is super-crunchy – like a top sourdough – and the innards super-fluffy, but the top, not quite as crunchy as you would get in a normal oven/Dutch oven.  I think this is fine – they taste great but you could always turn them over and crisp the top up too.  A disclaimer here, my cooker/hob isn’t the best (it’s hard to calibrate finer settings).  Better hobs will likely produce better results.

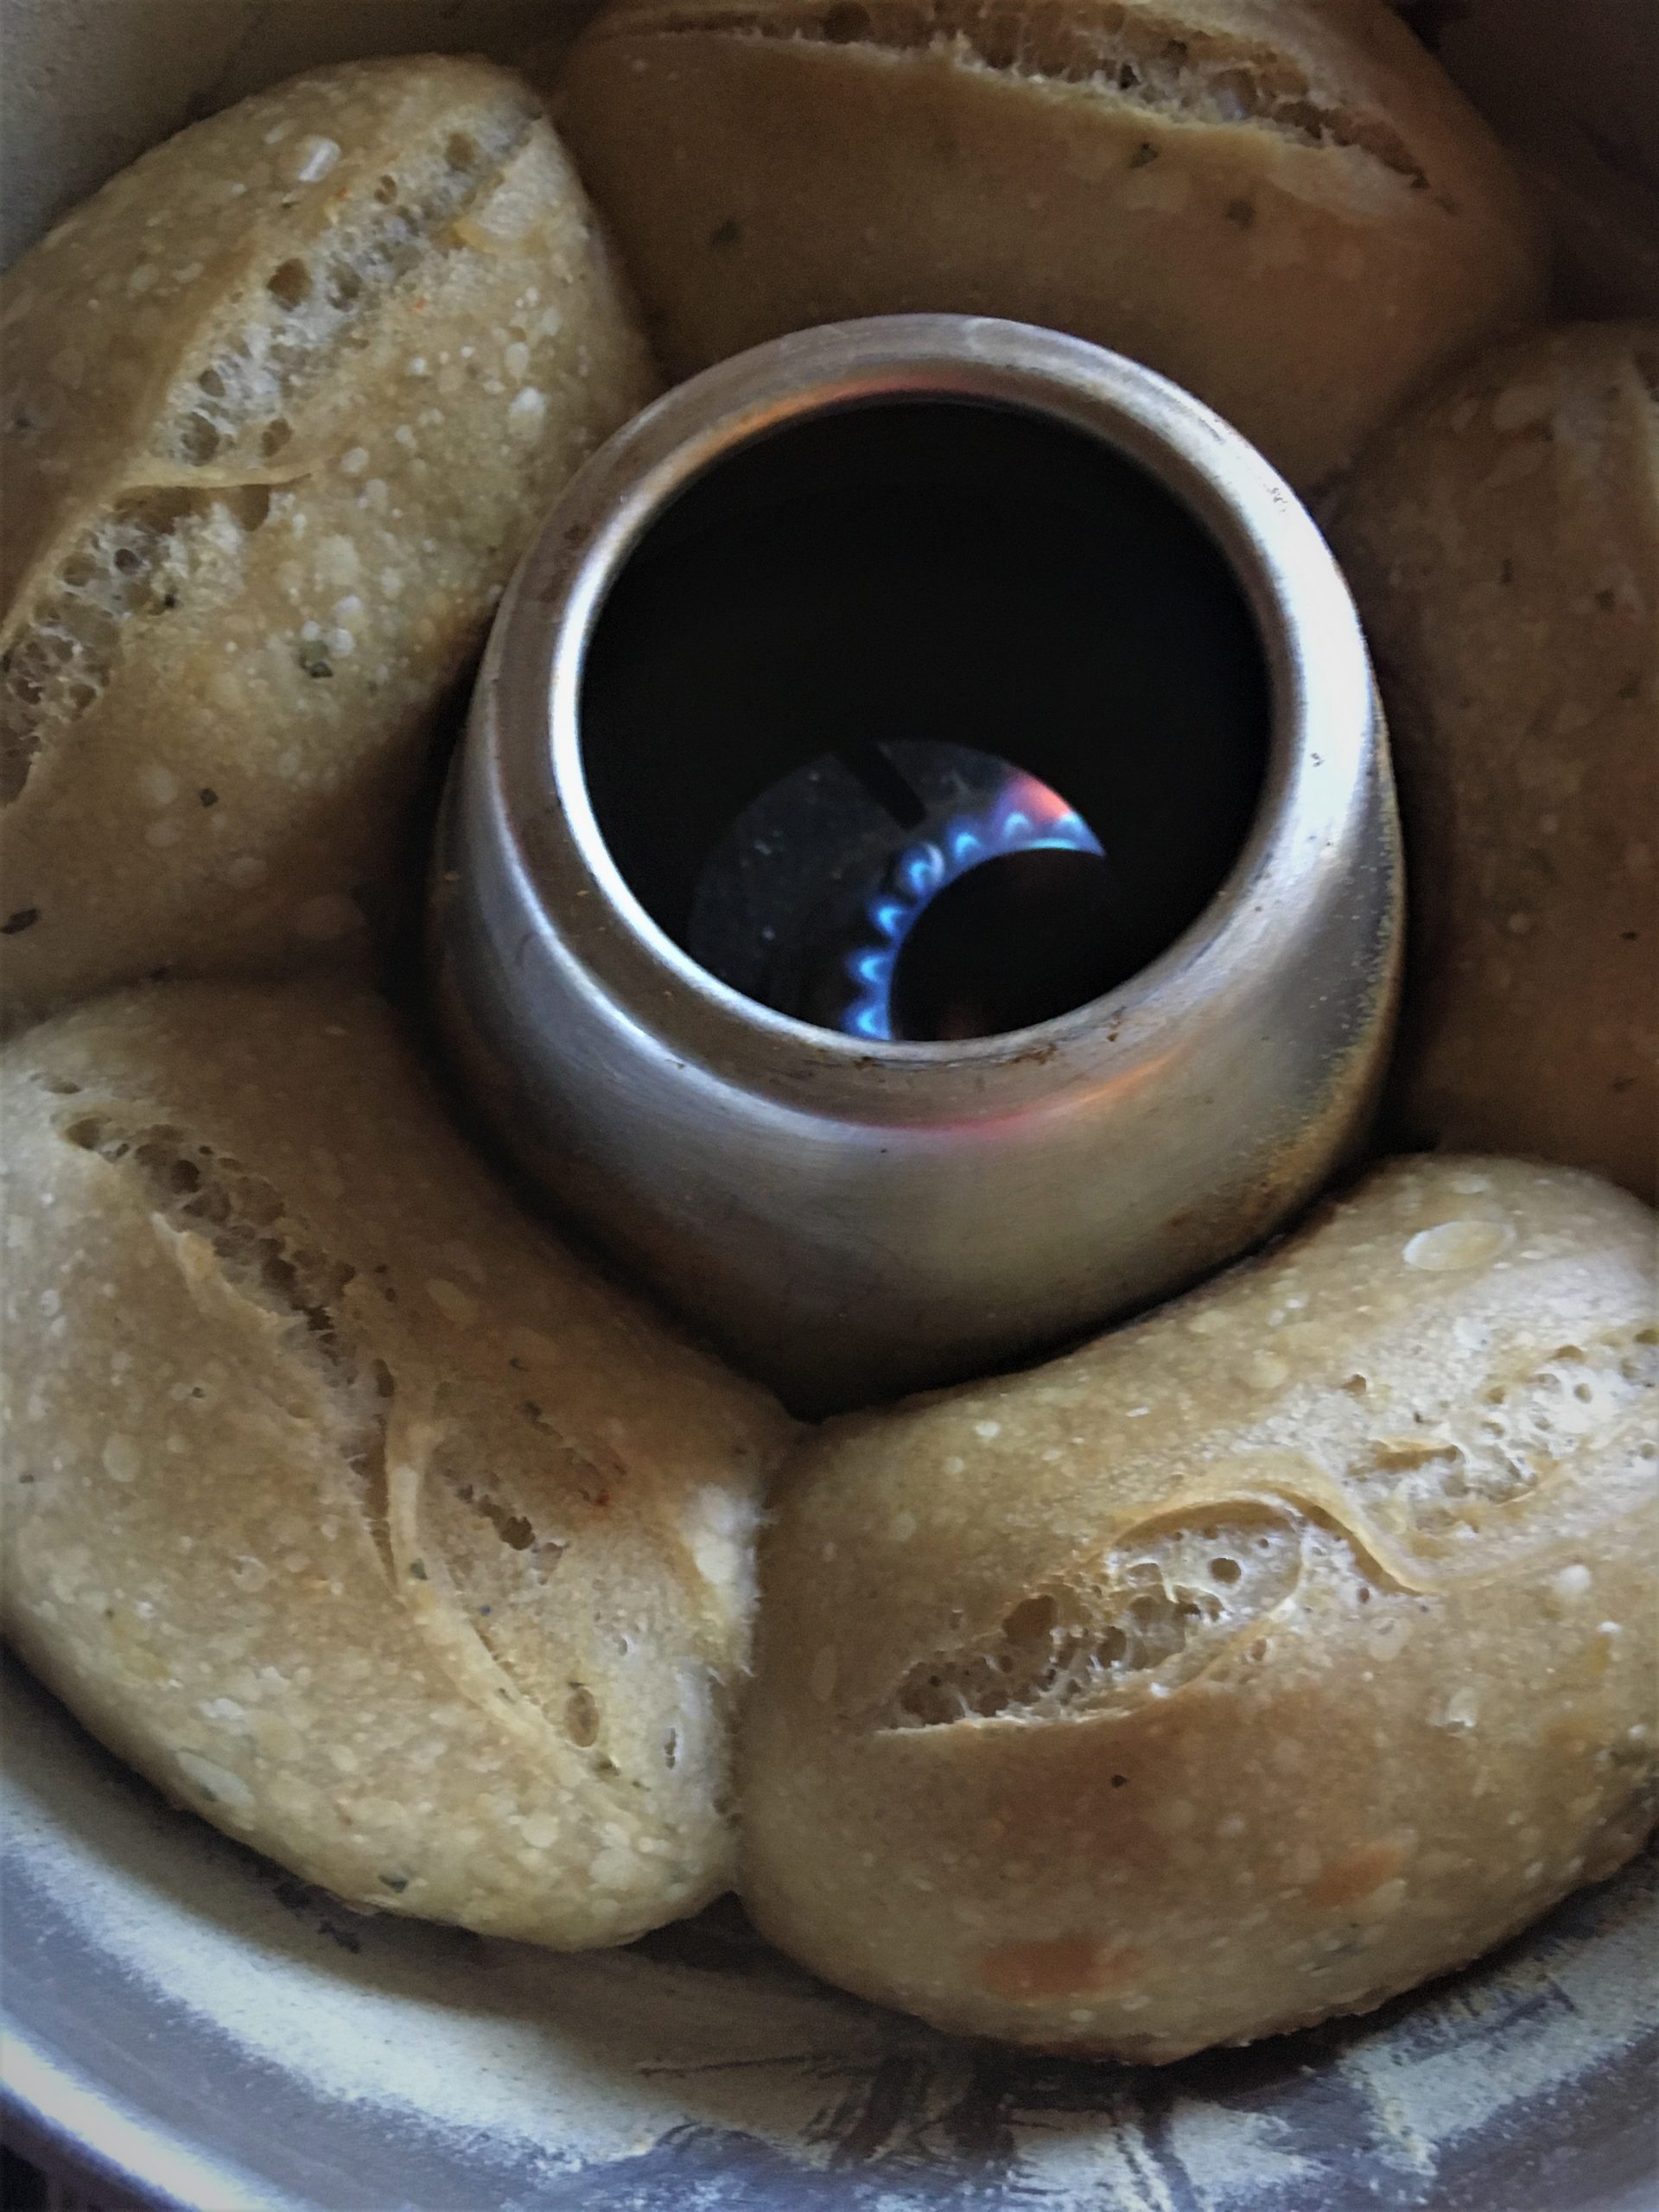
I set them on the highest heat on the small gas ring so that they would cook at a high heat but for a longer time.

I’ve assumed that you have your own “mother” to start with.

Makes: c. 9 rolls (you will need to cook in batches – max in the pan is 5 really)

Takes: 4 days (but don’t be put off – it’s all very workable in and around your day): 15 mins prep (inc a good 8-10 mins kneading); overnight prove in the fridge (8-24 hours); another overnight prove in the fridge (when formed into rolls) (8-12 hours);

Bakes: c. 30 minutes on a high heat but on a small ring; oil and flour the tin


Ingredients

For the stiff starter

I find a stiff starter to be the easiest one (or rather the most reliable) to use for sourdough so opted for this for the van pan bread.

  • 85g strong white bread flour
  • 40g water
  • 40g starter (prepped from your “mother”)

For the loaf proper

  • 450g strong white bread flour
  • 30g rye bread flour
  • 9g salt
  • 170g stiff starter
  • 310g water
  • a few sprigs rosemary (finely chopped)
  • zest of 1 lemon (finely grated)
  • dried chillies (I used shop bought dried birds eye chillies and put in a couple of them – finely chopped)


Method

Day 1 – make the stiff starter.  Add the starter from your own supply to the water in a bowl/jar and mix together with your hand.  Then stir in the flour, again with your hand.  Cover and leave for 12-24 hours.

Day 2 – Put the flour and salt in a large mixing bowl.  In a jug/small mixing bowl, mix the stiff starter with the water by hand, ensuring it is nice and broken down.  Then pour this into the flour/salt and start to bring it together by hand.

Once a dough has formed, remove it from the bowl and start to knead it on a clean worktop – for a good 8-10 minutes (I set a timer when I do it).  There’s no set method necessarily.  I tend to stretch it with the heel of my hand and pull it back, smack it down, fling it outwards etc.  Just work it until it is good and elastic – ie, when you poke it with your finger, it bounces back.  Then wipe a tiny bit of oil around the mixing bowl, pop the dough in, cover with cling film (or environmentally-friendly wrap of you choice) and put it in the fridge to prove.

Day 3 – I find that the dough is happier and more compliant if you let it come to room temperature – it’s hard to fold it straight from the fridge.  So make a coffee, have breakfast etc. while your dough is warming-up.  When it’s good to go, take it out of the bowl (you make need to deploy a bread scraper for this), pop it onto a clean work surface and fold – pull one side up and over the other (from bottom to top); then do the same with the side that you haven’t folded.  You can probably get about 3-4 folds going.  Then put it back in the bowl and leave for 30 mins.

Repeat this process 3- 4 times.  After the fourth fold, shape it into a ball and leave it for 10 minutes on a lightly floured surface.

After 10 minutes, divide the dough into equal portions and shape each of these into balls.  Place as many as possible into the pan part of the Omnia (adding the little folded baking parchment dividers), cover and pop into the fridge for the final prove.  The remaining rolls you can either leave to prove in a different high-sided tin (oiled and floured and again separated) – or, consider forming into something else altogether – a sort of small circular baguette what will fit into the omnia, maybe).

Day 4 – time to bake!  All you need to do is remove the cover, set the pan into it’s base, score each roll with a sharp blade (razor blades are best (clean, obviously!); knives tend to tear the dough), pop the lid on and turn on the hob.

Put the coffee on while you are waiting for your breakfast rolls… hot off the stovetop!


If you like this, you might like:

Comments

Hit me up with any variations you've got for these ingredients.

Leave a Comment