
“Lucky dip” chestnut, chocolate & coconut stovetop cake
I have pretty well-stocked kitchen cupboards most of the time but I can always cram in a few more bits, so the other day I was delighted to receive a random bag of goodies from my friend, Irena, who was blitzing her kitchen before moving back to Australia. Irena is a hugely talented food blogger, recipe developer and author so whatever was in the bag was always going to be lovely to cook with. Like a kid checking out their stocking on Christmas morning, I delved into my present with great delight. Sure enough, all sorts of treats in there so I decided to try to make a cake trying to use mostly what was in the bag.
If you follow these pages then you will know that a) I love Italy and b) I love camping. This recipe combines the two as I’ve been exploring the world of hob bakes for van cooking using my little stovetop oven. A ciambella is a pretty reliable option and its basic recipe offers a good safe-bet base from which to branch out and trial different ingredients. My lucky dip version comprises: chestnut flour, top quality chocolate powder (from Spain, in fact), coconut oil and a random sugar substitute that I’ve never used before – crystallised coconut blossom nectar.
Chestnut flour is also a very Italian ingredient but up until this point, the only time I’ve used it was to make a Castangaccio (a dense Tuscan cake with dried fruit and pine nuts) or an earthy chestnut loaf. Unapologetically it lacks a bit of oomph when it comes to the rising so I wasn’t expecting a big cake but what it lacks in size it makes up for in flavour and it really compliments the chocolate and marries well with the coconut here. I was worried that subbing the veg oil for coconut oil would be a bit full-on as coconut oil can be pretty overpowering (plus the nectar was bringing a bit more coconut to proceedings) but its potency seems to lessen when you bake with it as opposed to frying with it. It also brings a lovely buttery feel. I added the lime zest because ciambellas often have a spot of citrus in them and I thought it might take the edge off the coconut and cut through the coconut blossom nectar which tasted super sweet when I tried it.
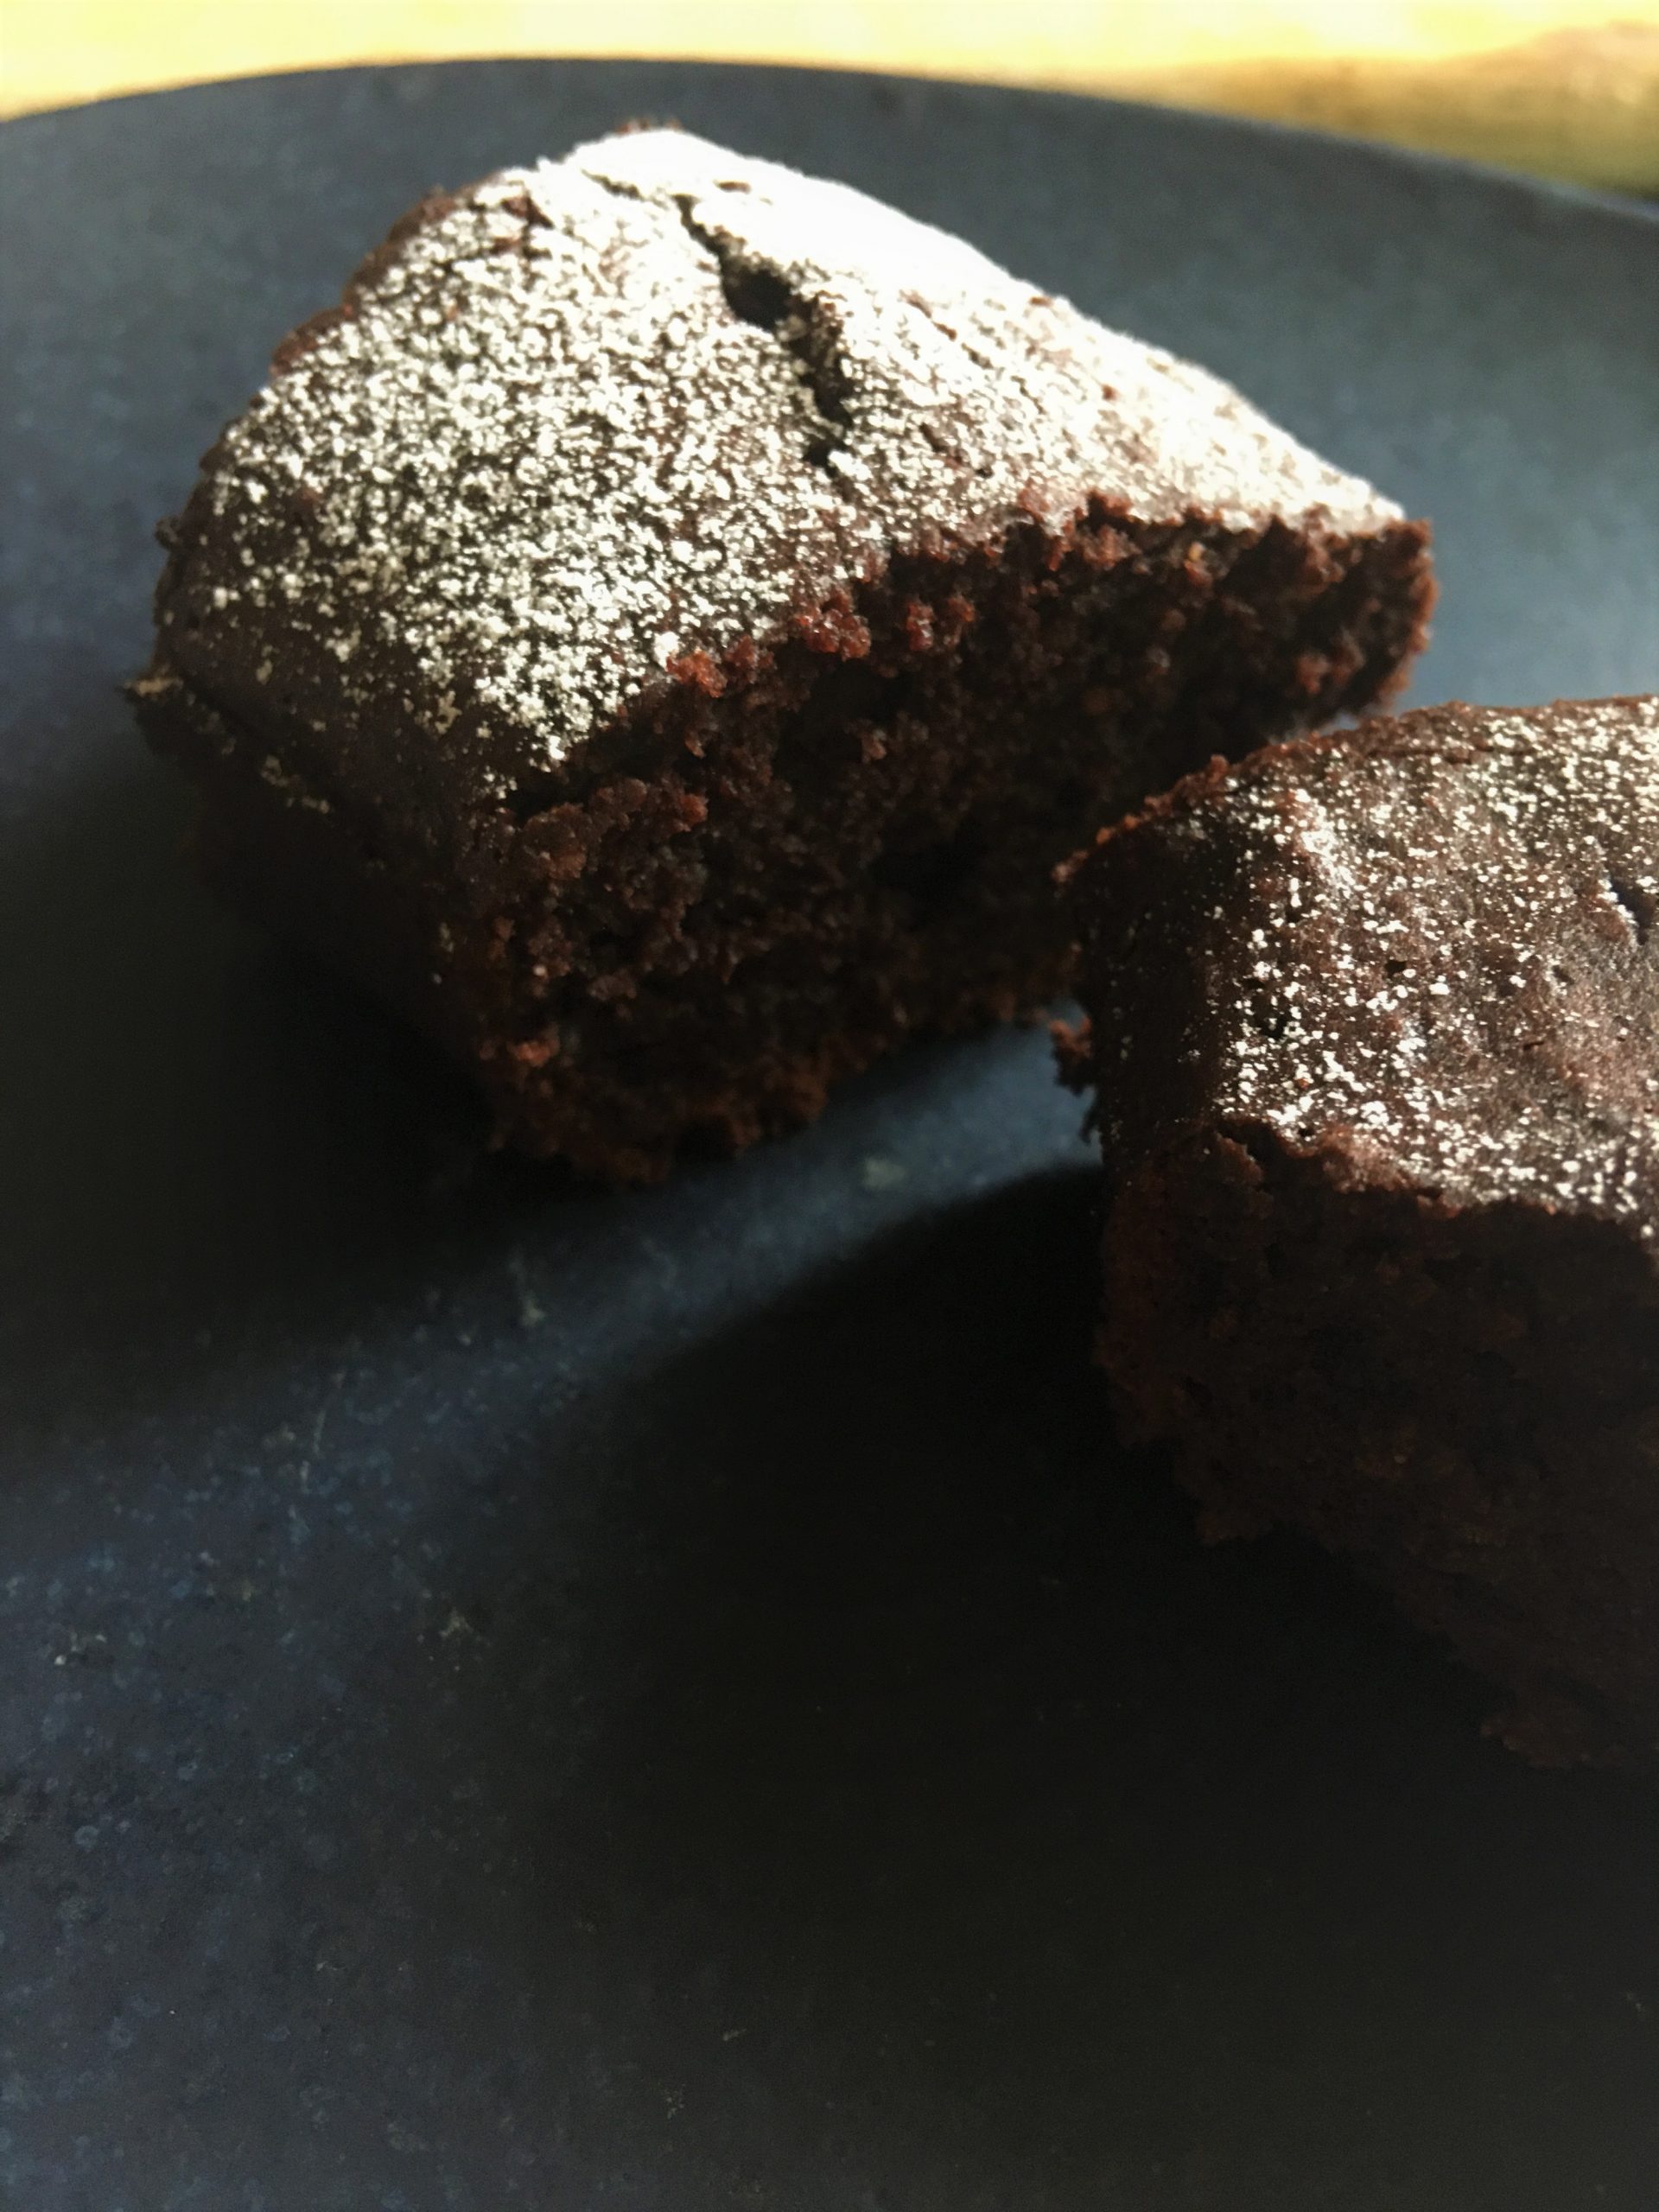
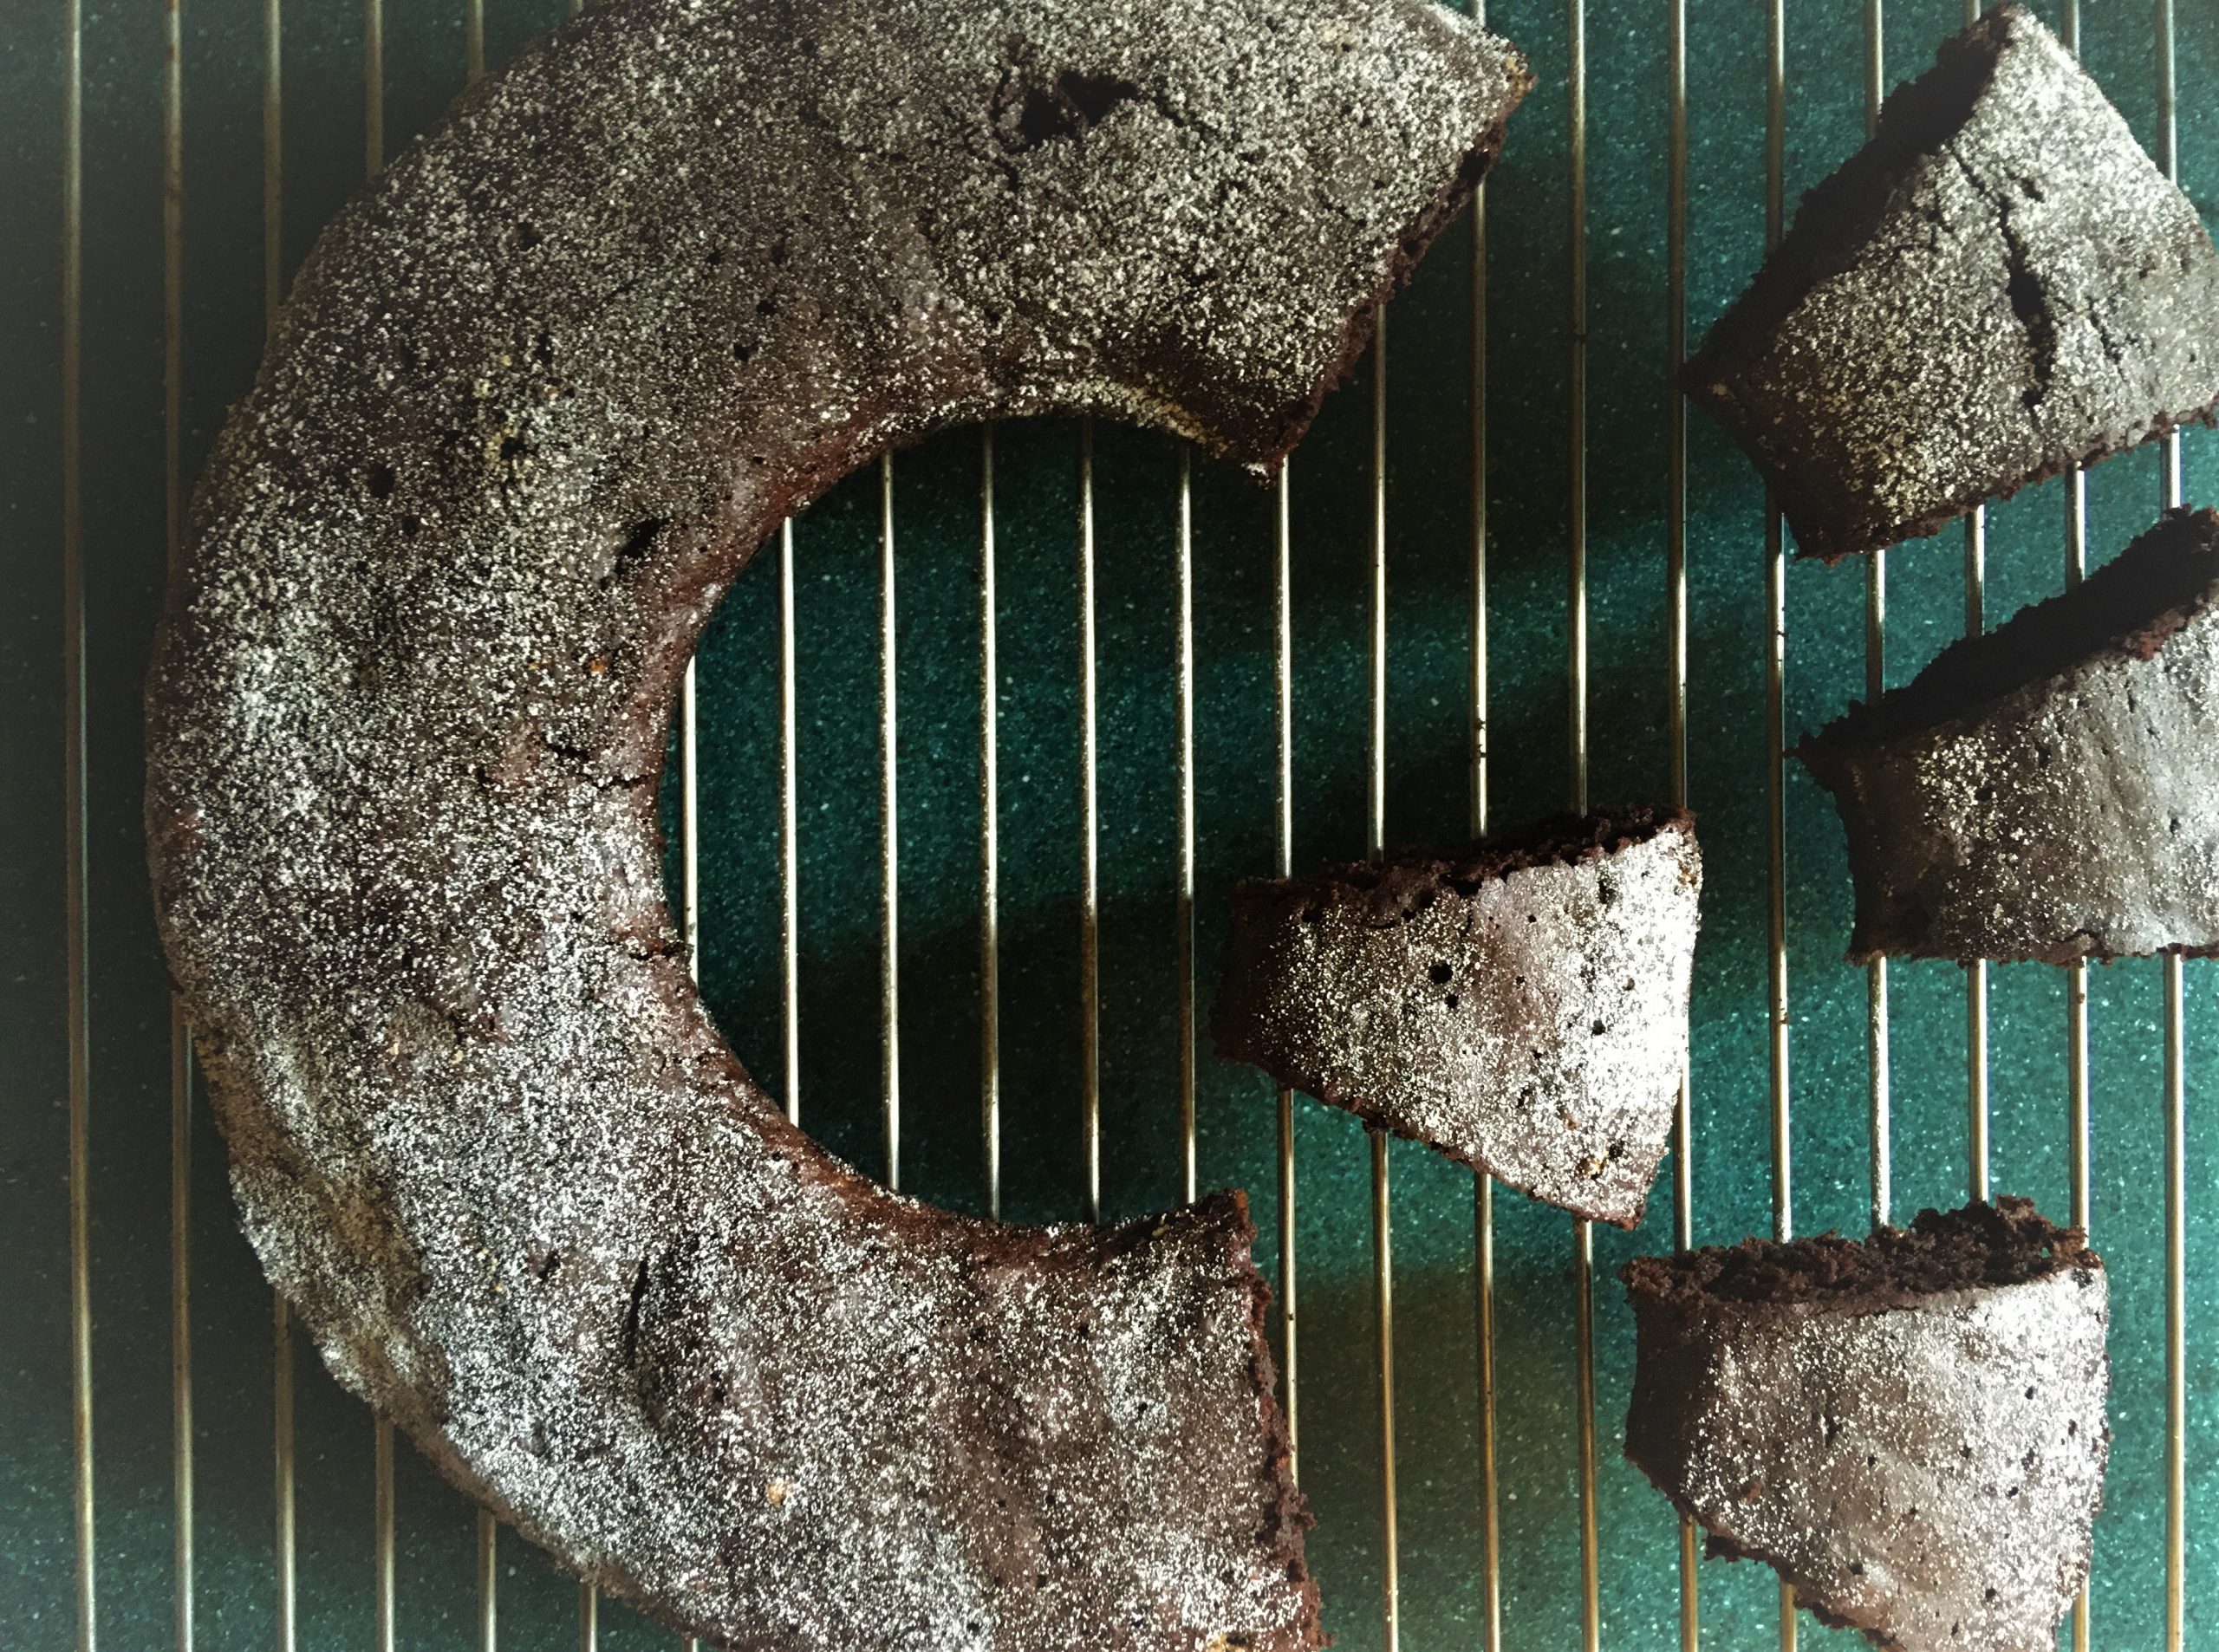
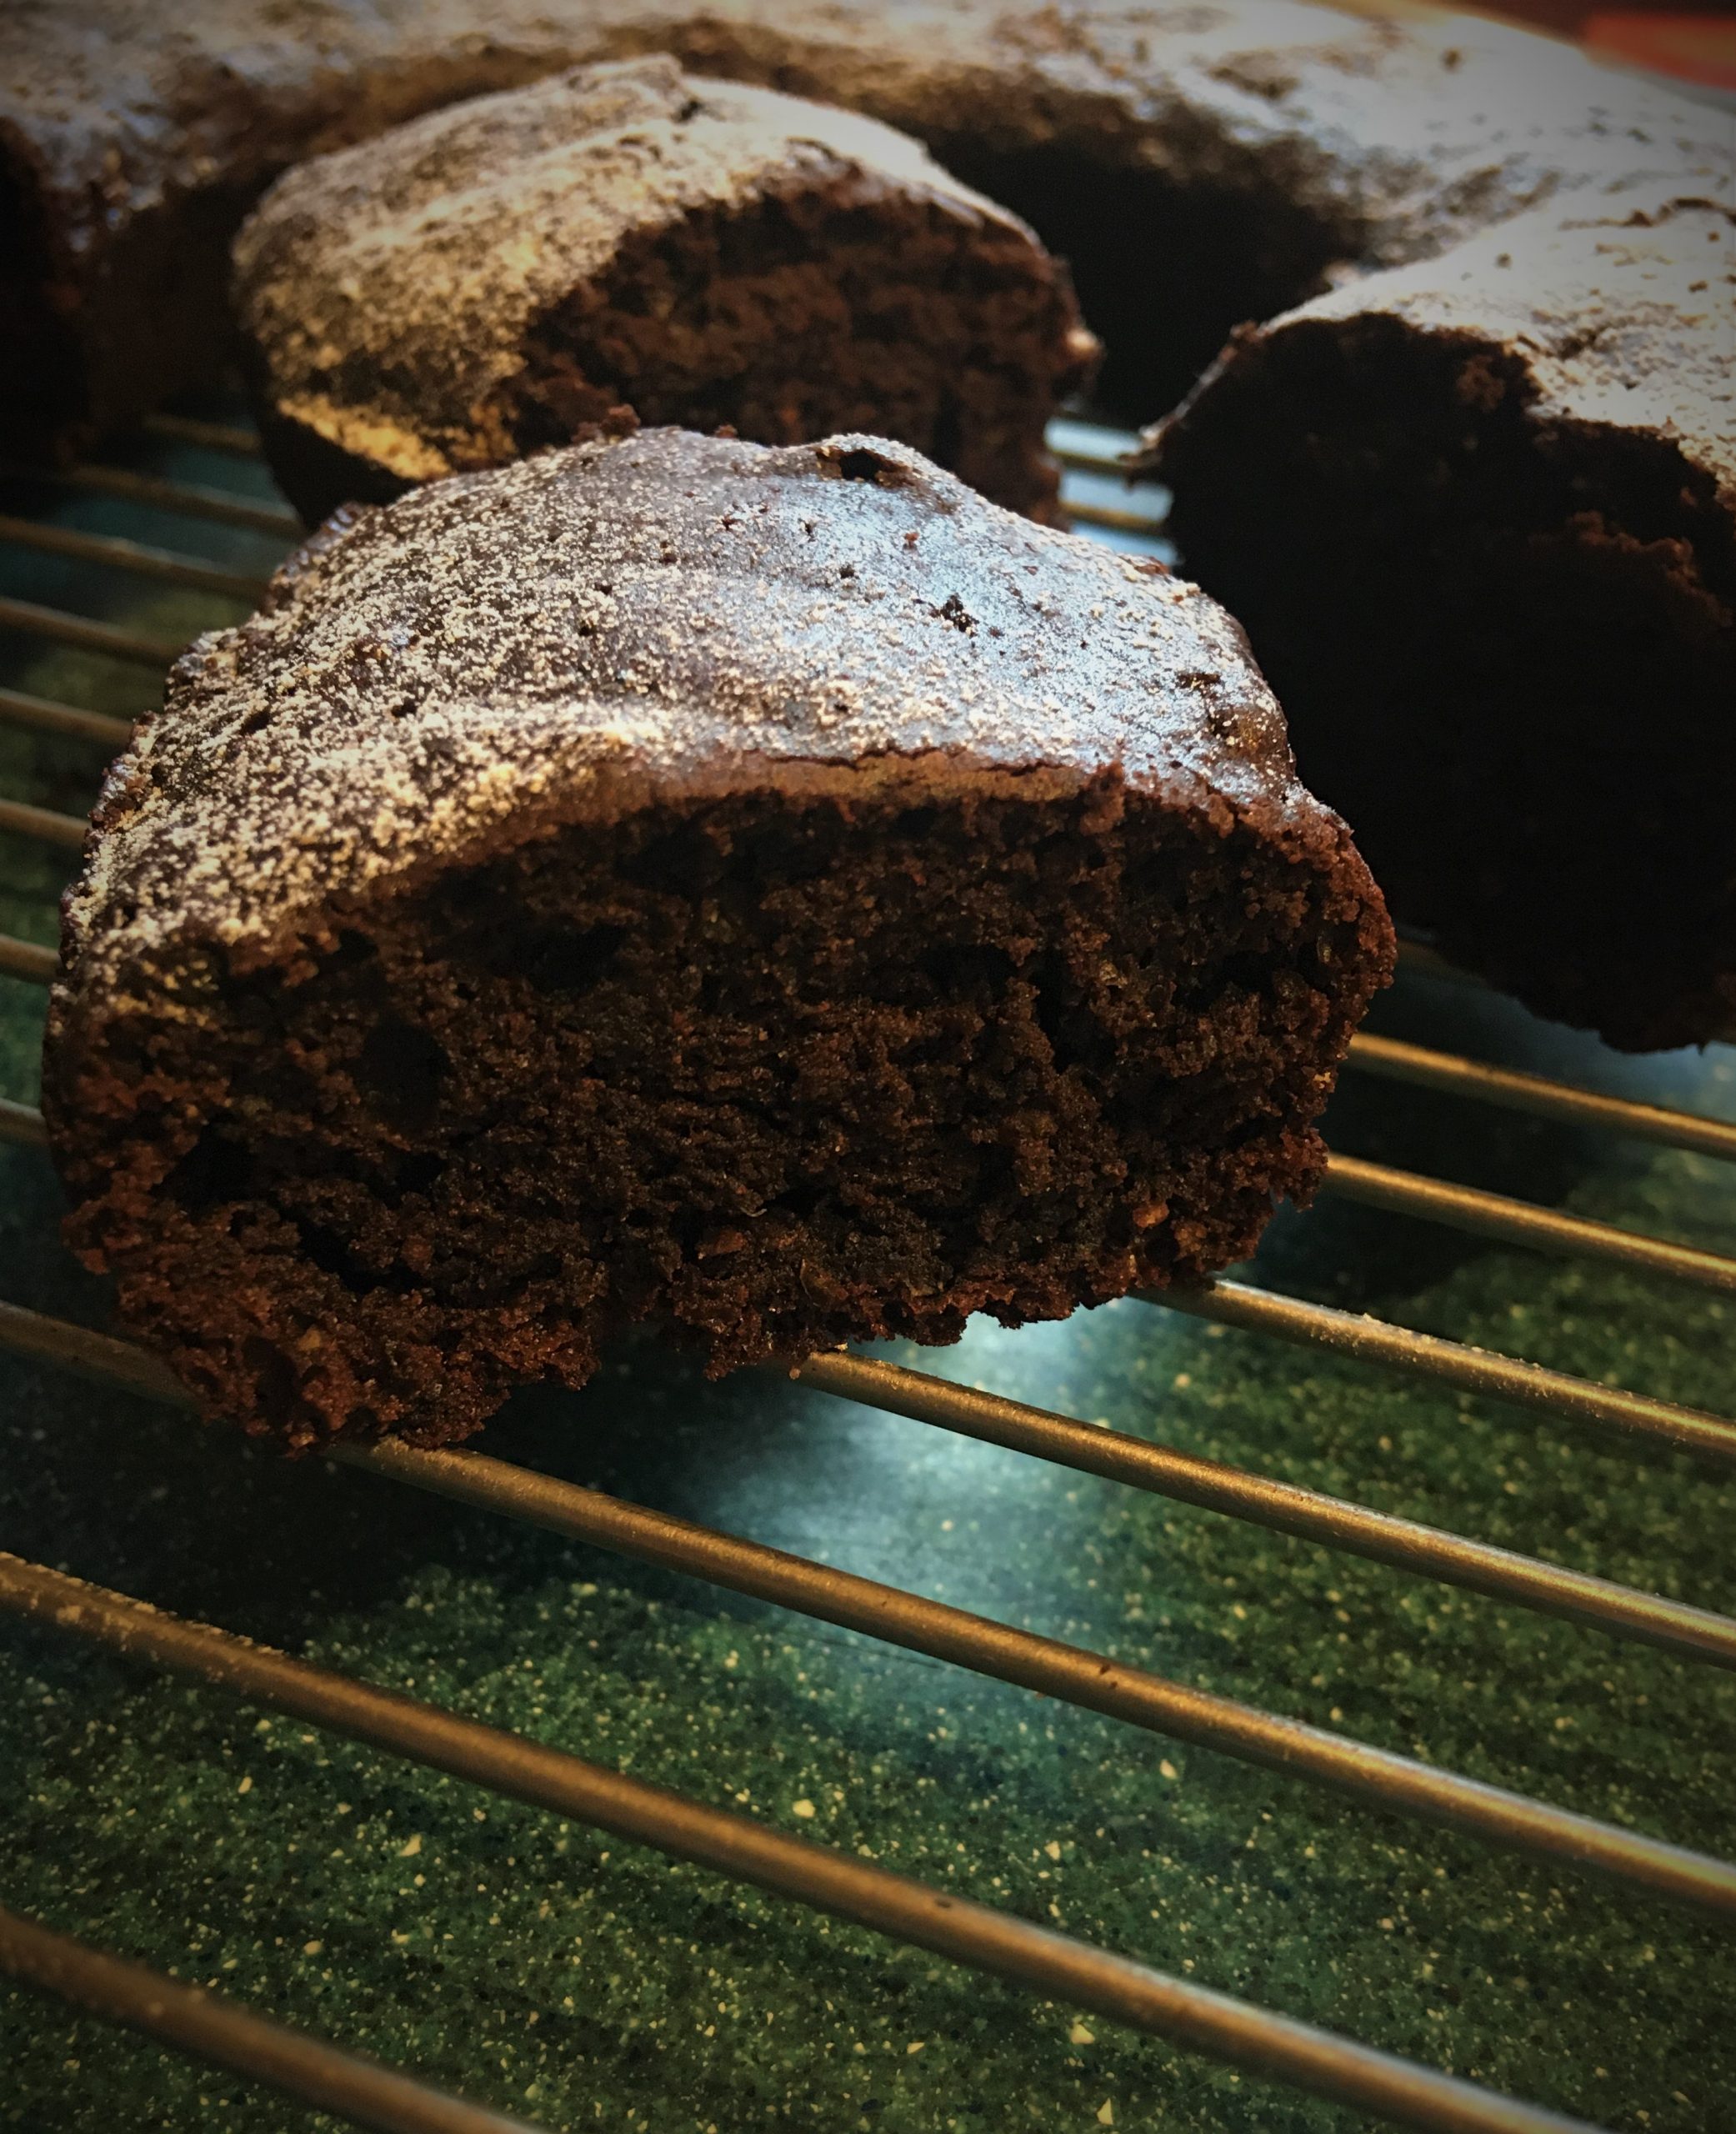
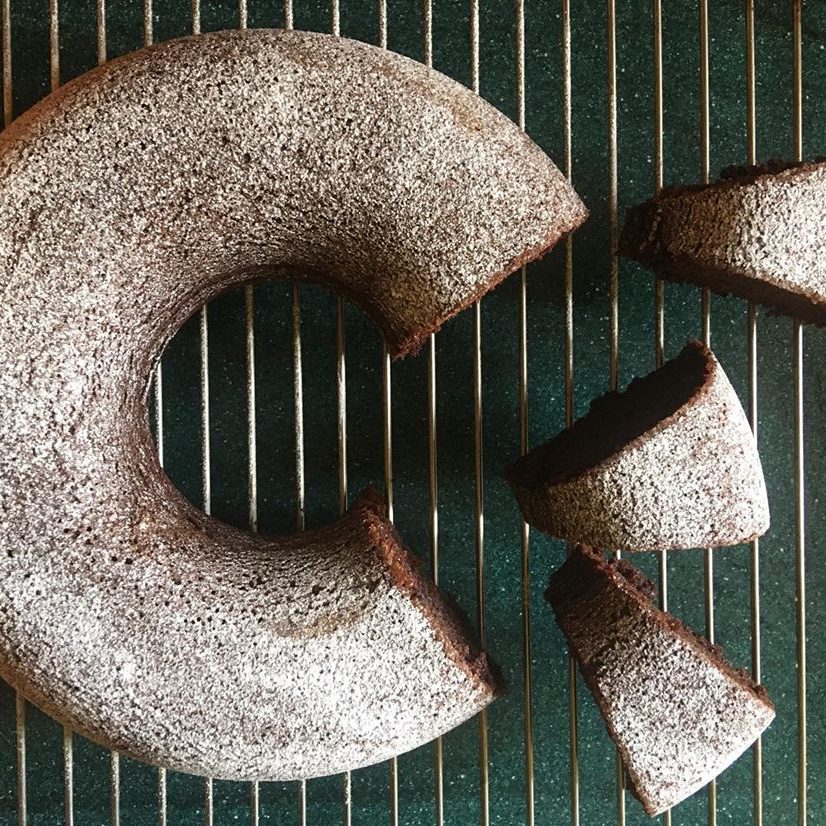
So here’s my lucky dip ciambella. As you can see, it’s not risen as well as a standard ciambella (which you can see on the link below). It’s not big, no, but I’m not ashamed to photograph it – size isn’t everything. It is, however, pleasingly light and bouncy, deeply chocolatey and utterly addictive (I’ve had three bits already with my tea). Thanks Irena!
If you like this, you might like:


Comments
Hit me up with any variations you've got for these ingredients.