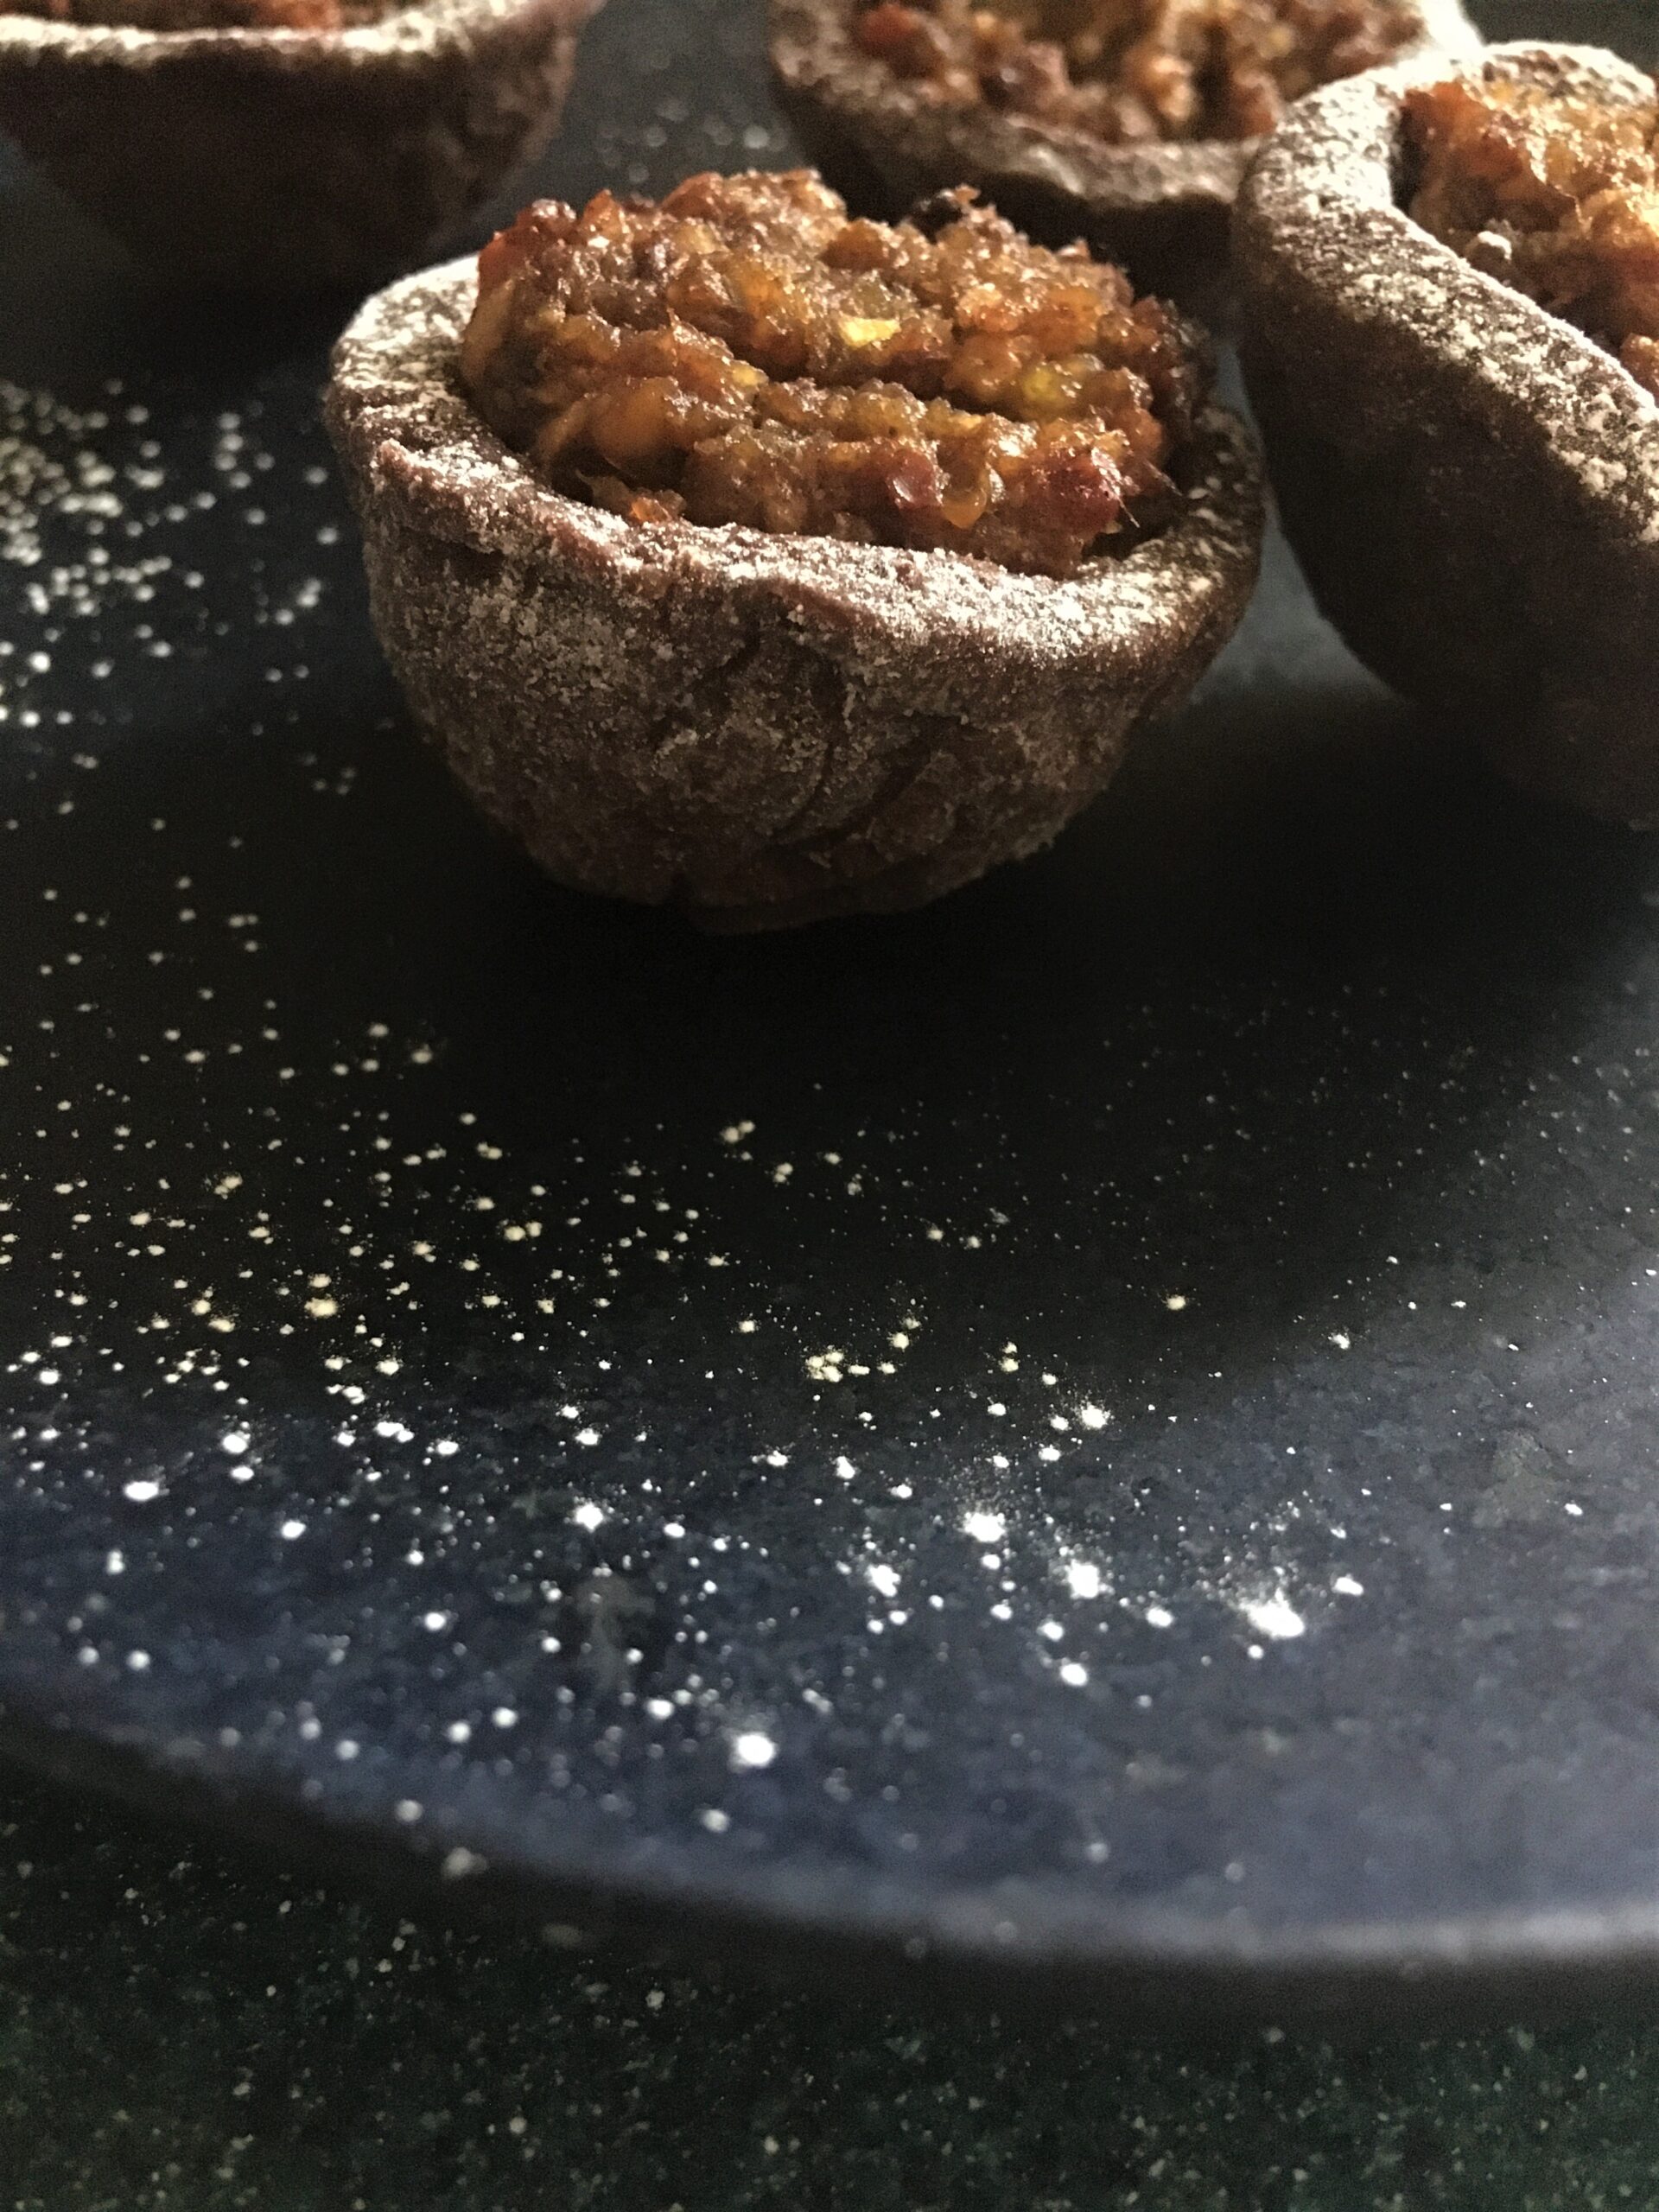
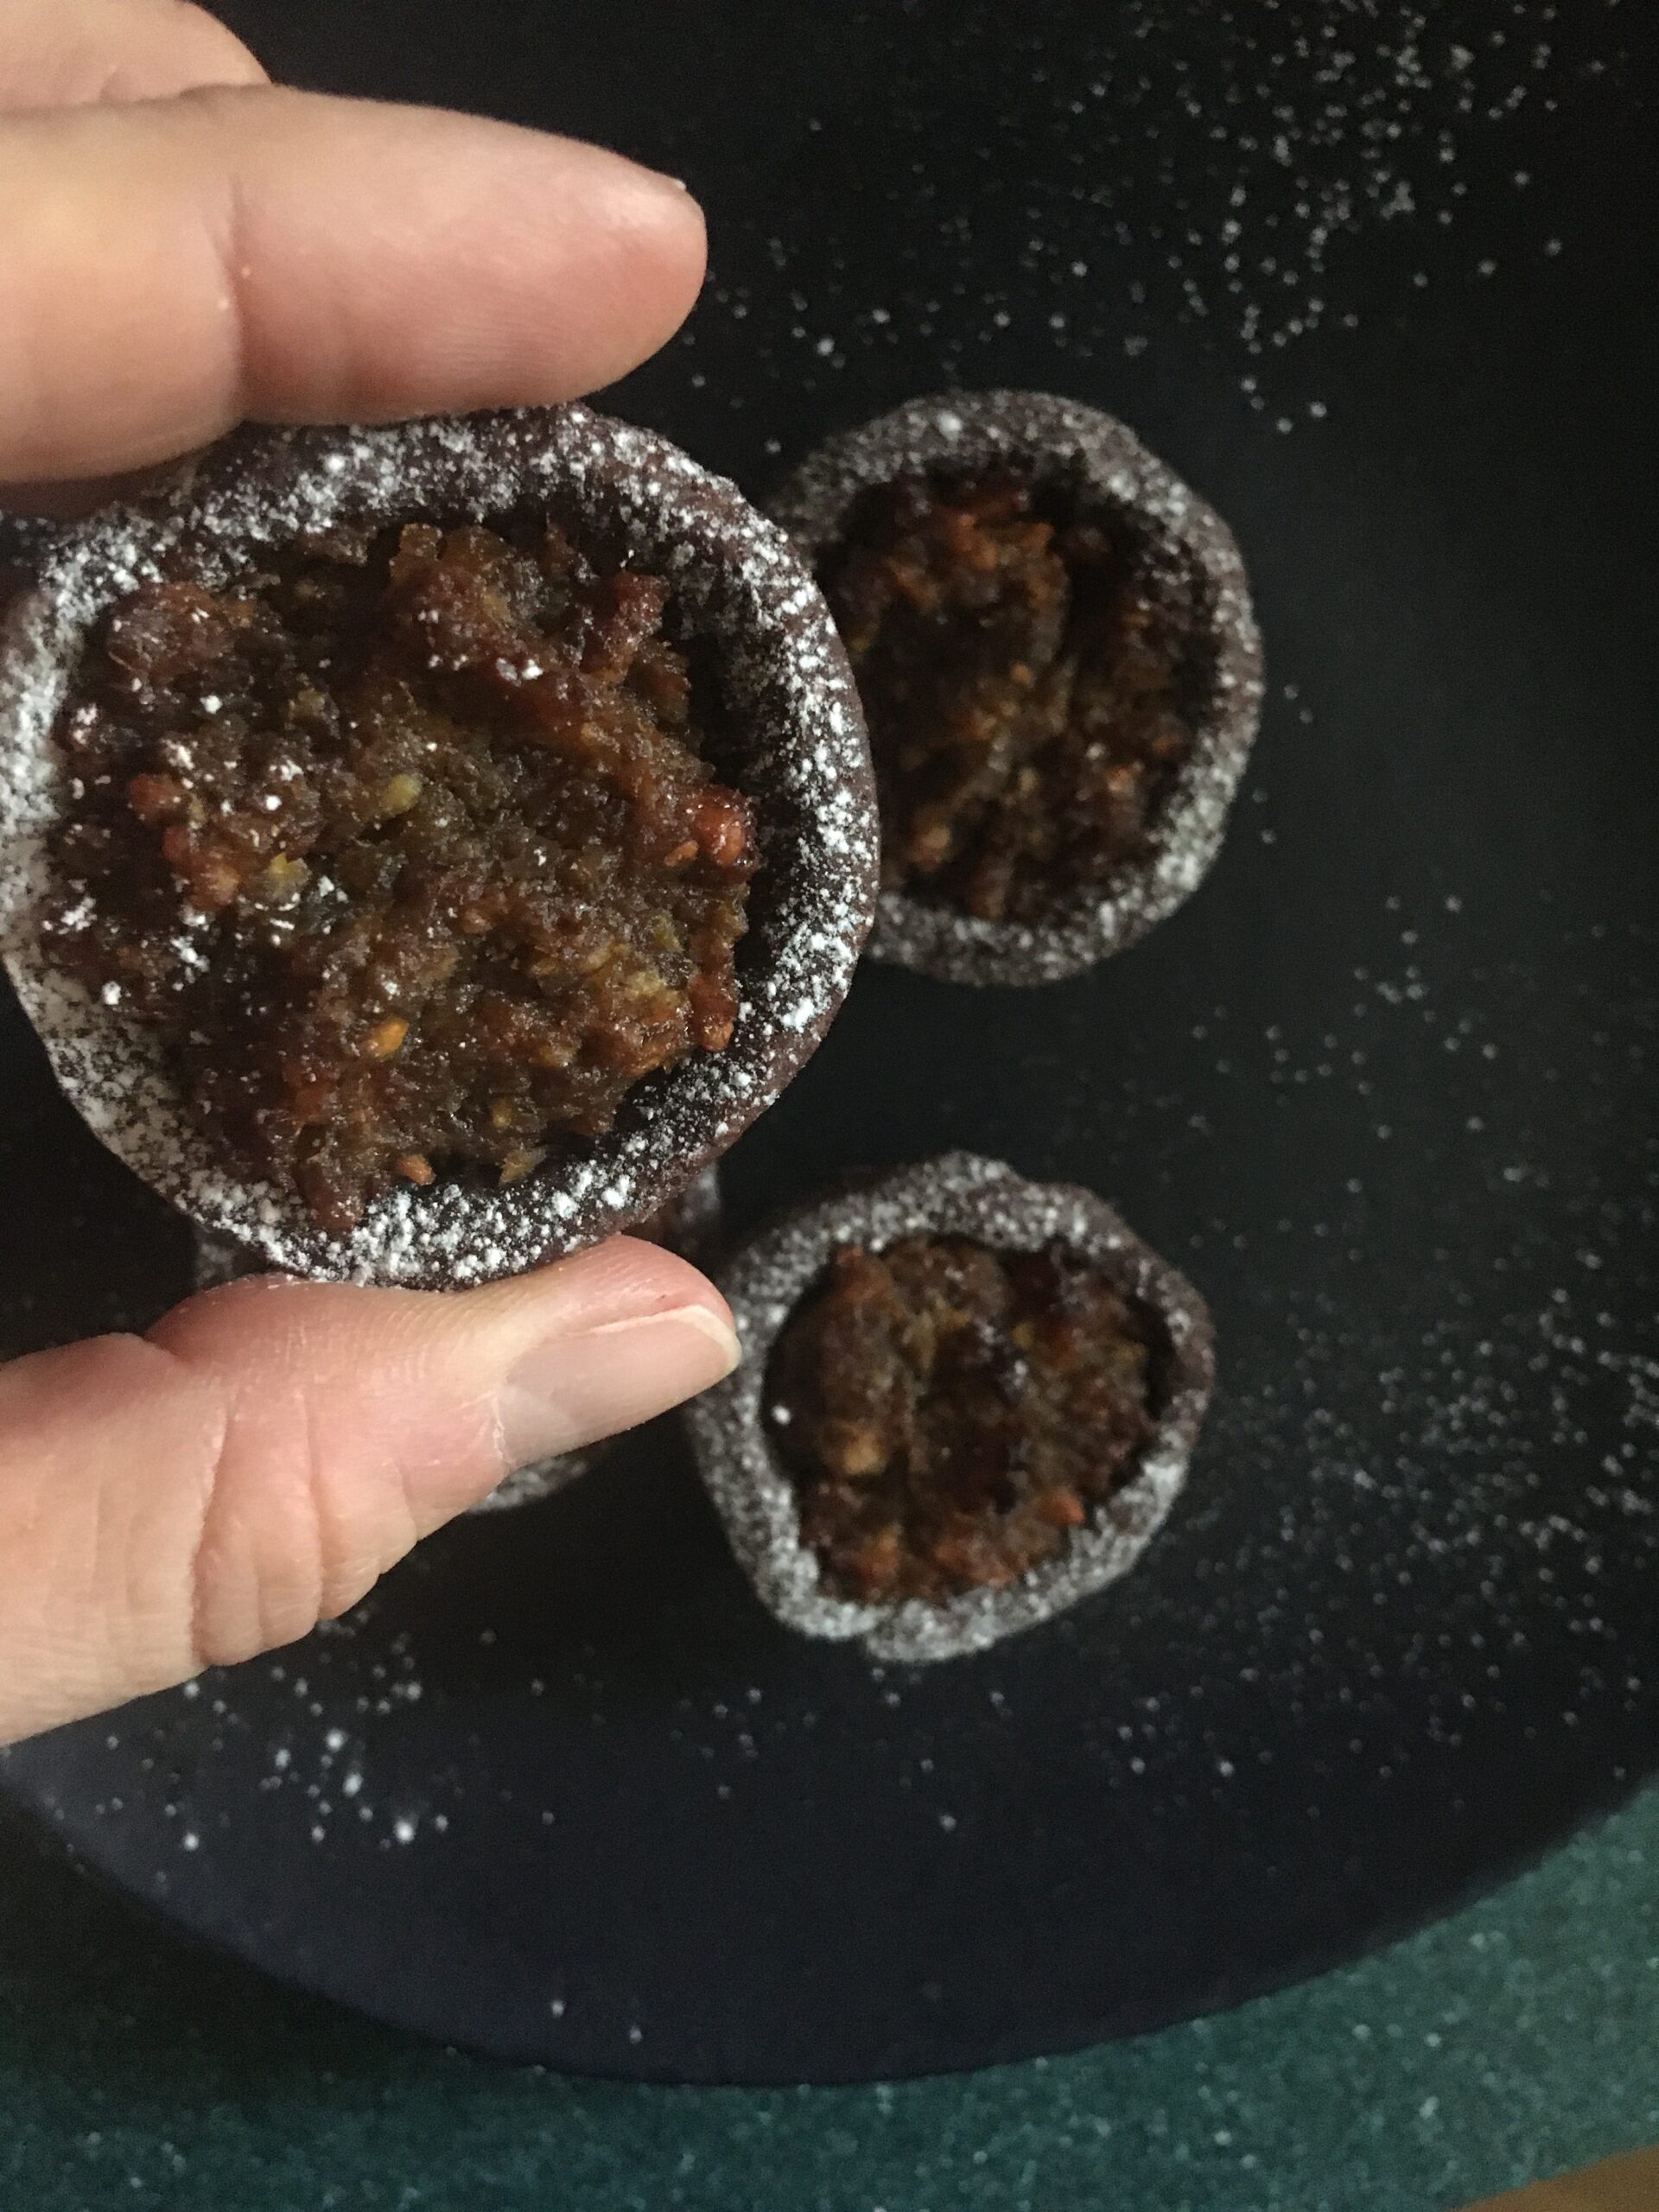
Stovetop date, apple and pistachio tarts

In my quest to prove you can cook anything in a stovetop oven… tart success!  Or rather, sweet pastry success!

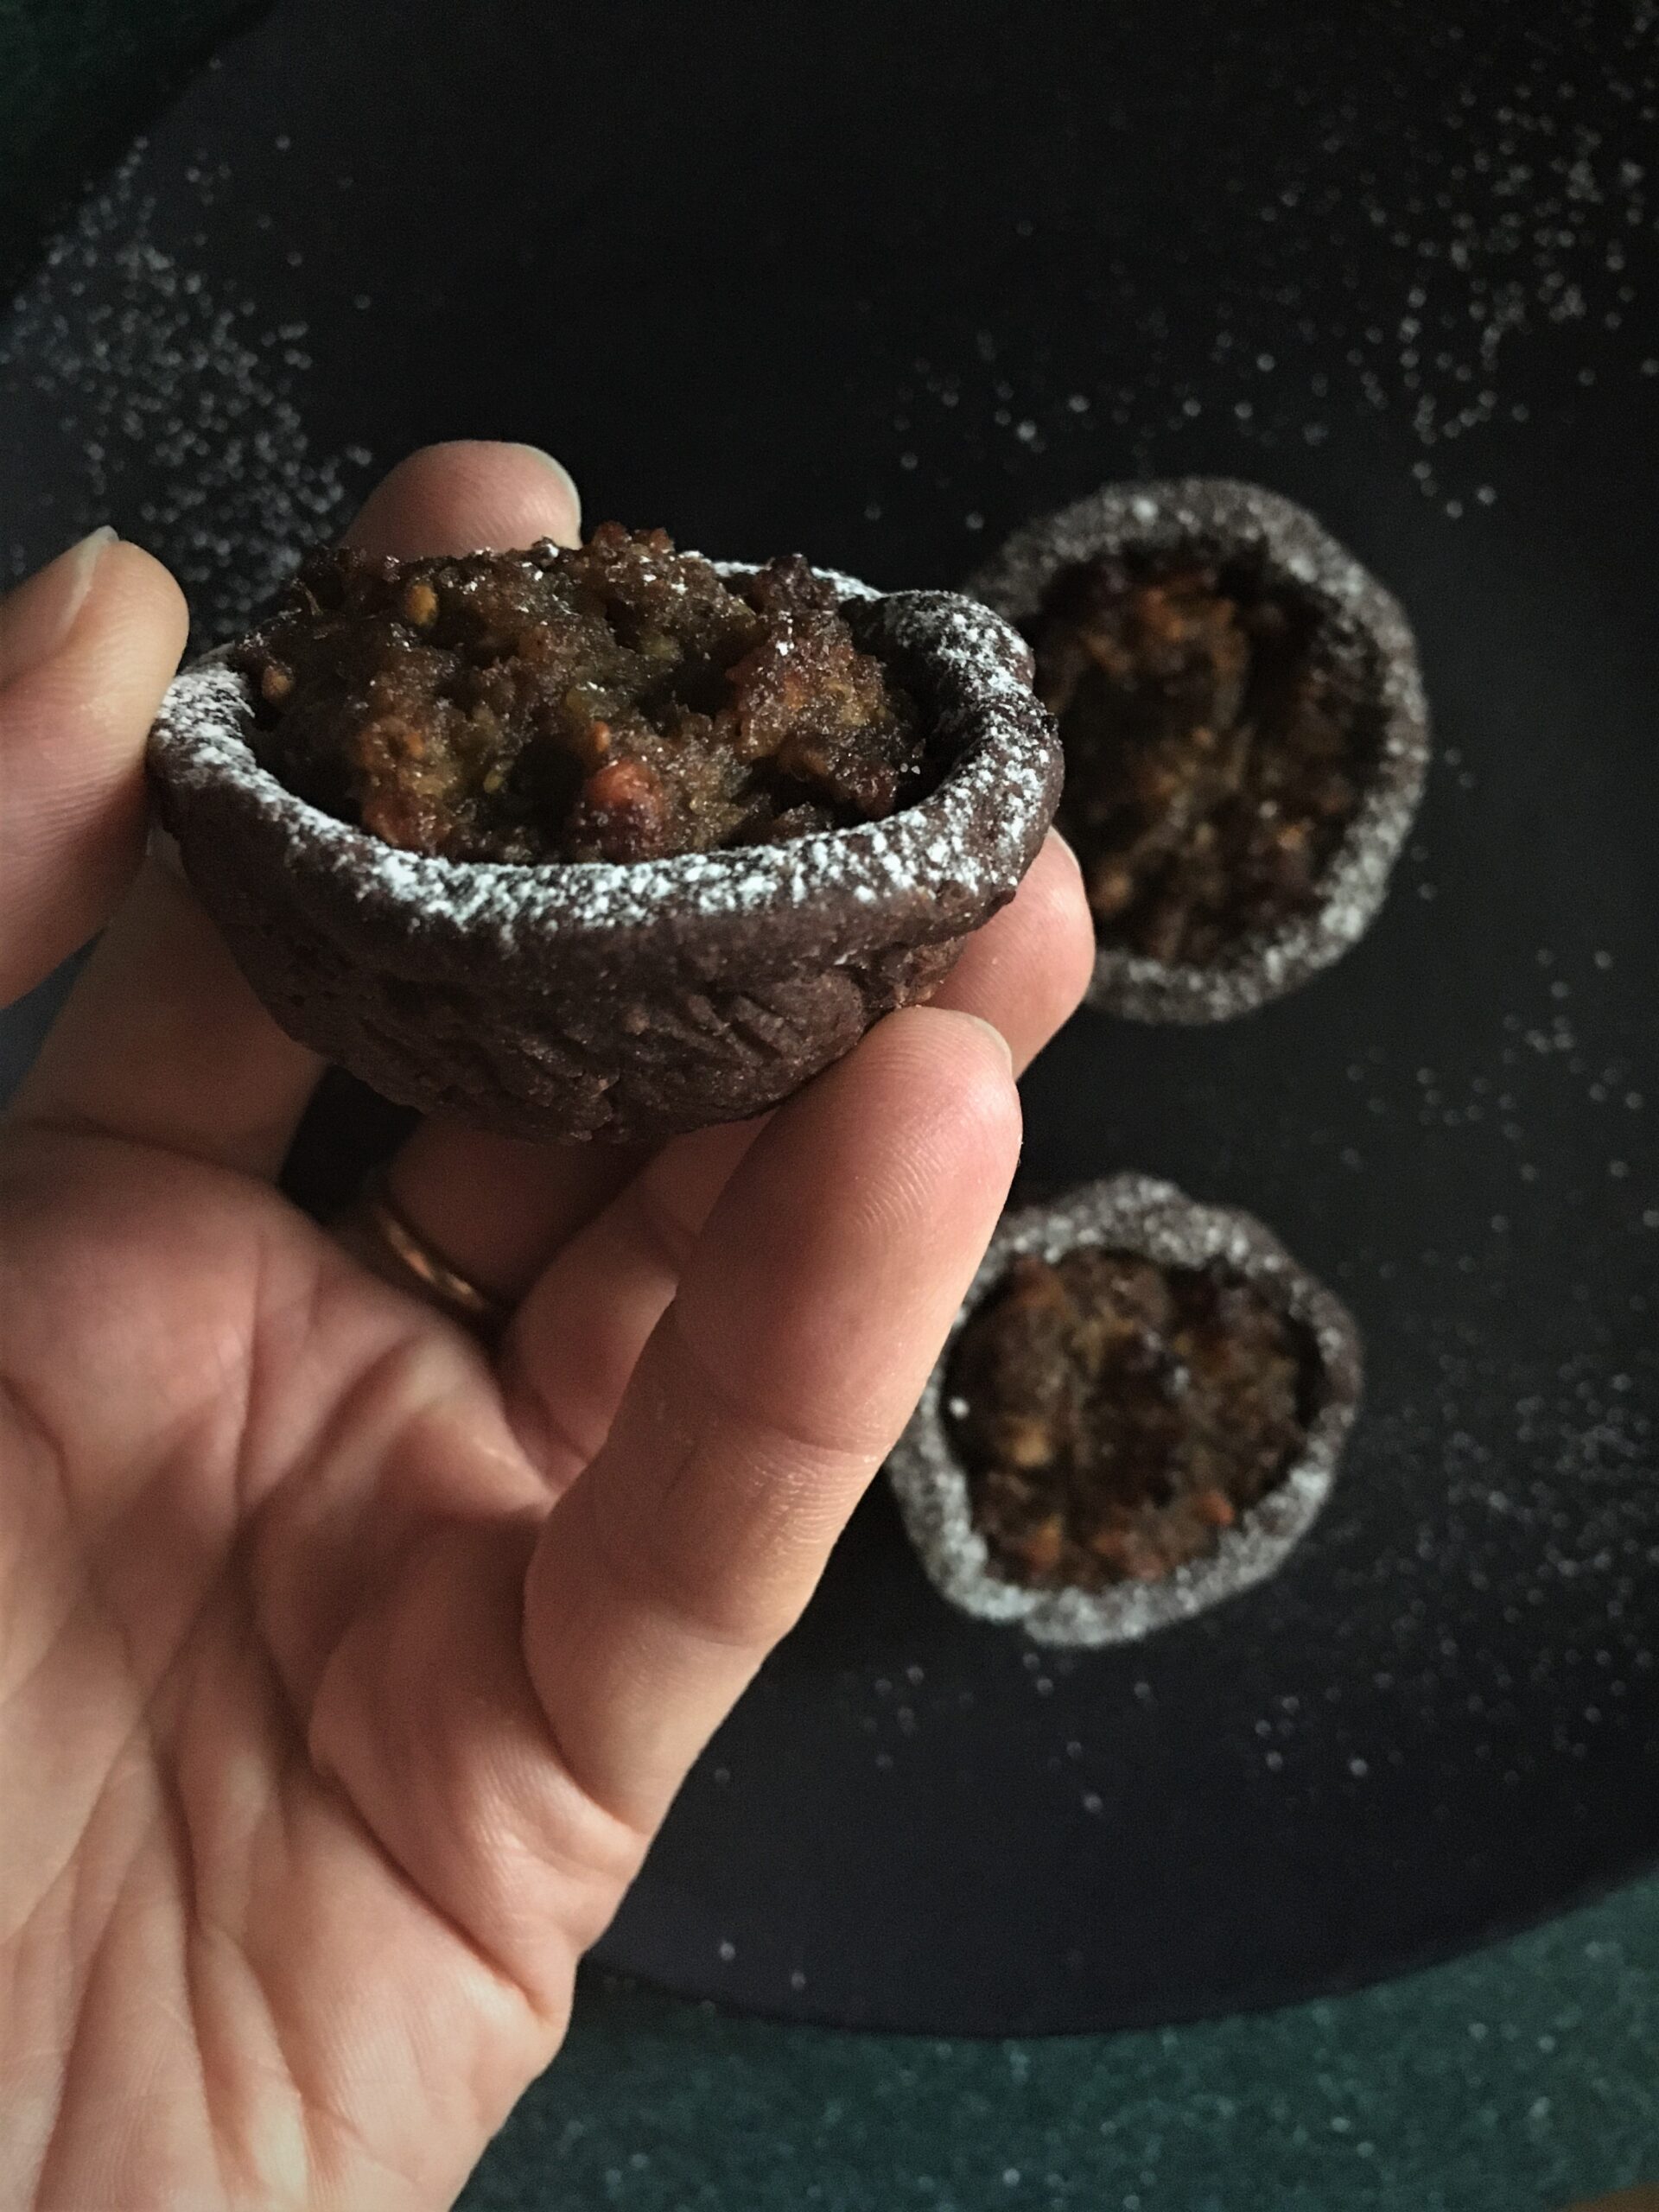
My actual words, upon trying one of these were (muffled through a mouthful), “Oh my god, the pastry’s actually crunchy!”

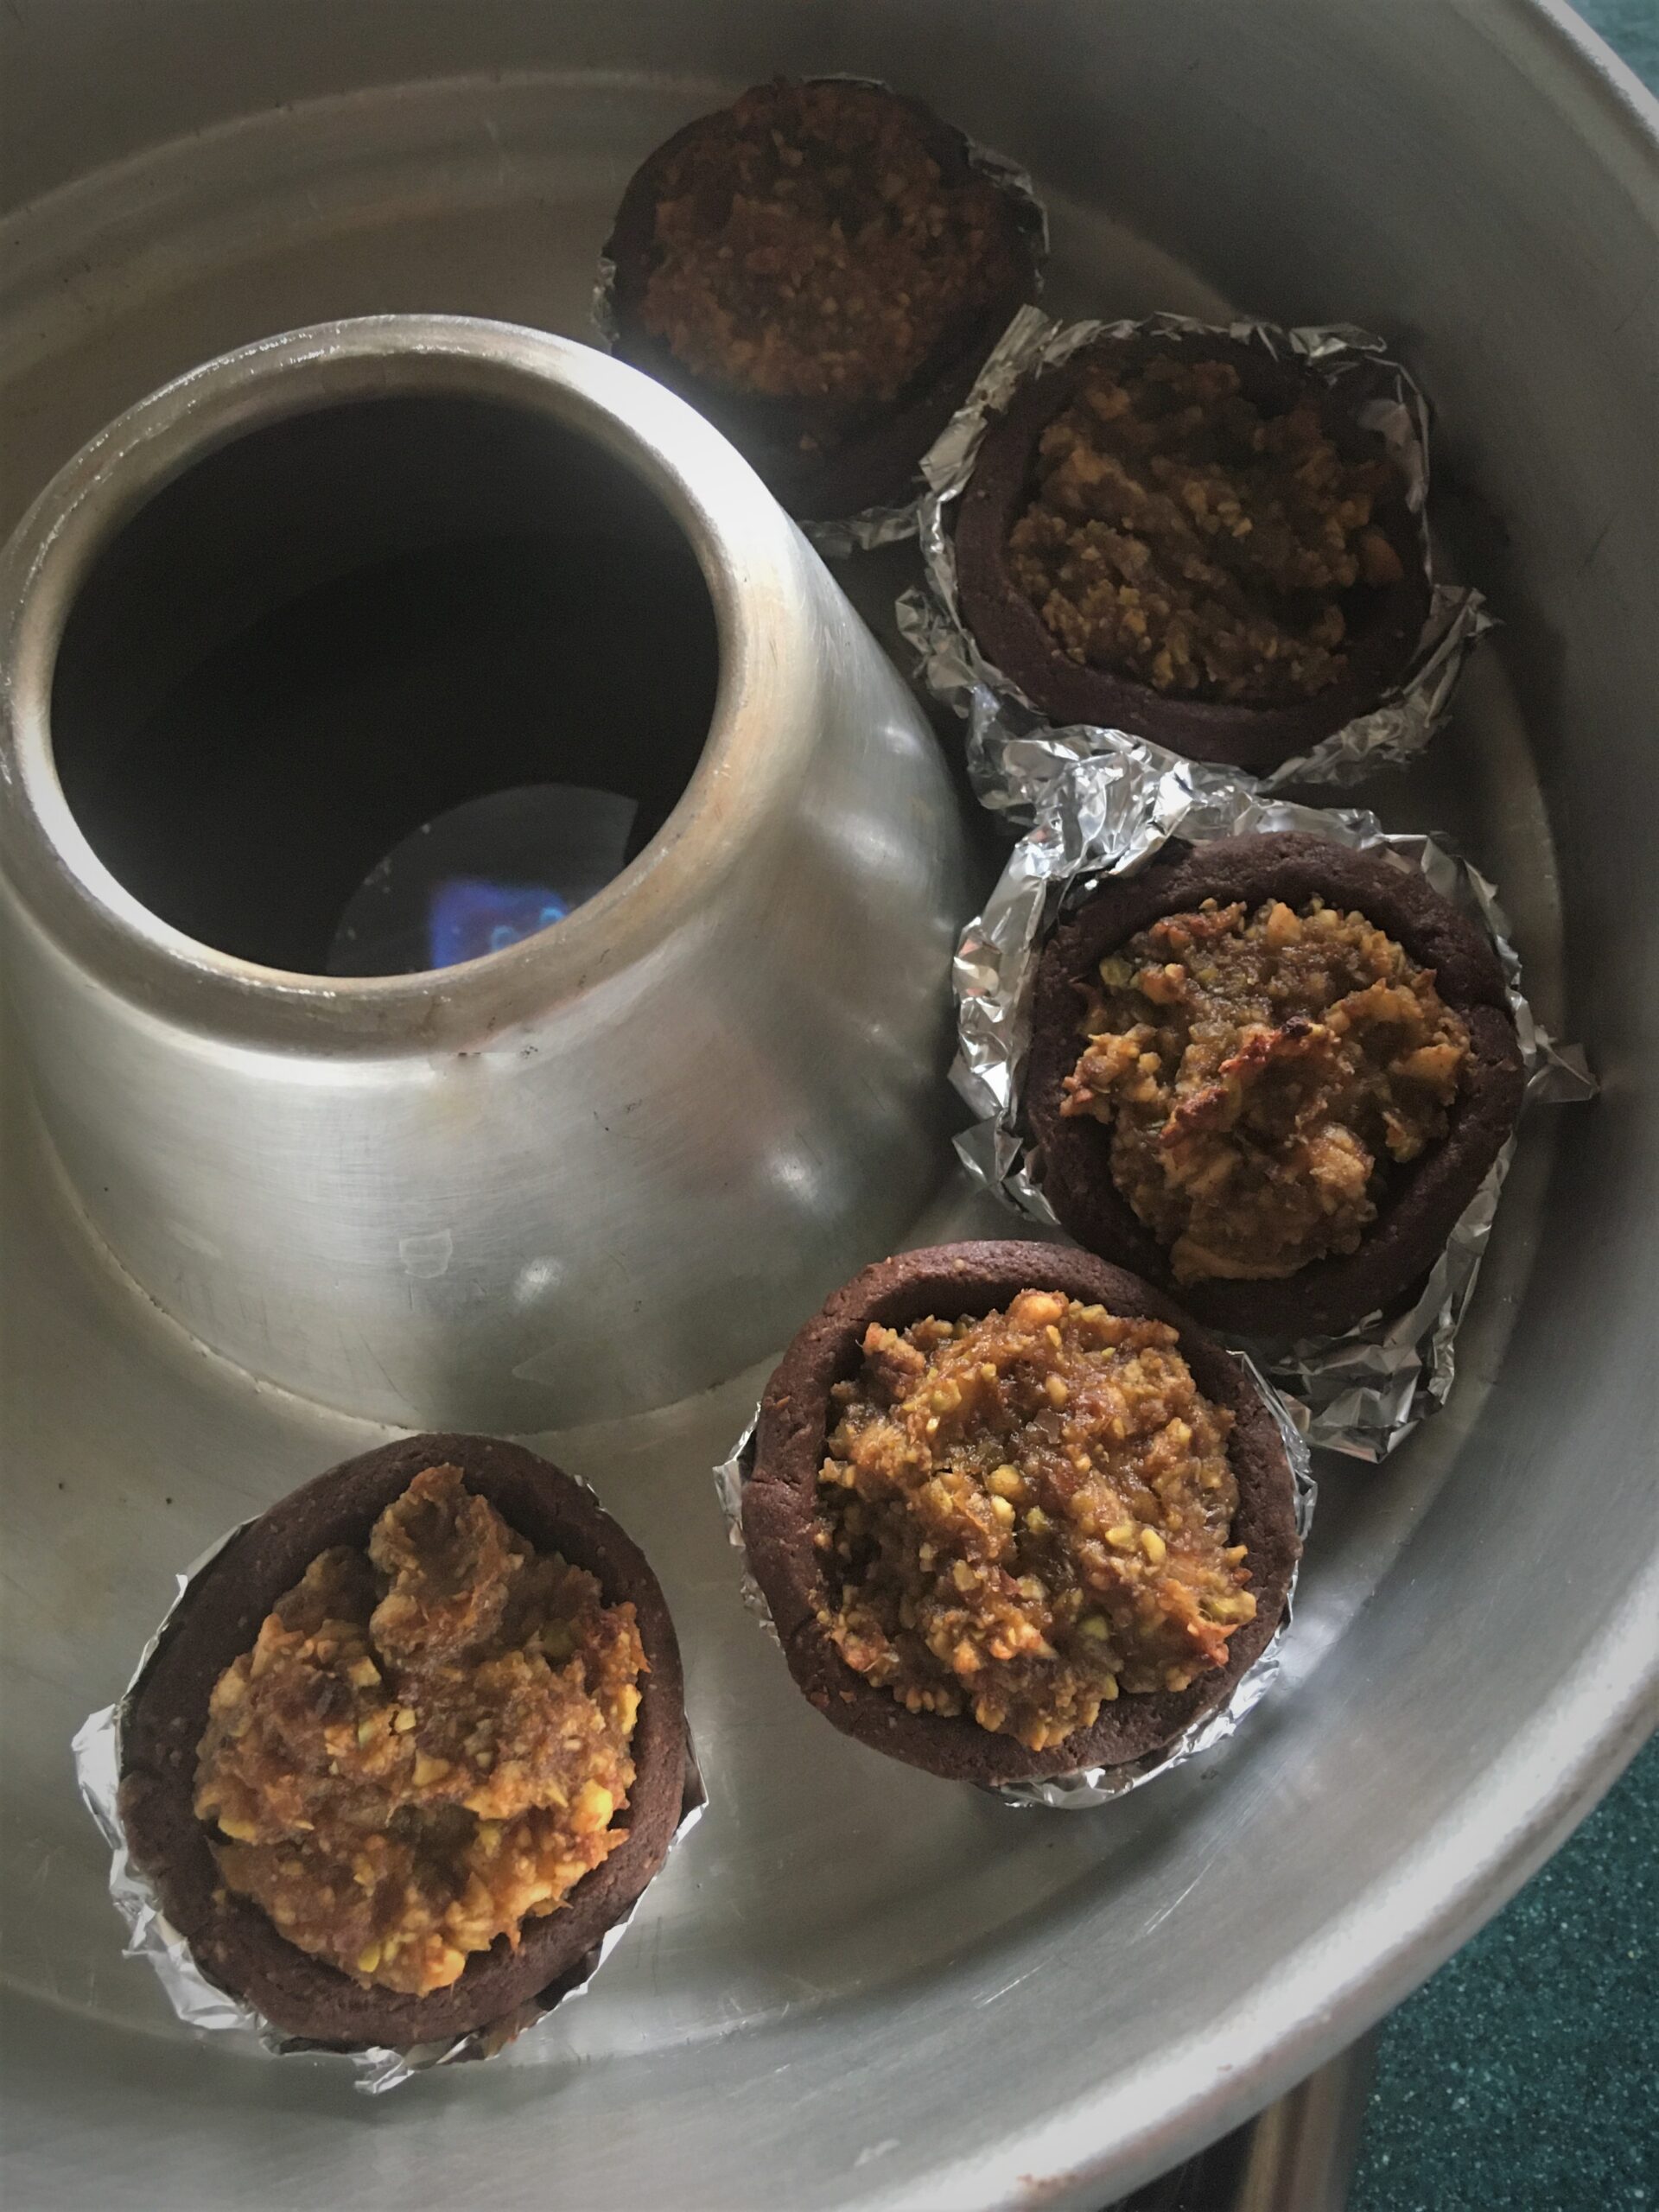
The method took a little figuring-out.  There is no little tart tin add-on for the stovetop oven and after an initial attempt where the moulded pastry shells just splurged out flat as soon as you turned the heat up, I resorted to little handmade foil cases.  Those more adept craftsmanship than me will be able to fashion something from a medium that is less wasteful but, for the purposes of testing whether pastry cooks in a stovetop oven, it does!  Admittedly, they aren’t as polished in terms of their circumference as they would be if they had been made in a muffin tin but I actually rather like their freeform charm.

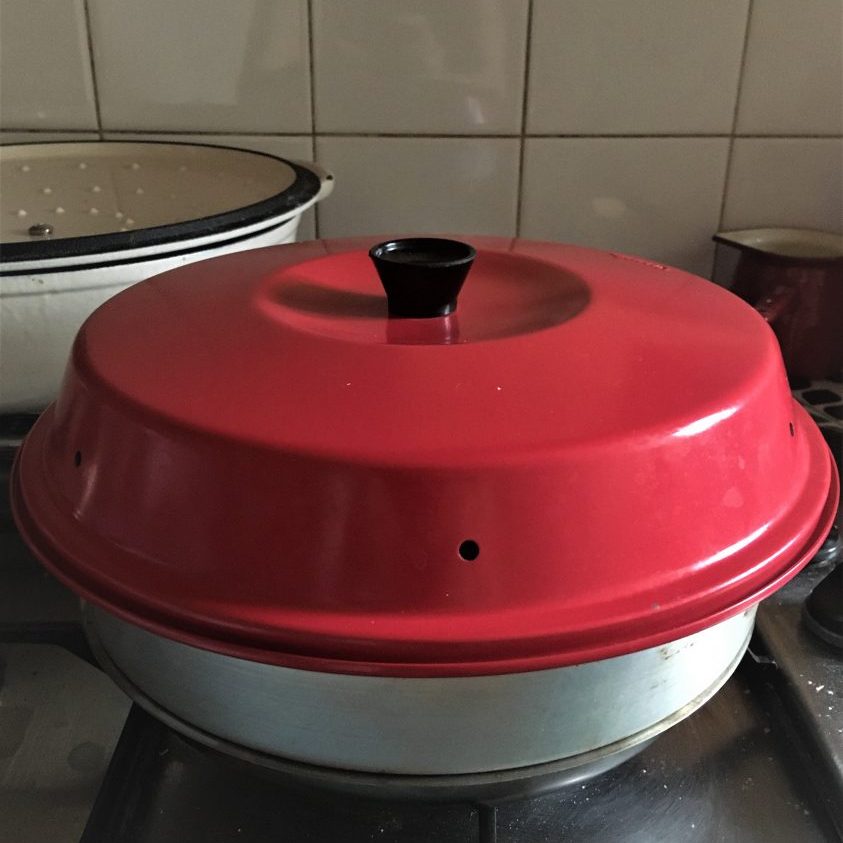
On that note, if you don’t have a stovetop oven then a) I encourage you to get one (I’m not sponsored by them!) because they are amazing, or b) if you are a bit Heath Robinson and like to think outside of the box then there’s probably a way of doing this in a pan with an upturned bowl in the base with a tin set inside and a lid on.  This is my ersatz pre-Omnia method which I’ve used for a few things like bread, cakes, puds (but not tarts).

The same ingredients work for a conventional oven as well but for that you can use a mini muffin tin.

These are pretty quick to whip-up.  You can prep the pastry and the filling the day before and keep them in the fridge.

The quantity for the pastry here is more than you will need but it keeps in the fridge for about 5 days so you can make something else from it.  It’s difficult to lessen the quantities much more because of the egg used – you end up using half an egg which is a) hard to gauge and b) kind of annoying.  I’d rather have a bit of pastry leftover than half an egg and half an egg yolk.

Also, you don’t have to use the date filling especially, that was the next filing on my list to experiment with.  It’s all about the success of the pastry really, so get creating!


Makes: c. 20 mini pies

Takes: to prep the pastry and the filling is c.20 mins + pastry resting time of c. 30 mins (but you can make both the day before); rolling and moulding will take a little longer again – allow another 30 mins

Bakes: c. 25 mins in a stovetop oven over a medium flame (in a conventional oven – same amount of time at 180C (GM4)


You will need a stovetop oven, a 3cm diameter pastry cutter (or some imagination), some foil


Ingredients

For the pastry

  • 200g plain flour
  • 50g cocoa powder (good stuff) – if you don’t want chocolate pastry, skip this and add 50g extra of plain flour
  • 75g caster sugar
  • 50g ground almonds
  • 190g butter
  • 1 egg + 1 yolk


For the filling

  • c. 8 fresh dates (stoned and chopped)
  • 2 apples (peeled, cored and chopped)
  • 1 tsp cinnamon
  • zest of 1 lemon and juice of half
  • 50g pistachios (crushed as finely as you can). I used a little blitzer but in a van, you may not have one (although I recommend getting one, they don’t take up much room) – a pestle/mortar will do, as will the end of a rolling pin to crush them!
  • 1 tsp rosewater (optional – I just happen to love it and it goes with these ingredients for a Moroccan vibe)


Method

For the pastry

Combine the dry ingredients in a mixing bowl then rub in the butter until the mix resembles fine breadcrumbs.  I do this by hand and I’m assuming that in a van, you probably will be too.  It’s quite therapeutic.  Next add the egg and the egg yolk and bring the mix together to form a ball.  Wrap it in cling film and pop into the fridge to chill for at least 30 mins (or overnight).


For the filling

While the pastry is chilling, make the filling.

For the filling – pop the dates, apple, cinnamon, juice and zest in a pan with 2 tblsp water and set over a medium heat to soften.  Keep an eye so that it doesn’t catch.  Meanwhile, crush your pistachios.  When the apple is softened, combine this date mix with the pistachios and stir in the rosewater.  Leave to one side, while you make fashion your foil cases and roll-out the pastry.


Assembly

When you are ready to roll, make sure you take the pastry out of the fridge in good time so it is at room temperature.  Dust a little flour over a clean worktop and roll the pastry out to c. 4mm thickness.  Cut out your little pastry rounds – if you don’t have a cutter in the van, you could use a wine glass or even just cut around a disc a few times over.  Now, I moulded my pastry discs in a tart tin but you can get creative here and mould them around the end of something, or if you like working with clay, just do your best to form the discs into pastry case shapes.  Pop each one into one of your pastry moulds and pop them into the base of the stovetop oven.

Pop a little bit of filling into each one – a heaped teaspoon should suffice, then pop the lid on and cook until the pastry is fairly sturdy (it will crisp-up further out of the oven) and the top of the filling a little browned.  Keep an eye.

Remove from the oven and set on a rack to cool.  Dust with a little icing sugar and, well, tuck-in!  These will be tasty little crag treats (you could also serve them with some whipped yoghurt with lemon or rosewater).


Comments

Hit me up with any variations you've got for these ingredients.

Leave a Comment